Stock Movement Detail Report: Settings and Parameters
Completion requirements
Why Use This Function:
Setting the appropriate settings and parameters for the Stock Movement Detail Report allows you to customise the report to your specific needs. By selecting date ranges, stock items or categories, transaction types, warehouses, users, and movement status, you can focus on the information that is most relevant to your Practice. This ensures that the report provides clear, accurate, and actionable insights, making it easier to track stock flow, identify discrepancies, monitor usage patterns, and maintain reliable inventory records for operational and financial management.
The Contents of This User Manual:
Timespan
Stock Items
Transactions
Grouping and Filtering
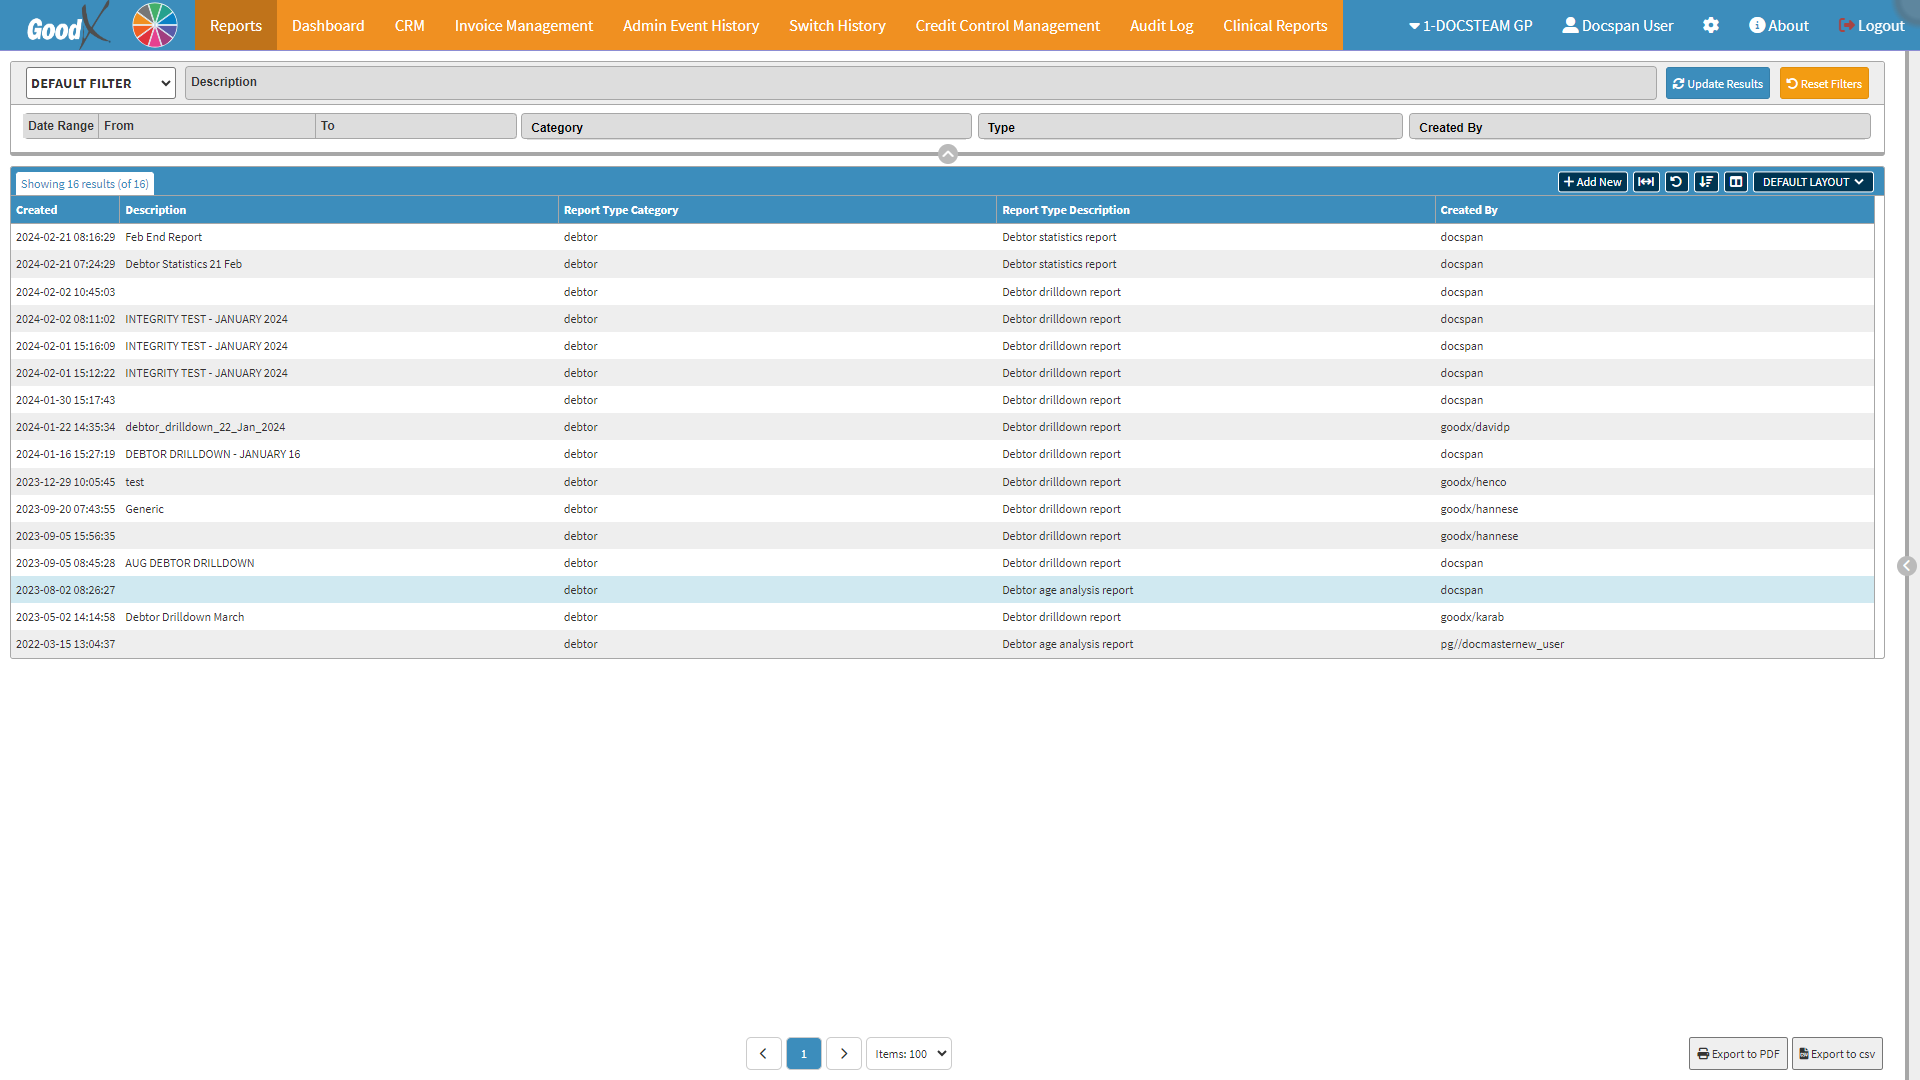
This user manual will start on the Reports screen.
For more information on how to navigate to the Reports screen, please refer to the user manual: Reports Segment.
Click on the Add New button.
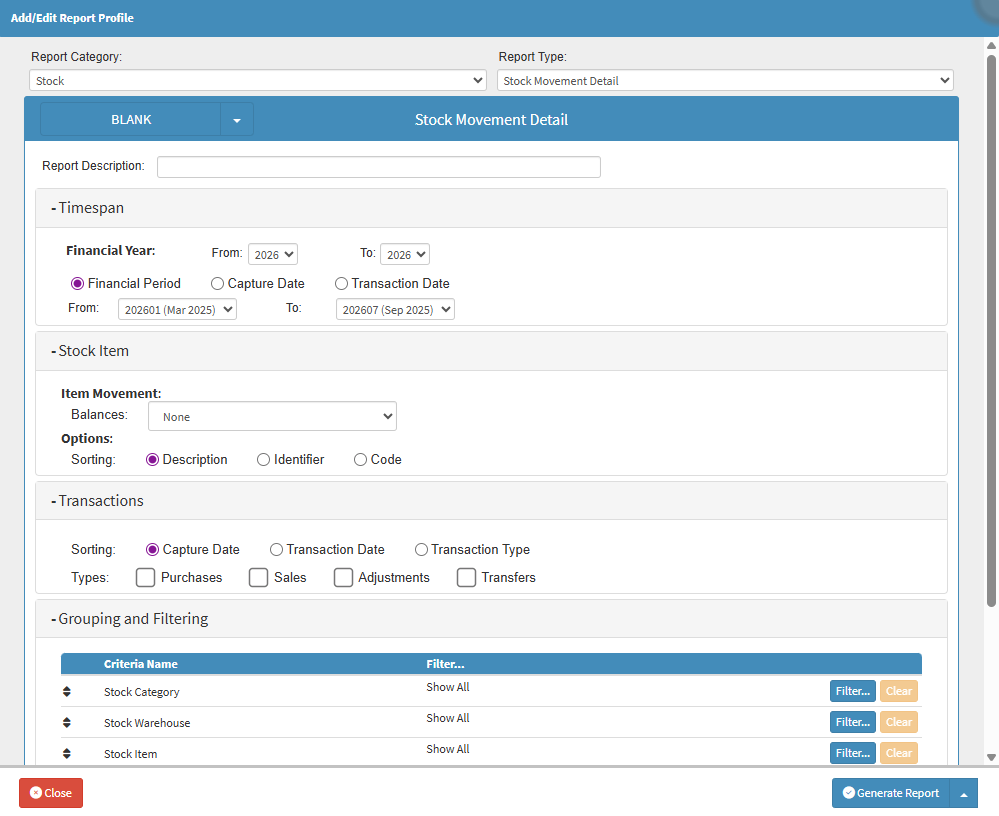
The Report Profile screen will open.
Select the Stock option on the Report Category drop-down menu.
Select the Stock Movement Detail on the Report Type drop-down menu.
The Add/Edit Report Profile of the Stock Movement Details will open.
For more information on a generated Stock Movement Detail Report, please refer to the user manual: Stock Movement Detail Report.
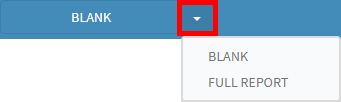
Alternatively, Click on the Report Profile drop-down menu toselect the desired Report Profile that was saved previously.
For more information on how to Save a Report Profile for future use, please refer to the user manual: How to Save Report Profiles.
Click on the Report Description field to give a short description of your Stock Movement Details.
Timespan
A specific Time Period of the Report
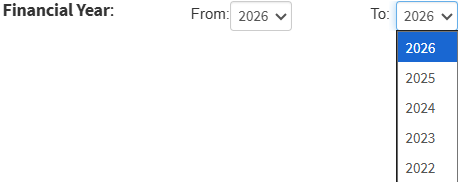
Click on the From Financial Year drop-down menu to select the appropriate year.
Click on the To Financial Year drop-down menu to select the appropriate year.
?Please Note: The current Financial Year will be selected by default. All the years since the entity started will be visible within the drop-down menu for you to make selections from.
Click on the From Financial Period drop-down menu to select the relevant period.
Click on the To Financial Period drop-down menu to select the relevant period.
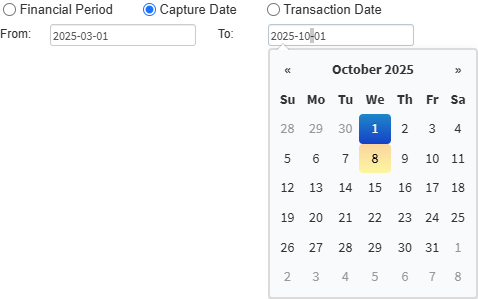
Click on the From Capture Date field to select the relevant start date from the date picker that becomes available.
Click on the To Capture Date field to select the relevant end date from the date picker that becomes available.
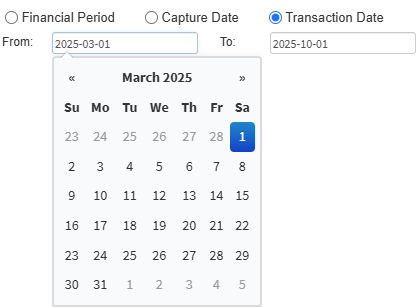
Click on the Transaction Date From field to select the start date from the date picker that becomes available.
Click on the Transaction DateTo field to select the end date from the date picker that becomes available.
Stock Item
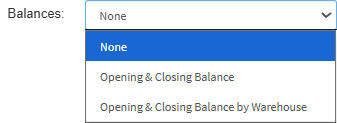
The Stock Items Panel helps you organise and view stock efficiently by selecting balances and sorting options for easier management.
Click on the Balances drop-down menu to select the relevant option.
Tick the relevant Sorting Options to sort the Stock Items.
Transaction
Indicating what type of Transactions will be included in the report.
Tick the relevant Sorting option.
Tick the relevant Types checkboxes for the transaction.
Grouping and Filtering
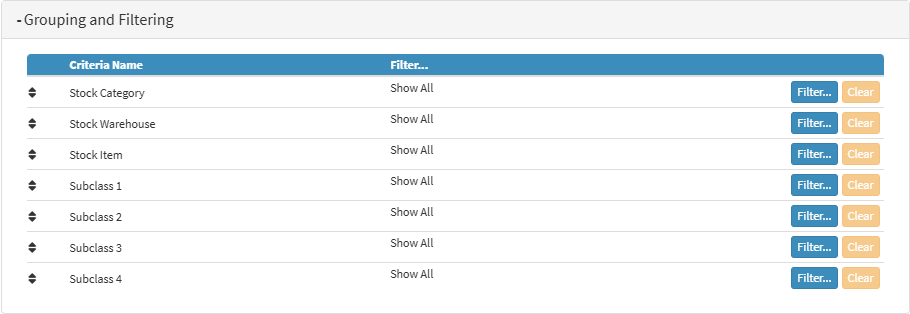
How the Data of the Report will be grouped together.
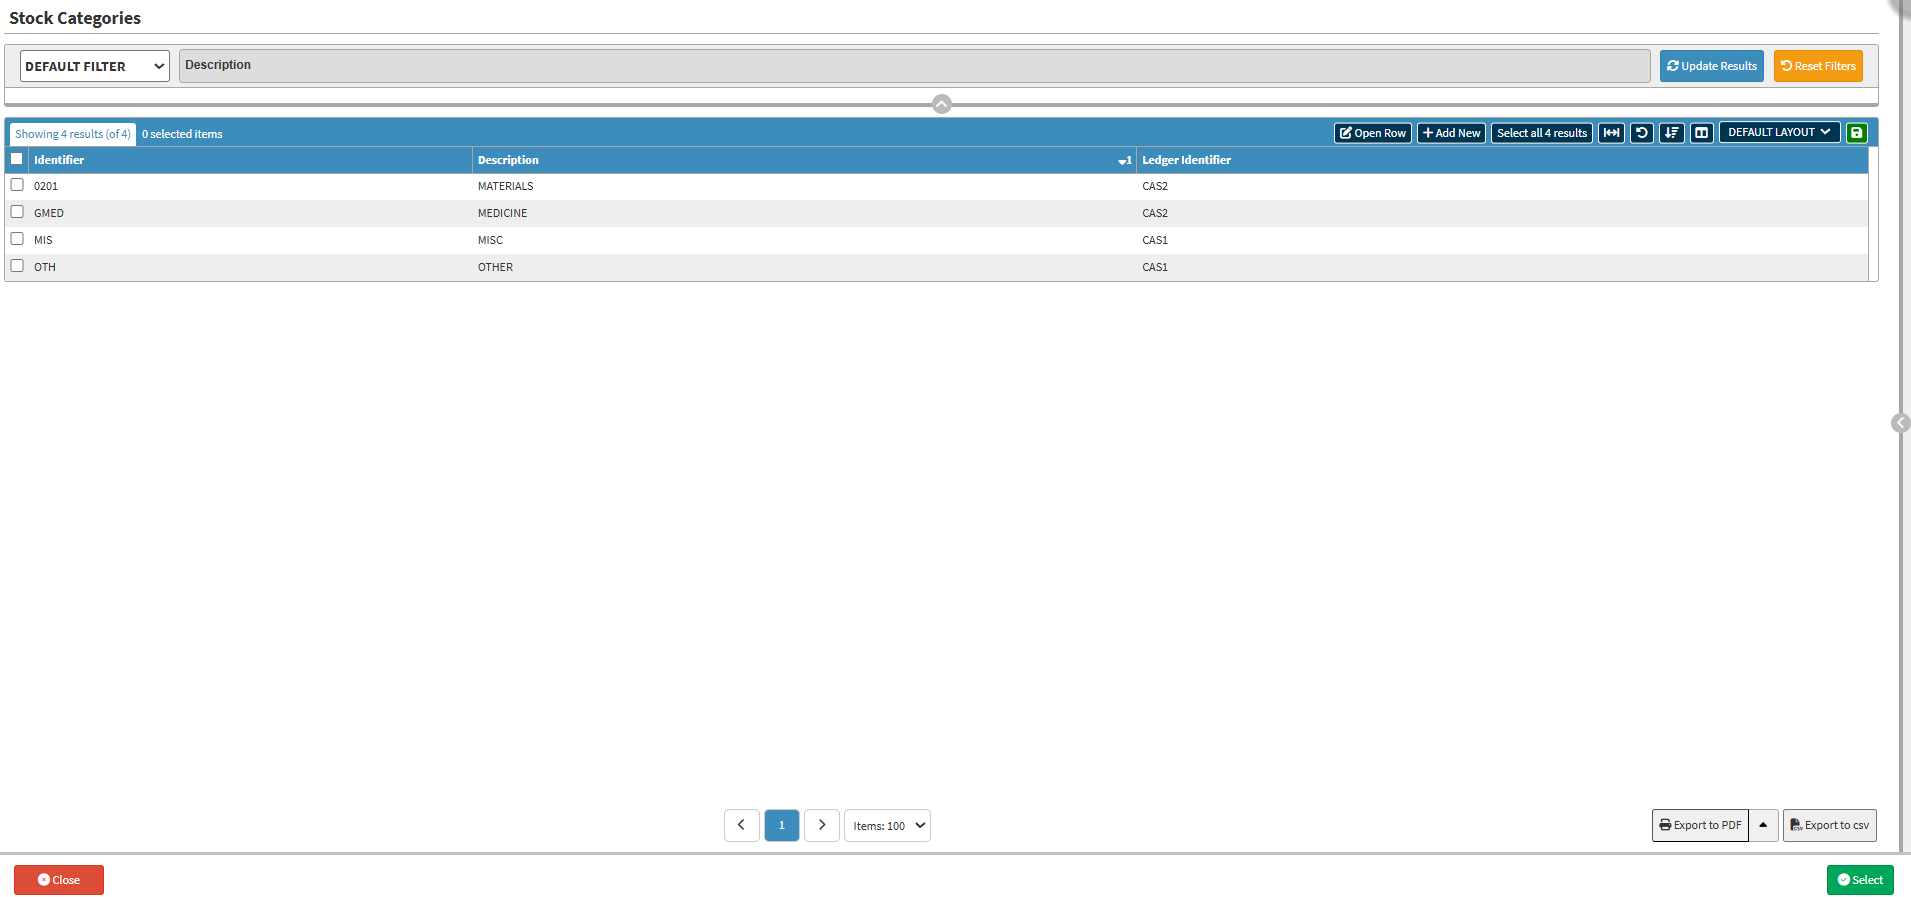
Criteria Name: Displays the filtering or grouping criteria available, such as Stock Category, Stock Warehouse, Stock Item, and Subclasses. These define the fields by which the data can be grouped or filtered.
Filters: Shows the current filter selection applied to the chosen criteria. By default, it displays Show All, but it can be narrowed down using the filter options.
?Please Note: The Clear button will only be available once the Stock Category is filtered.
Click on the Generate Report button to create the report.
A Notification will appear to advise that the Report is being generated in the background.
A Second Notification will appear once the Report has been successfully generated.
The Report will then appear on the Report List screen.
?Please Note: The Report may take a while to load. If the Report does not appear on the list immediately, Click on the Update Results button to refresh the Report List.