By Allocating a Medical Aid Rejection Message, the user is able to manually add a rejection message to individual invoice lines so that the user can indicate the reason for the invoice line rejection and thereby inform the Debtor why the account was not settled by the Medical Aid.
This user manual will start on the Account Details screen of your selected Debtor.
For more information regarding the Account Details screen, please refer to the user manual: Account Details Overview.
Double Click on the Invoice that was rejected on which a Medical Aid Rejection Message will be added.
The Actions tab will open.
Click on the Rejection Message button.
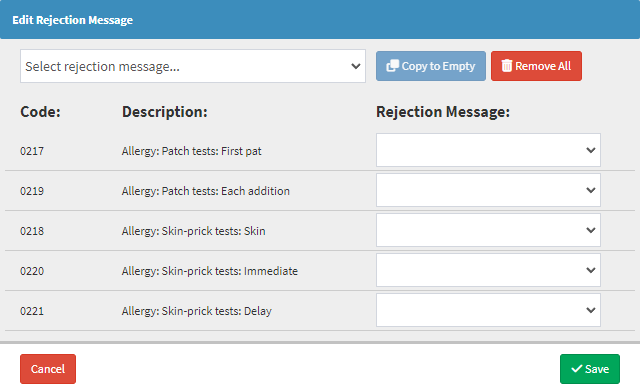
The Edit Rejection Message screen will open.
An explanation will be given for each field and button on the Edit Rejection Message screen:
Select Rejection Message: The reason the Medical Aid rejected the switched claim on the invoice level.
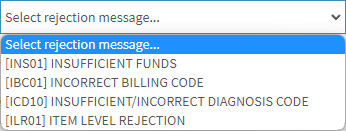
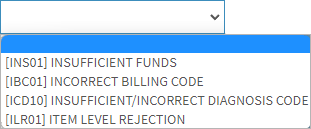
Click on the Select Rejection Message... drop-down menu.
The Select Rejection Message... drop-down menu will open.
Select one of the options that become available.
Please Note: The available options are custom codes set up in the GoodX Desktop app. For more information regarding Medical Aid Error messages, please refer to the user manual: Setup of Medical Aid Rejection Message.
Click on the Copy to Empty button to copy the selected Medical Aid Rejection Message to the empty Rejection Message fields when the invoice level error message is applicable to the item level error messages.
Click on the Remove All button to remove the Medical Aid Rejection Codes from the Rejection Message fields.
An explanation of the columns on the Edit Rejection Message screen will be given:
Code: The code that identifies the billable item or procedure on the invoice line.
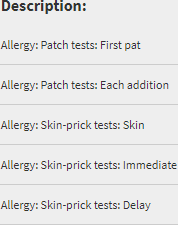
Description: Contains the description of the lyn item linked to the code in the Code column that the Patient was billed for.
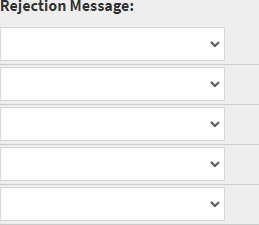
Rejection Message: The reason the Medical Aid rejected the switched claim on the item level.
Click on the Rejection Message drop-down menu.
The Rejection Message drop-down menu will open.
Select the desired option from the list that becomes available.
The selected option will display in the corresponding Rejection Message field.
Click on the Cancel button to exit the Edit Rejection Message screen without allocating a Medical Aid Rejection Code to the invoice line.
Click on the Save button to allocate a Medical Aid Rejection Code to the invoice line and exit the Edit Rejection Message screen.