Bookings on myGC will allow a User to make a booking to schedule a visit with their preferred Practitioner, from the myGC app instead of calling the Practice to make a Booking. Past and Future Bookings can be viewed whilst the User is logged into the myGC app.
The Contents of This User Manual:
Make Booking
Who the Booking is For
Existing Patient
New Patient
Feedback
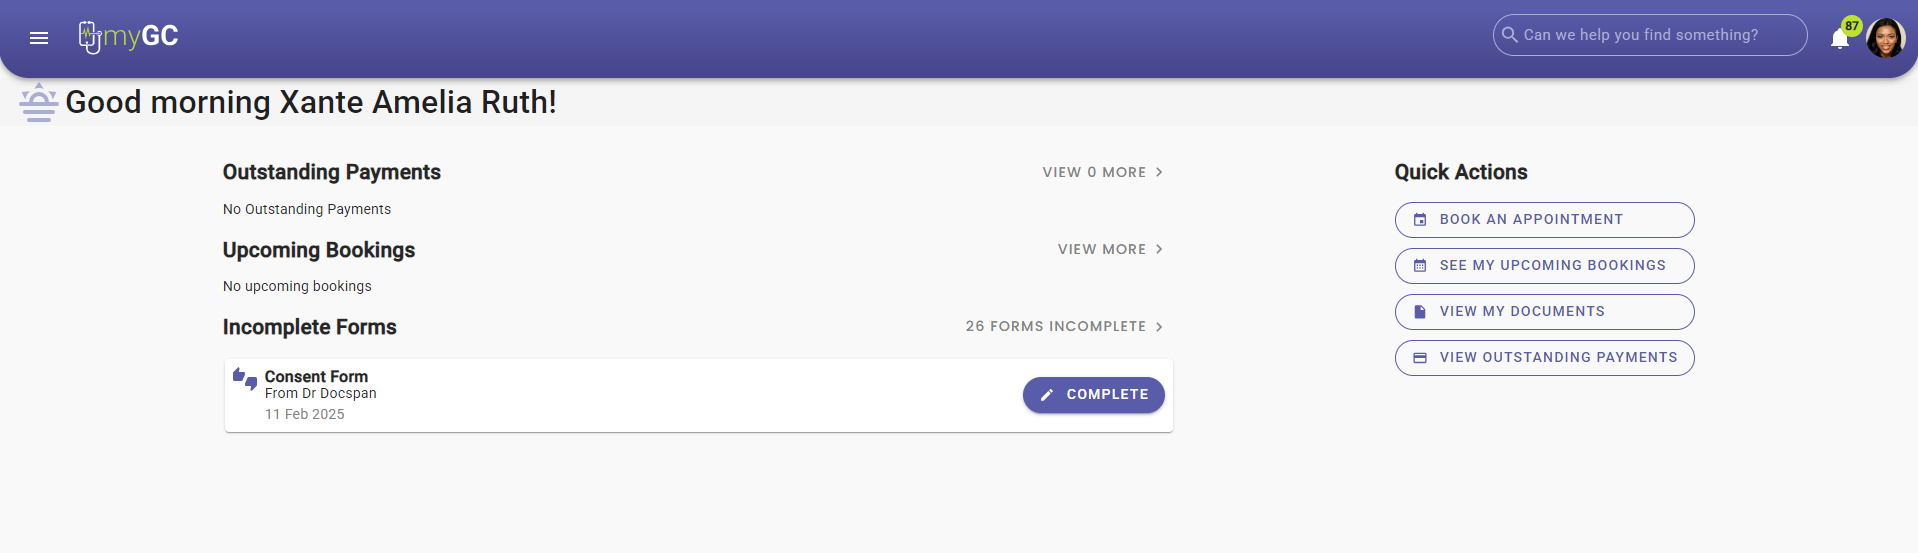
This user manual will start on the myGC Dashboard screen.
There are 2 ways that a booking can be made:
Book an Appointment from the Quick Actions section
Bookings from the Navigation panel
Book an Appointment from the Quick Actions section
Click on the Book An Appointment button in the Quick Actions section.
Bookings from the Navigation panel
Click on the Hamburger menu button ot expand the Navigation panel.
Click on the Bookings button.
The Find a Doctor screen will open.
Click on the Search button to search for Practitioners using specific filters.
For more information on how the search feature works, please refer to the user manual: Search.
Practitioners that have bookings available will have timeslots in the Today's/Tomorrow's Availability section below their name.
If there are no available bookings, a message will advise: No Availability.
Click on the desiredTimeslot button to make a booking for that specific time.
The Make a Booking screen will open.
The details of the Practitioner you are making a booking with will display.
The Your Booking Details section will display the information about the booking you are making.
Click on the button of the desired Booking Type in the Choose a Booking Type section to select the appropriate option.
?Please Note: The Booking Types that are listed will correspond to the types of bookings that are available at the Practice.
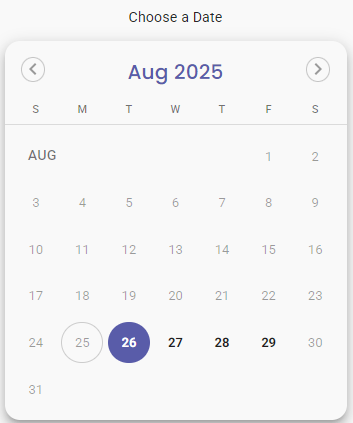
Click on thedesired Date on the calendar to select the day the booking will be made for.
?Please Note: The Date will be selected by default according to the date of the booking timeslot you chose.
Click on the Select your Timezone field to change the timezone if the need arises.
?Please Note: The Time Zone will correlate to the current timezone of your device/and or browser by default.
?Please Note: The Practitioner's calendar will update to show the correct time for the booking if the time zone differs.
Click on the Timeslot button of the desired time to make a selection for that specific time.
?Please Note: All available times will be listed, and the selected time will be highlighted.
ClickontheNext Stepbutton to continue.
The Who is the Patient For This Booking? screenwill open.
Click on the Choose a Patient For This Booking drop-down menu to select the Patient for whom the booking is.
?Please Note: By default, the Patient who is logged in is selected. If there are other Patients linked to the logged-in user, they will also be listed.
Click on the Complete Medical Aid button to add the Medical Aid details of the Patient for whom the booking will be.
?Please Note: Completing Medical Aid details is not mandatory, but can save you time at the Practice as the information is already completed.
The Select Medical Aid Details screen will open.
?Please Note: If you have already completed Medical Aid Details during the setup of your account, the details will appear in the fields automatically.
Click on the Make Booking button to complete the booking.
The Feedback screen will appear, where the User is able to rate their experience.
For an extensive explanation of the Feedback screen and how to rate the experience of making a Booking, please refer to the user manual: myGC Dashboard: Navigating the Feedback Screen.
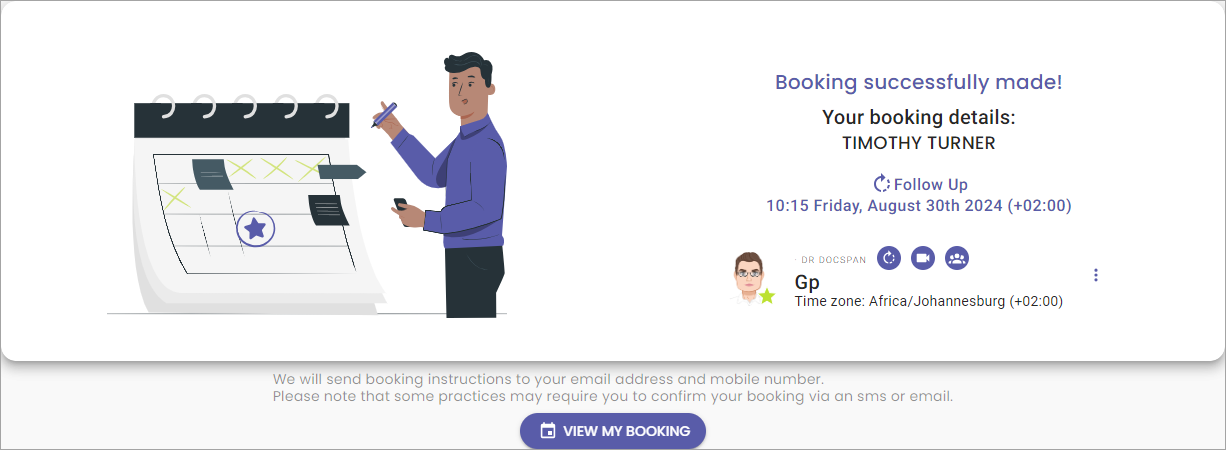
Once the booking has been made the Your BookingDetails screen will open with the detailed summary of the booking that was made.
Click/Tap on the View My Booking button to see the details of the booking that has just been made.
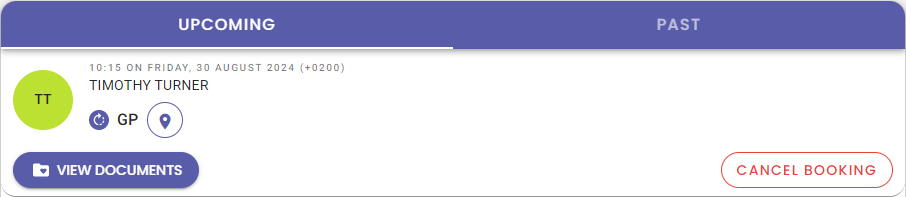
The Booking that was made will display in the Upcoming bookings section on the Bookings tab.