Debtor Statement (Bulk)
A Debtor Statement is a printed bill that displays information regarding what each Patient has to pay. The information that is available on the statement is information such as service dates, charges, and transaction descriptions along with the Patient's demographic details. Practices will print out Debtor Statements in bulk in order to send a hard copy version to the Debtor when the Debtor doesn't have an electronic mail address available to which the Practice can send the statement.
Printing statements in bulk saves time and the staff at the Practice doesn't have to print a single statement for each Debtor. Filters can be used to select only the Debtors who have outstanding balances at the Practice. Users can identify a list of Debtors for who they would like to print statements, which simplifies the administration process.
- The contents of this user manual will consist of the following information:
- Debtor Statement Search Filters
- Debtor Search Outcome Fields
- Log in to the GoodX Web App using your GoodX username and password.
- The Diary screen will open.

- Click on the Navigation Wheel on the Navigation Bar.
![]()
- Click on the Debtors segment.

- The Debtors screen will open.
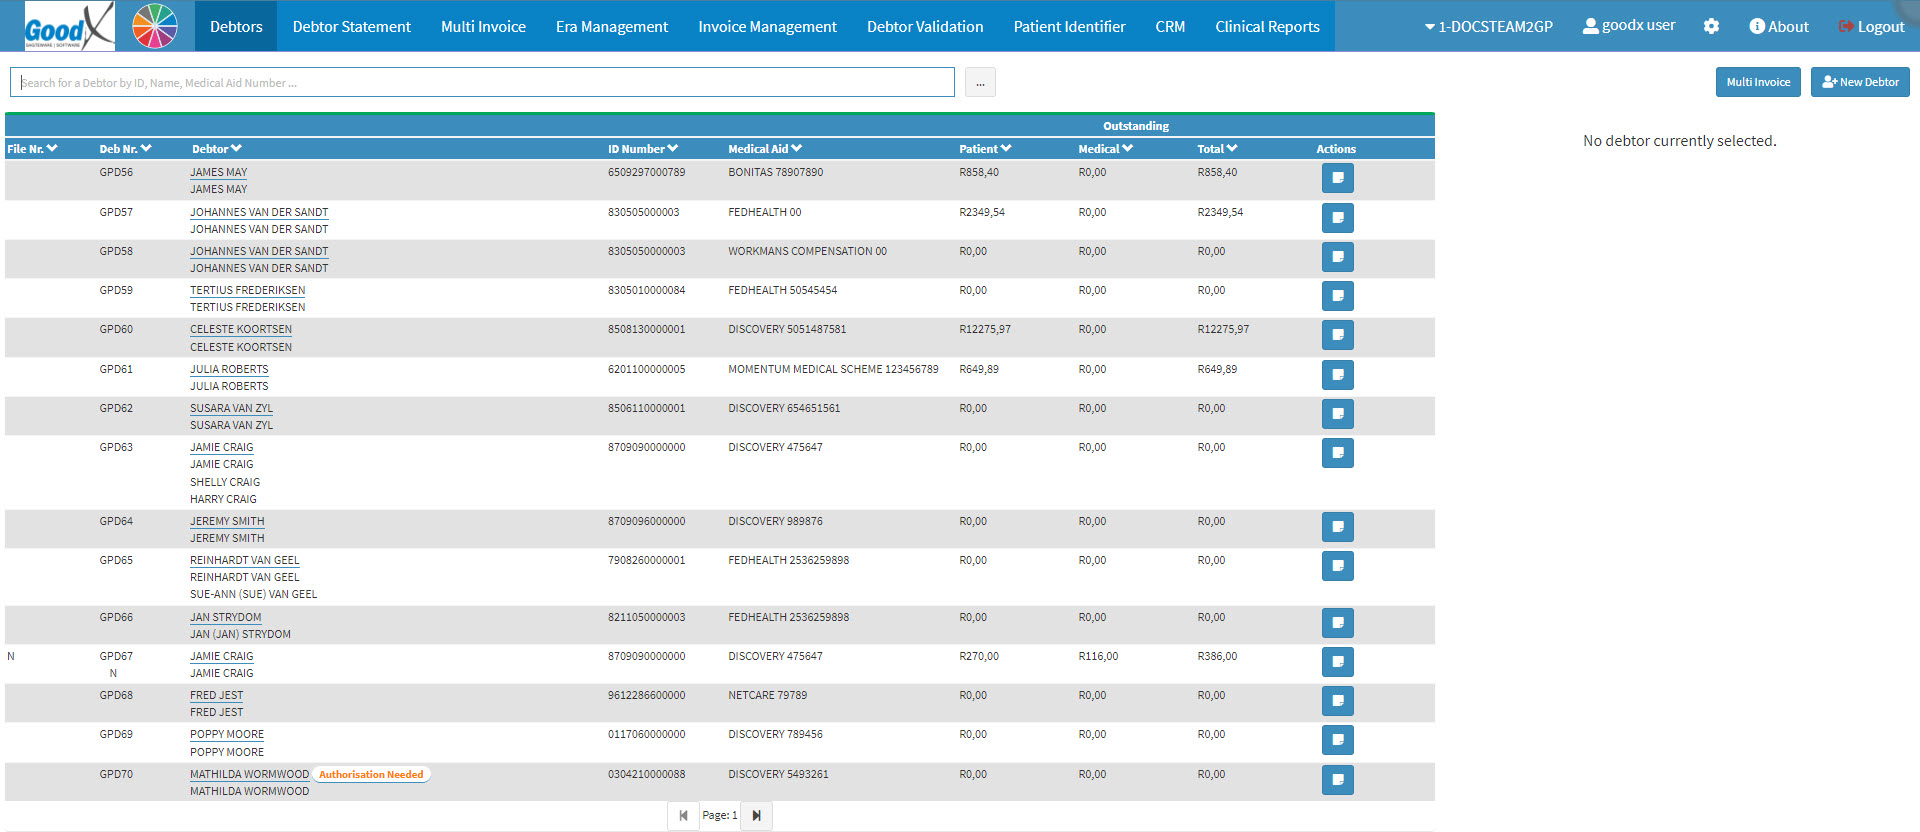
- Click on the Debtor Statement tab.

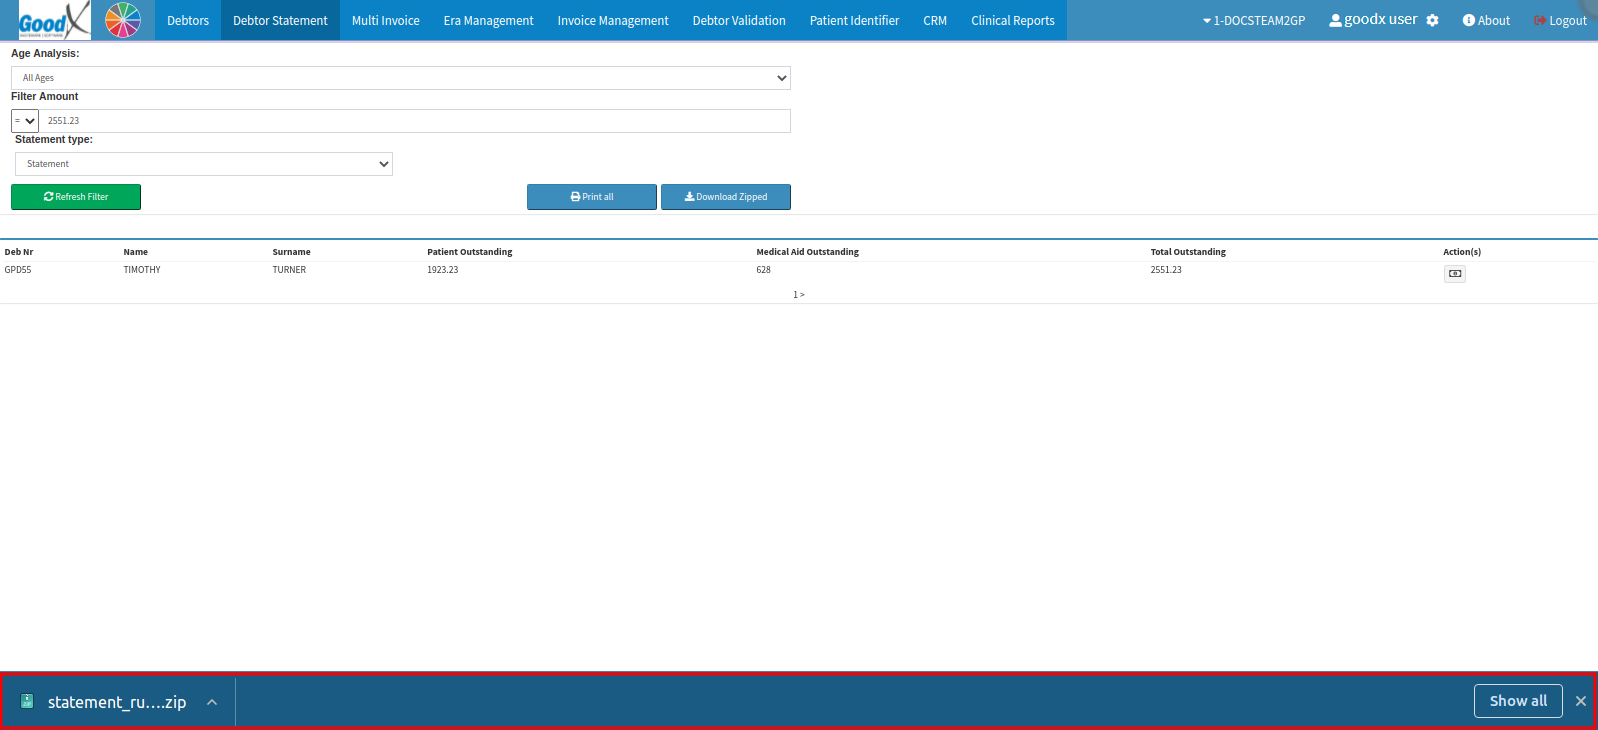
- The Debtor Statement screen will open.

Debtor Statement Search Filters
The available filters can be used to narrow down the information to show only specific Debtor accounts that meet the filter criteria.
- An explanation of each field will be given:

- Age Analysis: A display of all the outstanding balances of the Debtors on the system, and how old the outstanding balance is as per the information on the Age Analysis report.
- Click on the Age Analysis drop-down menu to open additional options.

- Click on the relevant account age to select the desired age.

- Filter Amount: The amount that is used as criteria to filter the accounts on. The Patient outstanding, Medical Aid outstanding and the Total Outstanding are taken into consideration when filtering amounts.
- Type an amount into the Filter Amount field, which is a numeric field.
- Click on the Filter Amount drop-down menu to open additional filtering options.
![]()
- >: A total outstanding amount greater than what was typed into the filter field.
- >=: A total outstanding amount more than or equal to the amount typed into the filter field.
- =: An exact total outstanding amount that is equal to the amount entered into the filter field.
- <=: A total outstanding amount less than or equal to what was typed into the filter field.
- <: A total outstanding amount less than what was typed into the filter field.

- Statement Type: A document made up of the various transactions that have taken place on the Debtor's account.
- Click on the Statement Type drop-down menu.

- Select the relevant option:
- Statement: A Statement is a document that summarises all the account information on a bill that includes transactions that have been paid and amounts that are outstanding. Having the ability to print out a physical copy could assist greatly with documentation and filing purposes.
- Audit Statement: An Audit Statement is a complete financial Statement that is compiled of all the activities that occurred on the Debtor's account, for example, invoices, receipts, and corrections from the beginning of the Patient's first visit, up to and including the current date, will be shown.
- Click on the Refresh Filter button to apply any filter changes.
![]()
- Click on the Print All button to print the chosen filtered information.
![]()
Please Note: The printed information will consist of all Debtor Statements from all of the Debtors listed, after any filters have been applied.
- The Statements will download as PDF (Portable Document Format) documents.
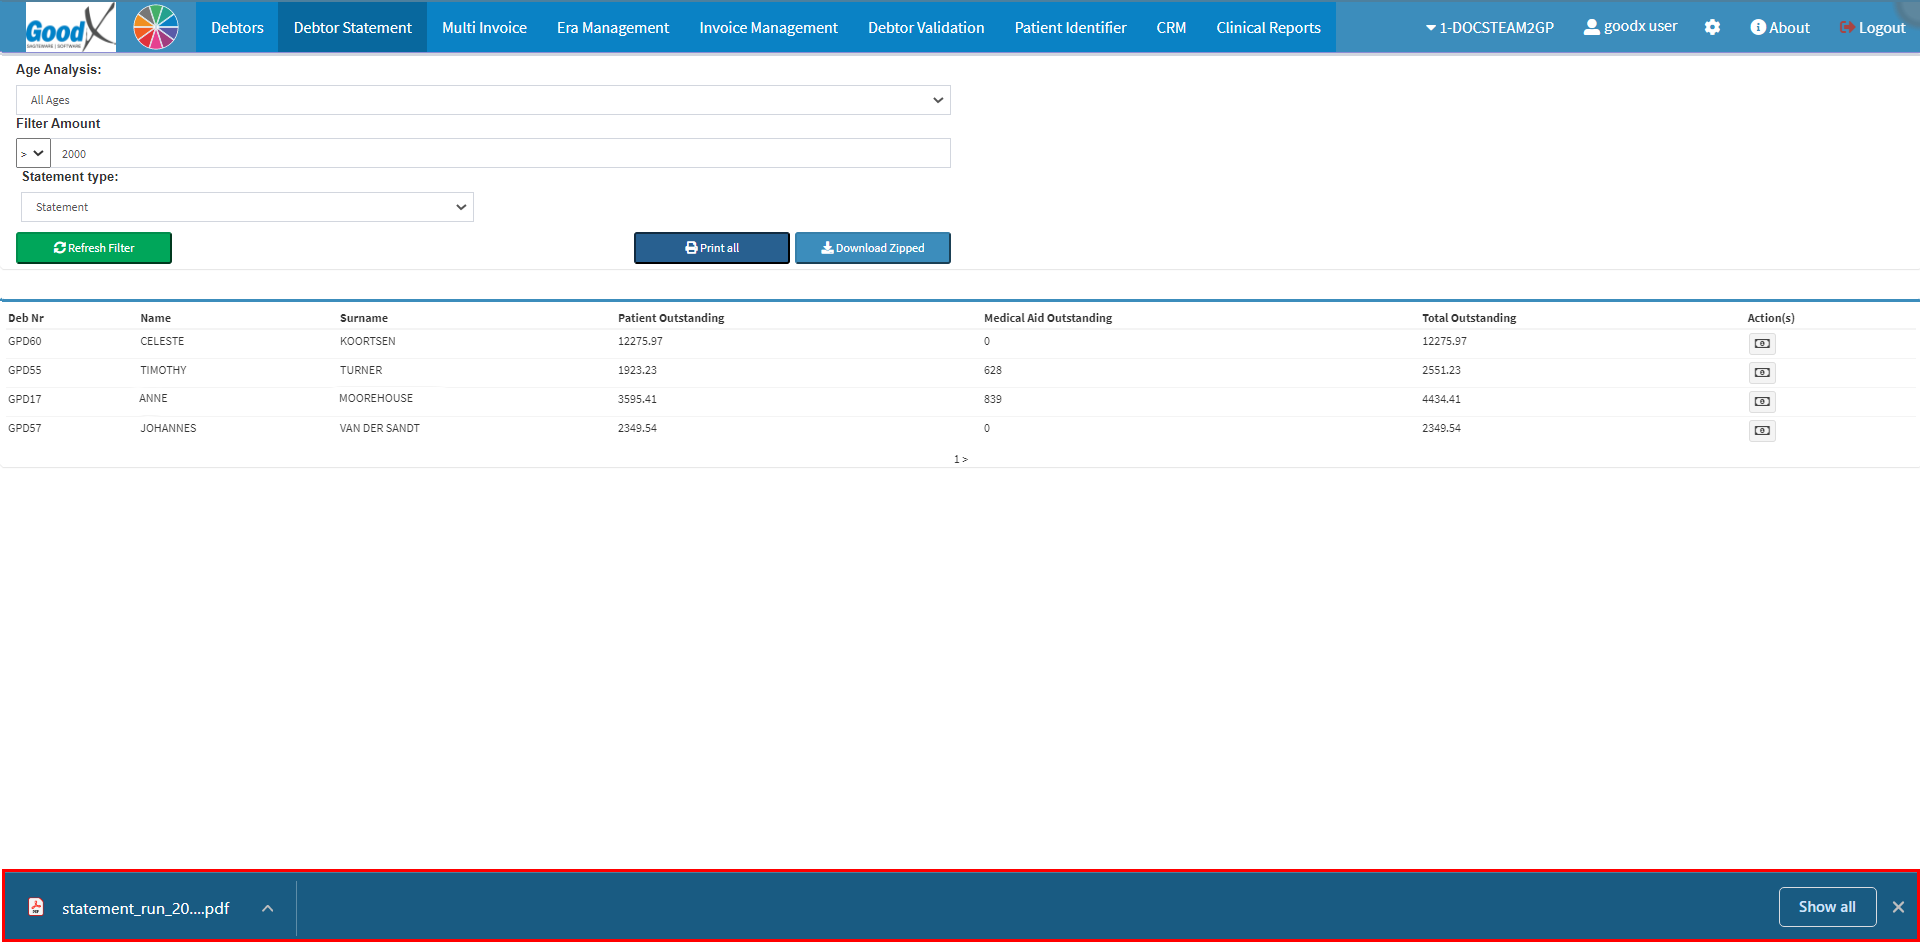
- Click on the downloaded PDF file.

- The downloaded PDF will open. For more information on how to print statements, please refer to the user manual: Print Statement.
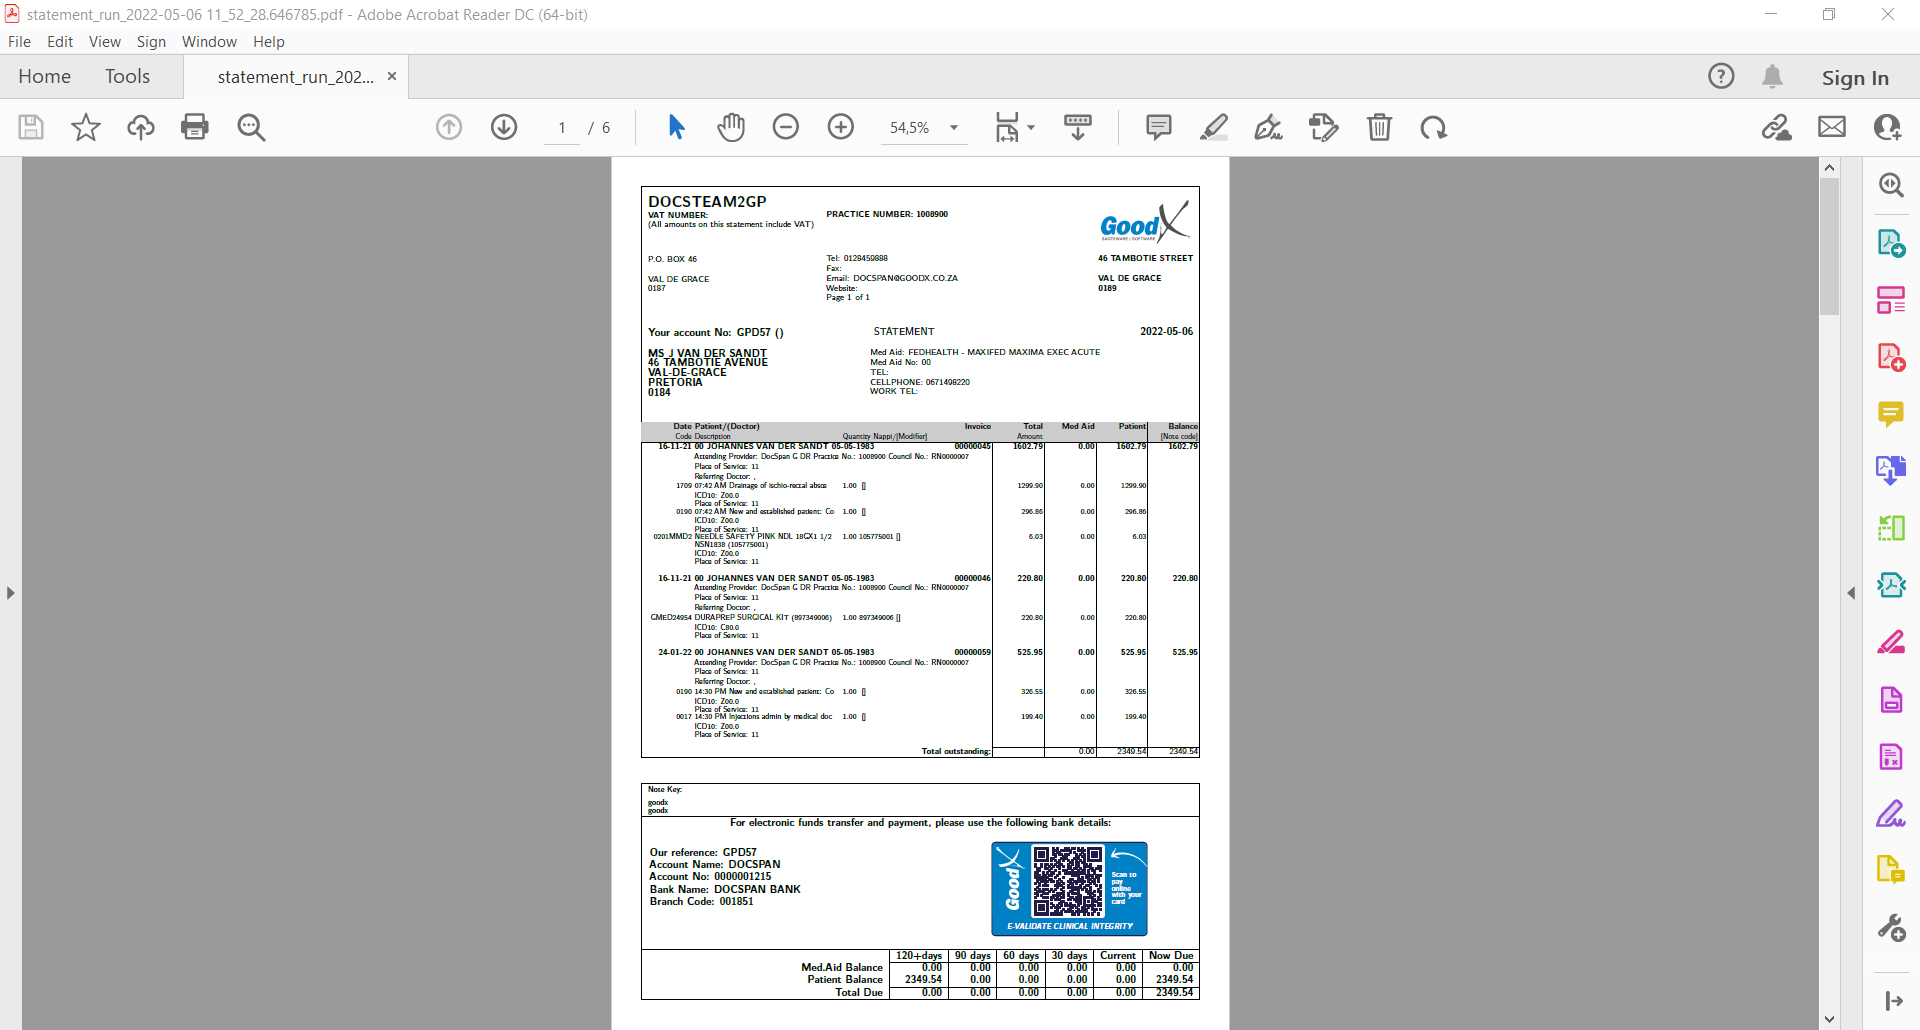
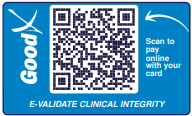
Please Note: A QR Code is available on the Statement to allow the Debtor to scan the code using a mobile device. The user will be redirected to the online payment function on myGC. QR Codes will only appear when a Debtor is liable for any outstanding amount on their account. For more information regarding enabling and disabling a QR Code on a Statement, please refer to the user manual: Entity Settings.
- Click on the Download Zipped button to download all the Statements into a smaller, single folder which is saved on to the computer.
![]()
Please Note: The file will be downloaded into a zip folder due to a large number of Debtors on the Practice's system. The user would need a zip file extractor to open and download the information found within the folder.
Debtor Search Outcome Fields
The Debtor Search Outcome Fields contain a summary of the filtered Debtors' account information.

- An explanation of each column will be given:
- Deb Nr: The Debtor Number that will be linked to the person who is responsible for the account, the number will be generated automatically by the system once the details have been saved.
- Name: The first name of the Patient as stated on their official identification documents.
- Surname: The last name of the person who is responsible for the account as stated on their official identification documents.
- Patient Outstanding: The amount that the Patient is personally responsible for settling their account.
- Medical Aid Outstanding: The total outstanding amount owed to the Practice by the Medical Aid.
- Total Outstanding: The full amount that is owed to the Practice by the Debtor, which includes amounts owed by the Patient and Medical Aid.
- Action(s): An additional option that is available to the user for quick and easy access to the Debtor's list of Invoices on the Account Details screen.
- Click on the Action(s) button corresponding to the Debtor for which the user would like to access more options.
![]()
- The Account Details screen will open for the desired Debtor.
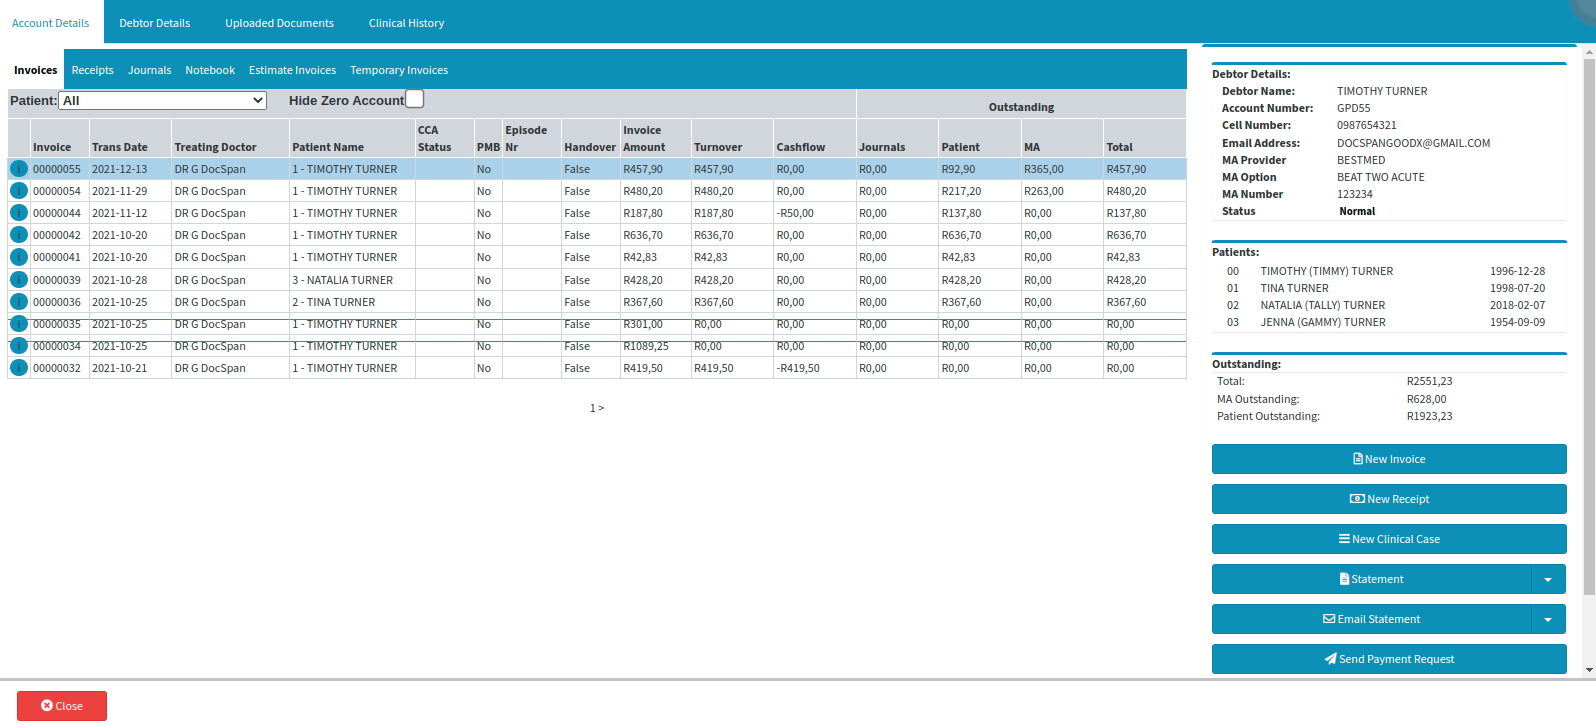
- For more information regarding the Account Details screen, and how to access the Statements of specific Debtor, please refer to the user manual: Account Details Overview.
- Click on the Close button to close the Account Details screen and return to the Debtor Statement screen.
![]()