How to Make a Patient Inactive


Why Use This Function:

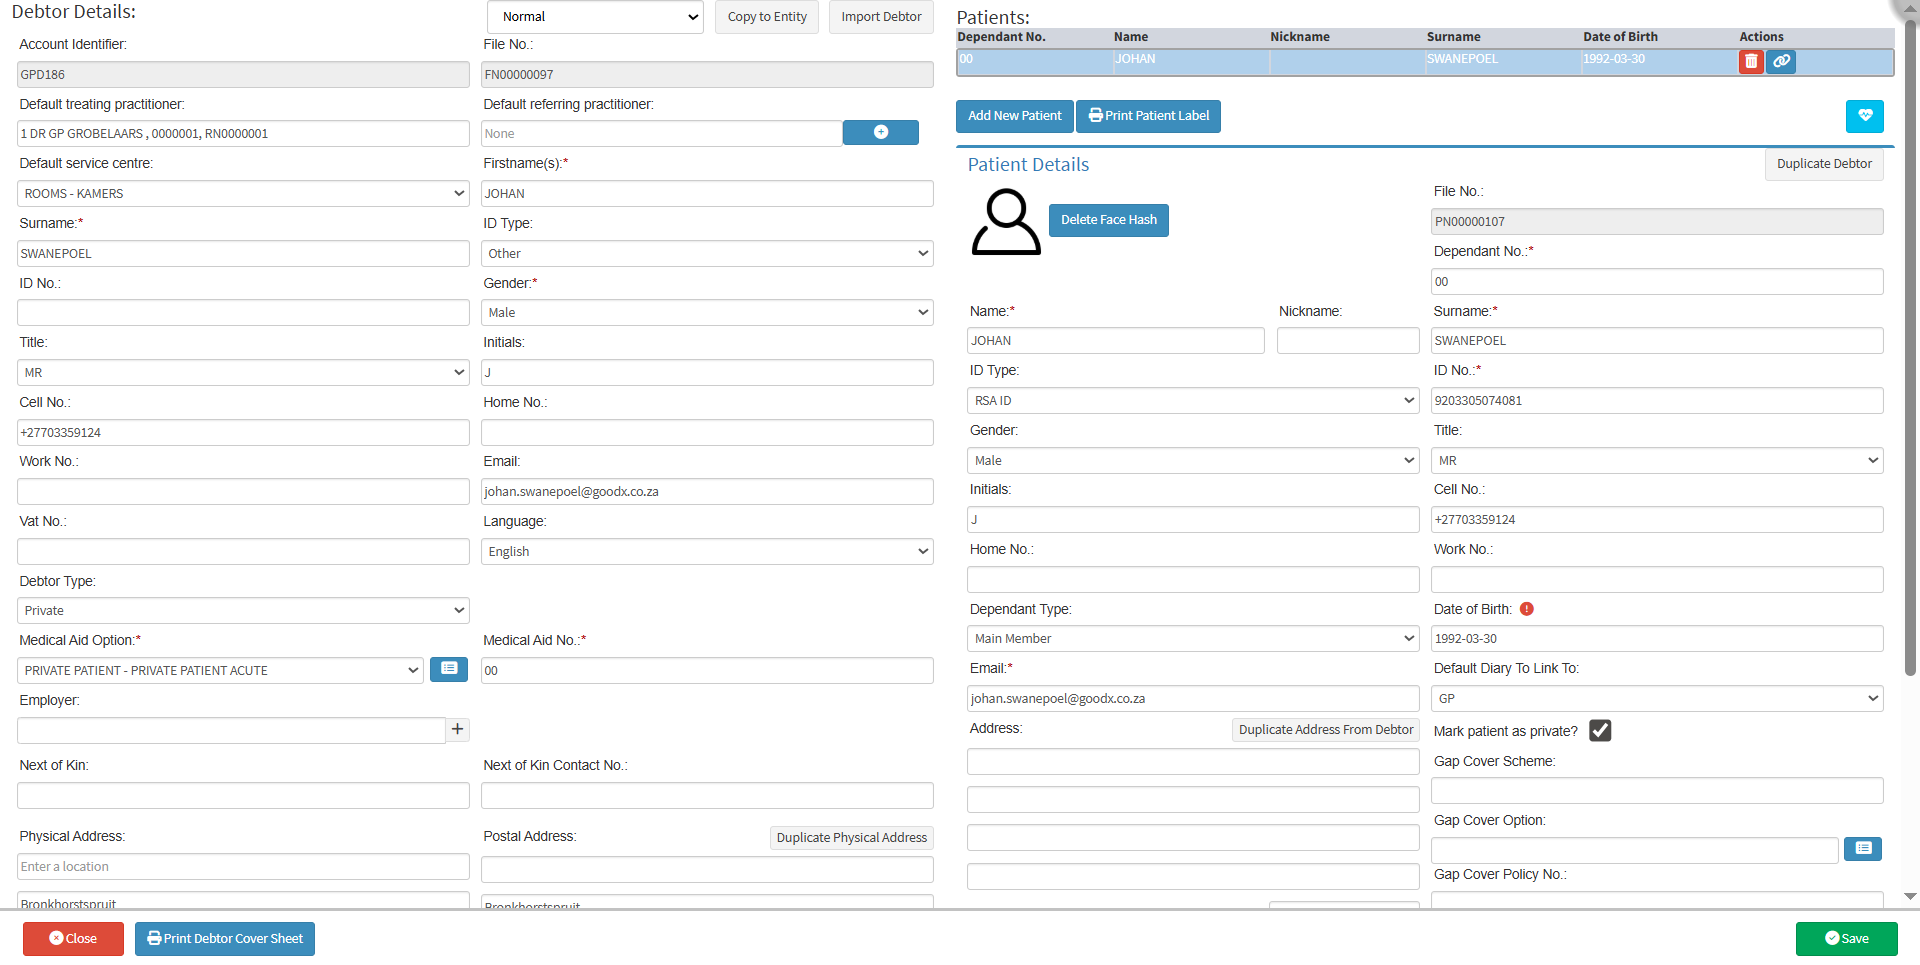
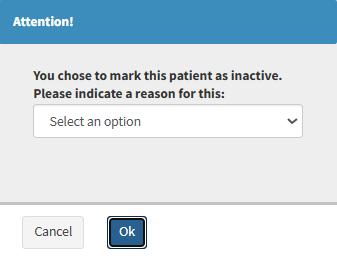
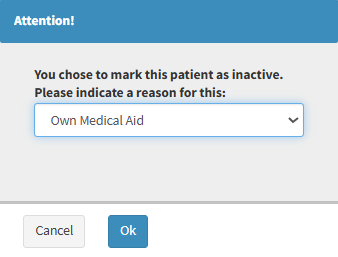
Marking a Patient as Inactive on a file means they are no longer linked to that file. This could be due to reasons such as death, switching to independent medical aid, or a change in marital status (e.g., divorce). Setting this status helps ensure the Patient isn’t billed incorrectly and no longer has access to information they’re not authorised to receive.


  • This user manual will start on the Debtors screen.


  • Click on the Search Bar.


  • Enter the name of the relevant Debtor you wish to mark as Inactive into the search bar.


  • Click on the correct Debtor from the list of Debtors that appear.


    • The Debtor sidebar will open.


  • Click on the Debtor Edit button.


    • The Debtor Details screen will open.


    • Select the correct Patient to make Inactive.


    • Click on the Trashcan button.


      • An Attention! Pop-up will appear.


    • Click on the Select an Option drop-down menu.


    • Select the reason why you would like to make the Patient Inactive.


    • Click the OK button to save the changes made.


      • The Patient will now show as Inactive on the Debtor's file.


    Last modified: Thursday, 14 August 2025, 9:26 AM