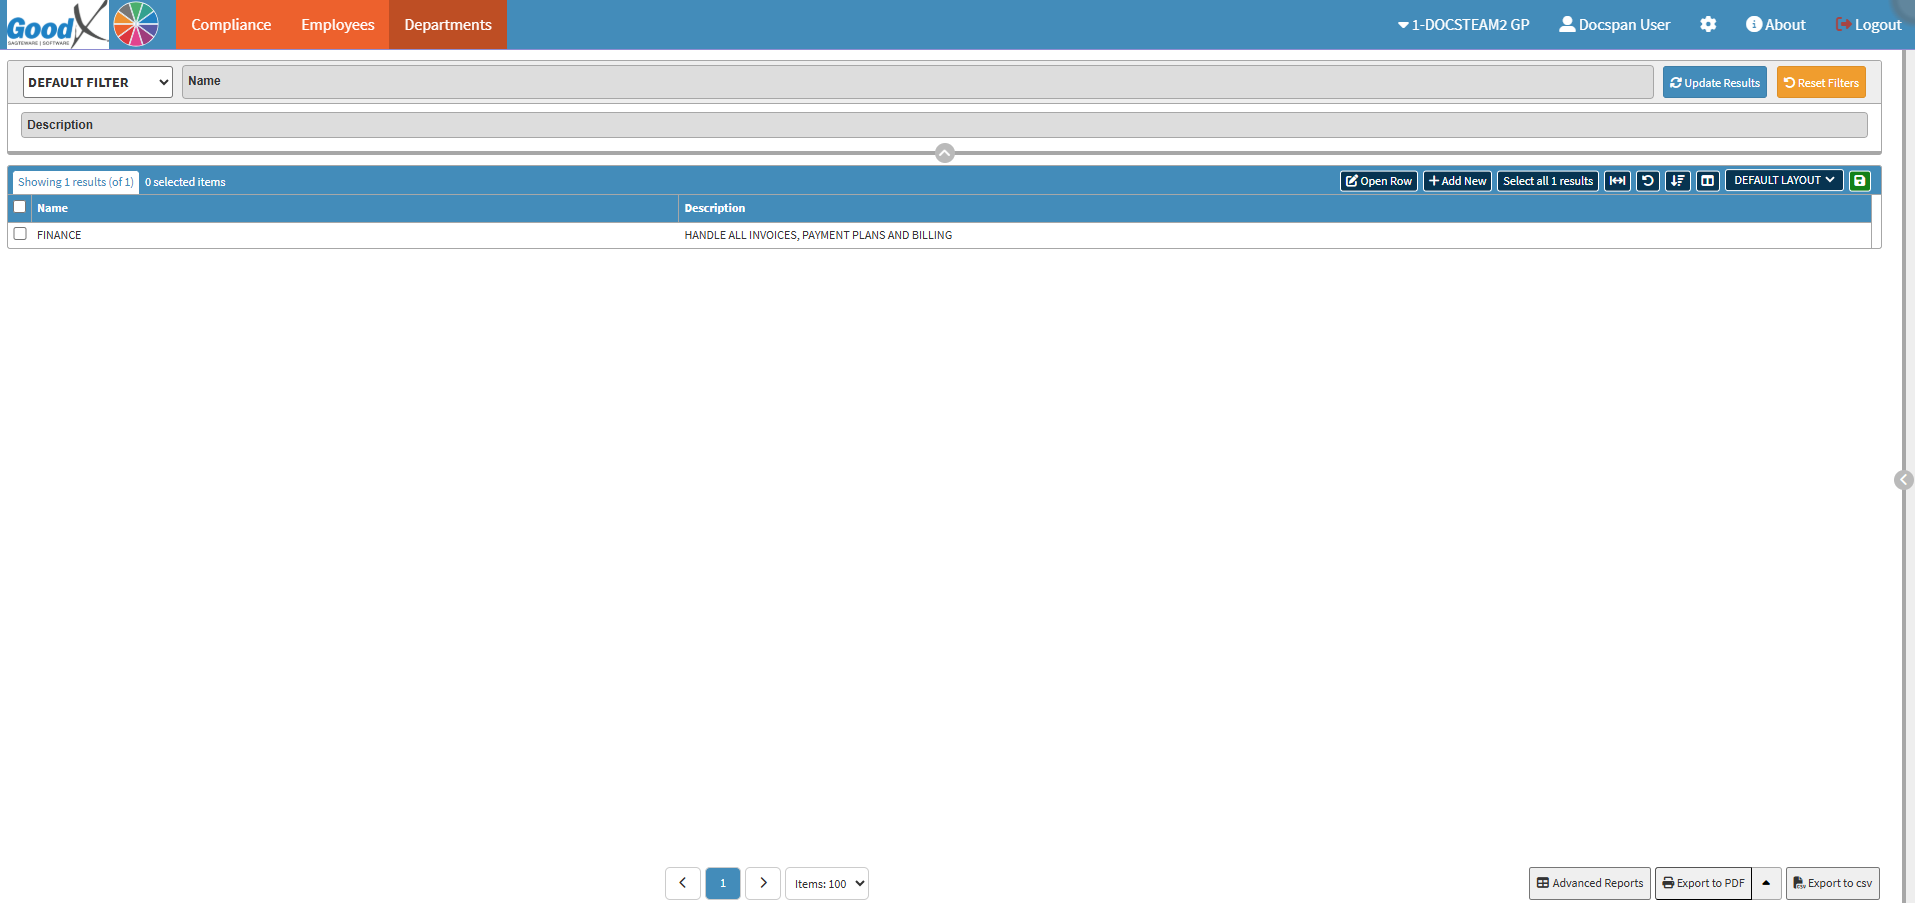
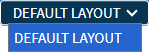
The Departments tab is utilised to organise and manage the various operational units within the Practice. By using this function, the Practitioner can easily filter through existing departments, add new ones, or customise the display layout to suit specific administrative needs. This ensures that the Practice remains structured, allowing for better allocation of resources and clearer oversight of departmental roles and descriptions.
The Contents of This User Manual:
Filters
Screen Columns Action Buttons
Columns
Page Options
This user manual will start on the Departments tab screen.
For more information on how to navigate to the Departments tab screen, please refer to the user manual: Administration Segment.
Filters
Allows you to narrow down or refine the results displayed on the Departments tab.
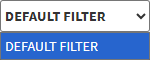
Click on the Default Filter drop-down menu to select how the screen will be filtered.
Click on the Name field to enter the name of the Department you wish to filter on.
Click on the Description field to enter the description of the Department you wish to filter on.
Click on the Update Results button to refresh the results.
Click on the Reset Filters button to erase all the filters inserted.
Screen Columns Action Button
Several additional Options are available for the Columns. These additional Options are to help you adjust the List, refine the search, and give more specific results.
Click on the Open Row button to edit an added Department.
Click on the Add New button to add a New Department.
For a comprehensive explanation of How to Add/Edit a Department, please refer to the user manual: How to Add/Edit a Department.
Click on the Select All Results button to select all the Departments.
Click on the Expand Widths button to auto-fit the column width to the information within all columns.
Click on the Reset Widths button to restore the original Widths after any modifications are made.
Click on the Sort Columns button to sort the Columns in the order that you desire.
All the information on the Departments screen is divided into Columns to logically group related information together.
Name: The Department's Name.
Description: A short description of what the department is for and what it does.
Page Options
All the additional options that are available for the page.
Click on the Previous button to navigate to the previous page.
Click on the Page Number button to navigate to the desired page.
Click on the Next button to navigate to the next page.
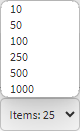
Click on the Items drop-down menu to select the number of items that will be displayed on the screen.
Click on the Export to PDF button to save a PDF file of all the data as a comprehensive report.
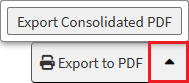
Click on the Export to PDF drop-up menu to access the Export Consolidated PDF option that allows you to generate a single document that combines all the data from multiple sources to provide an overview.
Click on the Export to CSV button to save the Report in a CSV format.
Last modified: Wednesday, 14 October 2026, 2:24 PM