The Estimates tab offers a comprehensive overview of all Estimates associated with a Patient's Case. It also allows you to perform various actions directly from the Case Account, such as viewing or editing, downloading, emailing, accepting, and rejecting Estimates.
💡Please Note: Hospital Accounts are linked to each specific Case and not the overall Account of the Debtor/Patient. Each Case is billed separately.
The Contents of This User Manual:
Filters
Columns
Invoice Lines
Actions
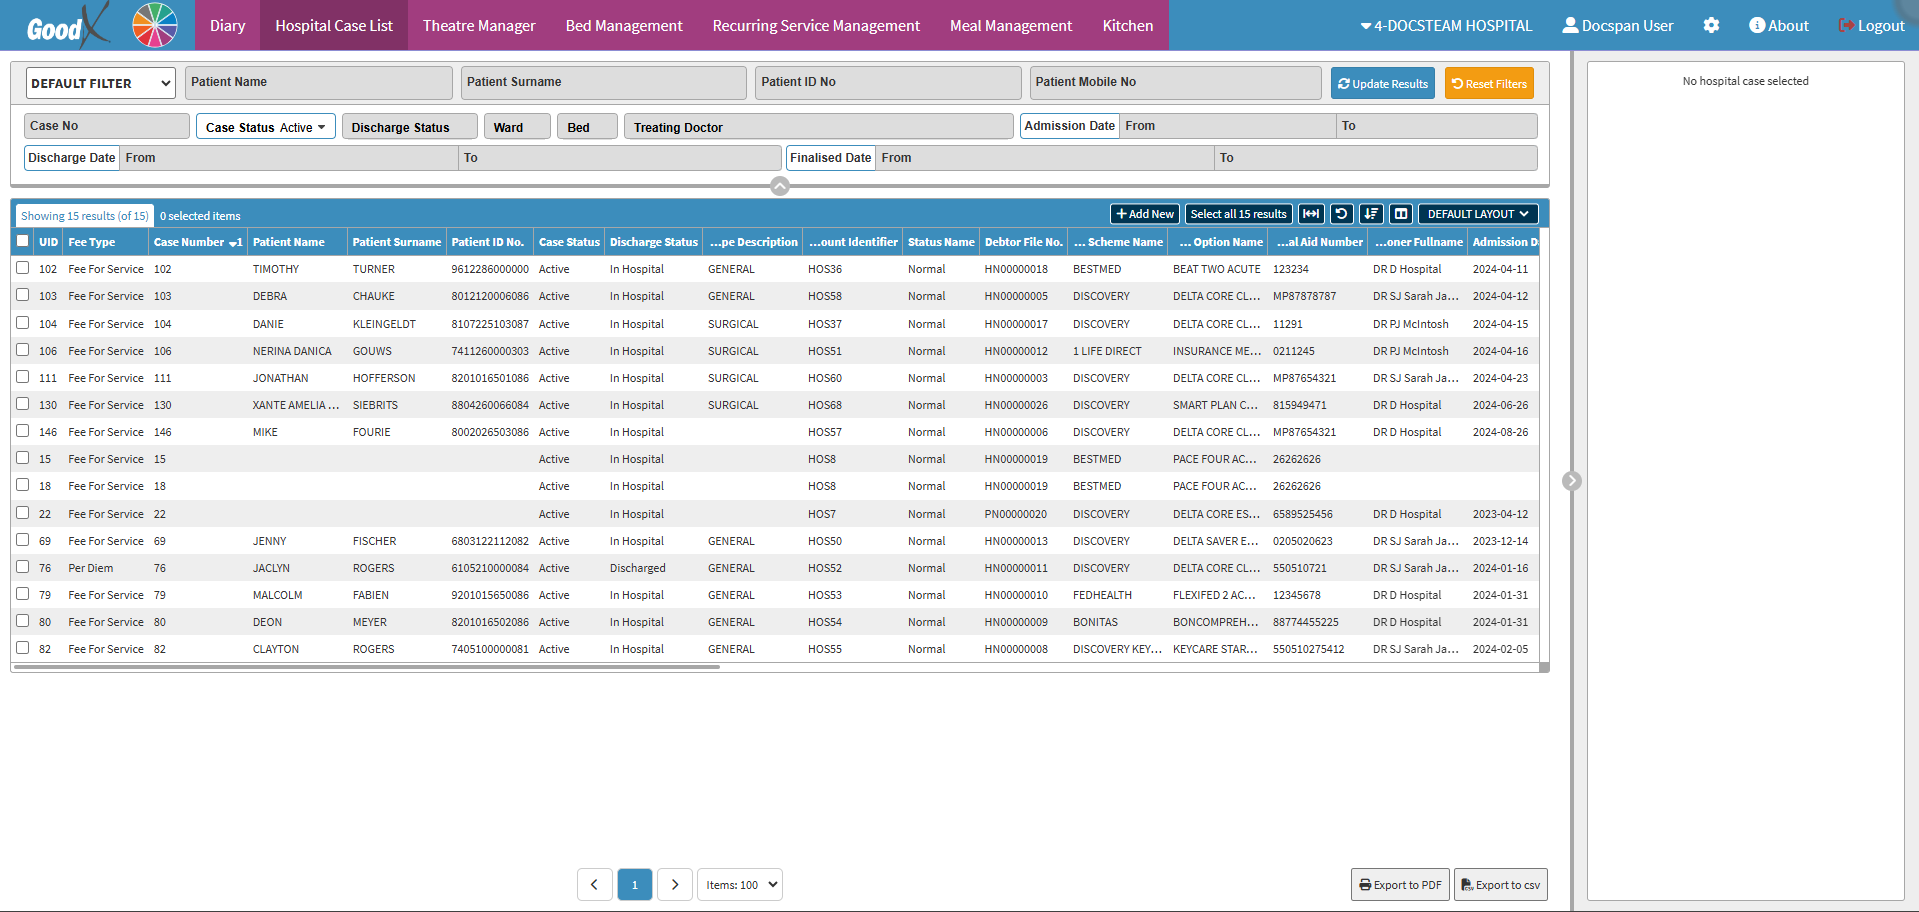
This user manual will start on the Hospital Case List screen.
Click on the Case of which you want to view the Case Account.
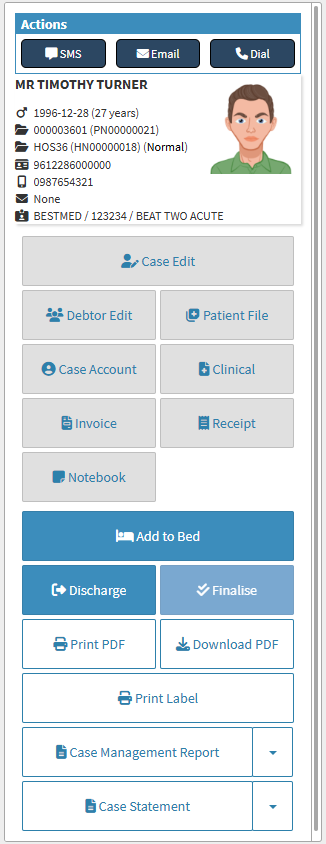
The Hospital Case List sidebar will open.
Click on the Case Account button to access the Account Information of the Case.
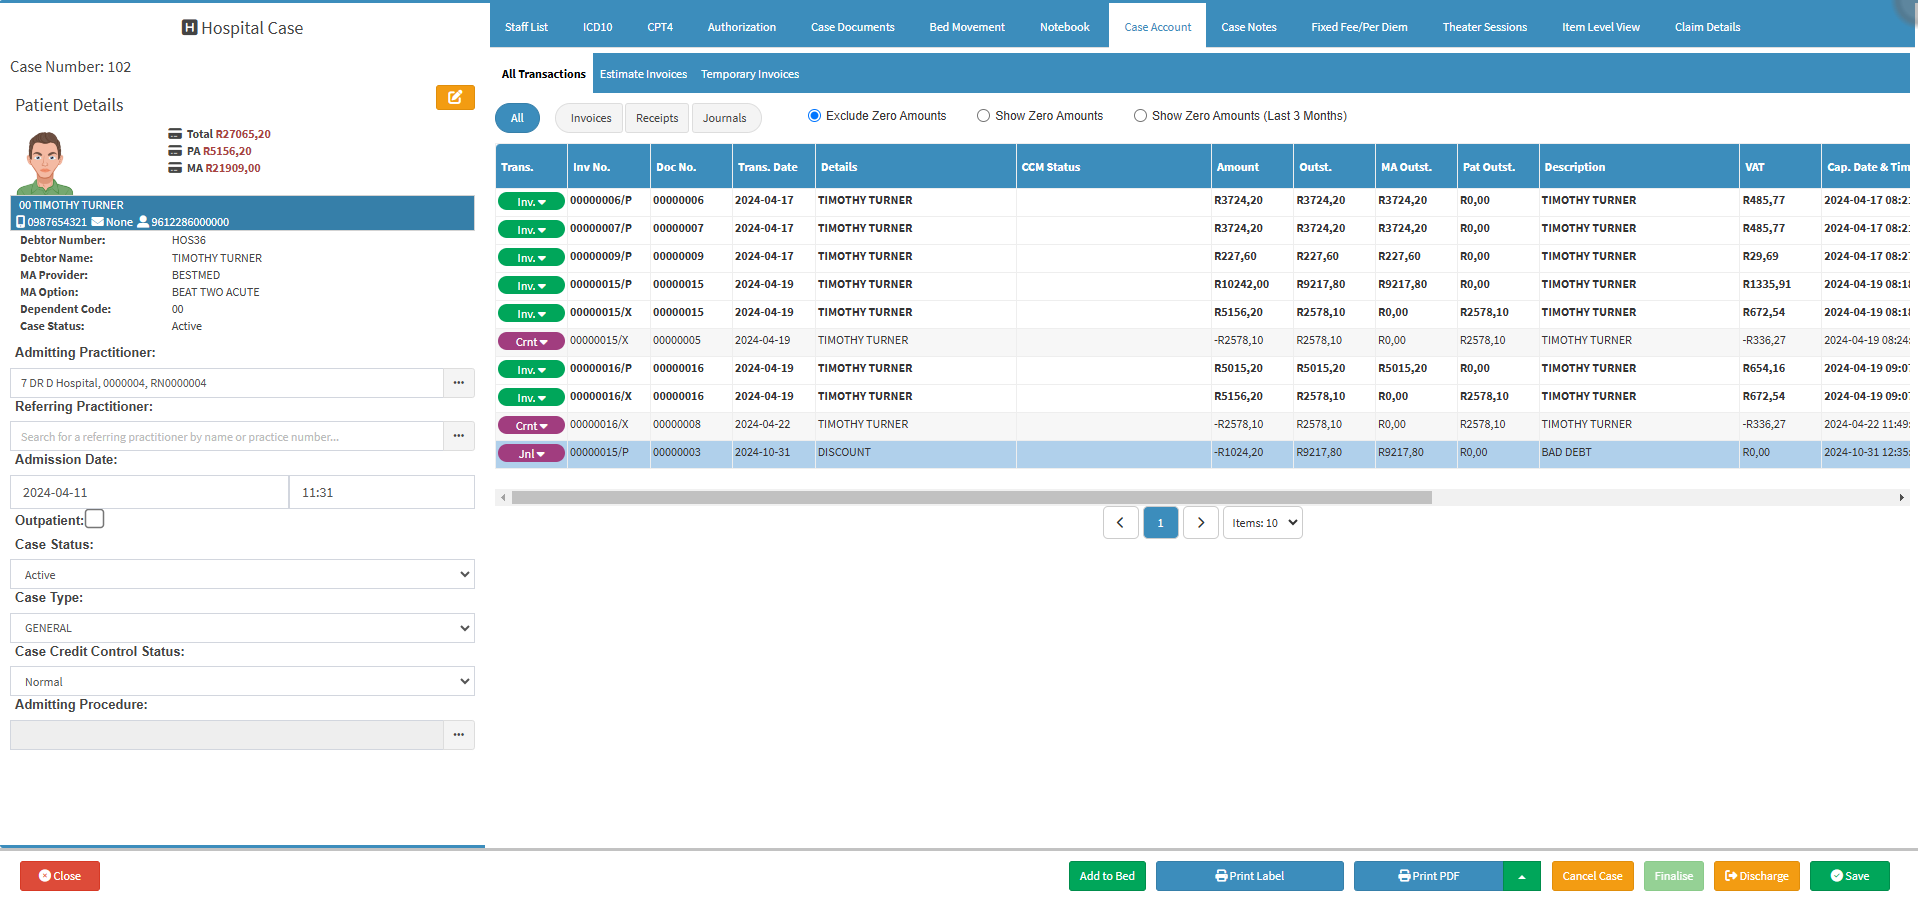
The Case Account screen will open.
Click on the Estimate Invoices tab.
The Estimate Invoices screen will open.
Filters
Allows you to narrow down or refine the results displayed on the Case Account - Estimates tab.
Click on the desired checkbox to include/exclude certain data from the result:
Pending: Estimates that have been created and saved in the system but have not yet been approved, finalised, or actioned and still in the process of being completed.
Billed: The Patient has been billed for the procedures as set out in the Estimate.
Accepted: The Patient has approved the codes and cost of the Estimate.
Rejected: The Patient has declined the Estimate.
Columns
All the information on the Estimate Invoices screen is divided into Columns to logically group related information together.
Estimate Number: The unique system-generated number that has been allocated to the Estimate.
Estimate Date: The Date (yyyy-mm-dd) the Estimate Invoice was created.
Name: The name/description allocated to the Estimate Invoice.
Status: The current stage within the billing process that the Estmate is in.
Debtor Number: The number of the Hospital Case linked to the Estimate Invoice.
Patient Name: The Patient who the Estimate is for.
Total: The total amount of the Estimate Invoice.
View Estimate: Opens the Invoice and allows for changes to be made.
Click on the View Estimate button to view the Estimate and make changes.
Merge Files: Allows you to select several Estimates and merge them into one file.
Click on the Select All Files to Merge Into One File check box.
More Actions will become available.
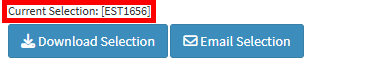
All the files that were selected will be displayed above the Action buttons.
Click on the Download Selection button to download all the selected Estimates as one file.
Click on the Email Selection button to send the merged files to the desired recipients via email.
For more information regarding how to Send an Email, please refer to the user manual: Send an Email.
Double-click on the Estimate.
More Options will become available.
Invoice Lines
Shows all line items that were added to the Estimate.
The Invoice Lines will be divided into columns:
#: The Invoice line number.
Code: The Billing Code.
Description: A detailed explanation or name of the item.
Diagnosis: The ICD10 code and name linked to the Invoice Line.
Qty: The number of the specific item that was added to the Estimate.
Invoice Amount: The total price of the item/procedure in this specific line.
Actions
Makes multiple actions available for the Estimate.
Click on the Actions tab.
Click on the Download Estimatebutton to save a copy of the Invoice to your device.
Click on the View/Edit Invoice button to open the Invoice so that changes can be made to the Estimate.
Click on the Email Estimate button to send this Invoice to the desired recipient.
For more information regarding how to send an email, please refer to the user manual: Send an Email.
Click on the Switch Actions button to be directed to the Switch Details screen.
For more information on the Switch Details screen, please refer to the user manual: WA: Switch Response.