The purpose of the Discharge patient from bed function is there for when a patient is healthy and ready to go home, when a patient is deceased and need to be discharged from the bed or when the patient needs to be transferred to another hospital.
Log into the GoodX Web App with your username and password.
There are two options to Discharge a patient from a bed.
Discharge patient from Case Management screen.
Discharge patient from Bed Management screen.
Discharge patient from Case Management screen:
From the menu bar click on Hospital.
From the drop-down, click once on Case Management.
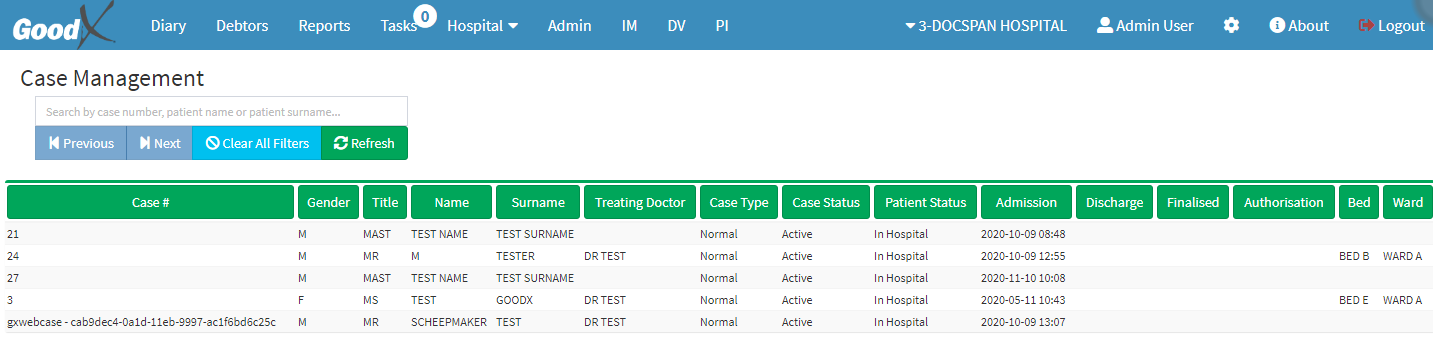
The Case Management screen will appear.
Double click on the patient to be discharged.
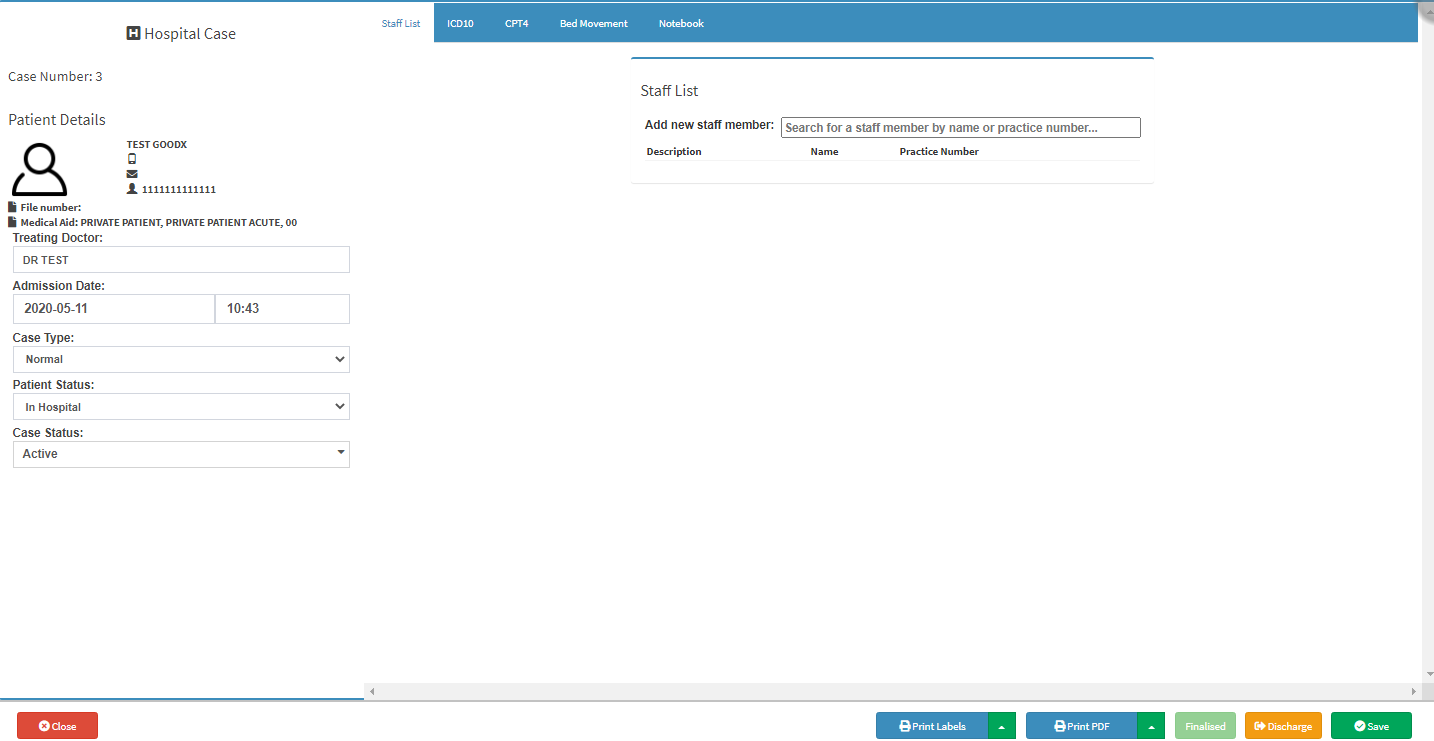
The Hospital Case screen will appear.
Click on the Discharge button to discharge the patient.
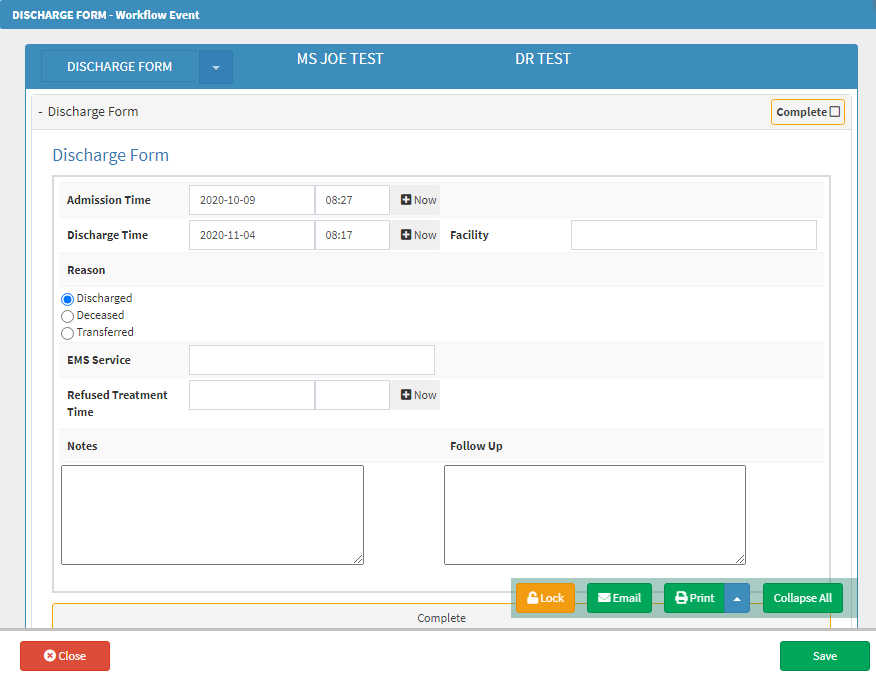
The Discharge form will appear.
Complete the following information:
Admission Time: The date and time the patient was admitted will be pulled through from the case information.
Discharge Time: The date and time the patient is being discharged are set by default to the current date and time.
Facility: This is where you can indicate where the patient will be transferred to.
Reason: Why the patient is being discharged.
Discharged: The patient is healthy and ready to go home.
Deceased: The patient passed away.
Transferred: The patient is transferred to another hospital.
EMS Service: Ambulance/medic, this is the person who will collect the patient from the hospital and transfer to another hospital.
Refused Treatment Time: The time that the patient refused to get treated.
Now:When you click on this button, it will put the current date and time is of the specific filed where the now button is eg. Discharge time, refused treatment.
The doctor can make notes of the treatment and instructions for the patient to follow through at home.
A follow-up note can be made to remind the patient that they need to come back to the doctor for a follow-up appointment.
Lock: You are able to lock to form to prevent anybody to work on it.
Email: You can email the form to the patient or to another doctor.
Print: You can print the form, or from the drop-up, you can download the form to be saved on your desktop.
Collapse All: You can collapse or expand the form.
When done, click on the Save buttonto discharge the patient.
Click on the Close button to exit without saving.
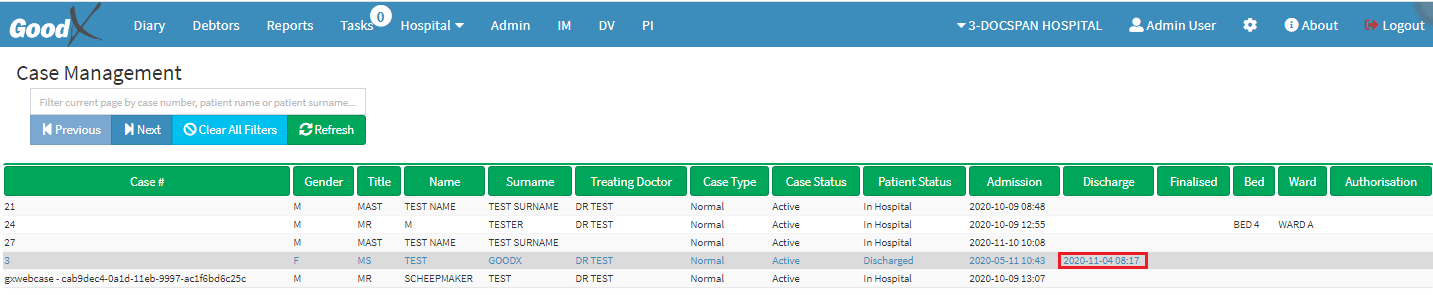
On the Case Management screen, you will see when the patient was discharged.
Discharge patient from Bed Management screen:
From the menu bar click on Hospital.
From the drop-down, click once on Bed Management.
The Bed Management screen will appear.
From the patient file, in the top right corner, click on the information button.
The Hospital case screen will appear for both options.
In the bottom right corner, click on the Discharge button.
Follow the information of the discharge form from the Discharge patient from the Case Management screen at the top of the user manual.