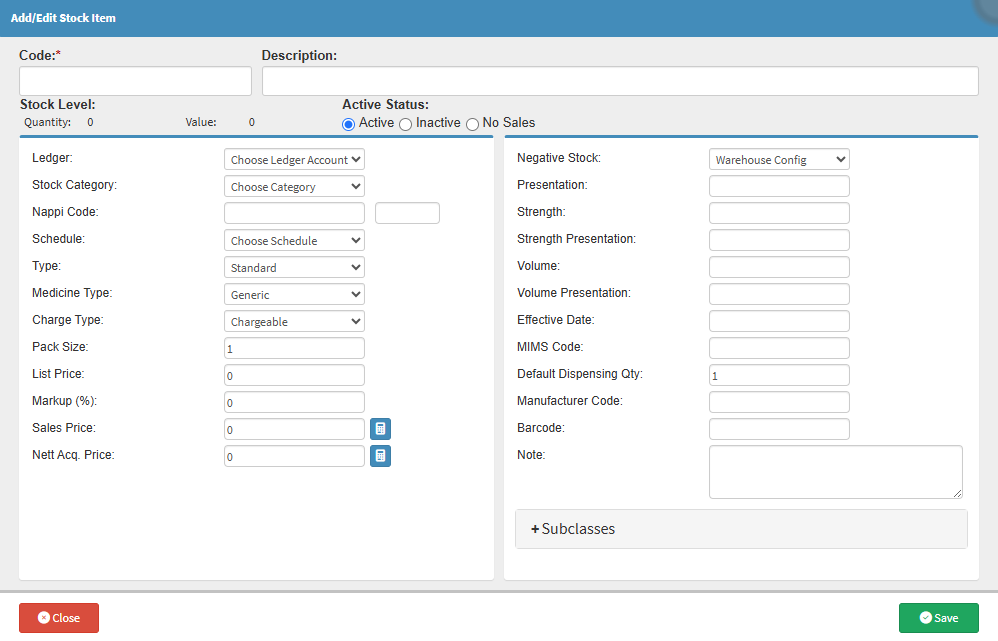
Adding a new stock Item lets you add inventory items to the system. This is particularly useful for items used in the practice that are not managed or maintained by IQest or Medprax.
💡Please Note:When using IQest or Medprax, you must contact the respective provider to add a new item to their list. IQest or Medprax will then reach out to the supplier to obtain the correct information. Once the item details are acquired, their records will be updated, and the updated file with the new item as requested will be sent.
If an item is not included in the stock file, this item will not be automatically updated. You will be responsible for maintaining and updating the information for that item manually on a regular basis.
The Contents of This User Manual:
Stock Level
Active Status
Stock Item Information
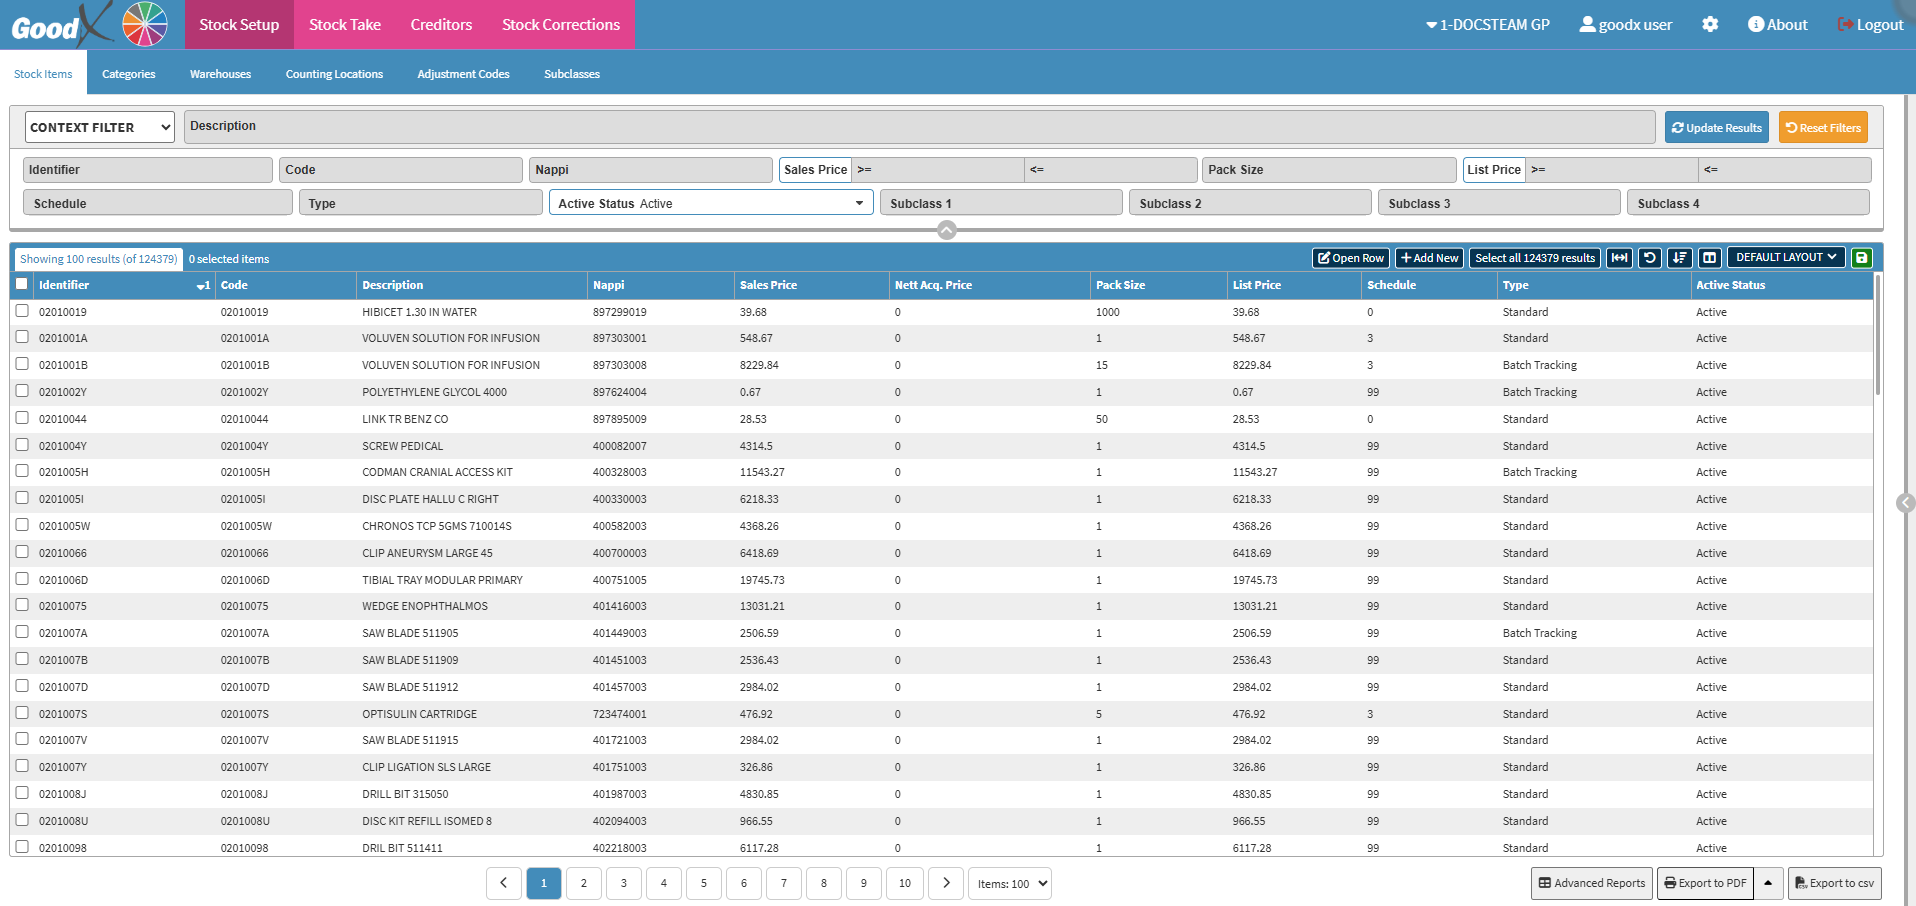
This user manual will start on the Stock Setup screen, Stock Items tab.
Click on the Code field to enter a unique identifier for your stock item.
Click on the Description field to enter a name for your item.
Stock Level
Indicates the quantity of stock that you have in your practice.
The Quantity field displays the current stock balance for your specific item and remains read-only to prevent unauthorised manual alterations to your inventory levels.
The Value field displays the total monetary value of your current stock balance for your specific item and is read-only to ensure accurate asset reporting.
Active Status
Indicates the item's current status.
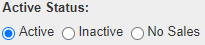
Click on the appropriate radio button to make a selection:
Active: The stock item is active and can be used on the patient, billed (sales) and received (purchases). This stock item can be adjusted.
Inactive: Items that are either no longer used, relevant to the practice, or have been discontinued. For details, see How to Make a Stock Item Inactive.
No Sales: An item that is active but cannot be sold. Stock corrections and stock transfers can be done on them.
Stock Item Information
All the information that relates directly to the item being created.
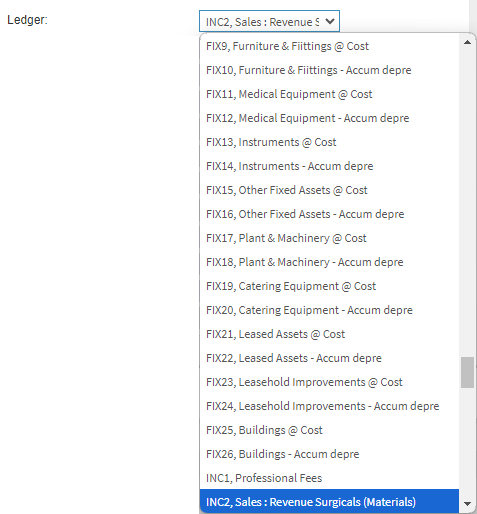
Select the income account from the Ledger drop-down field. (Sales minus VAT if the practice is registered for VAT).
💡Please Note: GoodX has a default Ledger structure that is automatically applied, but can be amended to suit your practice's needs.
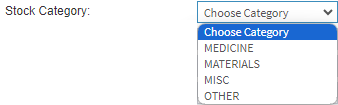
Select the relevant category from the Stock Category drop-down field.
💡Please Note: The categories on the list are dependent on the categories that have been set up at the practice. For details, see How to Create New Stock Categories.
Enter the unique NAPPI code in the NAPPI Code field to enable electronic data interchange for medical products and consumables.
💡Please Note: Enter the last three digits into the second field to indicate the specific pack size. For items without a NAPPI code, such as non-stock items or consumables, use the placeholder code 999999 999 to identify them.
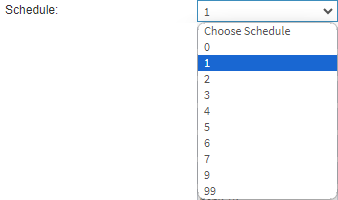
Select the relevant schedule from the Schedule drop-down field.
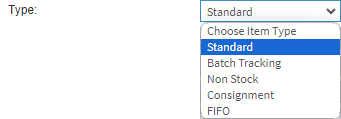
Select the relevant item type from the Type drop-down field.
Standard: Regular Item.
Batch Tracking: A Batch tracks a specific group of item units. Practices utilising a stock system source their stock from suppliers. Manufacturers assign a Lot Number or Batch Number to each batch or box of an item. This ensures that all items in that batch share the same ingredients and packaging.
Non-Stock: These are products that are bought and sold but not kept track of. Non-stock items appear in the customer process (on Invoices or Credit Notes). The non-stock will be posted directly to an expense account.
Consignment: Stock of a third-party retailer. The wholesaler retains ownership until the product is sold.
FIFO: First in, first out; items purchased first must be sold first.
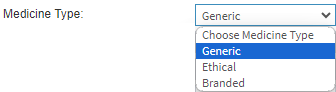
Click the Medicine Type drop-down menu to select the item type.
💡Please Note: The Medicine Type field will be discontinued.
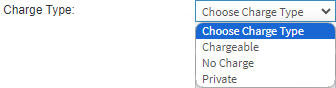
Select an option from the Charge Type drop-down menu to specify how to charge the item.
Chargeable: The item will be charged for.
No Charge: The item will not be charged for. On the Invoice screen, the item will be billed at a value of 0.00.
Private: The items will be billed to the patient's outstanding balance.
Click the Pack Size field to enter the number indicating the amount of product in a pack or container.
Click on the List Price field to enter therecommended sales price as determined by Medprax or IQuest.
Click on the Markup (%) field to enter a percentage amount that is added to the list price to add profit to an item.
Click the Sales Price field to enter the price to be charged to the patient's account per item.
Click on the Calculator button to automatically calculate the Sales Price. The calculation is: List Price + Markup % = Sales Price per unit/pack.
Click on the Nett Acq. Price field to add the relevant data. This is only applicable to Hospitals.
Click on the Calculator button to automatically calculate the Nett Acq. Price.
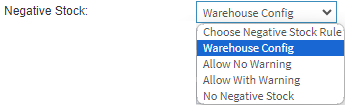
Click on the Negative Stock drop-down menu to indicate how negative stock will be treated.
Warehouse Config: Uses the setup defined in the warehouse configuration. All items will default to this option.
Allow No Warning Allows the stock to go into negative levels without advising you.
Allow With Warning: Allows the stock to go into negative levels, with a warning indicating that the stock is negative.
No Negative Stock: Stock levels are not allowed to go into a negative at all.
💡Please Note: This can be set up if you would like the stock of the specific item to go into a negative count. This will ignore and override the warehouse configuration.
Click on the Presentation field to enter what the item presents as. For example: tablets, syrup or ampules.
Click on the Strength field to enter the strength of the item.For example: 500mg tablets.
Click the Strength Presentation field to enter the combination of the medication's strength and its presentation, for example, 500 mg tablets or 120 mg/5 ml syrup.
Click on the Volume field to enter the total amount of liquid in which the active ingredient is dissolved or suspended, for example, a 100 ml bottle of cough syrup.
Click the Volume Presentation field to enter the description of the medication's volume in its dispensed form, for example, a 100 ml bottle or a 30 ml vial for injection.
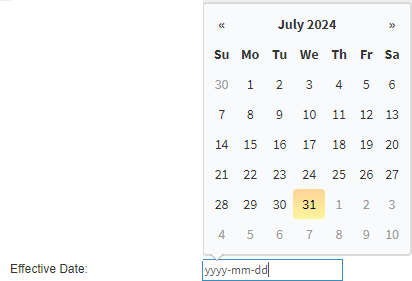
Click on the Effective Date field to select the date from the date picker that becomes available to indicate the date on which the item has been discontinued or the date from which the information is relevant.
Click on the MIMS Code field to enter the unique code given to the item by the Medical Information Management System(MIMS) to identify the item.
Click on the Default Dispensing Quantity field to indicate the number of items that will be dispensed by default.
Click the Manufacturer Code field to enter the unique code the manufacturer assigned to the item.
Click on the Barcode field to enter the barcode number provided by the manufacturer on the item. This barcode can be used with a point-of-sale system to scan the item, allowing for efficient selling or billing processes.
Click on the Note field to add any relevant notes regarding the stock item.