Adds a note to a specific tooth, these notes will be available on the Tooth History after it has been saved.
The contents of this User Manual will consist of the following information:
Add Note
Add Image
Add Text
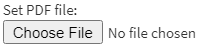
Set PDF file (Upload)
Close and Save
Log in to the GoodX WebApp using your GoodX username and password.
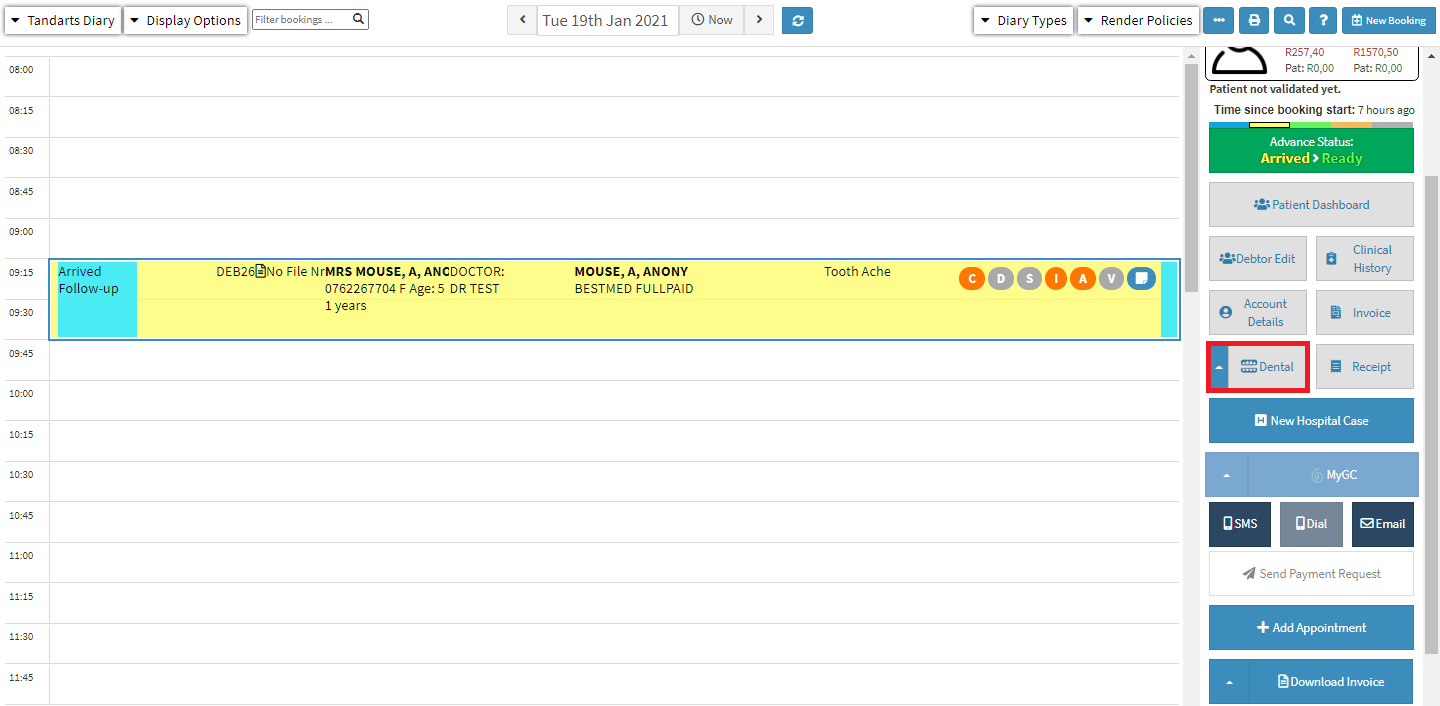
On the main diary screen, select the patient who is being treated.
On the side panel, Click on Dental.
The Diagnosis/Observations screen will open.
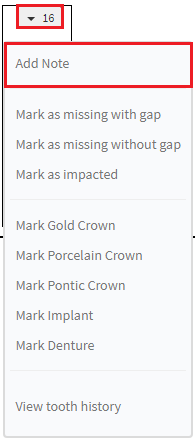
Add Note
Click on the drop-down of the tooth, that notes need to be added to.
Click on Add Note on the drop-down menu.
The Quick Note screen will appear.
Please Note: For an extensive explanation of all the options available on the Quick Notes worksscreen please see the user manual:How to Make Quick Notes
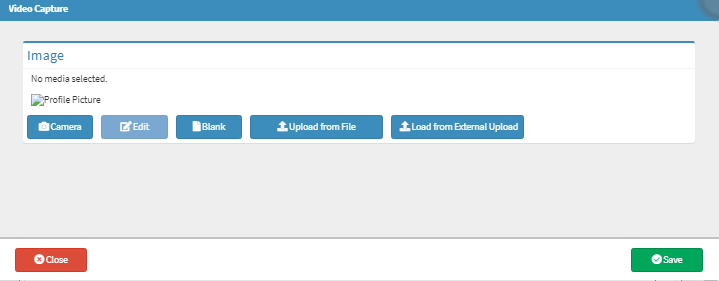
Add image
Click on the Add Image button, this will allow for an image to be added, such as x-rays to the note.
The Video Capture screen will open.
Camera: This uses the computer's camera or any other camera that has been set up on the user's computer to take a video/image.
Click on Camera to take a picture.
Blank: Allows for a user to draw images and make notes on the drawn images to add to the notes
Click onBlank to draw an image on a blank page.
Upload from File: This allows a user to access their computer to select an image.
Click on Upload from file, to access the files stored on the users computer.
Load from External Upload: A file can be uploaded directly from a mobile device.
Click on Load from External Upload, to use an external device to upload images.