Timeslot history is a function where a user can view the historical record and all the changes that have taken place on a specific timeslot.
- The contents of this User Manual will consist of the following information:
- Sign in to the GoodX Desktop using your GoodX username and password.
- From the Navigator Double Click on the Diary Module.

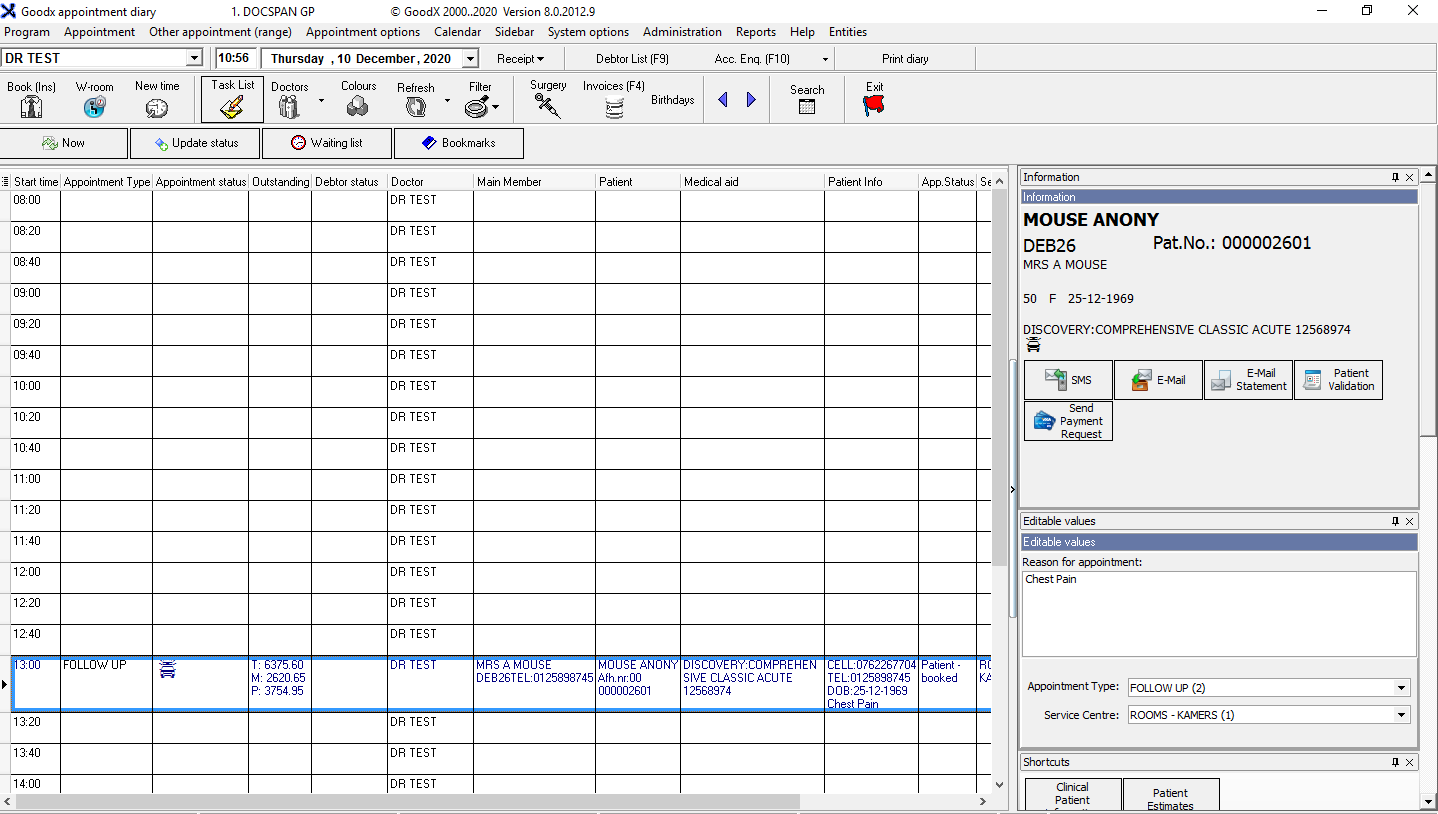
The Diary screen will open.
View
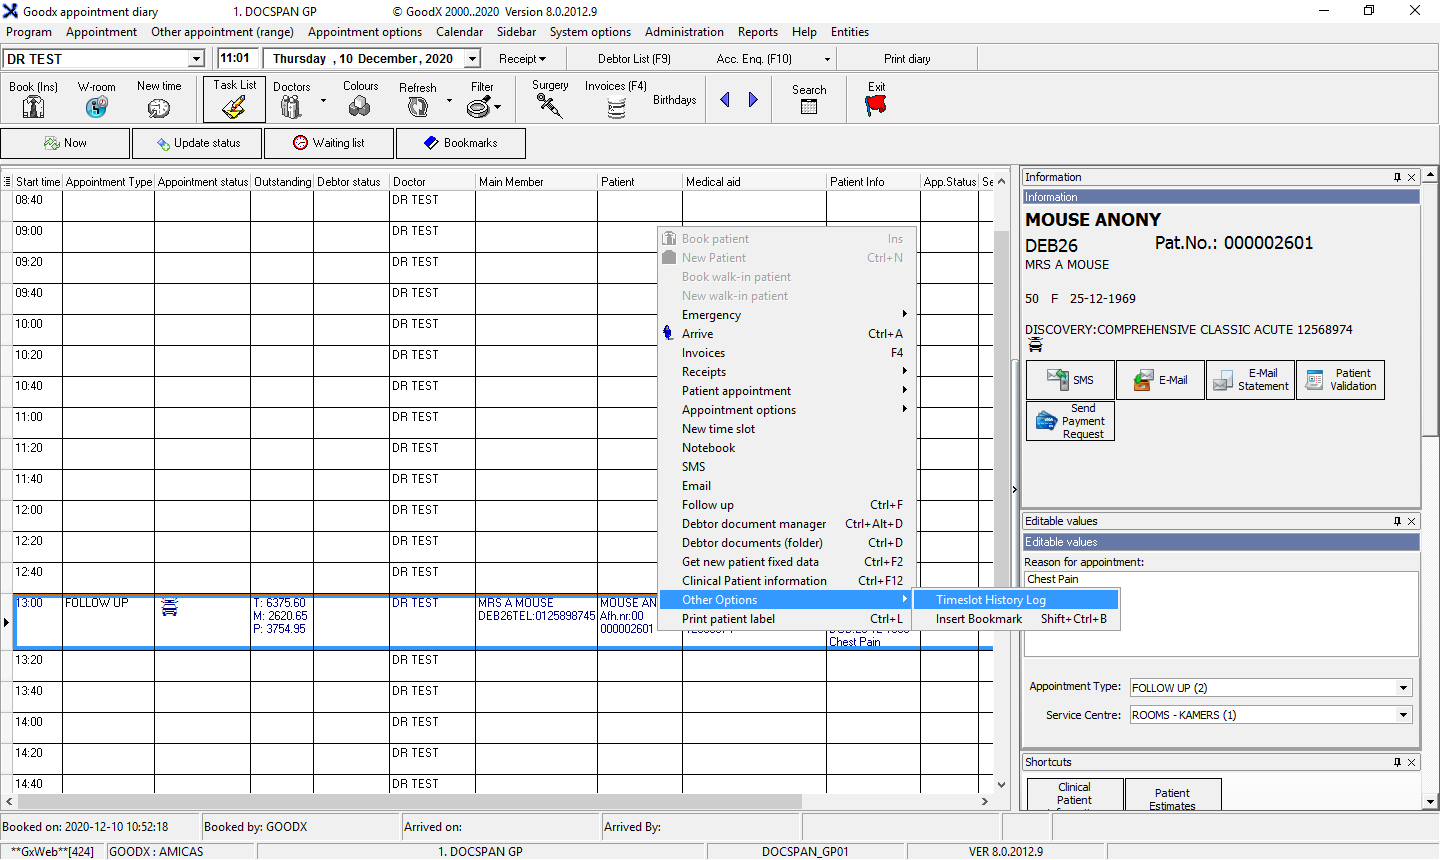
- Right Click on the specific timeslot of which the history would like to be seen.
- Click on Other options from the drop-down menu.
- Click on Timeslot History Log from the submenu.
- The Log Fixed Data Change screen will open.
- This is where the history of the specific time slot can be seen.
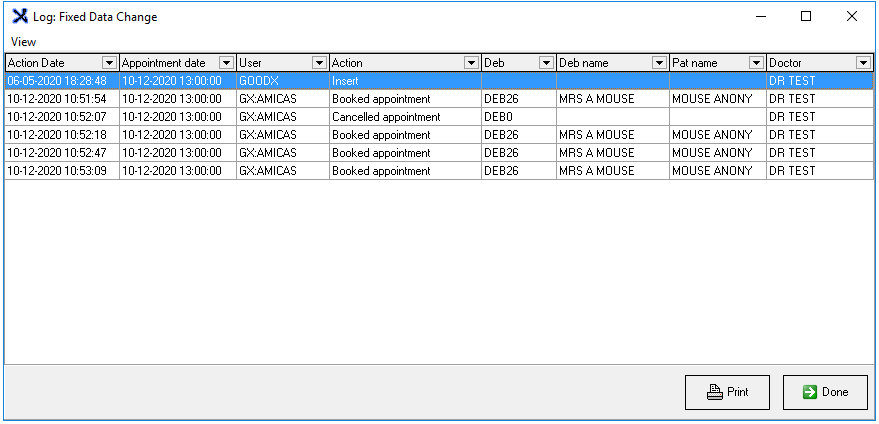
- The columns provide information about the following:
- Action Date: Date and Time when the changes were made.
- Appointment Date: The date that the patient visited the practice or when the appointment was booked for.
- User: The person who was responsible for making the booking or making any changes to the booking.
- Action: All the changes that were made to the booking.
- Deb: The debtors' account number.
- Deb name: The name of the Debtor, the person who is responsible for the account.
- Pat Name: The name of the patient for who the booking was made.
- Doctor: The treating doctor name.
- Click on View on the menubar to change the way the list is viewed by selecting an option from the menu.

- Expanded: Expands the view of the list.
- Collapsed: Shrinks the view after it has been expanded.
Print
- Click on Print, to print the history log of the specific timeslot.

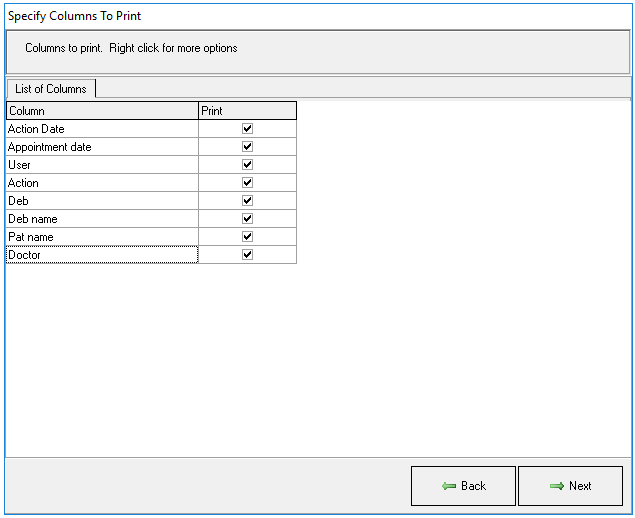
- The Specify Columns To Print screen will open.
- Check the boxes of the columns that would like to be printed.
- Click on Next when satisfied with the selection that has been made.
- A preview of the report will show on the screen.
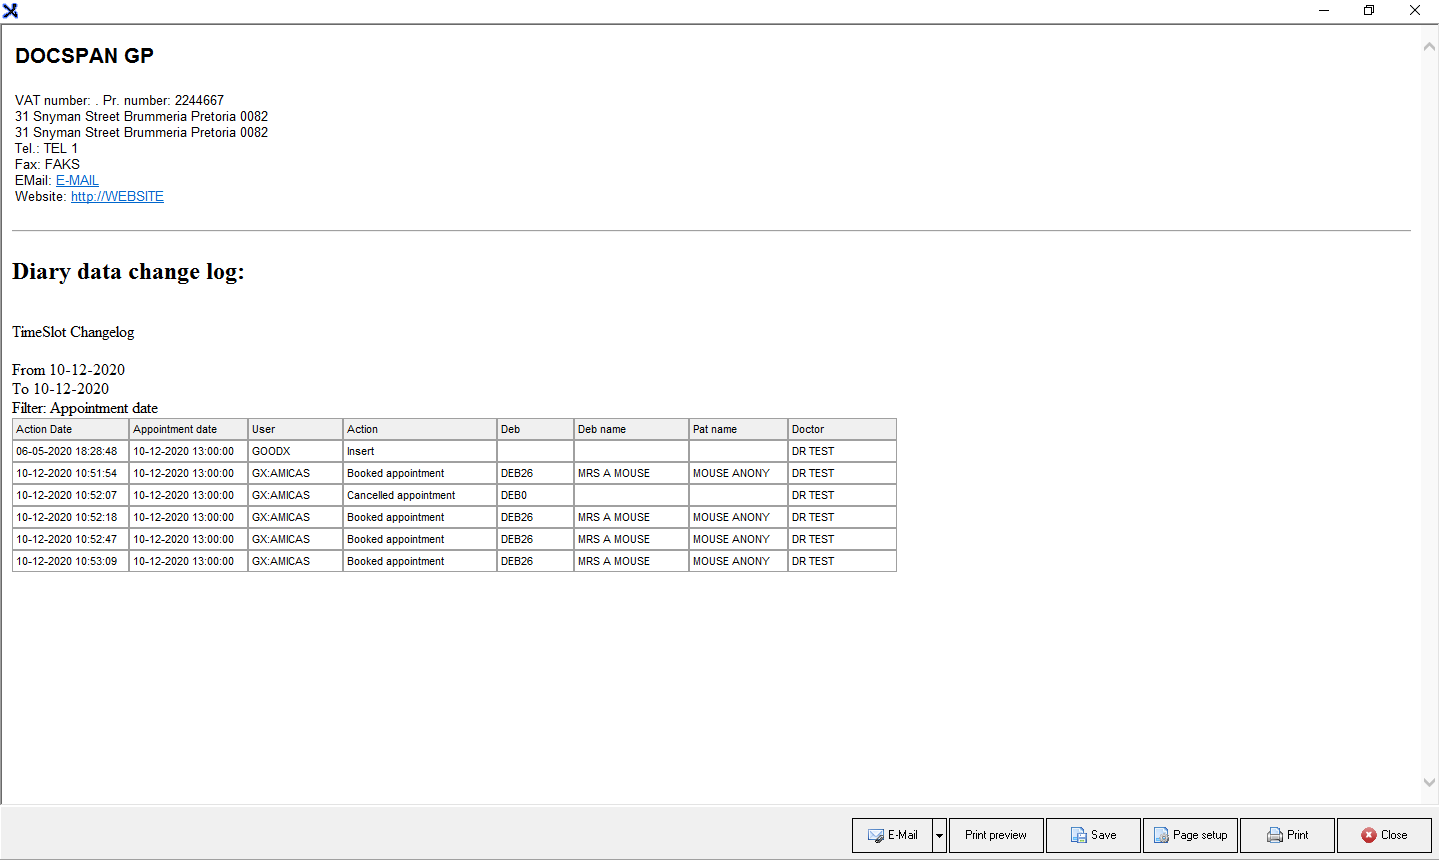
- The following options will be available for the report:
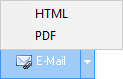
- Email Options: This allows the user to choose how the report is attached.
- HTML: Send the email with an HTML link.
- PDF: Attaches the report in a .pdf format to the email.
- Print Preview: Preview how the list will look when a hard copy is printed.
- Save: Save a digital copy to the computer.
- Page Setup: Opens the page setup screen.
- Print: Prints a hard copy to the Set-up printer.
- Close: Closes the screen and returns to the List screen.
- Click on Done to close the screen and return to the main Diary screen.

Last modified: Monday, 13 April 2026, 11:48 AM