Using standard Consent Forms or Consent Form templates ensures consistency across the Practice by providing a structured and professional approach to obtaining consent. This reduces the risk of important information being omitted, improves compliance with legal and ethical requirements, and ensures that all Patients receive clear and accurate information before treatment.
Consent Forms protect Patient rights, support clear and transparent communication between the Patient and Practitioner, and provide important legal documentation and protection for both Patients and Practitioners.
Consent Form templates streamline the process by allowing the Practice to create, store, and reuse standardised forms efficiently. This saves time, reduces administrative workload, and ensures that the correct documentation is always available when needed. It also improves record-keeping by linking completed Consent Forms directly to the Patient file for easy access and future reference.
The Contents of This User Manual:
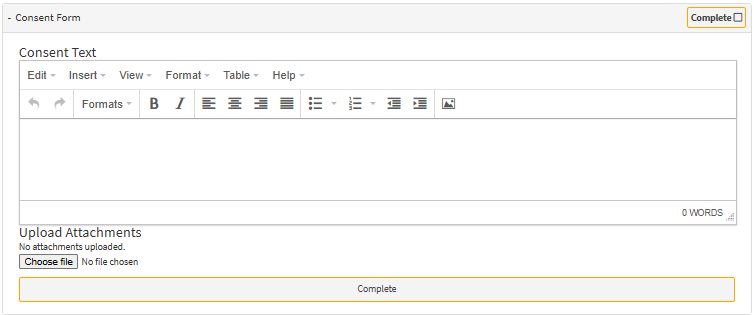
Consent Text
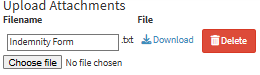
Upload Attachments
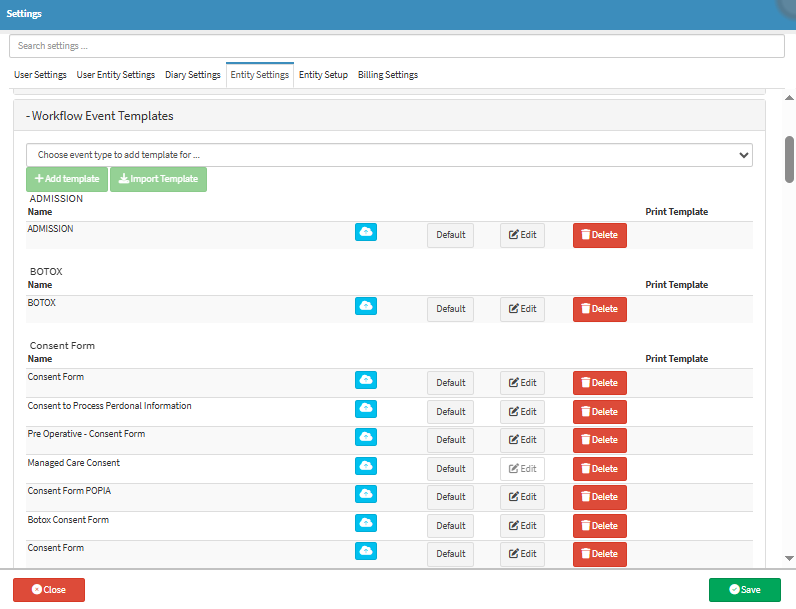
This user manual will start on the Settings screen.