Making Bookings Without an Account allows Patients to quickly and conveniently go through the booking process without first creating a myGC account. Patients can view available Healthcare Practices, check appointment availability, and start scheduling consultations without completing a full registration process through the myGC app.
This provides a simple and user-friendly experience, allowing Patients to explore the system and secure an appointment with minimal delay.
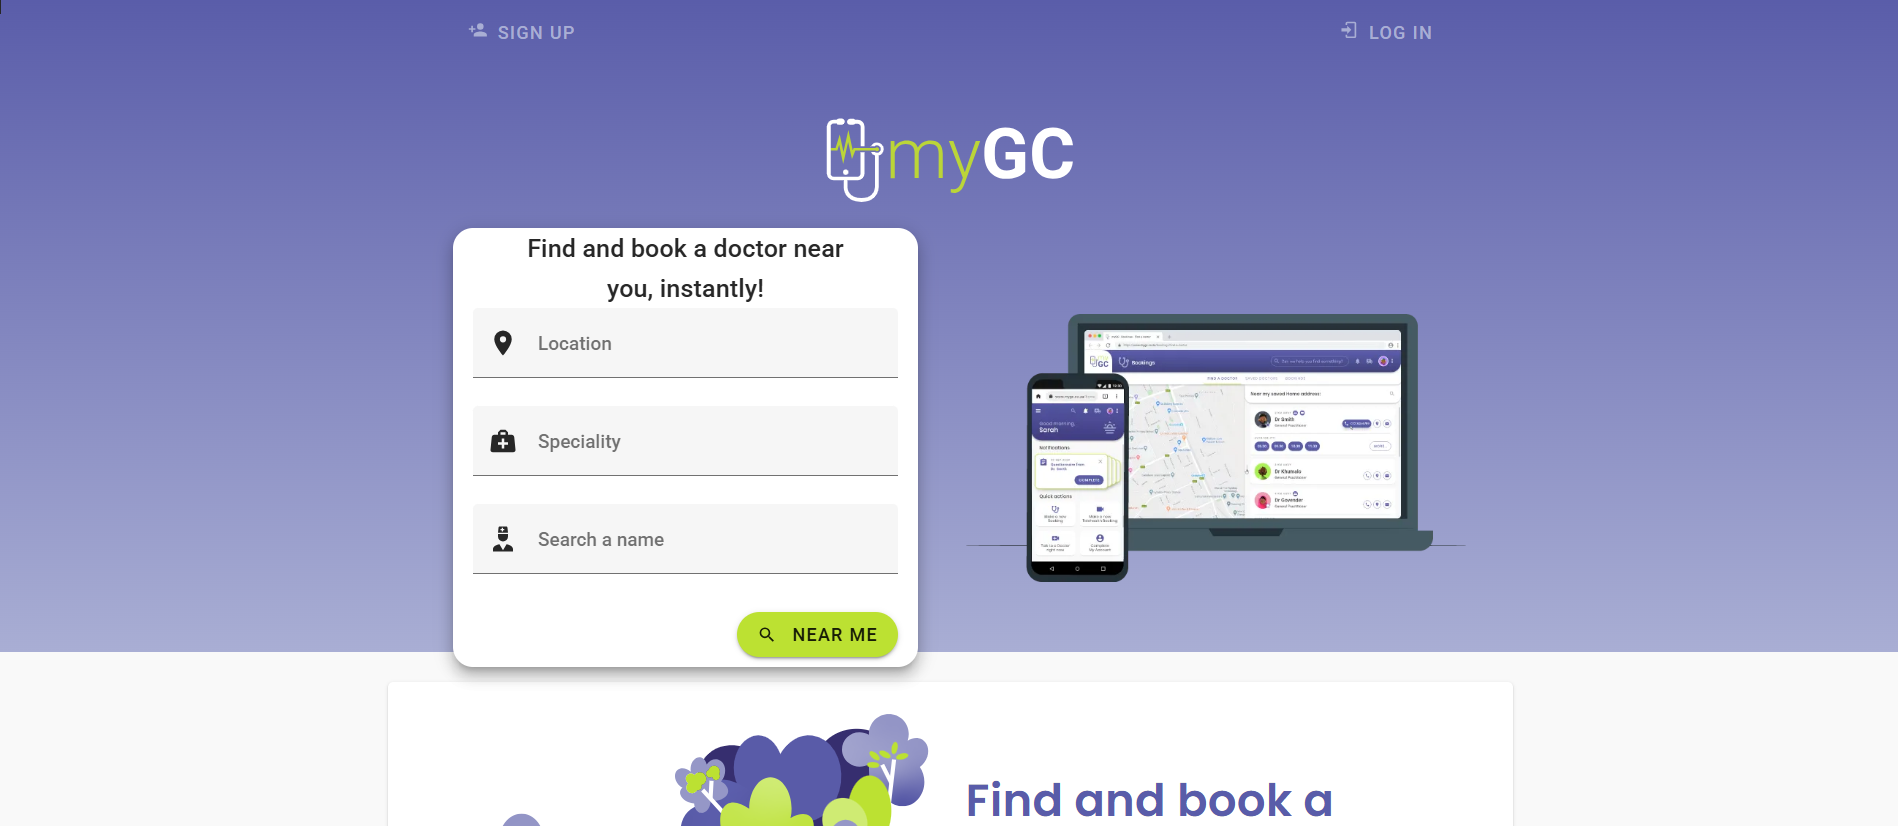
This user manual will start on the Landing page.
Click on the Near Me button.
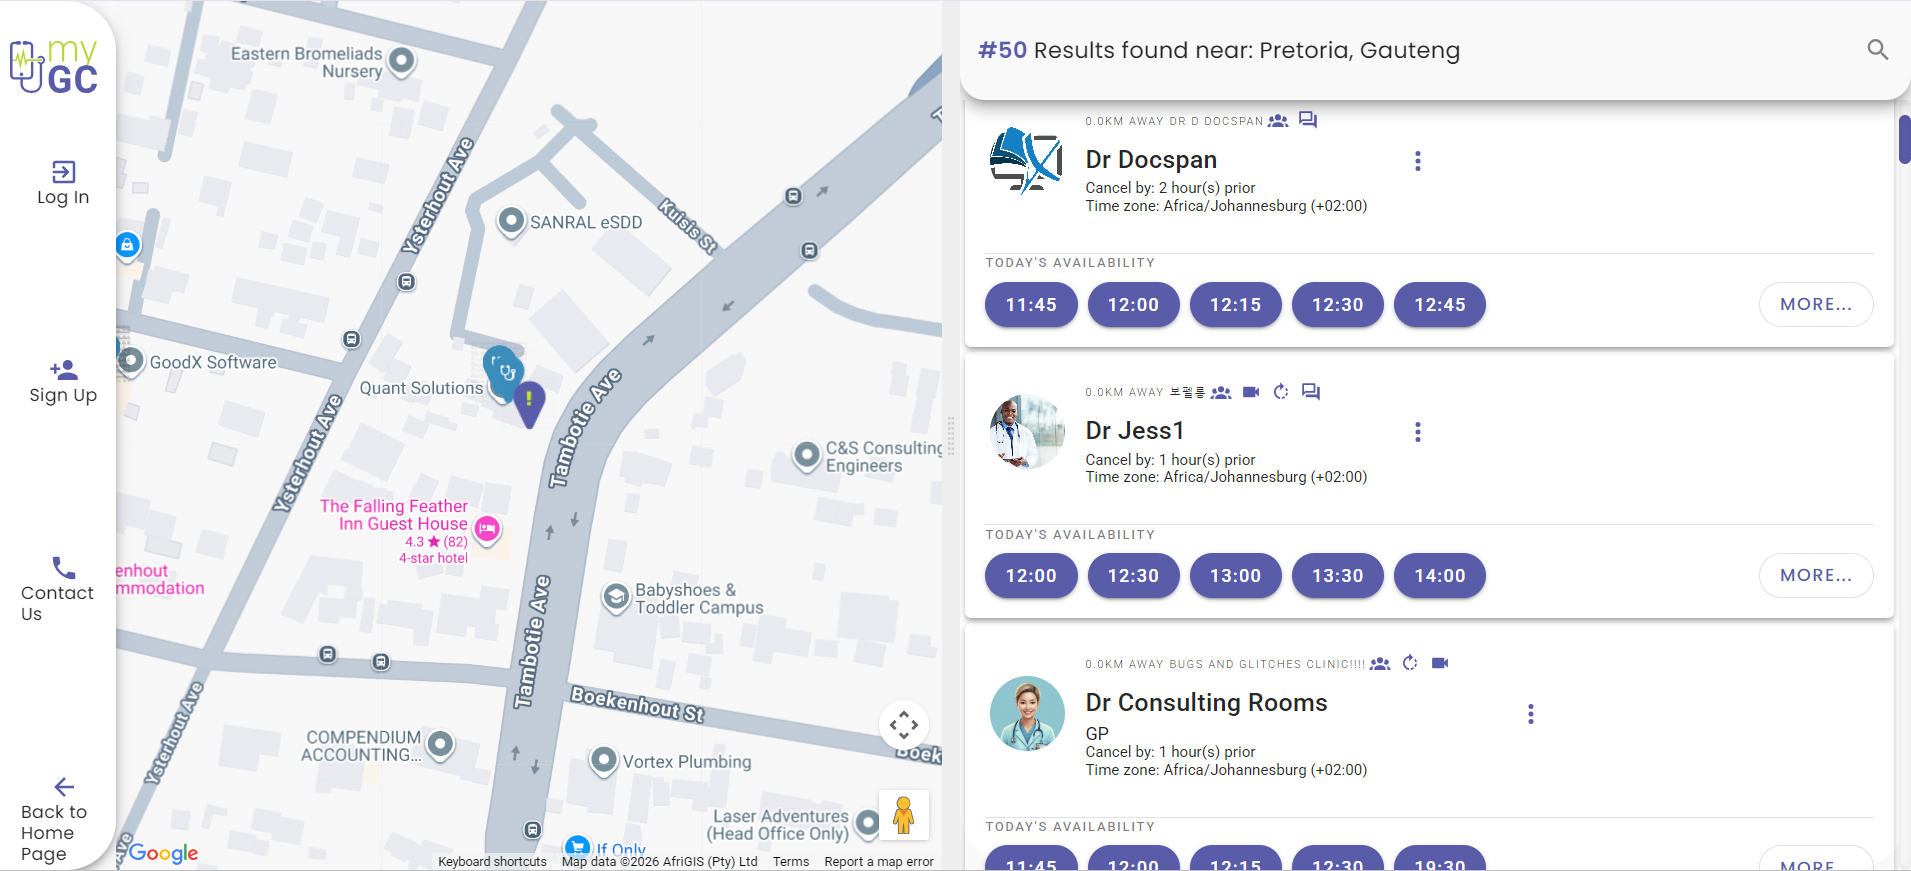
The myGC Results screen will open, displaying all available Practitioners near your location.
Click on the desired Timeslot button to make a booking for that specific time.
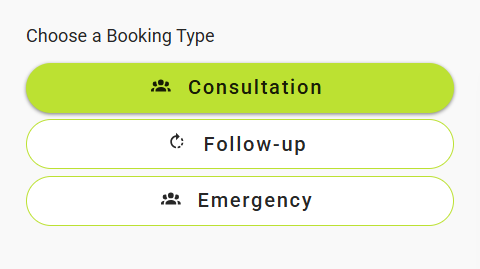
The Booking Details screen will open.
Click on the button of the desired Booking Type in the Choose a Booking Type section to select the appropriate option.
💡Please Note: The Booking Types that are listed will correspond to the types of bookings that are available at the Practice.
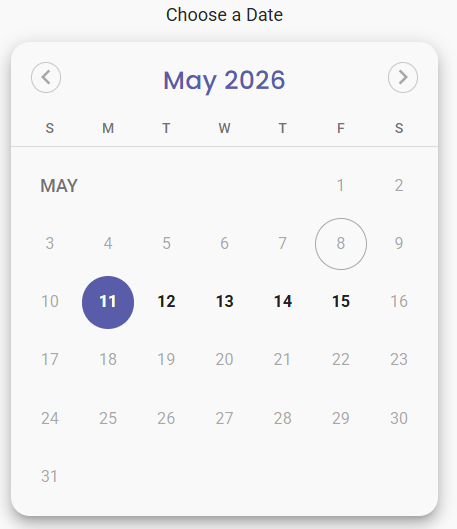
Click on the desired Date on the calendar to select the day the booking will be made for.
💡Please Note: The Date will be selected by default according to the date of the booking timeslot you chose.
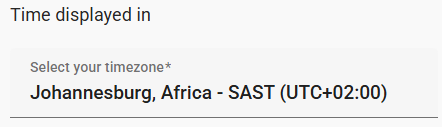
Click on the Select Your Timezonefield to change the timezone if the need arises.
💡Please Note: The timezone will correlate to the current timezone of your device and/or browser by default.
📌Disclaimer: The Practitioner's calendar will update to show the adjusted time for the booking if their timezone differs from yours.
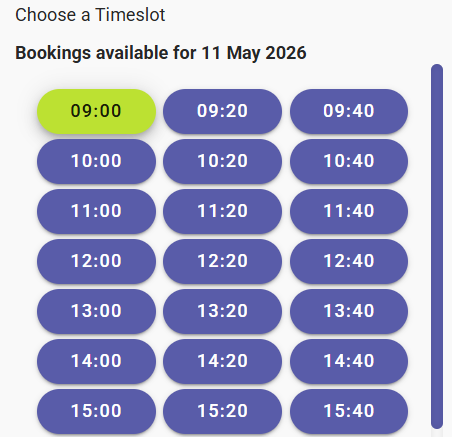
Click on the Timeslot button, in the Choose a Timeslot section, to select the desired time of the booking.
💡Please Note: All available times will be listed, and the selected time will be highlighted.
Click on the Next Step button.
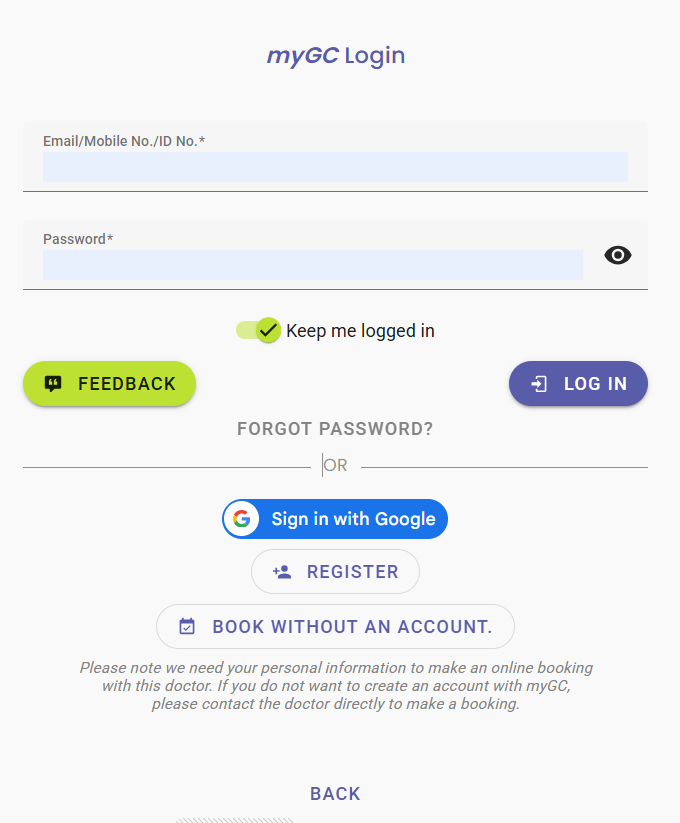
The myGC Login screen will open.
Click on the Book Without An Account button.
The New Patient Details screen will open.
💡Please Note: Fields marked with an * (asterisk) are required. If the required fields are not filled in, you won't be able to continue with the booking.
Click on the Patients First Name(s) field to enter your name.
Click on the Patient Surname field to enter your surname.
Click on the PatientMobile Number field to enter the user's cellphone number.
Click on the Patient Emailfield to enter your email address.
Click on the Date of Birth field to enter a date manually in a yyyy-mm-dd format.
Alternatively, Click on the Calendar button to select your birthdate from the Date Picker that becomes available.
Click on the Gender drop-down menu to select the appropriate option
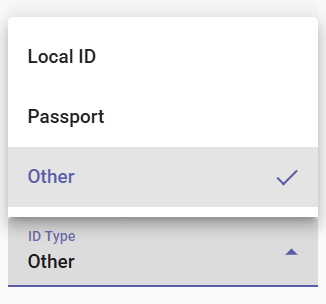
Clickon the ID Type drop-up menu to select an appropriate option.
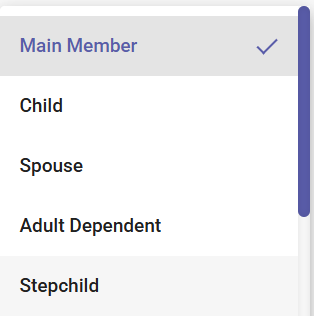
Click on the Dependant Type drop-down menu to select an appropriate option.
Click on the What Is The Reason For Your Booking? button, and enter the reason for the Booking.