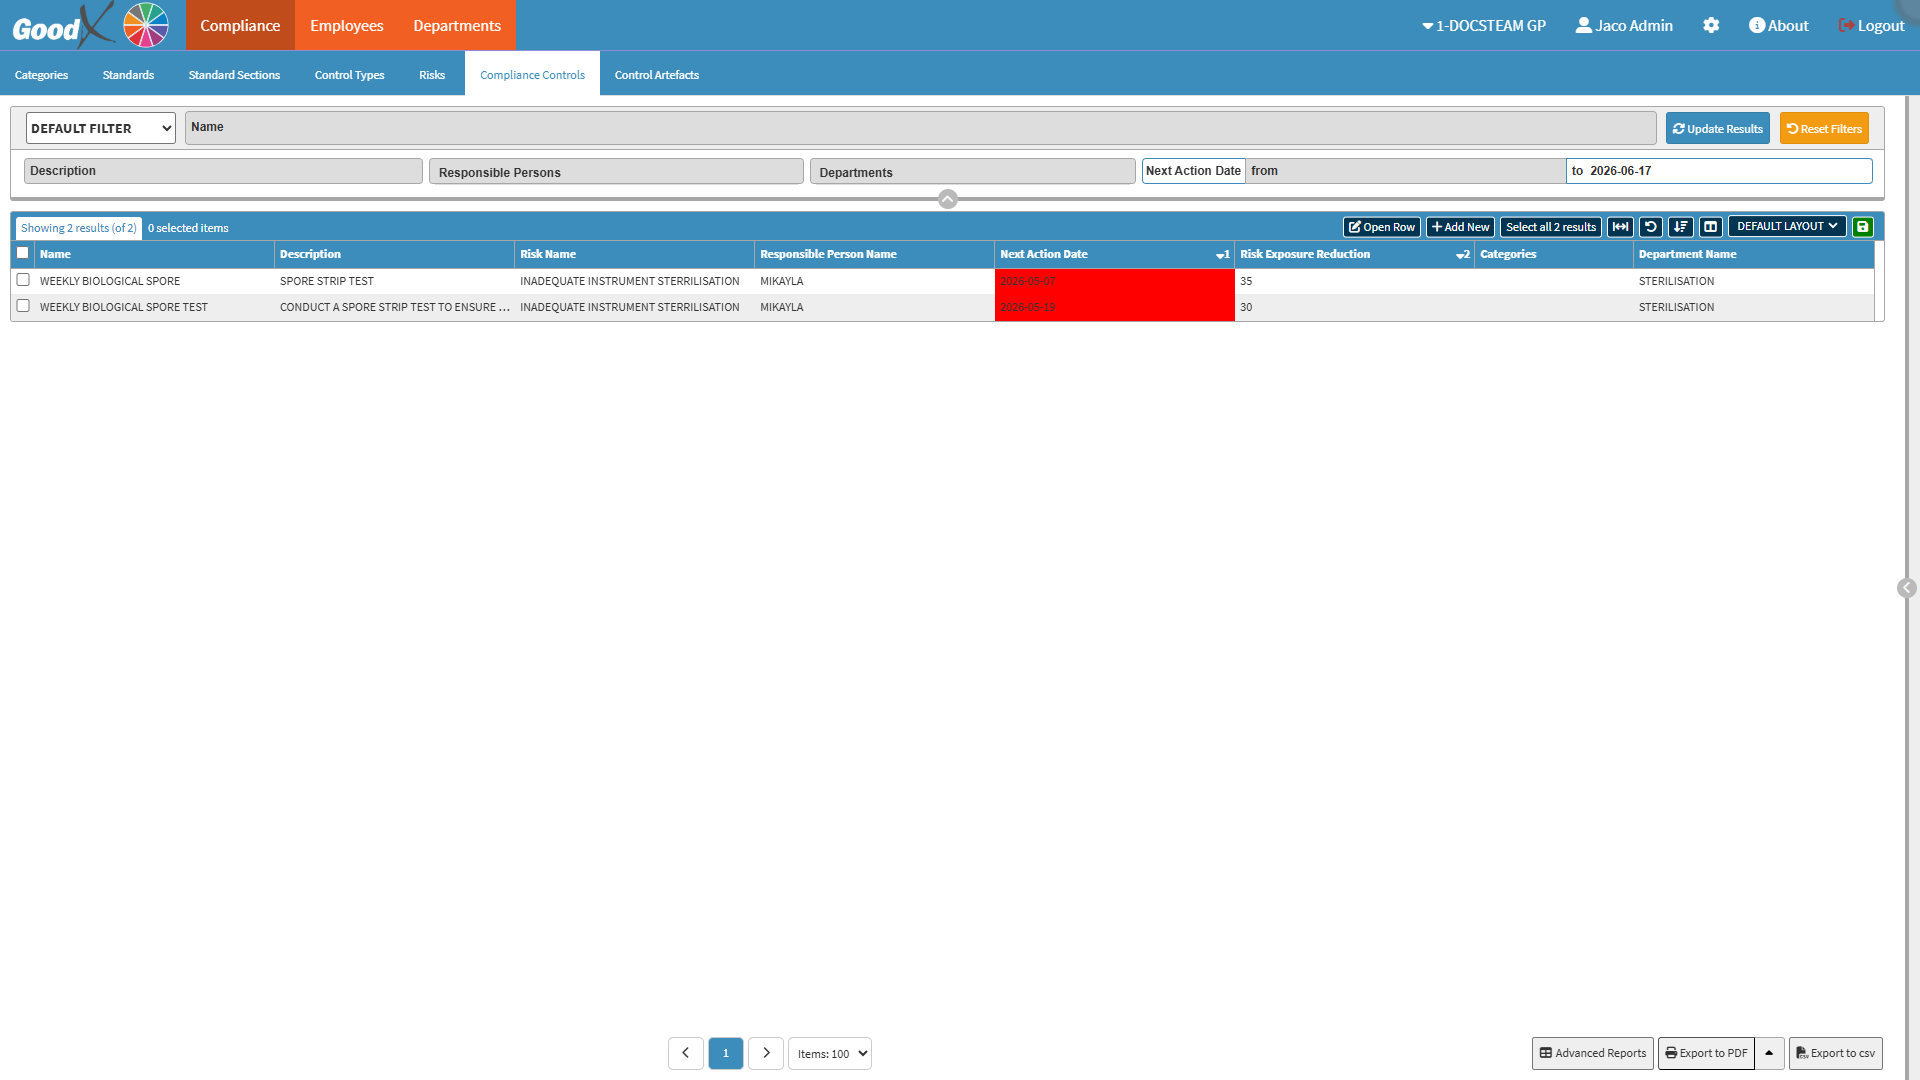
The Compliance Controls sub-tab provides a centralised way to manage and monitor all compliance controls within the Practice. It allows you to capture, organise, and track control measures linked to specific Risks, Departments, Responsible Persons, and Categories, ensuring that important compliance activities are consistently maintained and reviewed.
With the available filtering options, you can quickly locate specific controls based on descriptions, Departments, Responsible Persons, or upcoming action dates, making it easier to identify overdue or high-priority compliance tasks. The colour-coded Next Action Dates also assist in highlighting controls that require urgent attention.
By keeping all compliance controls in one structured location, the sub-tab improves accountability, supports ongoing risk management processes, and helps the Practice maintain regulatory and operational compliance more effectively.
The Contents of This User Manual:
Filters
Screen Column Action Buttons
Columns
Page Options
Compliance Controls Sidebar
This user manual will start on the Compliance tab, Compliance Controls sub-tabscreen.
For more information on how to navigate to the Compliance Controls sub-tab screen, please refer to the user manual: Compliance Tab: Navigation and Use.
Filters
Filters are tools or functionalities that allow you to narrow down or refine the results displayed on the Compliance Controlsscreen.
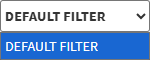
Click on the Default Filter drop-down menu to select the filter style you wish to use.
Click on the Name field to filter by the name.
Click on the Description field to filter on the description.
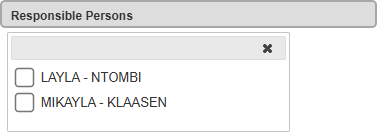
Click on the Responsible Persons drop-down menu to select the Responsible Personsyou wish to filter on.
For more information on how to add a Responsible Person, please refer to the user manual: How to Add/Edit an Employee.
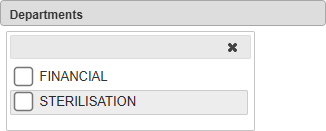
Click on the Departments drop-down menu to select the Departments you wish to filter on.
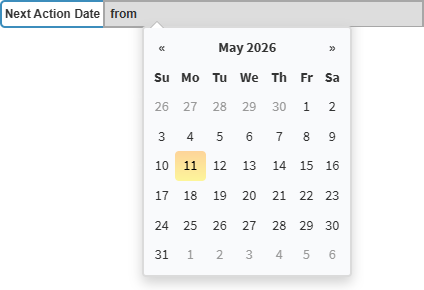
Click on the Next Action Date From field to select the start date from the date picker that will become available.
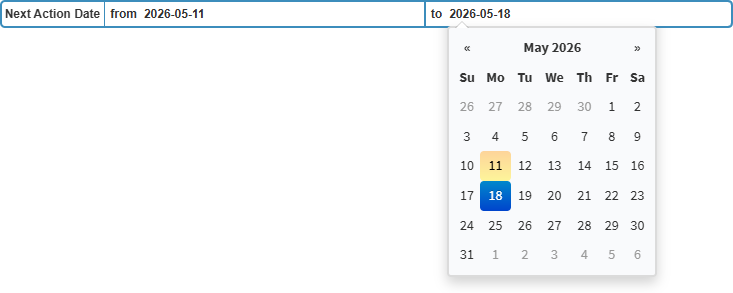
Click on the Next Action Date To field to filter on the end date from the date picker that becomes available.
💡Please Note: An error will appear if the To date is set earlier than the From date.
Click the UpdateResults button to filter your results.
Click on the Reset Filters button to clear all the filters you selected.
Screen Column Action Buttons
Several additional options are available for the Columns. These additional options are to help you adjust the List, refine the Search and give more specific results.
Click on the Open Row button to open the selected list item so that you can view or edit its information.
Click on the Add New button to create a new list item.
For more information on adding or editing Controls, please refer to the user manual: How to Add/Edit Controls.
Click on the Select All Results button to select every line in the column.
Click on the Expand Widths button to auto-fit the column width to the information within all columns.
Click on the Reset Widths button to restore the original widths after any modifications were made.
Click on the Sort Columns button to sort the Columns in the order that you desire.
All the information on the Controls screen is divided into Columns to logically group related information together.
Name: The name of the Control.
Description: Information on the Control and the actions that must be followed.
Risk Name: The Risk associated with the Control.
Responsible Person Name: The person responsible for managing the Control.
Next Action Date: The date on which the Control must next be reviewed or actioned.
Risk Exposure Deduction: The amount by which the Control reduces the associated Risk exposure.
Categories: The categories assigned to the Control.
Department Name: The Department responsible for the Control.
Page Options
All the additional options that are available for the page.
Click on the Previous button to navigate to the previous page.
Click on the Page Number button to navigate to the desired page.
Click on the Next button to navigate to the next page.
Click on the Items drop-down menu to select the number of items that will be displayed on the screen.
Click on the Advanced Reports button to generate an Advanced report. (Placeholder)
Click on the Export to PDF button to save a PDF file of all the data as a comprehensive report.
Click the Export to PDF drop-down menu to access the Export Consolidated PDF option, which generates a single document that combines data from multiple sources for an overview.
Click on the Export to CSV button to save all the list items in a CSV format.
Controls Sidebar
Submit completed work or evidence for the selected control.