Text size
Line height
Text spacing
The Report App Settings screen provides a centralised dashboard to manage all feature-flagged options and early-development capabilities in one place. Popular list screens, such as Invoice Management, are now enabled for everyone by default, so you no longer need to manually activate standard grids. Accessing these settings allows you to view the stability status of experimental tools or resolve feature-disabled notifications encountered when attempting to open unconfigured list views. Each feature that you opt in to see has a specific status, which determines the stability of the feature:
🔴Experimental: New or developing features that are still being tested and may change or have issues.
🔵Beta: Mostly complete features available for testing before full release, with possible minor improvements still needed.
🟢Stable: Fully tested, reliable, and ready for everyday use.
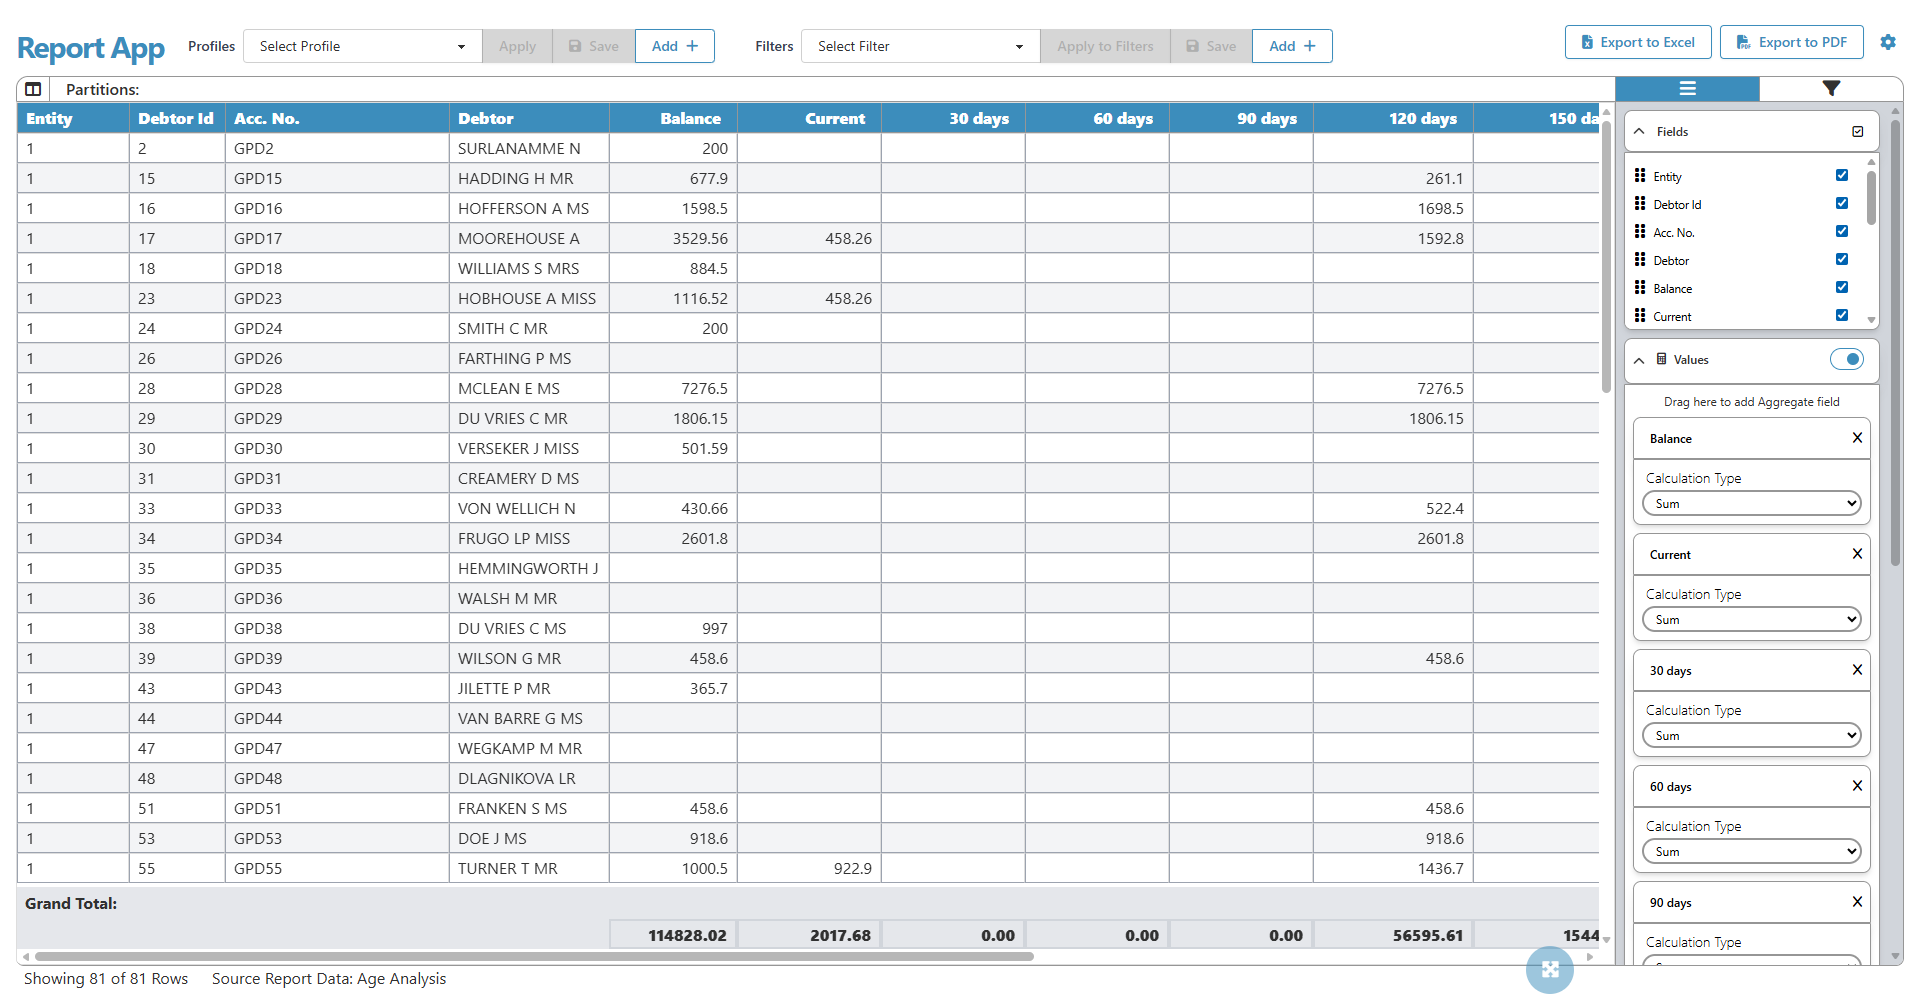
💡Please Note: Additionally, navigate to the Report App by adding /app/reporting/settings to the end of your site URL. If a specific list screen feature is currently disabled or in early development, an alert message will inform you that it is unavailable when you attempt to view the Report App grid in GoodX Web. You can easily resolve this by navigating to the Settings page and enabling that specific feature flag.

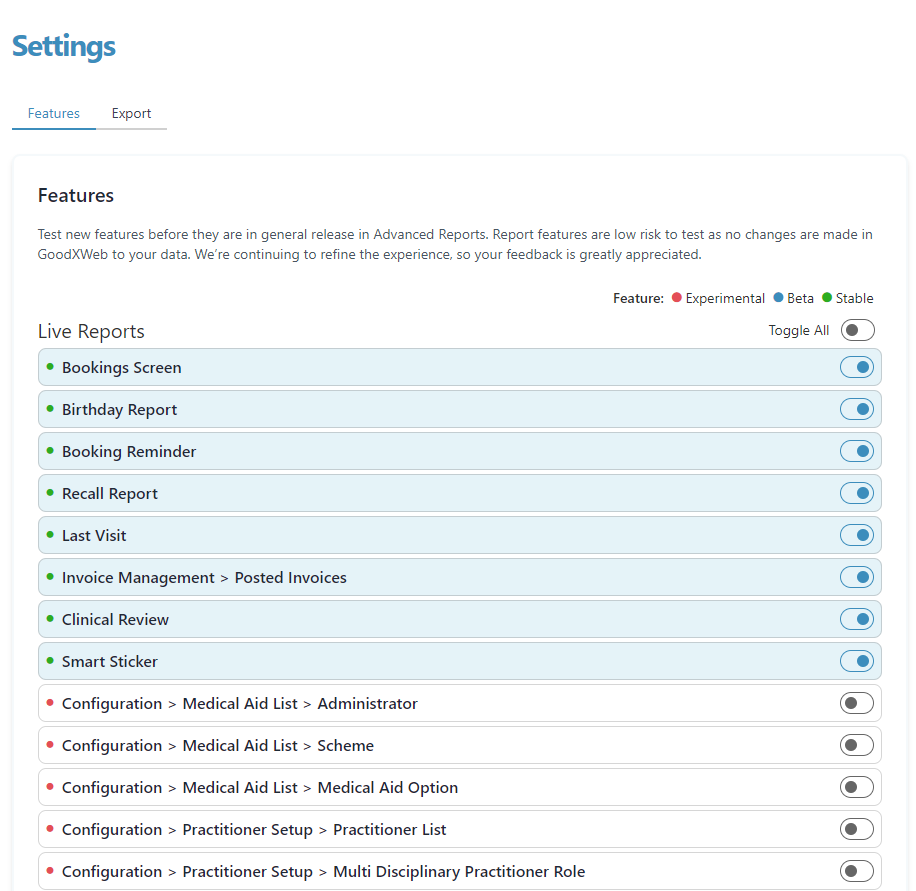
The features section lists all feature-flagged functionalities and early-development modules available for your practice. You can use this section to toggle experimental capabilities on or off based on your operational requirements.

Click the toggle next to the relevant features to enable or disable live reports for that specific feature.

Allows you to export the Advanced Report Data as a JSON file to your local device.

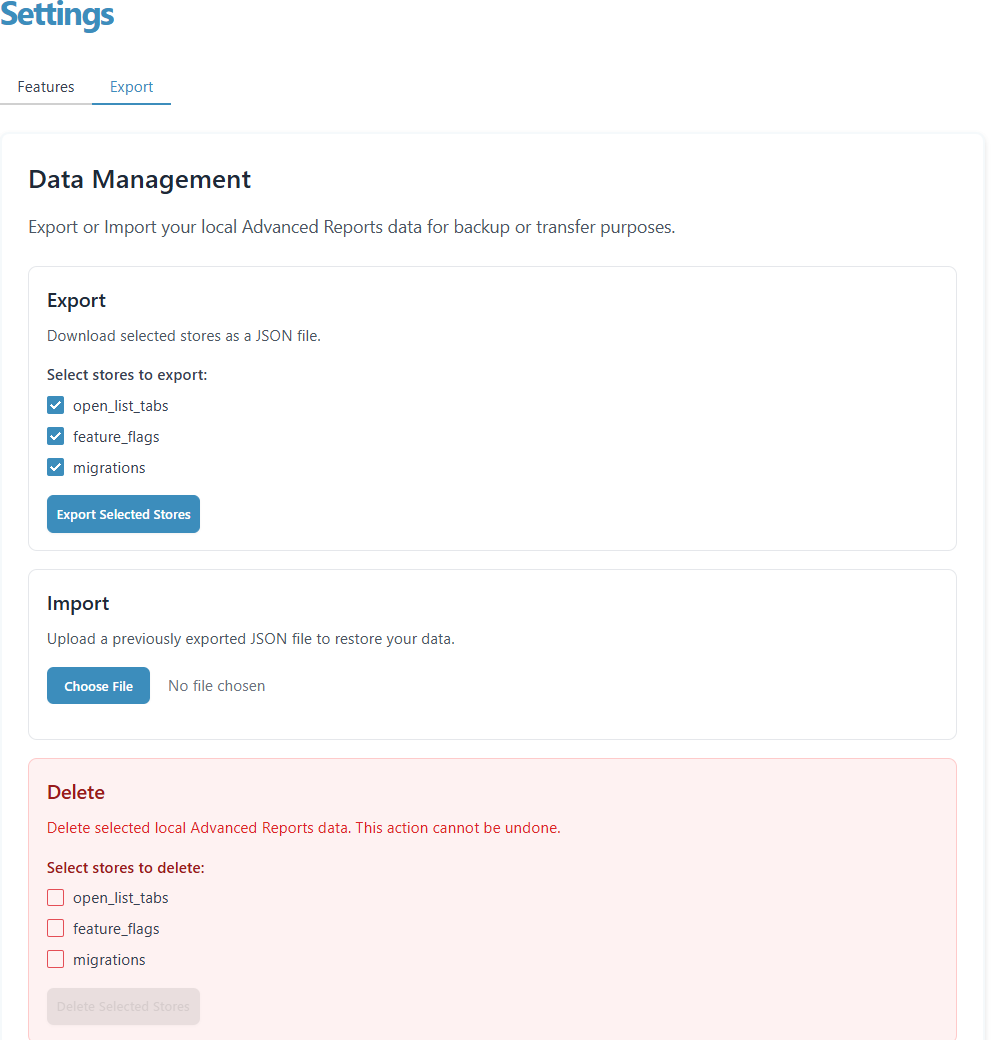
💡Please Note: Transfer local advanced reports from the Export tab.
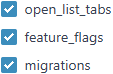
Tick the checkboxes to select the stores for export.


Removes selected local Advanced Report data.
📌Disclaimer: Take caution when deleting data, as this action cannot be undone.