Text size
Line height
Text spacing
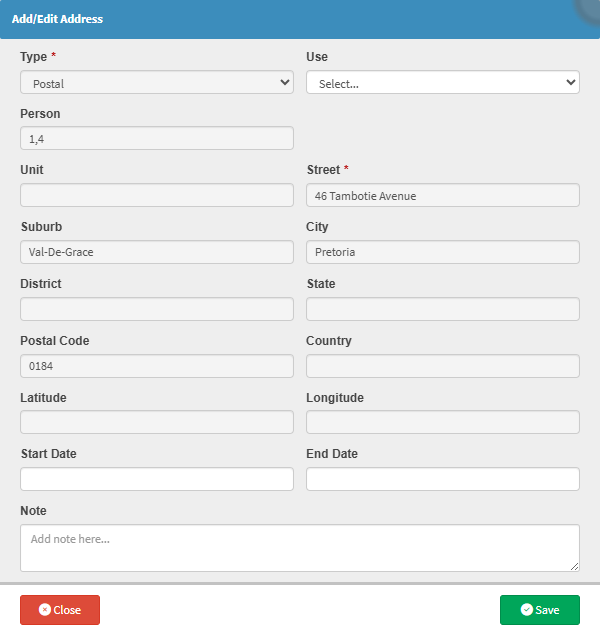
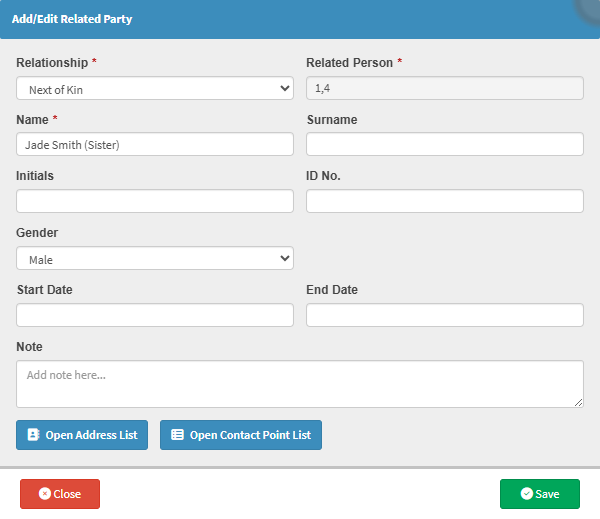
Recording Related Party information allows a medical practice to capture the details of individuals who play an important role in a Patient’s care or financial responsibility. This may include a spouse, parent, guardian, caregiver, or legal representative who is closely connected to the Debtor and/or Patient.
Having this information readily available is particularly valuable in situations where the Patient cannot communicate for themselves, such as during medical emergencies, treatment decisions, or when consent is required. It ensures that staff know exactly who to contact, reducing delays and avoiding uncertainty at critical moments.
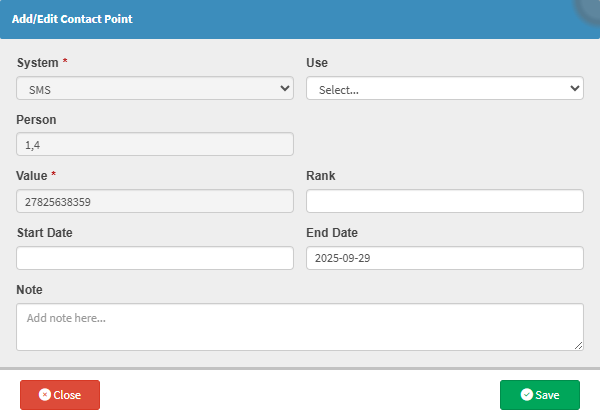
From an administrative and billing perspective, Related Party details help Practices manage communication more effectively with the correct person. This is especially important when the Debtor is not the patient, or when another individual is responsible for accounts, authorisations, or follow-up queries. Clear records prevent misunderstandings, minimise back-and-forth communication, and support smoother account management.
By allowing Related Party information to be added and updated as circumstances change, the Practice maintains accurate, up-to-date records that support continuity of care, legal compliance, and respectful patient engagement. Ultimately, this feature helps ensure that both clinical and administrative interactions are handled efficiently, appropriately, and with the Patient’s best interests in mind.


![]()