Booking Notifications are designed to keep you seamlessly connected to your schedule. Each time a booking is confirmed, rescheduled, cancelled, or completed, you’ll receive real-time updates that ensure you’re never caught off guard. By staying instantly informed, you can respond promptly to changes, communicate clearly with clients, and allocate resources with confidence. These notifications help you stay organised, avoid missed updates, and maintain a smooth, professional workflow so you can focus less on chasing details and more on delivering great experiences.
The Contents of This User Manual:
Register a Device
Generate a QR Code
Link As User Notification Device
View Added Devices
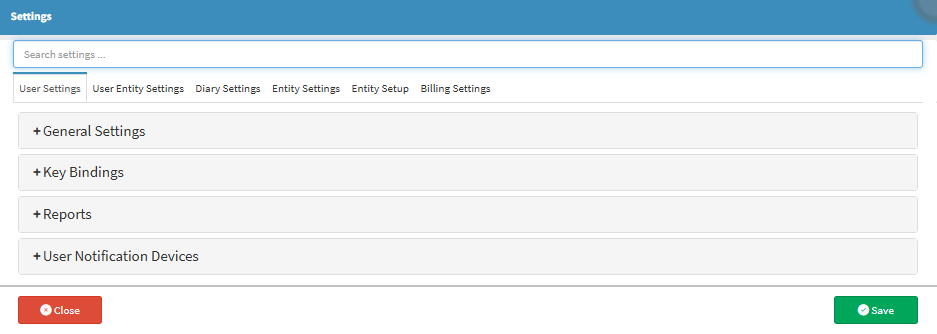
This user manual will start on the Settings screen, User Settings panel.
To receive Booking Notifications, you first need to register your device. This ensures notifications can be delivered directly to you whenever a Booking Status changes.
Click on the General Settings panel.
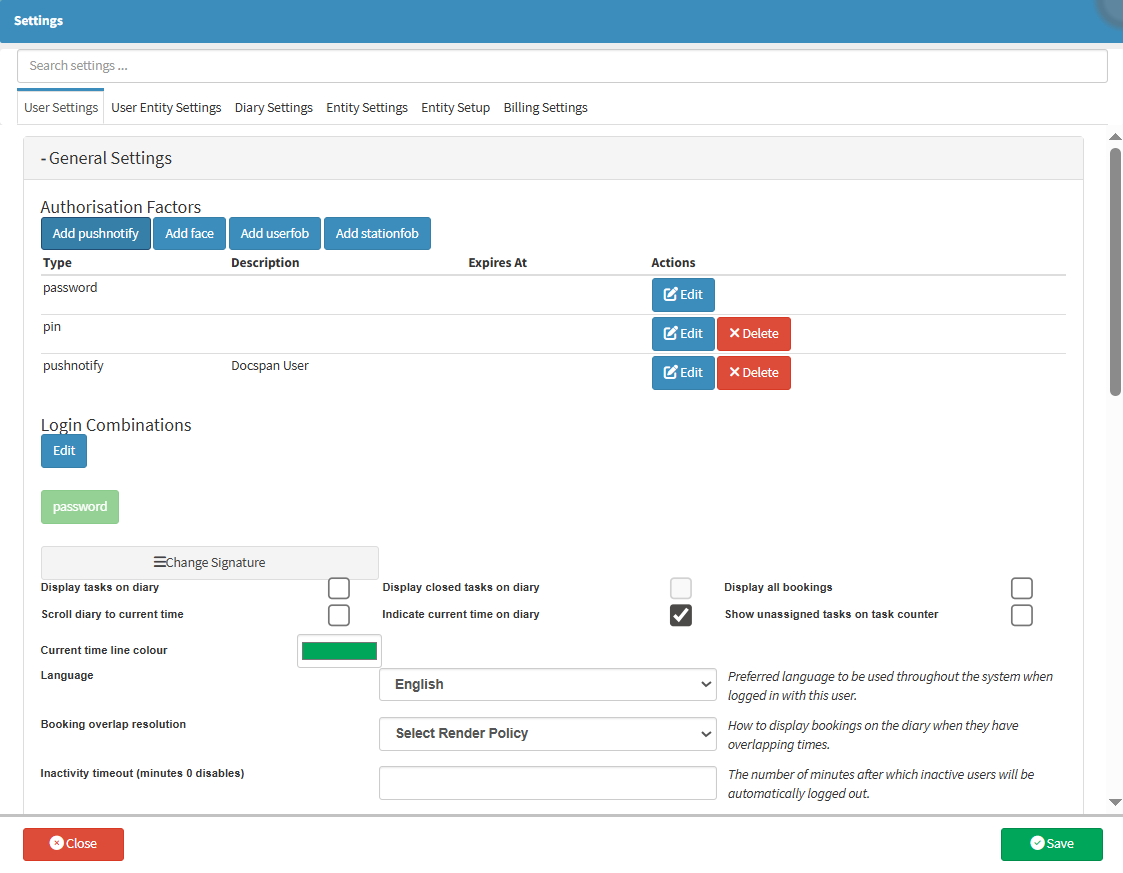
The General Settings panel will expand.
Click on the Add PushNotify button.
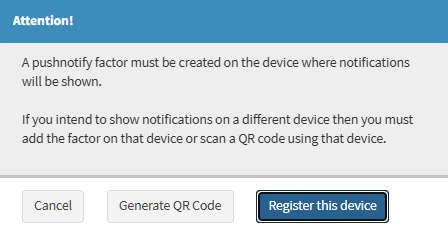
An Attention! pop-up will open.
Click on the Register This Device button.
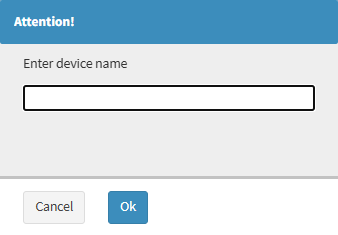
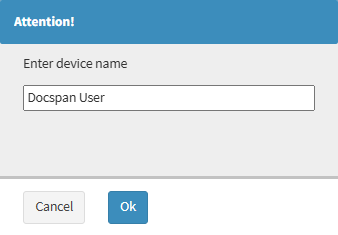
An Attention! pop-up will open.
Click on the Enter Device Name field to enter a Name for your device.
Click on the OK button.
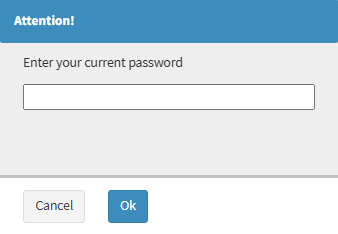
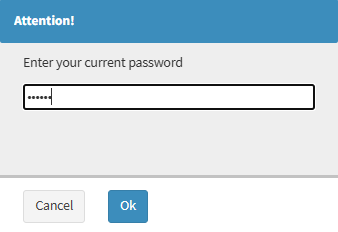
An Attention! pop-up will open.
Click on the Enter Your Current Password field to enter the Password that you use to log into the GoodX Web App.
Click on the OK button.
A Notification will appear to advise that Pushnotify has been updated.
?Please Note: The Device will be added to your list of Registered Devices.
Generate a QR Code
You can link a Device by generating a QR Code. A QR Code (short for Quick Response Code) is an array of black and white squares or pixels set in a grid that stores data for a Device to read.
Click on the Add Pushnotify button in the Authorisation Factors section.
An Attention! pop-up will open.
Click on the Generate QR Code button.
An Attention! pop-up will open.
Click on the Enter Device Name field to enter a Name for your Device.
Click on the OK button.
An Attention! pop-up will open.
Click on the Enter Your Current Password field to enter the Password that you use to log into the GoodX Wep App.
Click on the OK button.
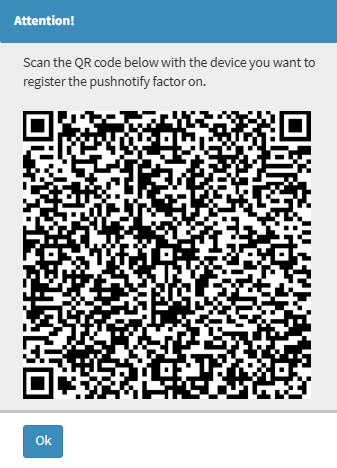
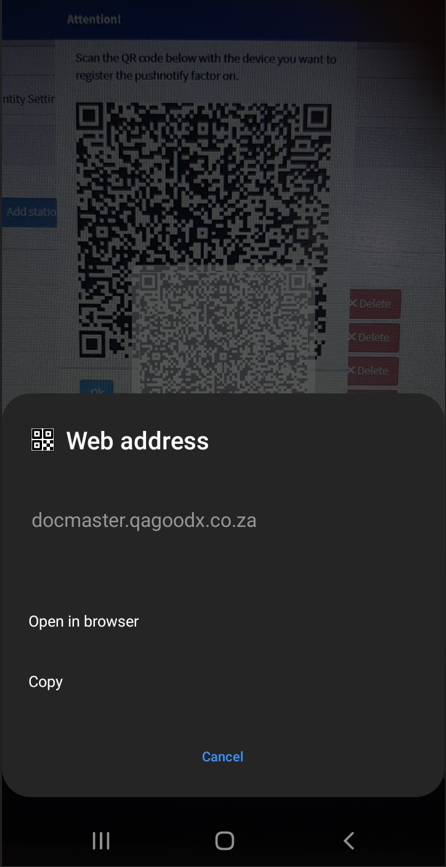
An Attention! pop-up will open with a QR Code that has been generated.
Scan the QR Code on the Device that you would like to set up.
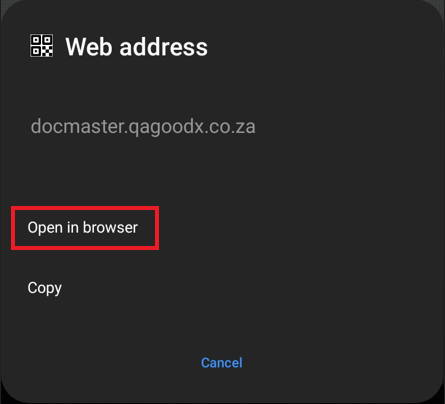
Click on Open in Browser.
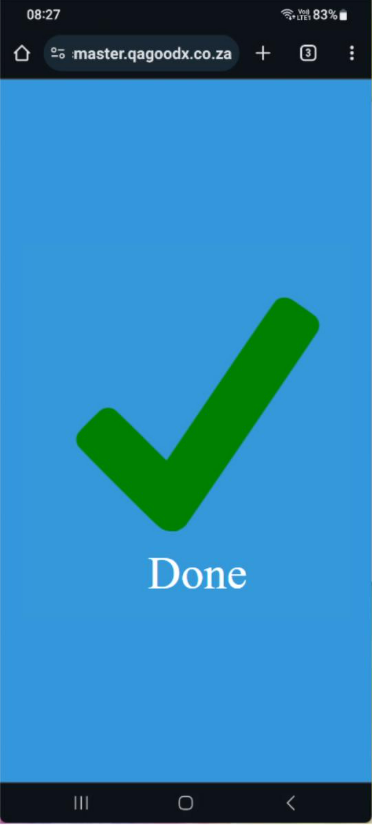
A Message will appear to advise if your Device has been Successfully Registered.
Click on the OK button.
?Please Note: If the Register with a QR Code is unsuccessful, a Message will appear that it has failed. You will need to retry.
?Please Note: If the Register with a QR Code is Successful. The Device will be added to your list of Registered Devices.
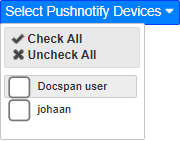
Link As User Notification Device
In order for you to receive Notifications, you must first be linked to a Device.
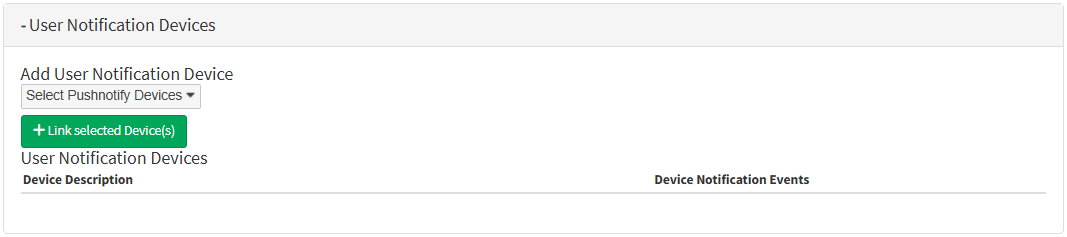
Click on the User Notifications Device panel.
The User Notification Device panel will expand.
Click on the Select PushNotify Devices drop-down menu.
The Select PushNotify Device drop-down menu will expand.
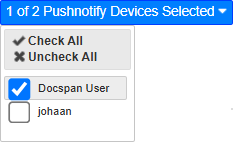
Click on the Device you want to use as the notification device.
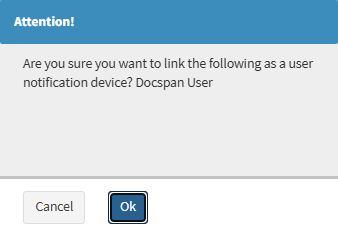
Click on the Link selected Device(s) button.
An Attention pop-up will appear.
Click on the OK button.
Your Device will be linked as a notification device.