When a New Patient arrives at the Practice, they are able to check in at the Kiosk. They will use their Surname and Cellphone Number to locate their specific booking, and be prompted to enter their demographic details. This reduces waiting times, eliminates manual paperwork, and ensures accurate digital record capturing, creating a faster and more efficient check-in experience for both Patients and Practice staff.
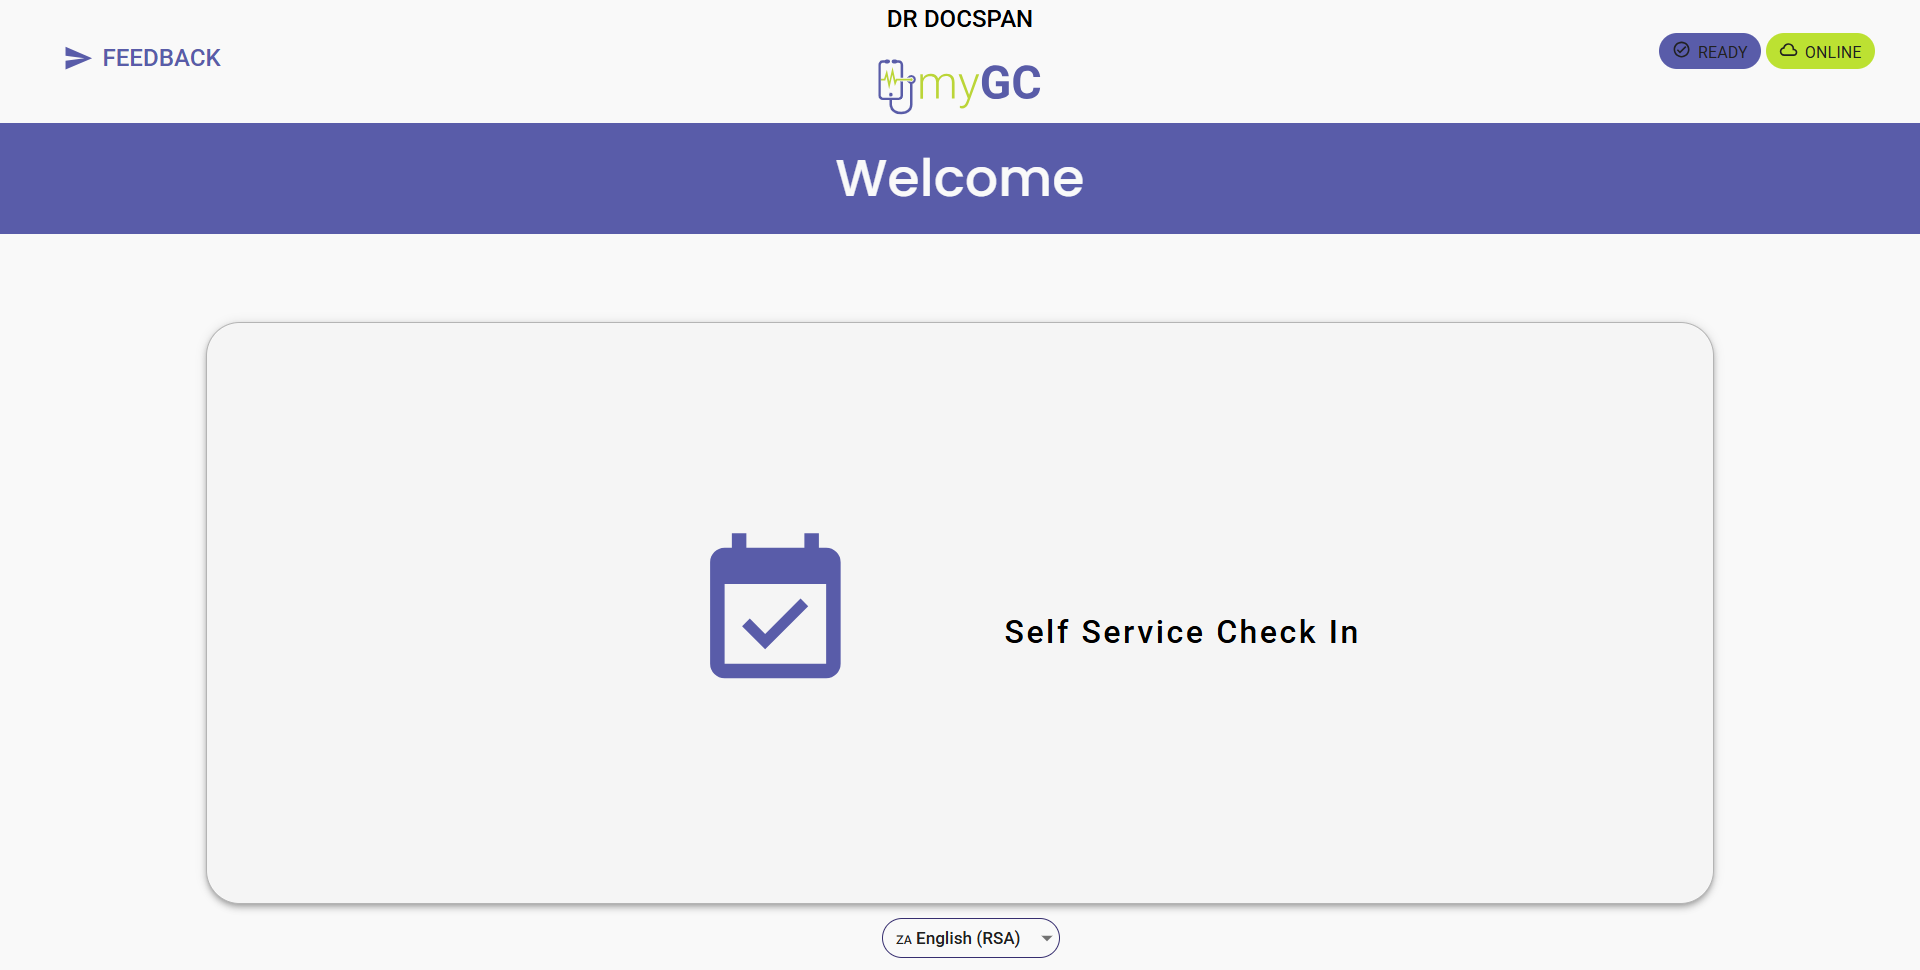
This user manual will start on the myGC Kiosk Welcome screen.
Click on the Self Service CheckIn button.
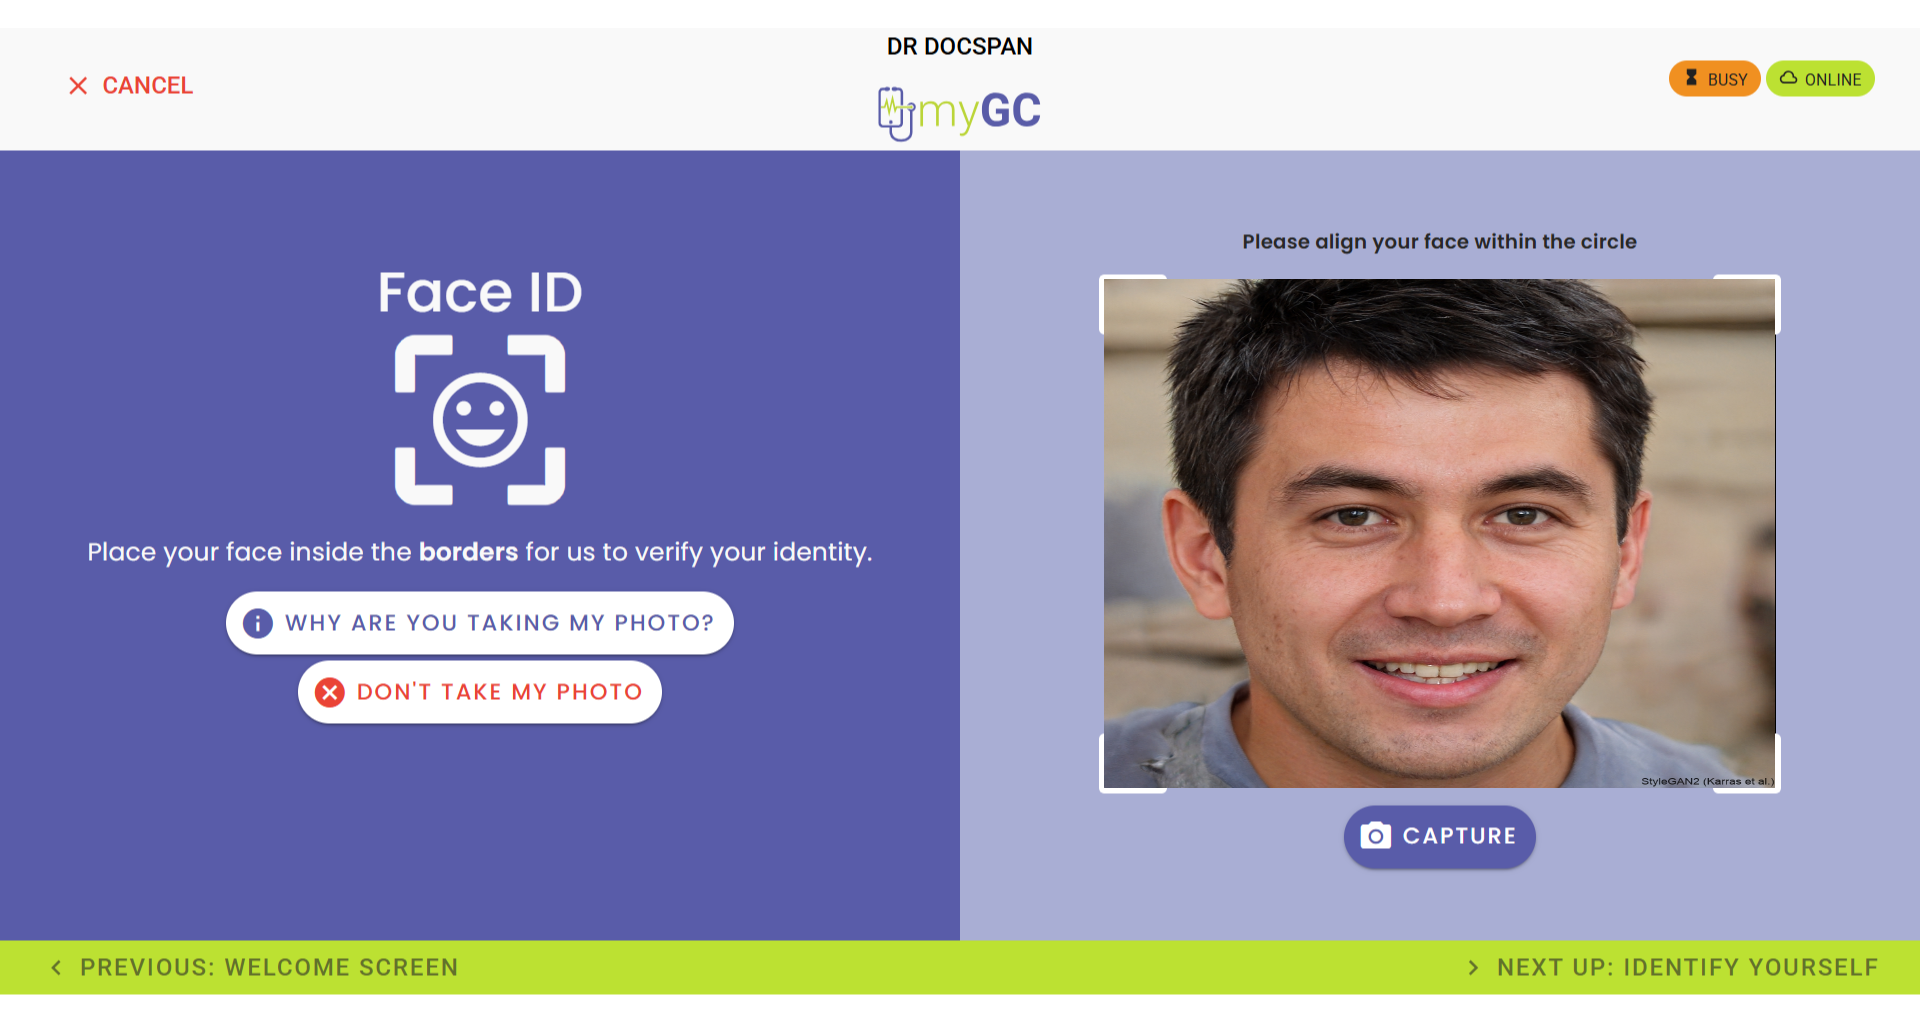
The Face ID screen will open.
?Please Note: Since a new Debtor does not yet have an image stored in the system, they will not be able to use the Face ID function.
Click on the Don't Take My Photo button to proceed with the Debtor's arrival process.
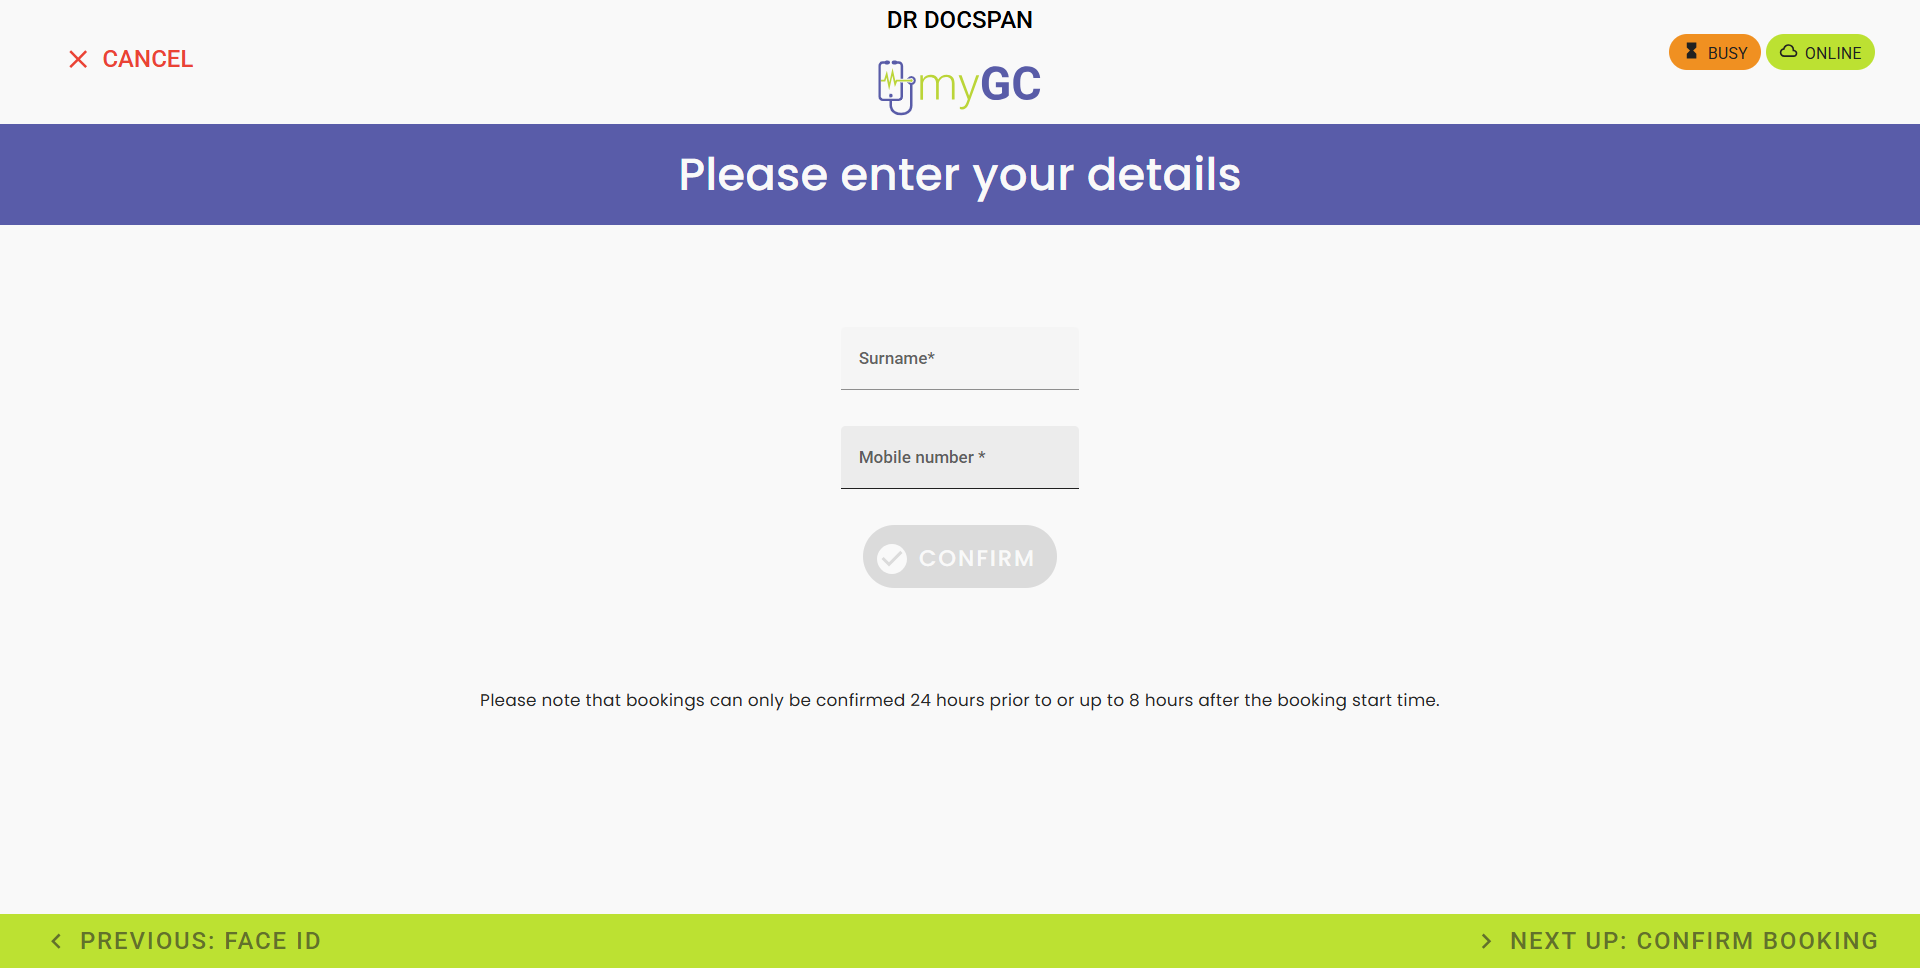
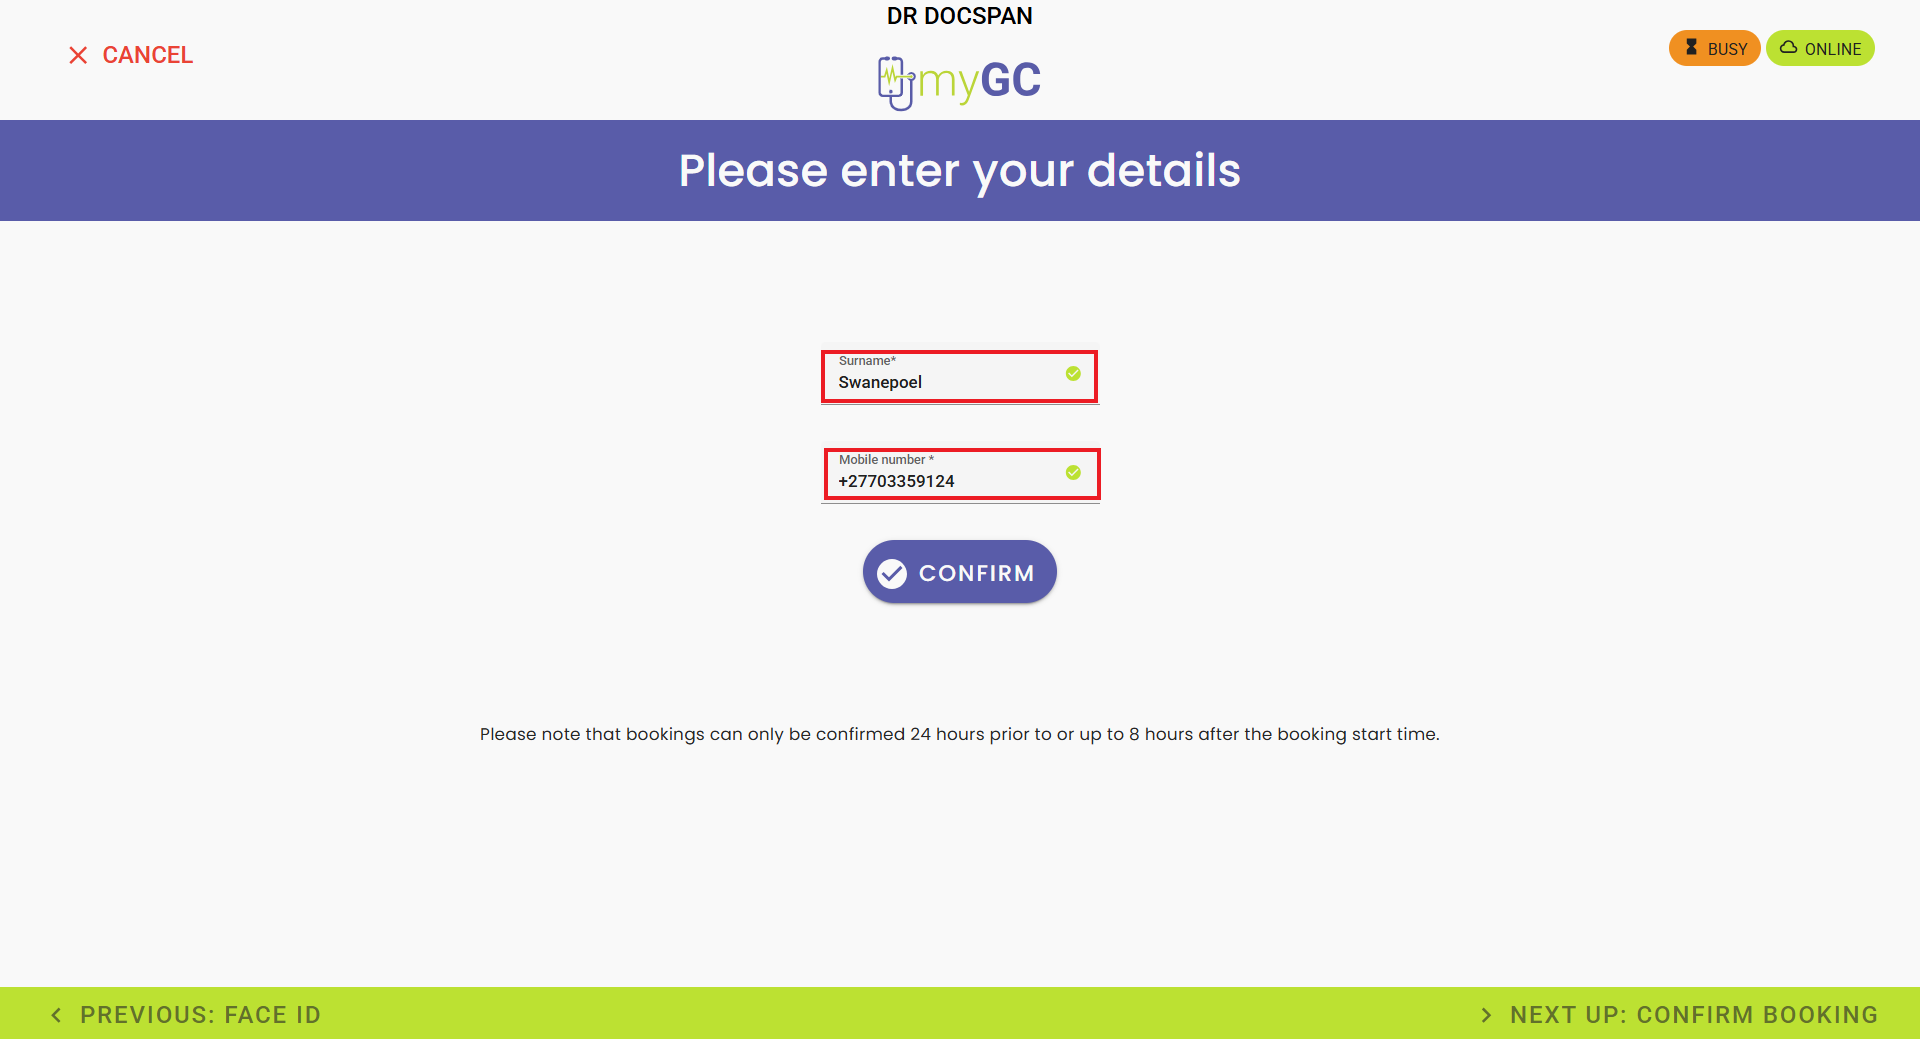
The Please Enter Your Details screen will open.
Enter the Surname and Mobile Number linked with your booking.
Click on the Confirm button.
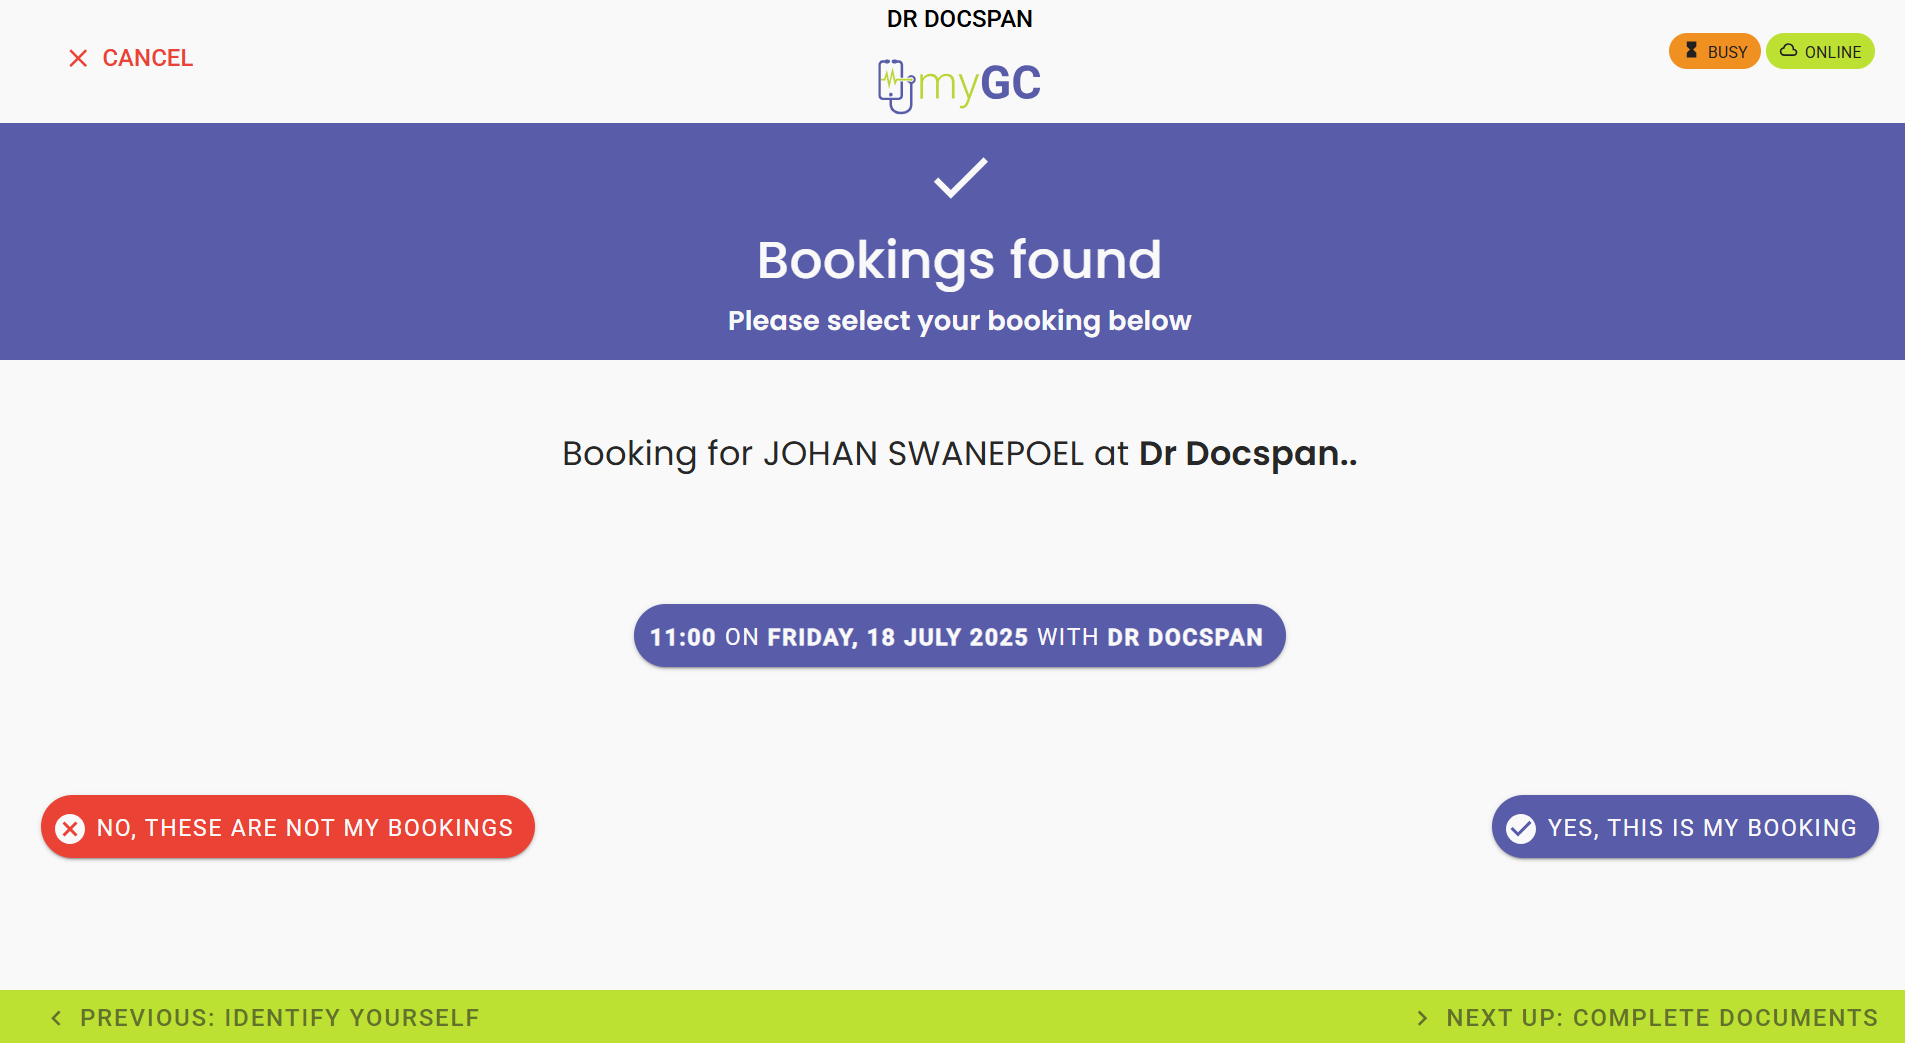
The Bookings Found screen will open.
Click on the Yes, This Is My Booking button if your booking has been found.
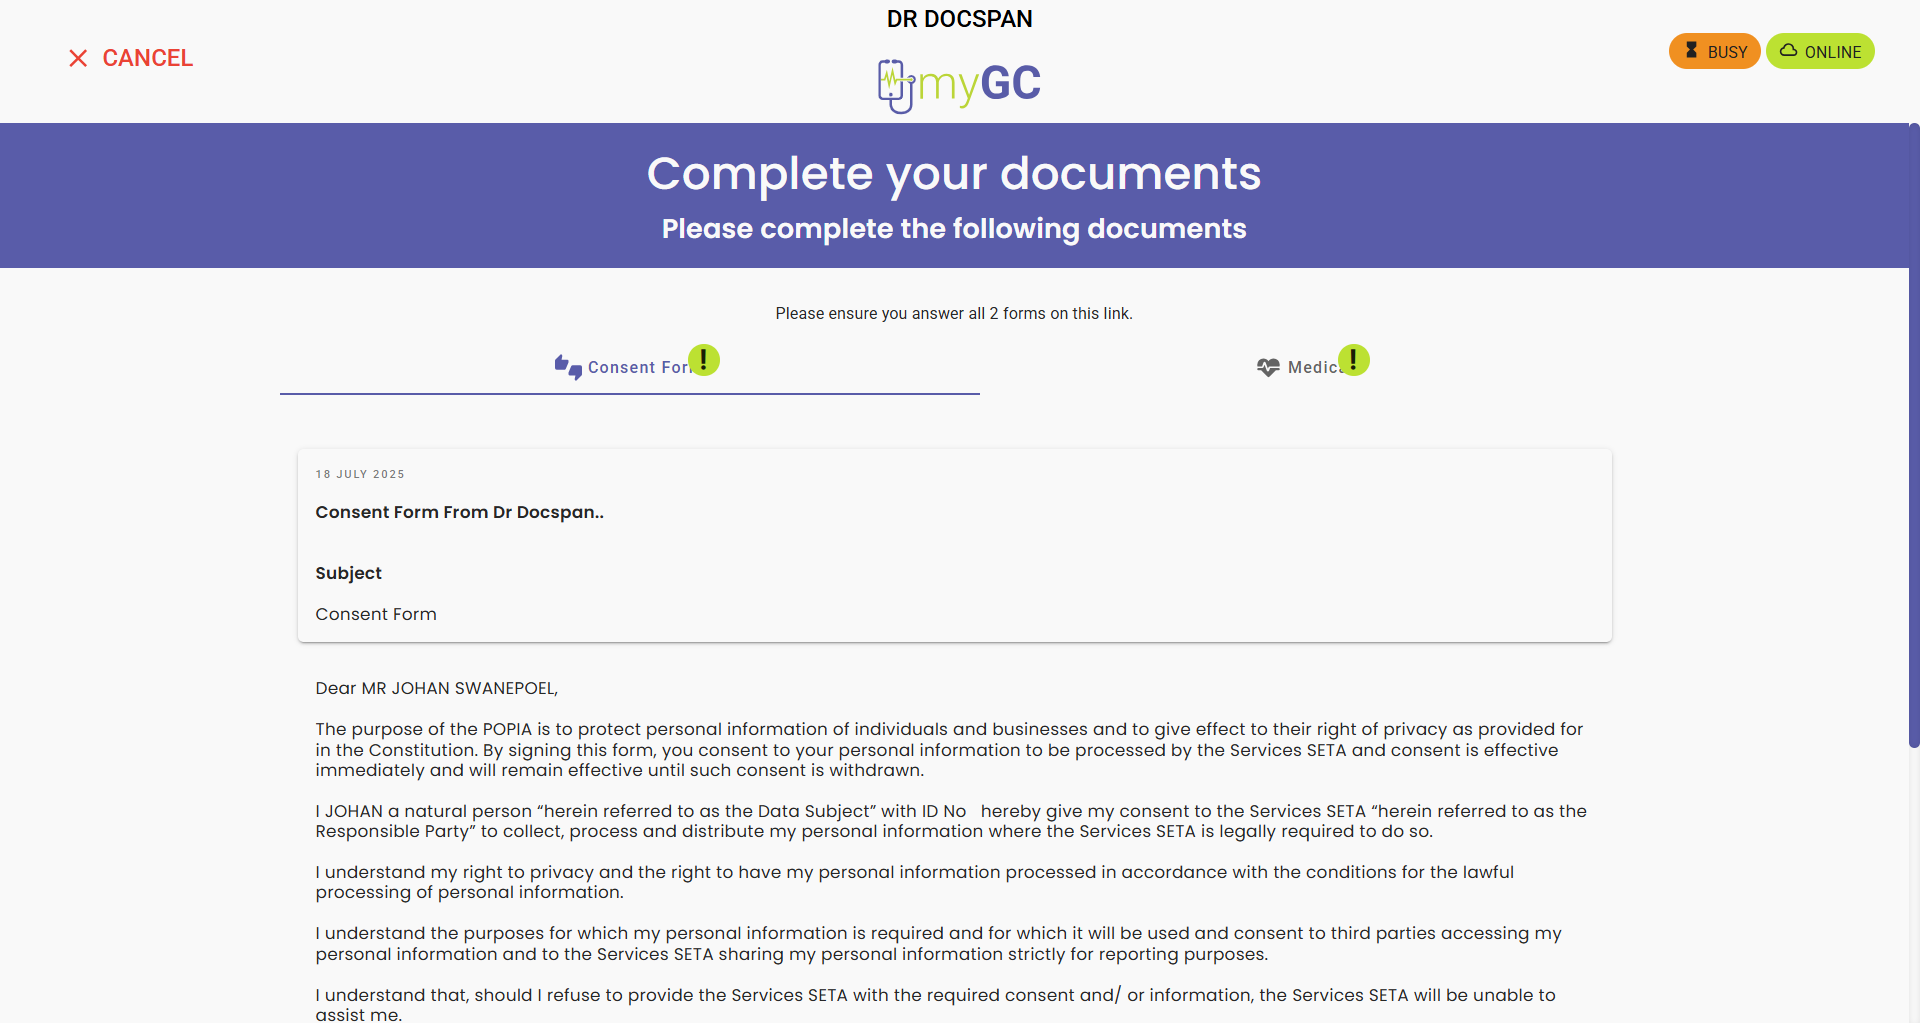
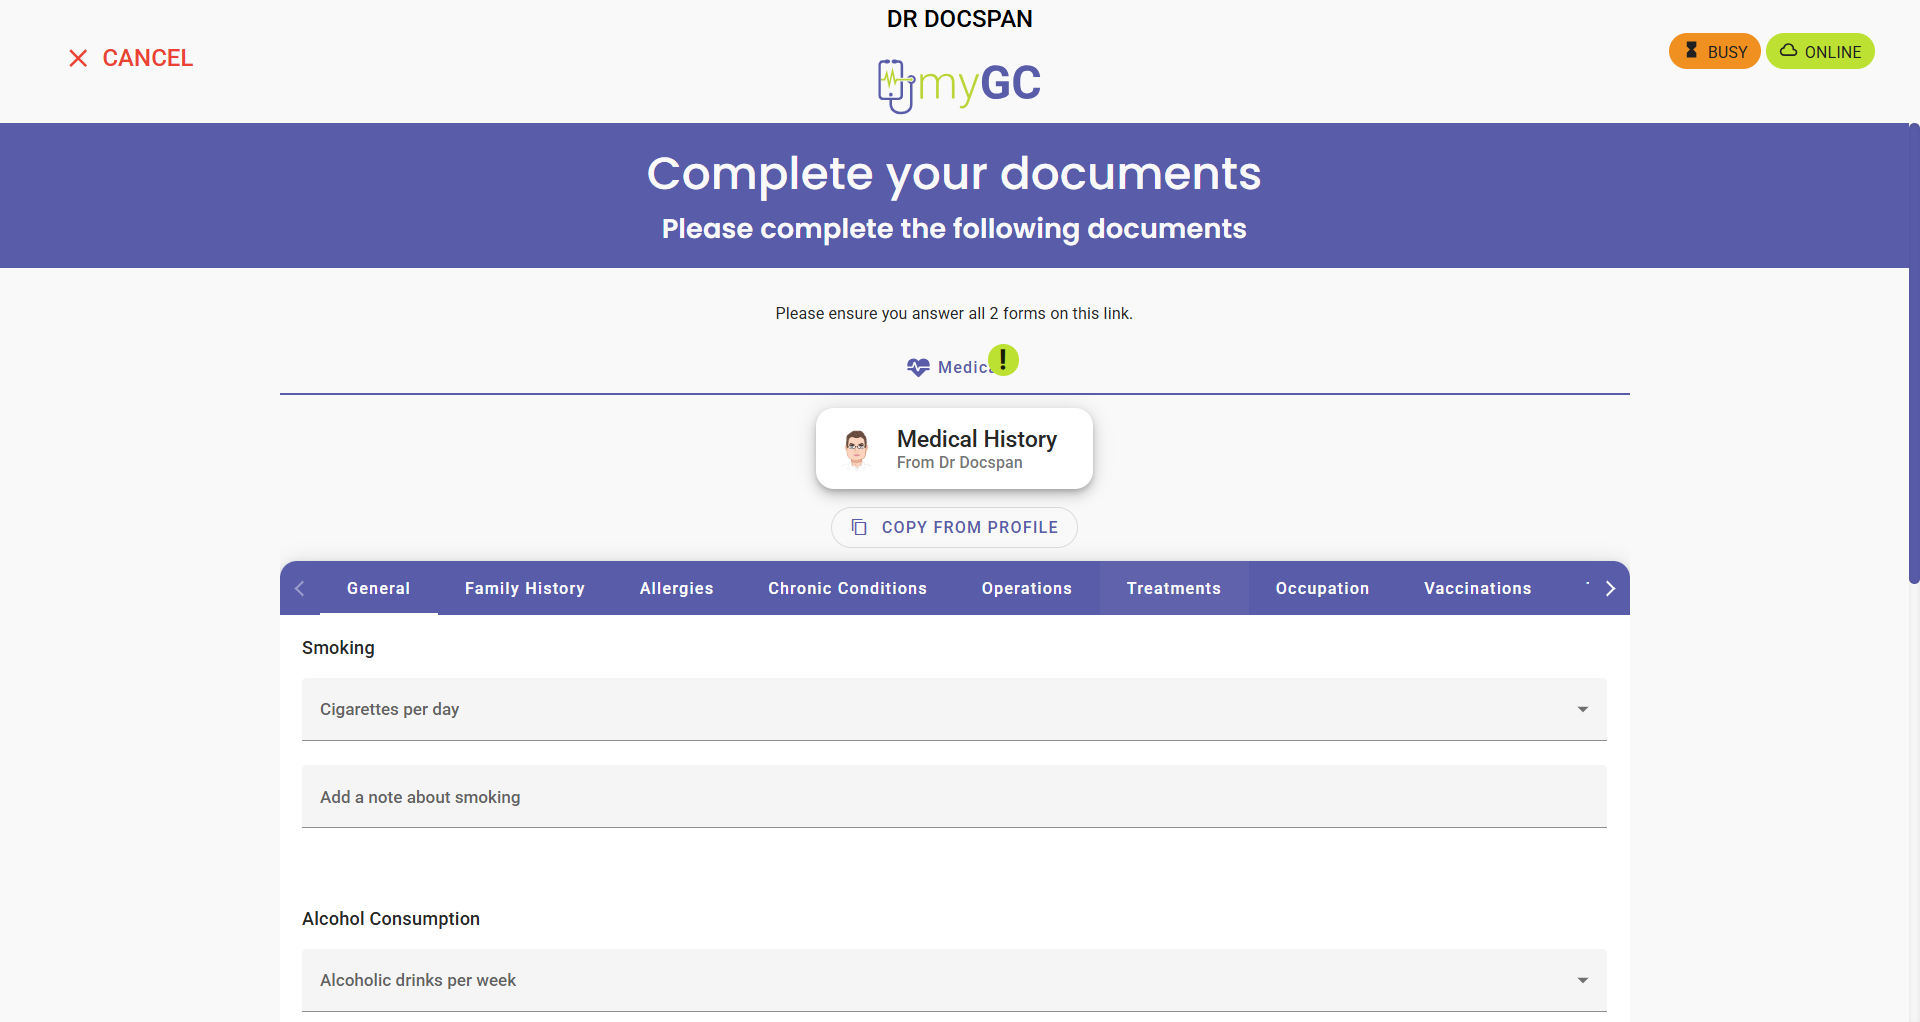
The Complete Your Documents screen will open if there are any required documents set up for the Practice.