Patient Receipt
A Patient Receipt is made out to a Patient after paying for a consultation or paying the account outstanding. The money was received from the Patient and not the Medical Aid.
- Log in to the GoodX WebApp using your GoodX username and password.
- The Diary screen will open.
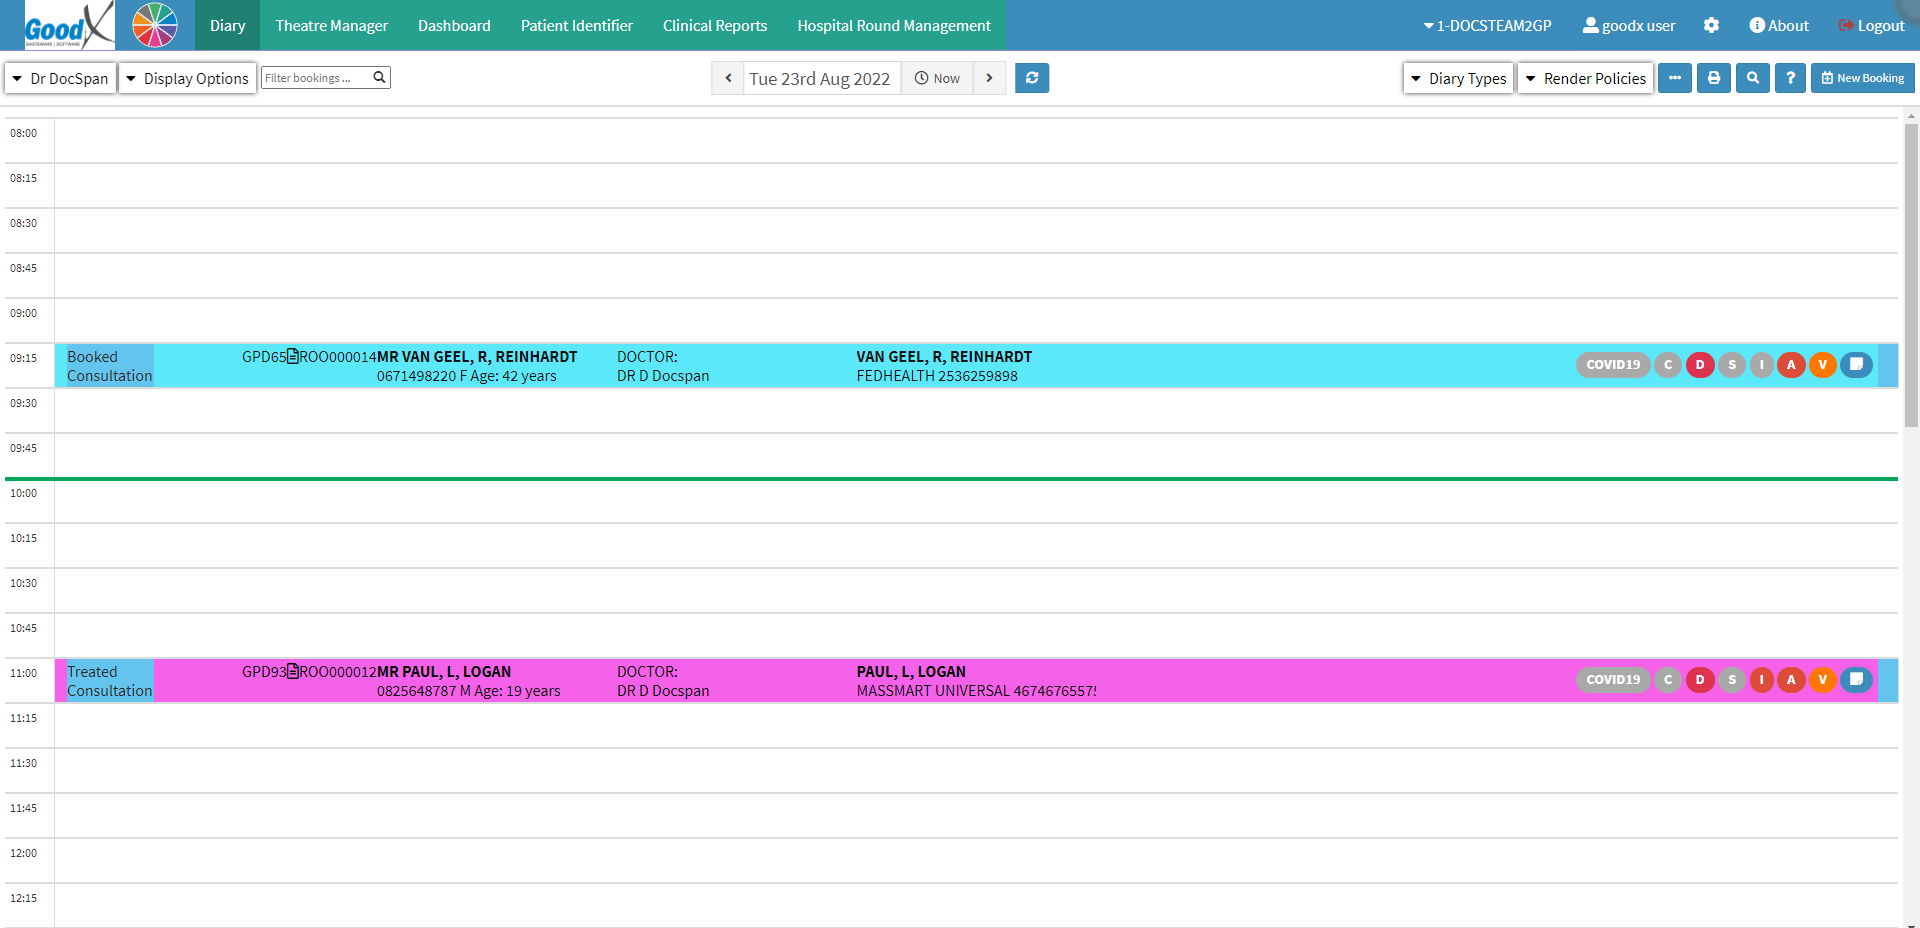
- Click on the booking of the Patient for whom a Receipt will be generated.
![]()
- The Diary sidebar will open.
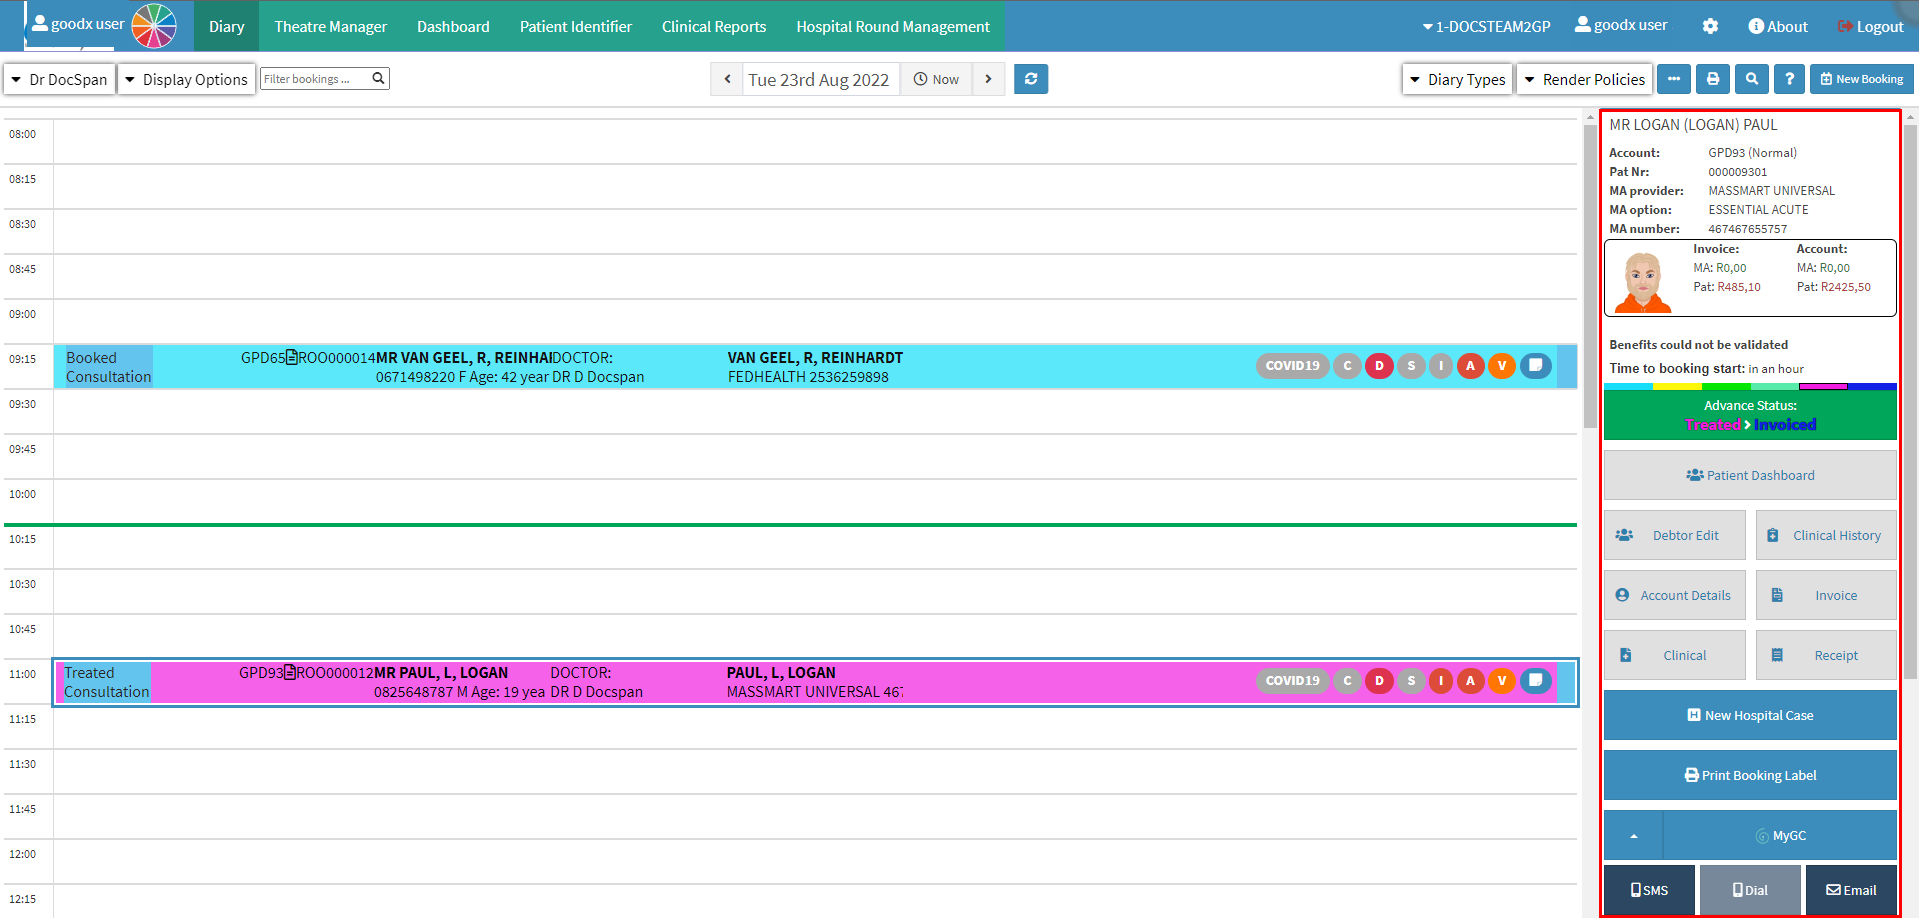
- Click on the Receipt button on the sidebar.

- The Capture Receipt screen will open.
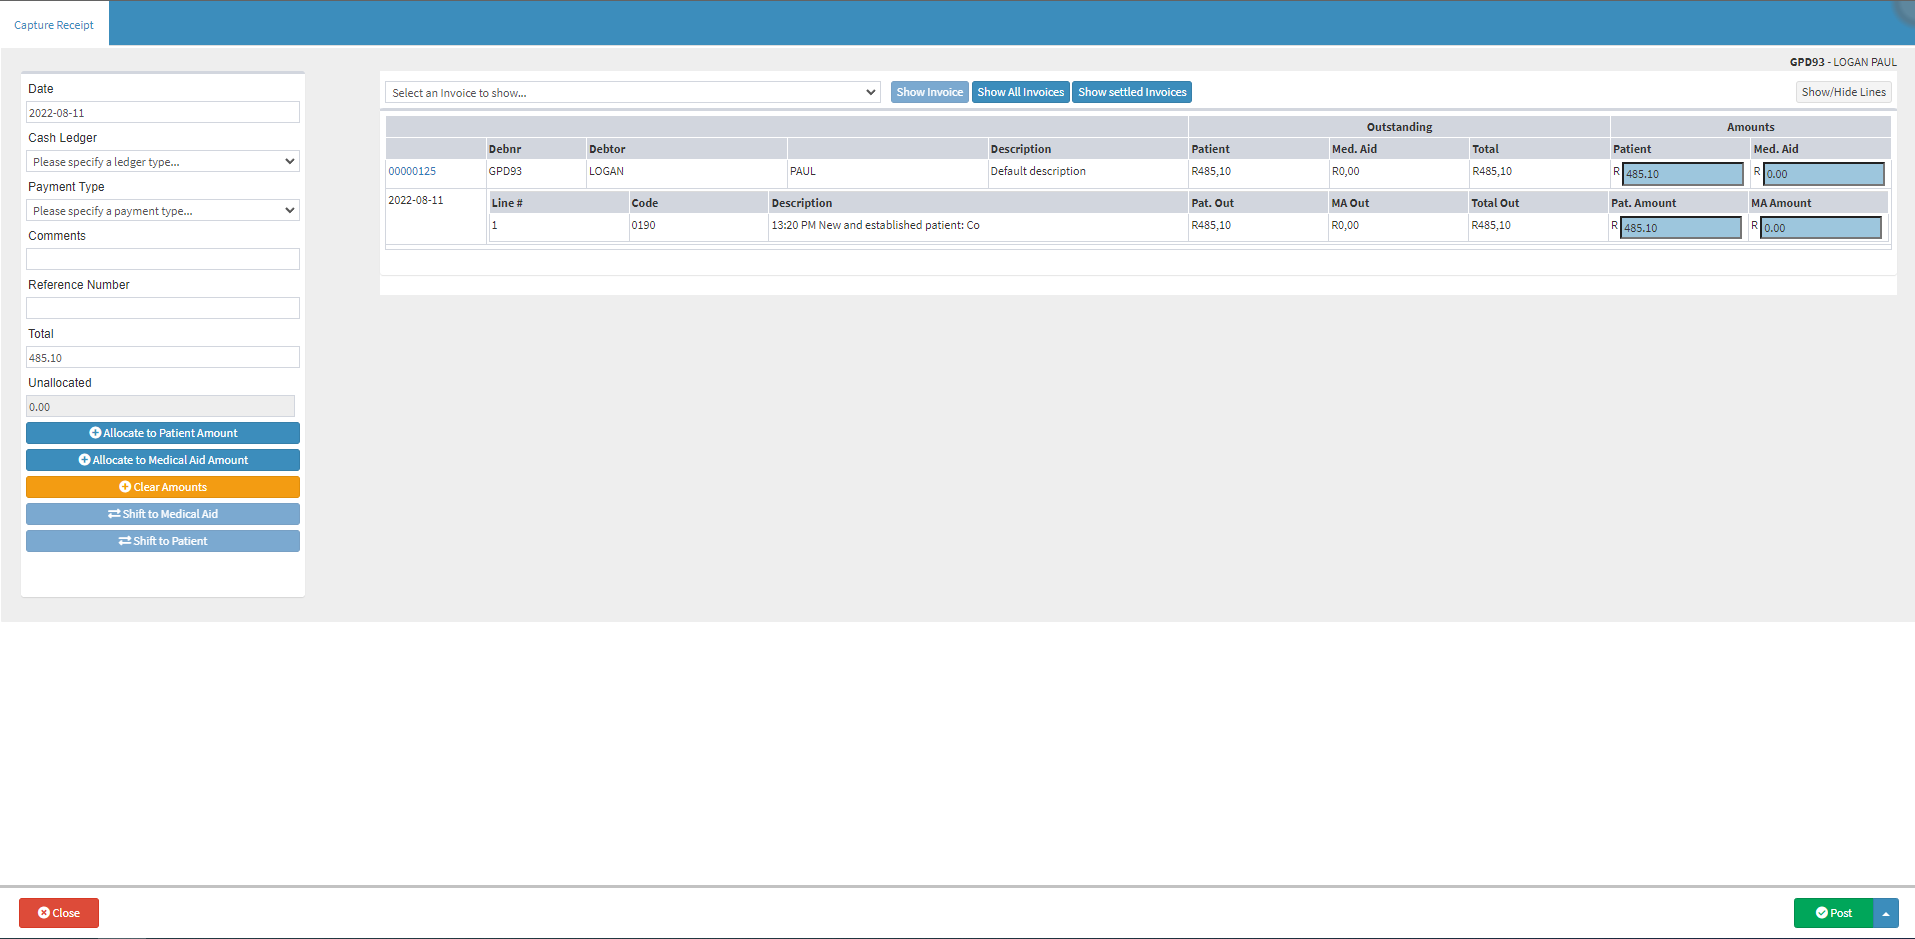
- An explanation will be given for each field and option that is required to complete a Patient Receipt:
![]()
- Date: The year, month and day (yyyy-mm-dd) on which the transaction has taken place.
- Click on the Date field, to open the date picker, if the user would like to change the date.
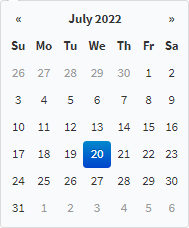
- Click on the desired date to make a selection.
Please Note: The default date will be today's date.
- Cash Ledger: A Financial journal that contains all the transactions for a specific type of receipt and payment. The entries will be posted to a General Ledger. For example Card, Electronic, Petty Cash, Bank, Cash, Corrections and Cheque etc.
- Click on the Please specify a ledger type...drop-down menu to select to which ledger the funds will be allocated.
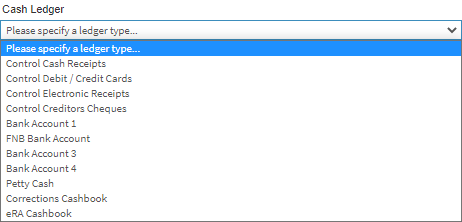
Please Note: The options that are available will be determined by the ledgers that have been set up for the Practice. For more information on how to add a new ledger, please refer to the user manual: Add a New Ledger.
![]()
- Payment Type: The method that has been used by which the payment has been received.
![]()
- Comments: Any additional information that relates to the payment or receipt. The Comments field is a single-line free text field.
![]()
- Reference Number: A number allocated to the receipt that is used to reference back to the transaction. The Reference Number field is a single-line free text field.

- Total: The outstanding amount that the Patient is liable for.
Please Note: If the patient would like to make a partial payment. The desired amount can be entered into the total field.
- Click on the Allocate to Patient Amount button, to automatically assign all unallocated funds to the Patient Amount.
![]()
- Or Type the amount that the patient would like to pay in the relevant fields that correspond to the unpaid invoice.

Please Note: When the user enters an amount in the Pat. Amount field, the Total field will automatically update.
![]()
- For more information regarding all the other options available on the sidebar, please refer to the user manual; Receipt Screen Overview.
- Click on the Close button to cancel the request, no changes that have been made will be saved.
![]()
- An Attention! pop-up will appear to advise the user that they might have unsaved changes and if they would like to exit anyway.

- Click on the Cancel button to ignore the request to close without saving changes and return to the Capture Receipt screen.
![]()
- Click on the Ok button to exit the screen without saving and return to the previous screen. The changes that were made will be lost.
![]()
- Click on the drop-up menu next to the Post button for more options.
![]()
- Click on the Post and Print button, in order for the transaction to be posted to the system and the receipt to be printed. The Capture Receipt screen will close and the user will return to the Account Details screen.

Example of a printed Patient Receipt
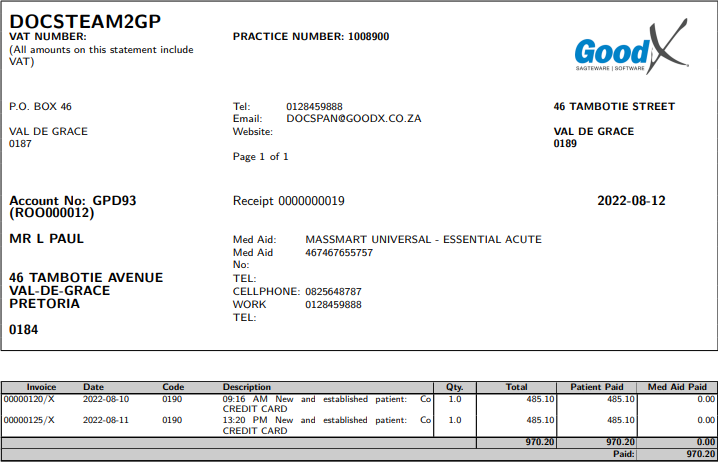
Please Note: The way the receipt will print, is dependent on the setup of the printer at the Practice.
- Click on the Post button to post the transaction to the system, the Capture Receipt screen will close automatically and the user will return to the Account Details screen.
![]()