Telehealth (Telemed) for the Practitioner
Telehealth (Telemed) enables online face-to-face remote communication between the Practitioner and the Patient. Telehealth (Telemed) is a popular alternative to in-person consultations as it allows patients to consult or communicate with each other remotely at a lower rate. Telehealth (Telemed) consultations are convenient for patients, as they do not have to travel to seek medical care. Practices benefit from Telehealth (Telemed) Consultations as it reduces the exposure to sick patients and prevents waiting room crowding.
Before the Practitioner can use the Telehealth (Telemed) function, it will need to be configured. To set this up, please refer to the user manual: Telehealth for the Practitioner Setup.
- The contents of this user manual will consist of the following information:
- Book a Telehealth (Telemed) Booking
- Conducting a Telehealth (Telemed) Booking with a patient
- Screenshot
- Screenshare
- Minimiser
- Messaging
- End Call and Close
Book a Telehealth (Telemed) Booking
Allows you to schedule Patients specifically for remote consultations.
- This user manual will start on the Diary screen.
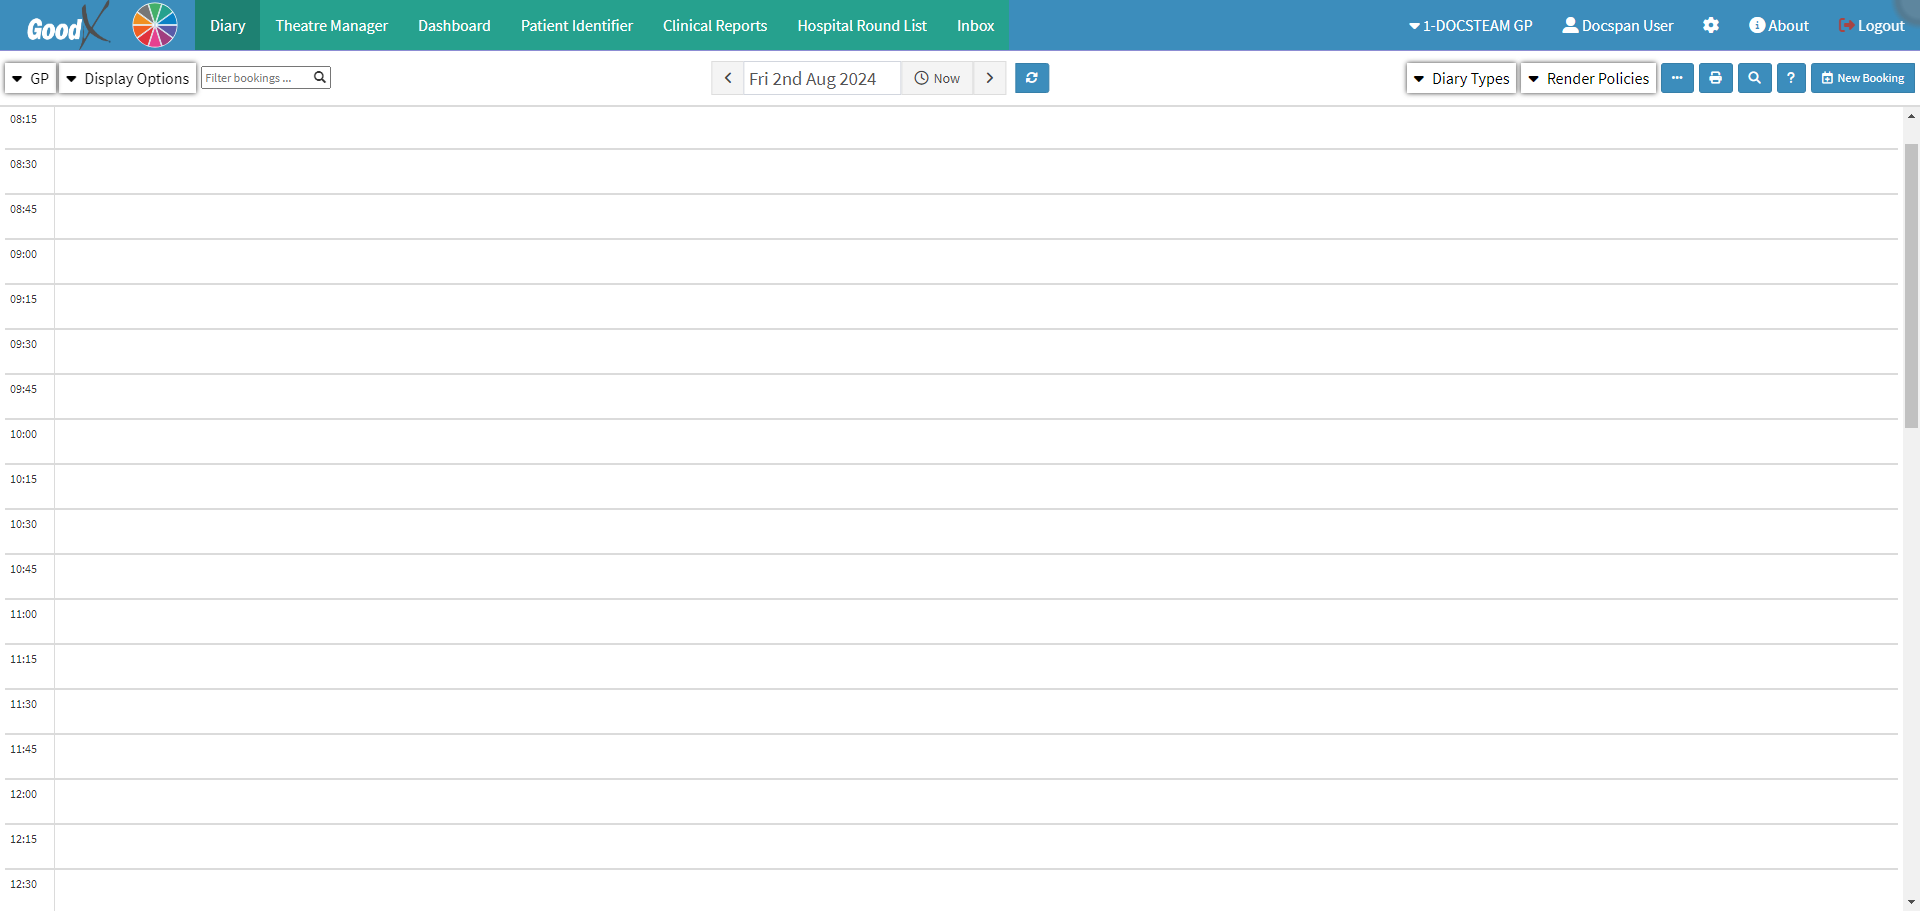
- Double-click on the desired Timeslot.

- The Add/Edit Booking screen will open.
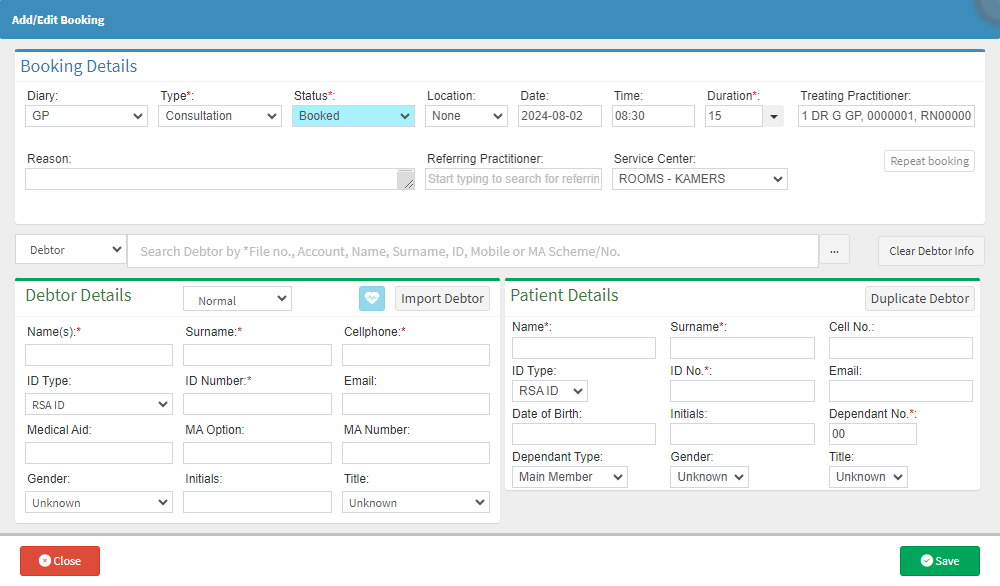
- For a complete explanation of the Add/Edit Booking screen and how to make a booking, please refer to the user manuals: Book New Patient and Book Existing Patient.
- In the Booking Type field, select Telemed as the booking type.
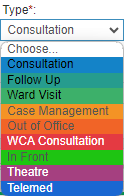
Please Note: Booking Types that appear on the list will need to be set up, to set up different Booking Types please refer to the user manual: Booking Types.
- Complete the relevant fields as you would be done for a regular booking.
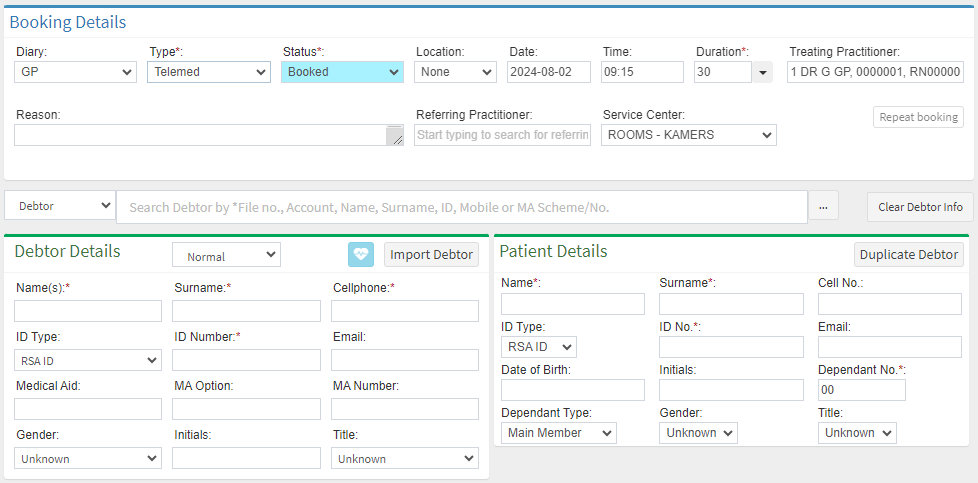
- Click on the Save button to add the booking to the Diary.

- The new Telehealth (Telemed) booking will be added to the Diary.

Please Note: If the Booking is for a new Patient who has not visited the Practice before, a new file will need to be created. To create a new Debtor, please refer to the user manual: Create New Debtor.
Conducting a Telehealth (Telemed) Booking with a Patient
Allows the Practitioner to connect to the Patient for the remote Telehealth (Telemed) consultation.
- Click on the Telehealth (Telemed) booking on the Diary.

- The Diary sidebar will open.
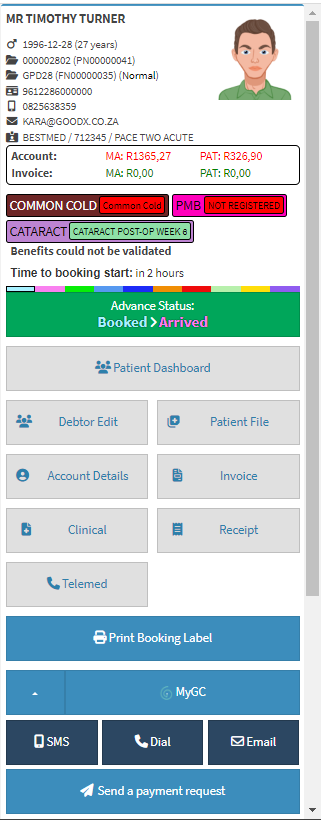
- Click on the Telemed button.

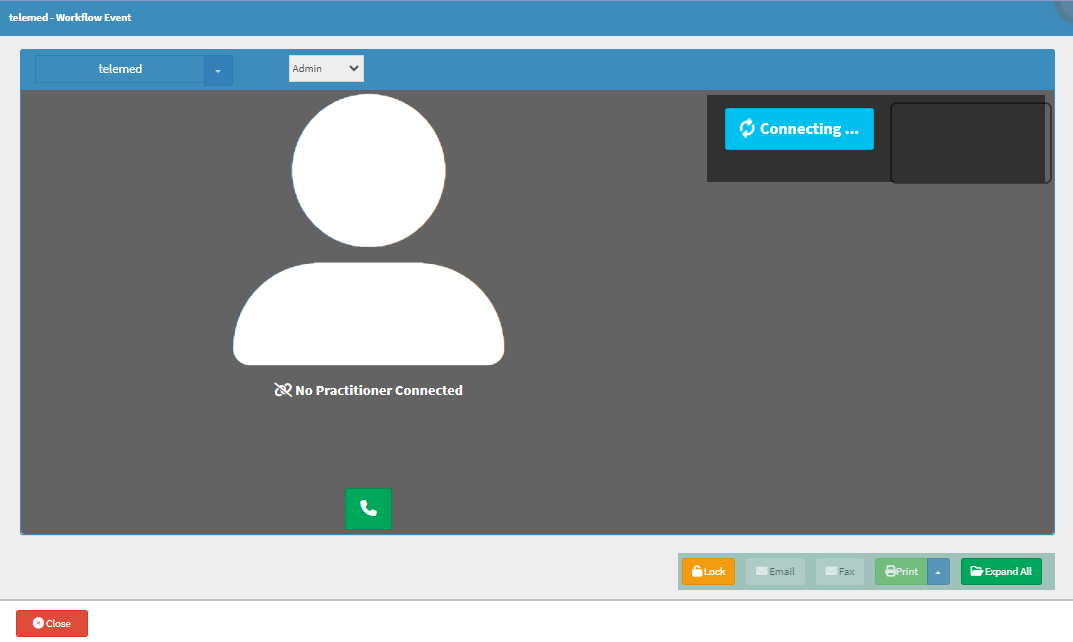
- The Telemed-Workflow Event will open.
- A pop-up notification will appear in the browser to ask your permission to use the Camera and Microphone.
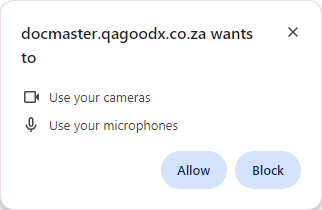
- Click on the Block button to deny the browser permission to use the Camera and Microphone, this is not advisable as the Practitioner will not be able to hear or see the Patient.
![]()
- Click on the Allow button to grant the browser access to use the Camera and Microphone in order for the Patient to be able to see and hear the practitioner.
![]()
- The pop-up will close and the Practitioner's camera will turn on. The Practitioner will be able to see video footage of themselves in the top right-hand corner of the screen.
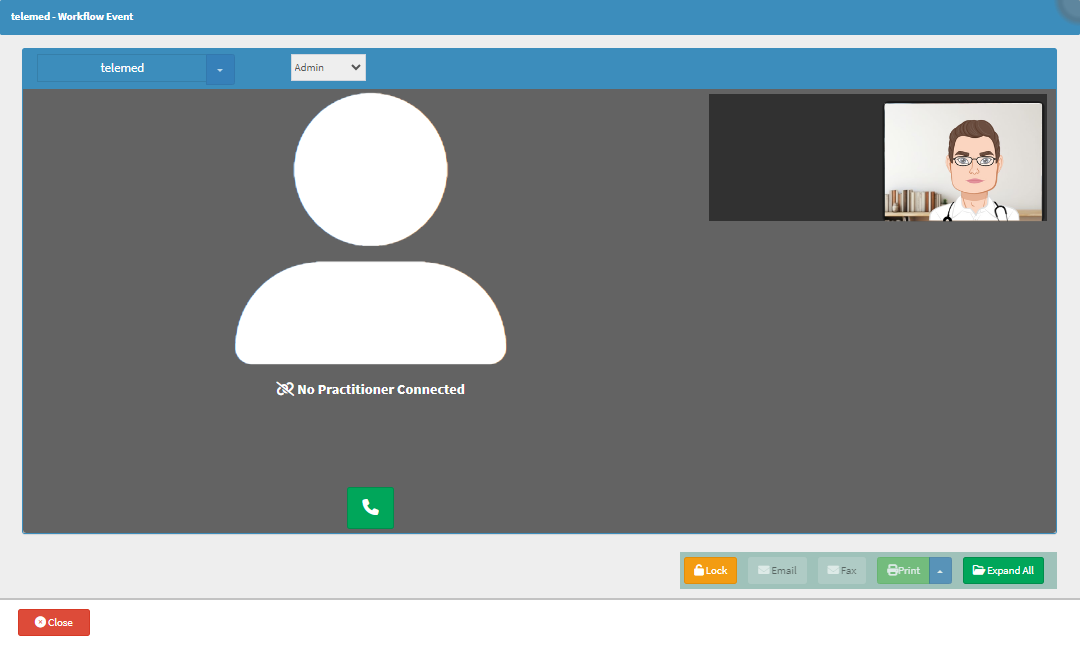
- Click on the Telephone button to call the Patient.
![]()
- You will wait for the Patient to join the call, this will be indicated by a message that advises: Waiting for Other Users to Join.

Please Note: The Patient will answer the incoming video call by clicking the Start Call button on their side, which will connect them to the Practitioner. For more information regarding the steps that the Patient will follow please refer to the user manual: myGC: Telehealth Consultation.
- Once the Patient has connected to the call, their video will display on the Telemed - Workflow Event screen.

- The Telemed - Workflow Event screen will have the following features:
Screenshots
Allows you to take a screenshot of the Patient screen to upload to the Clinical Case for future reference.
- Click on the Camera button to take a screenshot of the current Telemed - Workflow Event screen.
![]()
- Once the screenshot has been taken, a green notification will appear to advise that the screenshot has been saved successfully.
![]()
- To upload the screenshot to a Quick Note on the Clinical Case, please refer to the section Load from External Upload in the user manual: Quick Note.
Screen Share
Created specifically for Physios to share their screen with their patients to demonstrate specific exercises, but is available to all Practitioner types using Telehealth (Telemed).- Click on the Screen button to share your screen with the Patient.
![]()
- The Choose what to share screen will open.
- You will have the ability to share either the entire screen, a single application, or a single Chrome tab, whichever suits your needs.
- Click on the desired option.
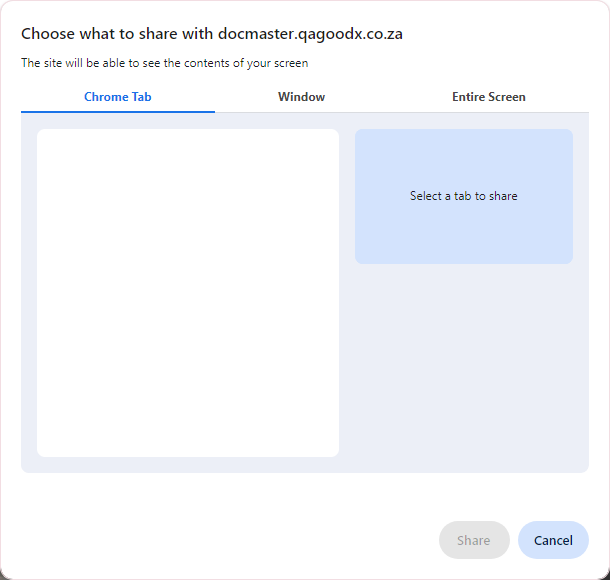
- Click on the Cancel button to ignore the request to share the screen and to exit the screen.
![]()
- Click on the Share button to share the selected screen with the patient.
- The screen that you shared will display on the Patients' screen.
Minimiser (Grey Floater Icon)
If the practitioner would like to do clinical notes, and/or add images they can access the Clinical screen to complete clinical notes by minimising the video call screen.
- Hover over the Floater icon in the top corner of the screen.

- The floater will expand.
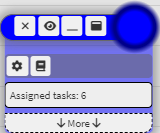
- For an extensive explanation on how to use the Minimiser please refer to the user manual: How to Use the Minimiser.
Please Note: The practitioner will still be able to see the patient when the screen is minimised.

Messaging
Allows the practitioner to communicate with the patient using text.
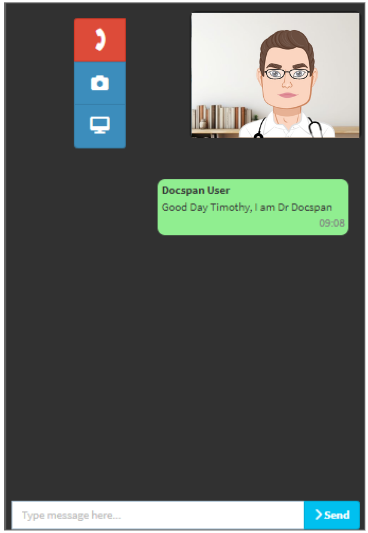
- Click on the Type message here... text box to type a message to the patient.
- Click on Send to send the message to the patient once satisfied with the content of the message.
![]()
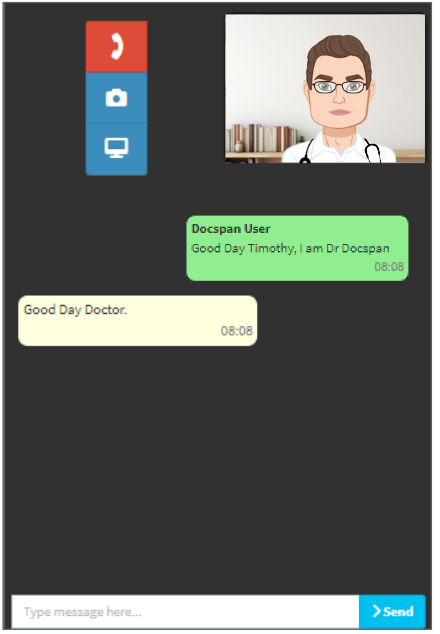
- The sent message will appear in the chat.
Please Note: The Patient can reply to your messages, they too will appear in the chat.
End Call and Close
After you are done with the consultation they will hang up the call with the Patient.- Click on the Red Telephone button to end the call with the patient.
![]()
- The call will disconnect and the screen will show No Practitioner Connected.
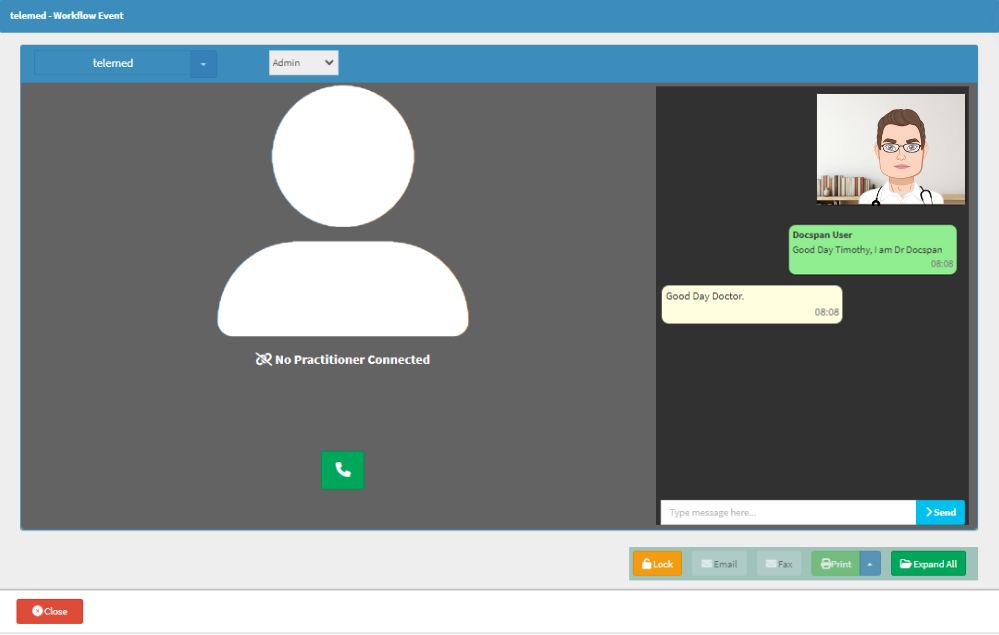
- Click on the Close button to return to the main Diary screen and to switch off the camera.
