Submit Referral Letters Through grandXchange
Why Use This Function:
Submitting Referral Letters through grandXchange offers a secure, streamlined, and professional way for external healthcare providers to communicate with Practitioners. A dedicated online portal allows non-GoodX users to effortlessly submit Referral Letters to the correct Practice, ensuring that important clinical information is shared without delays, lost paperwork, or manual follow-ups.
The platform ensures that all Referral Letters are received in a controlled, organised environment where they can be easily viewed, managed, and stored by the Practice. Users benefit from a simplified submission workflow, while the receiving Practitioner gains access to accurate, complete information needed to continue treatment effectively.
💡Please Note: For non-GoodX clients, the Practitioners that you refer to most often can supply you with their Practice link.
The Contents of This User Manual:
- Send Referral Letter to
- Referral Letter From
- Referral Details
- Patient
- This user manual will start on the Referral Letter screen of the link provided by the GoodX client.
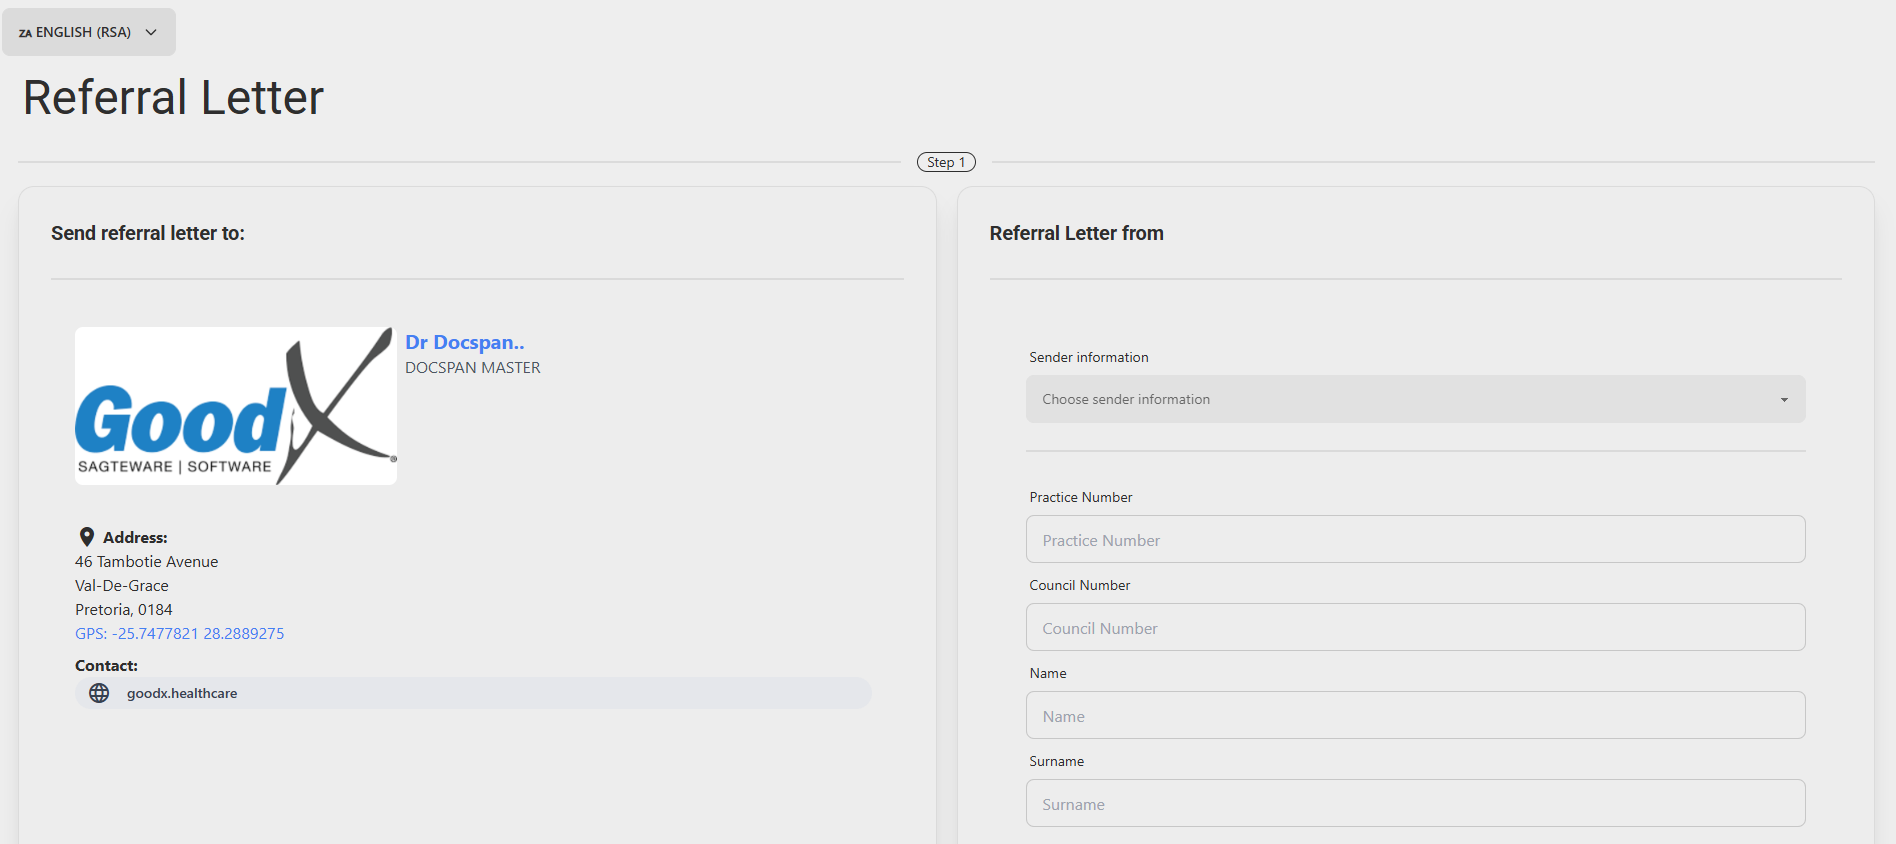
Send Referral Letter To
The details of the Practitioner to whom you are sending the Referral Letter. This allows you to ensure that the letter is being sent to the correct Practitioner.

Referral Letter From
Your personal and Practice information.
💡Please Note: Fields marked with an asterisk (*) are mandatory and must be completed to proceed.
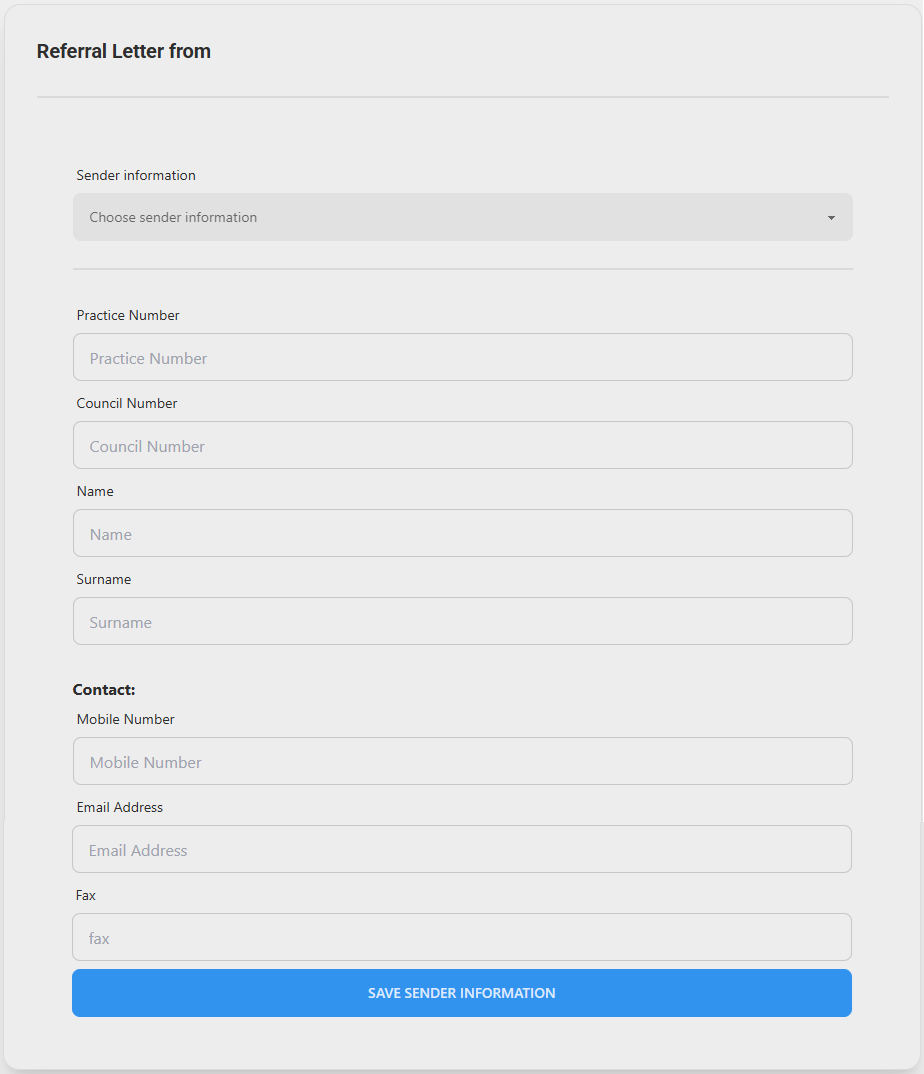
- Click on the Sender Information drop-down menu to select the sender, which will then automatically fill in all the fields.

💡Please Note: This option will only be available once Sender Information has already been saved previously.
- Click on the Practice Number field to enter your Practice number.

- Click on the Council Number field to enter your medical registration number.

- Click on the Name field to enter your first name.

- Click on the Surname field to enter your last name.

- Click on the Mobile Number field to add your cellphone number.

- Click on the Email Address field to enter your email address.

- Click on the Fax field to enter a fax number if necessary.

- Click on the Save Sender Information button to save the information added.
![]()
Referral Details
The medically relevant information that relates to the Referral Letter.

- Click on the Referral Date field to manually enter the date the Patient was referred.

- Alternatively, Click on the Calendar button to select the Referral Date from the date picker that becomes available.

- Click on the Referral Short Description field to enter a short heading for the referral.

- Click on the Detailed Description field to add all the relevant information that you want to share regarding the referral.

- Click on the Attach PDF button to upload supporting images and documents.
![]()
Patient
The personal information that relates to the Main Member and the Patient that you are referring.
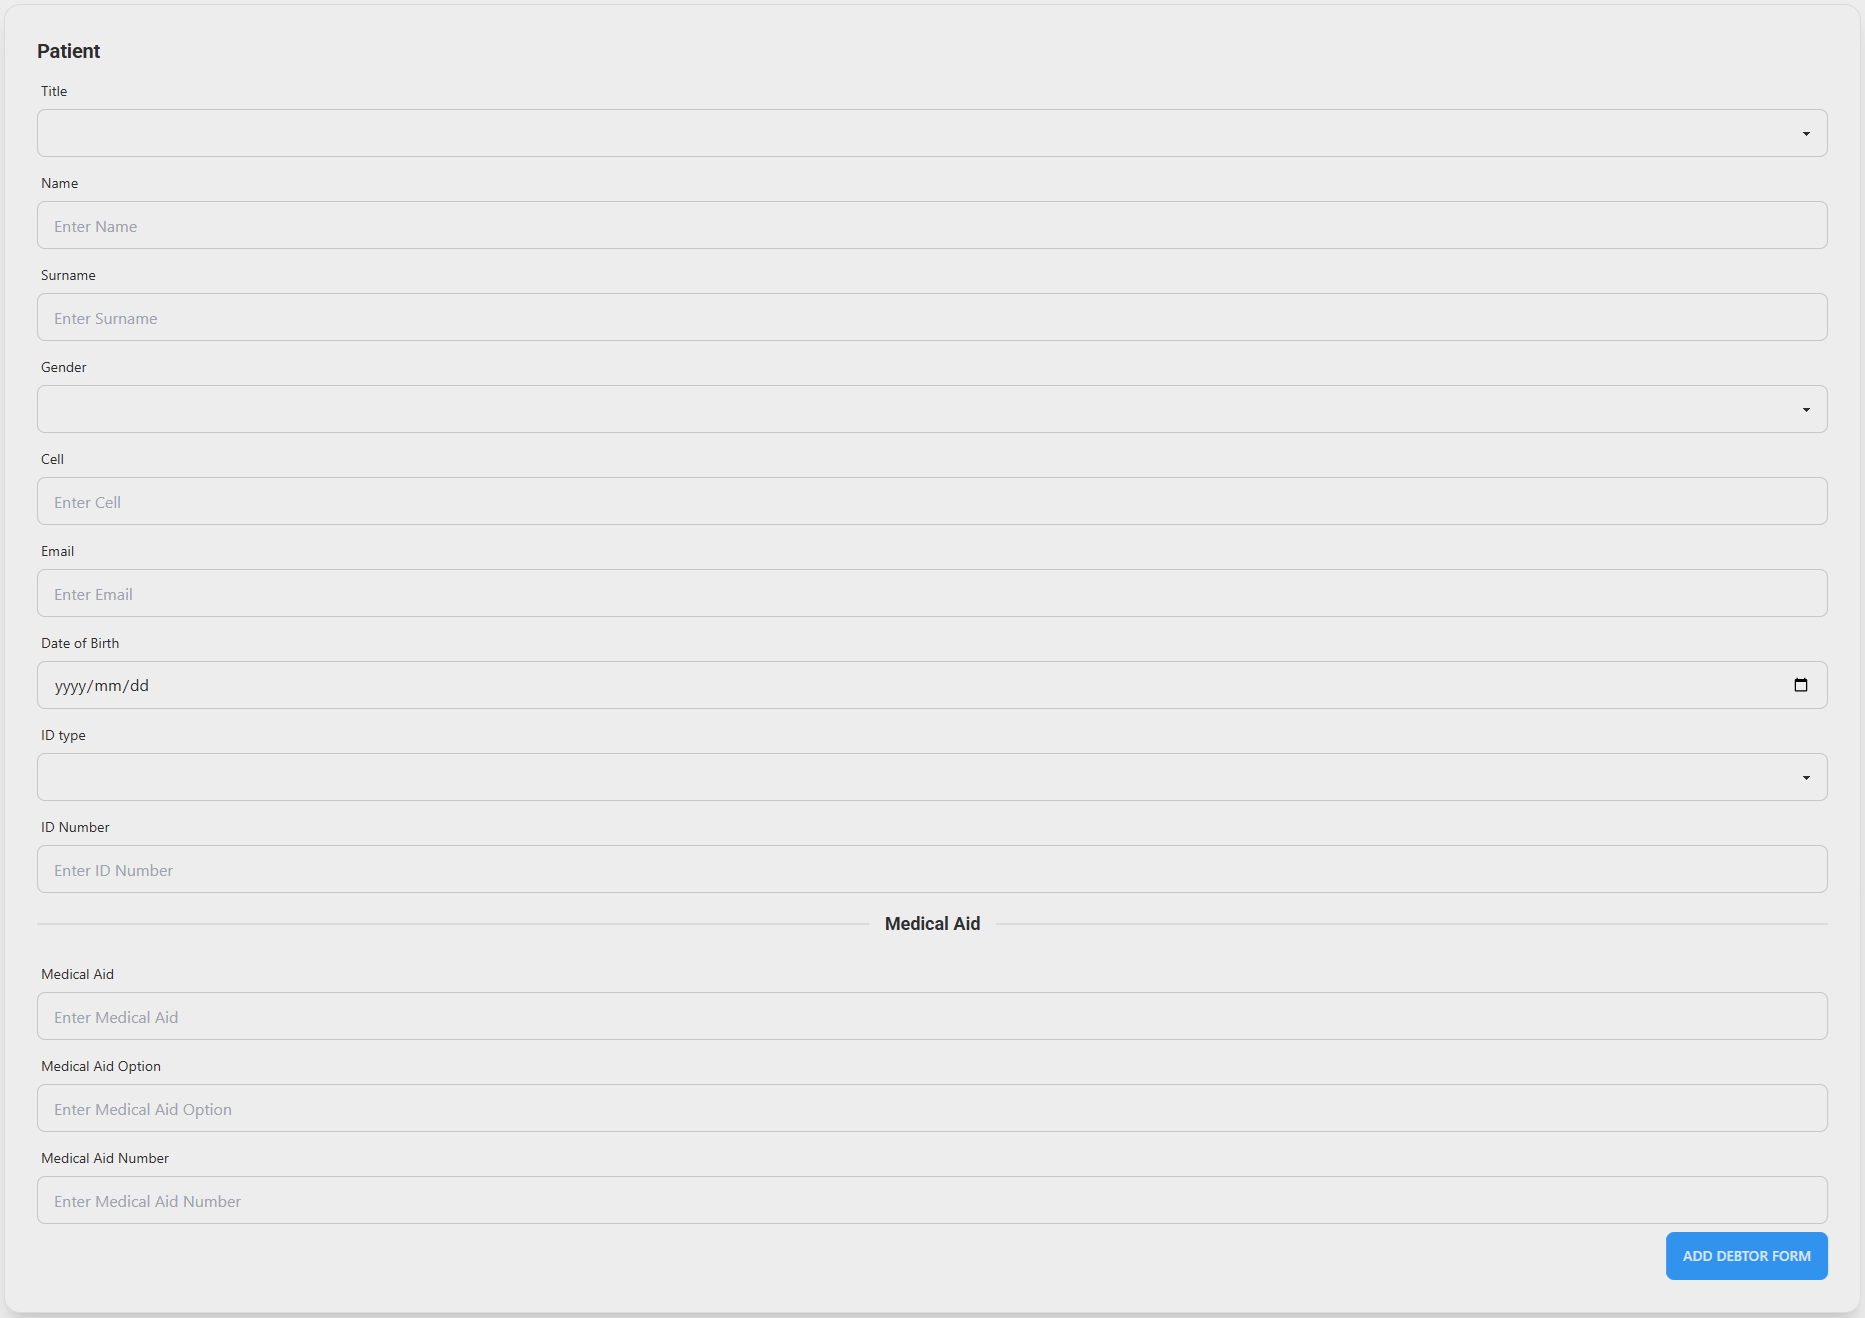
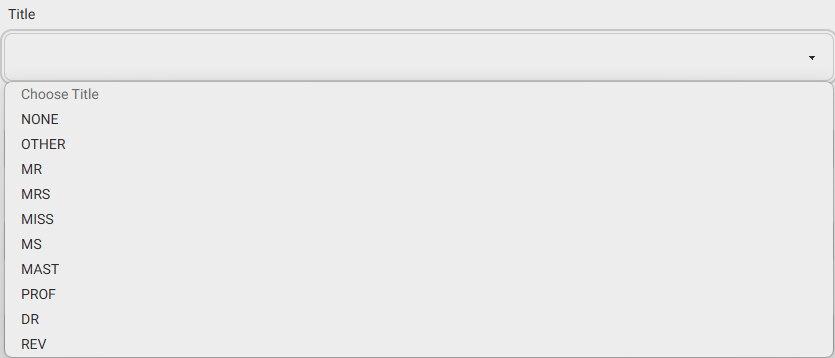
- Click on the Title drop-down menu to select the relevant option.
- Click on the Name field to enter the Patient's name.

- Click on the Surname field to enter the Patient's last name.

- Click on the Gender drop-down menu to select the relevant option.

- Click on the Cell field to enter the Patient's cell phone number.

- Click on the Email field to enter the Patient's email address.

- Click on the Date of Birth field to manually enter the Patient's date of birth.

- Alternatively, Click on the Calendar button to select the Patient's birth date from the date picker that becomes available.

- Click on the ID Type drop-down menu to select the relevant option.

- Click on the ID Number field to enter the Patient's ID Number.

- Click on the Medical Aid field and start typing to search for the desired Medical Aid.

- Click on the Medical Aid Option field and start typing to search for the desired Medical Aid option.
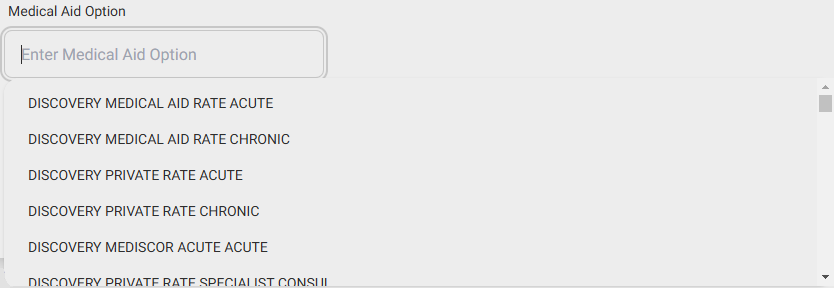
💡Please Note: The Medical Aid Option is dependent on the Medical Aid that has been selected.
- Click on the Medical Aid Number field to enter the Medical Aid membership number.

- Click on the Add Debtor Form button to copy all the information to the same fields on the Patient side.
![]()
- The Debtors section will be added.

- Click on the Copy Patient to Debtor button to duplicate the Patient information to the Debtor section.
![]()
💡Please Note: If the Debtor and Patient's details differ, complete the details in the Debtor section.
- Click on the Send button to send the Referral Letter.
![]()
- The Submitted Successfully pop-up will appear, and advise that the Referral Report has been submitted successfully.
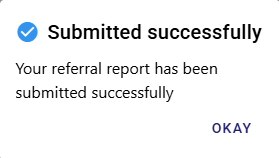
- Click on the Okay button to close the Submitted Successfully pop-up.
![]()