Requesting Access enables users, such as Pharmacies, to send their details for automatic validation and registration when they are unable to claim a grandXchange account due to not being registered on MedPages.
The Contents of This User Manual:
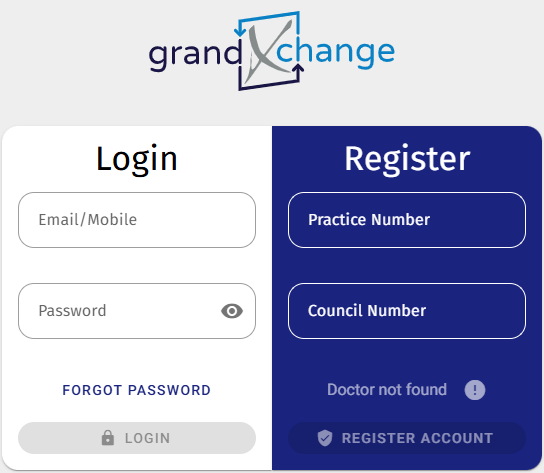
Register
Request Access
Account Verification
Verification Link Sent
Email
This user manual will start on the grandXchange Login screen.
Register
Allows you to claim and/or register your grandXchange account.
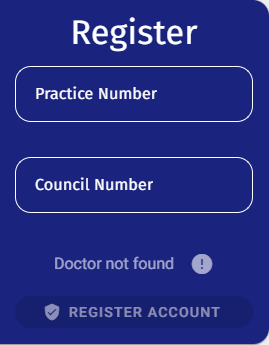
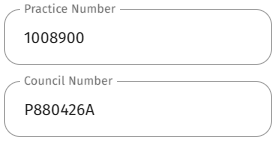
Click on the PracticeNumber field to enter the unique number that has been assigned to your Practice by the BHF (Board of Healthcare Funders).
Click on the Council Number field to enter your unique number as assigned to you by the South African Pharmacy Council (SAPC).
💡Please Note: The example is only a guideline for entering the number correctly. Each number is unique and may not look the same as the example.
grandXchange will check the database and identify that you are not registered with MediBase and indicate: Doctor not Found.
The Request Access button will become available.
Click on the Request Access button.
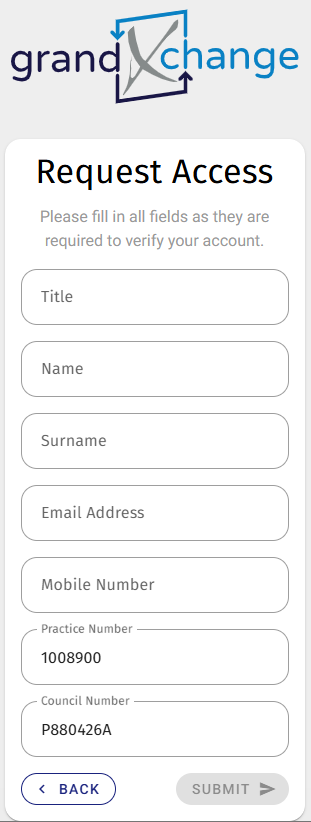
The Request Access screen will open.
Request Access
Allows you to complete your details to request automatic access to grandXchange.
💡Please Note: All fields are mandatory.
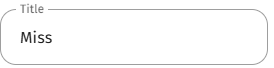
Click on the Title field to enter your title.
Click on the Name field to enter your first names.
Click on the Surname field to enter your surname.
Click on the Email Address field to enter your email address.
Click on the Mobile Number field to add your cellphone number.
💡Please Note: The Practice Number and Council Numbers will automatically be filled in, as you completed them on the Register screen. Changes can be made if the need arises.
Click on the Submit button.
Account Verification
You will need to verify your account.
The Account Verification screen will open.
Click on the desired radio button where you would like the Verification Link to be sent.
💡Please Note: For this example, the Email Address was used.
Click on the Submit button.
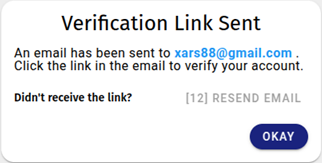
Verification Link Sent
The Verification Link will be sent to the selected option.
A screen will open to advise that the link was sent.
💡Please Note: If you have not received the link, you can Click on the Resend Email button.
Click on the Okay button.
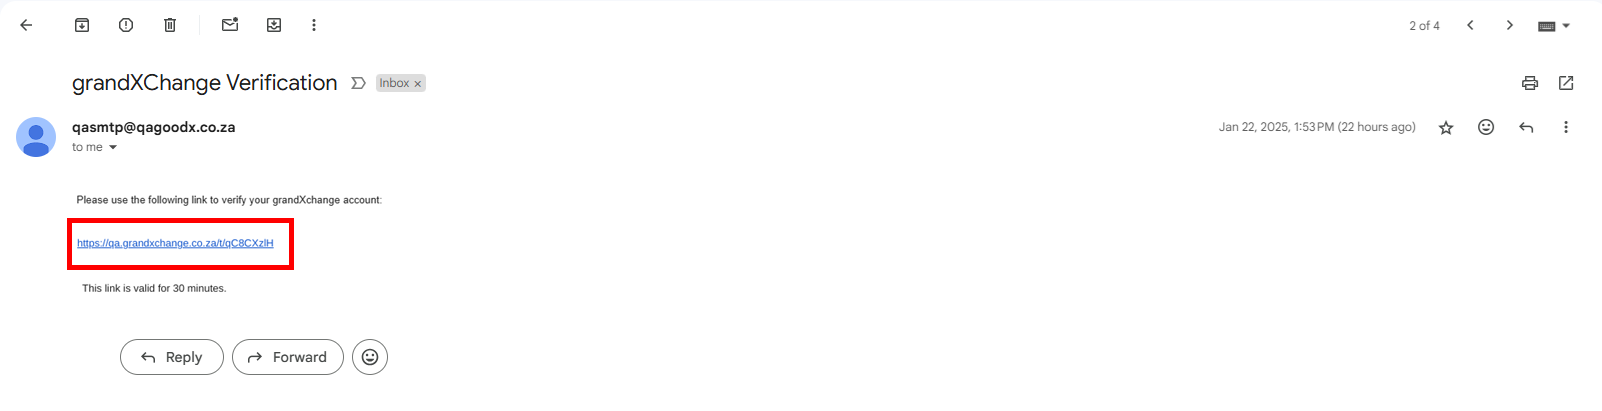
Email
An Email will be sent to the supplied email address.
Click on the Verification Link in the email.
Your grandXchange account has now been Verified and you are able to Claim your account. For more information regarding how to Claim your account, please refer to the user manual: Claim and Verify Account with Mobile Number.