Authorisation is the process of obtaining approval from a Medical Aid before a specific treatment or procedure may be provided to a Patient.
For a Medical Aid Patient, the treatment or procedure must be approved before it can commence. The Medical Aid must be contacted to arrange the Authorisation. An Authorisation number will be issued, and this number must be included when submitting the claim to the Medical Aid.
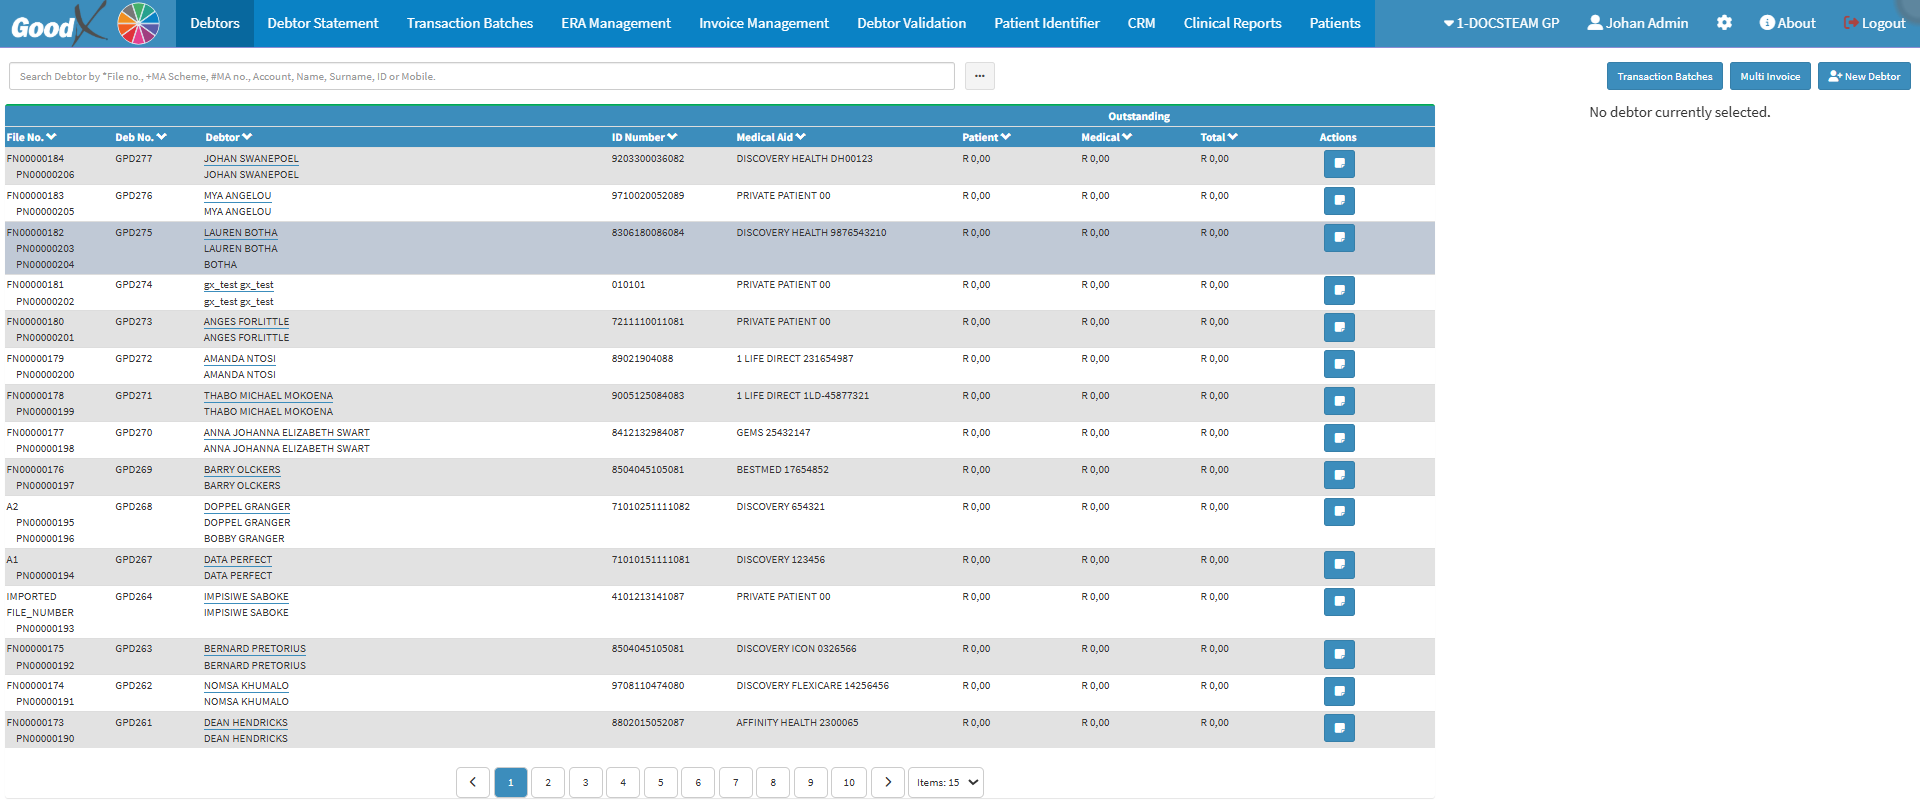
This user manual will start on the Debtors screen.
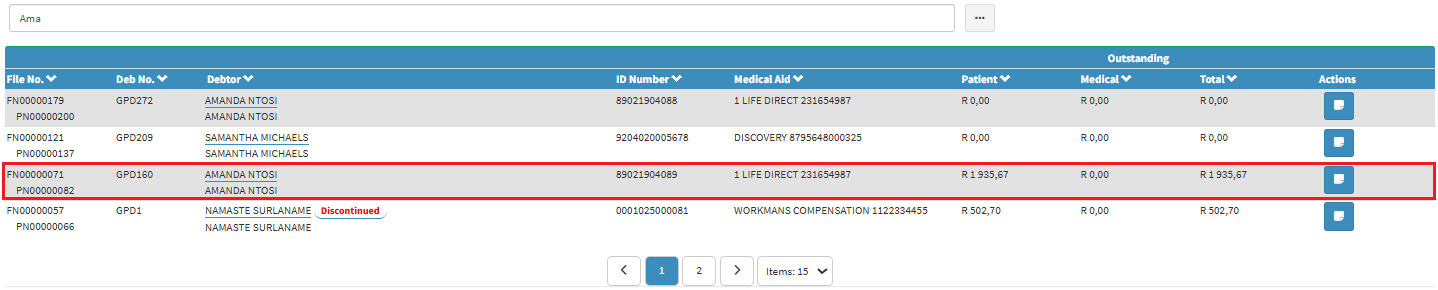
Click on the desired Debtor.
The Debtor sidebar will open.
Click on the Debtor Edit button.
The Debtor Details screen will open.
Click on the Add Authorisation button.
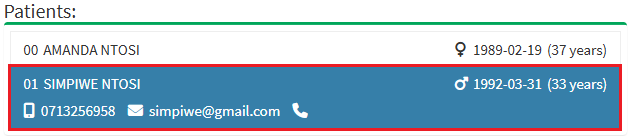
The Clinical Information screen will open.
Click on the desired Patient.
Click on the Add button to add a new Authorisation to the selected Patient.
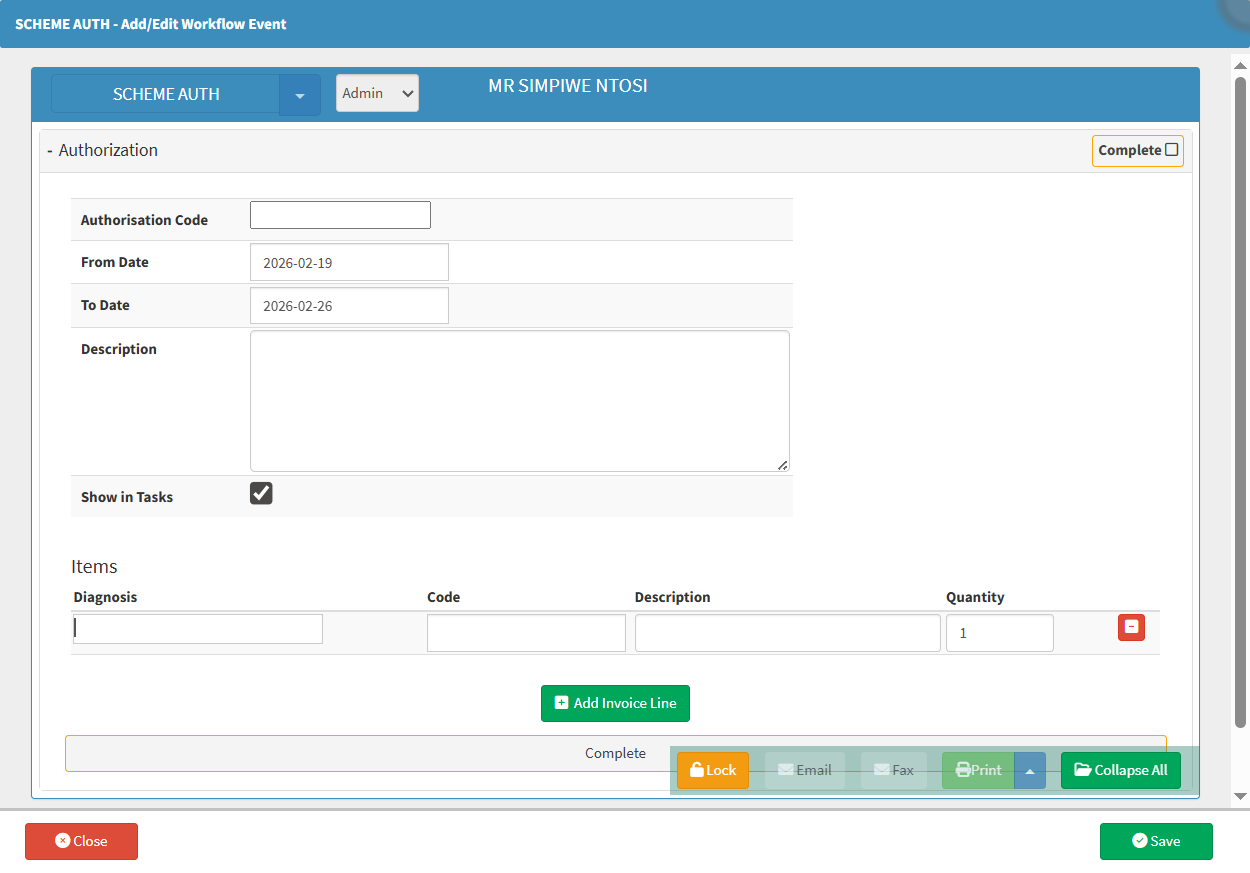
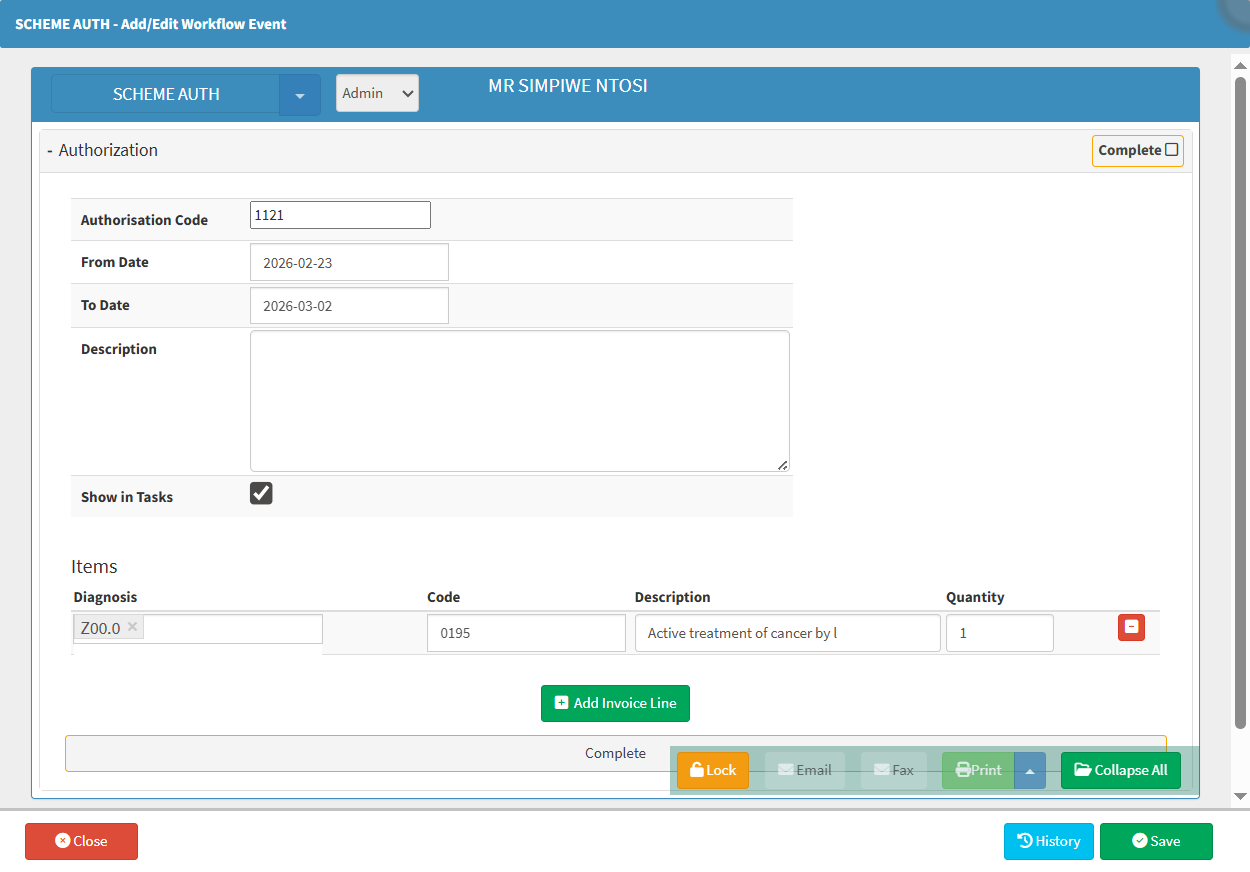
The Scheme Auth - Add/Edit Workflow Event screen will open.
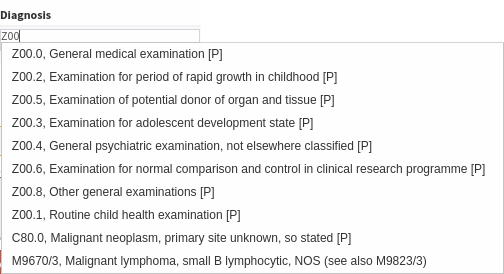
Click on the Authorisation Code field to enter the Authorisation Number obtained from the Medical Aid.
Dates
Dates allow you to define a specific timeframe when working with records. The From Date sets the beginning of the period, while the To Date sets the end. Together, these fields help refine results by limiting information to the selected date range.
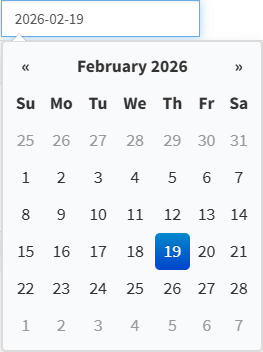
Click on the From Date field to select the desired date from which the Authorisation will be valid, from the Date Picker that will become available.
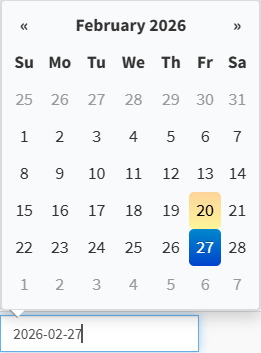
Click on the To Date field to select the desired date to which the Authorisation will be valid from the Date Picker that will become available.
Click on the Description field to enter additional information related to the Authorisation code.
Tick/Untick the Show in Tasks checkbox to activate/deactivate the Authorisation so that it shows in Tasks.