The purpose of the Report Setup is to set up the settings for the style the Invoice will print and the printer settings from where the Invoice will print.
Log into the GoodX Desktop App with your username and password
Double click onthe MedDebs module
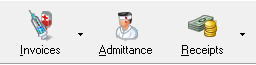
From the menu bar, click on the Admittance button
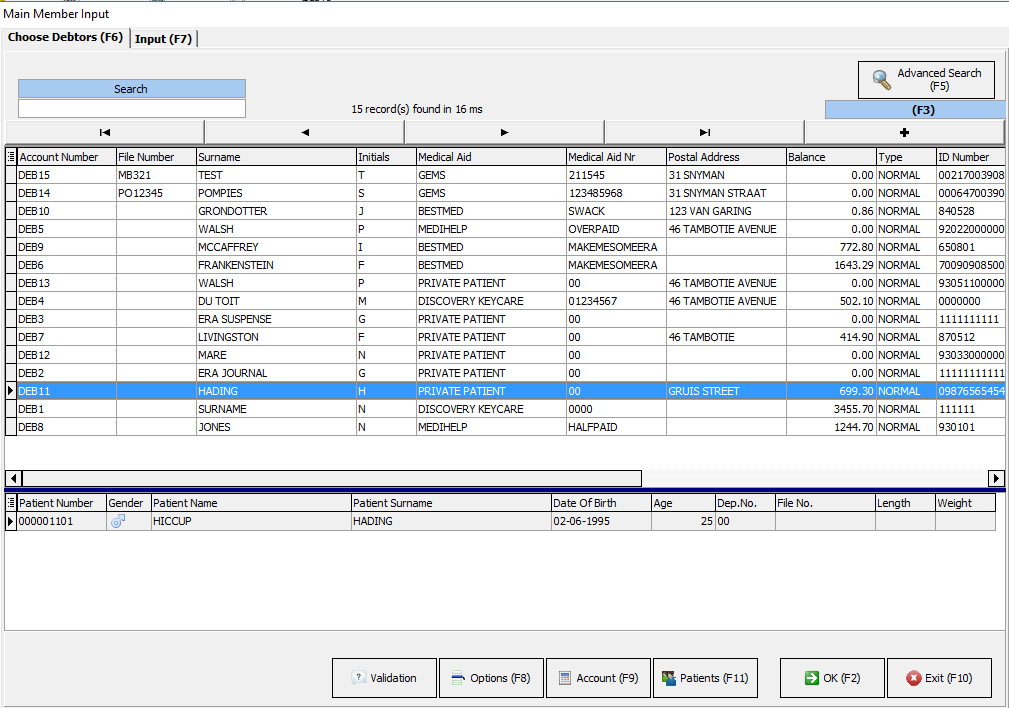
Search for the correct Debtor for the invoice
Click on the account button or F9 on your keyboard
Click on the correct invoice to be printed and click on the Reprint button
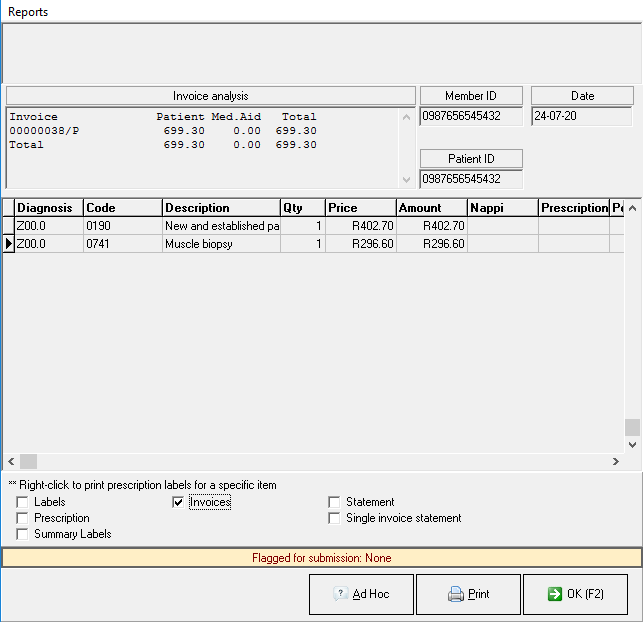
Click on the Invoices option and click on the Print button
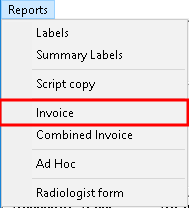
From the Invoice print screen, click on the Report option
From the drop-down menu, click on the Invoice option
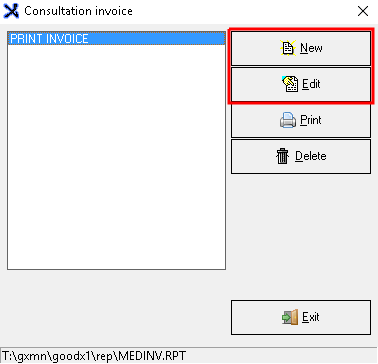
A pop-up will appear where you can create a New print template, Edit an existing template, Print the Invoice, or Delete the setup template that was created.
Click on the correct Invoice template and click on the Edit button
TAKE NOTE: The Style and Printer setup will be exactly the same under the 'New' and 'Edit' options.
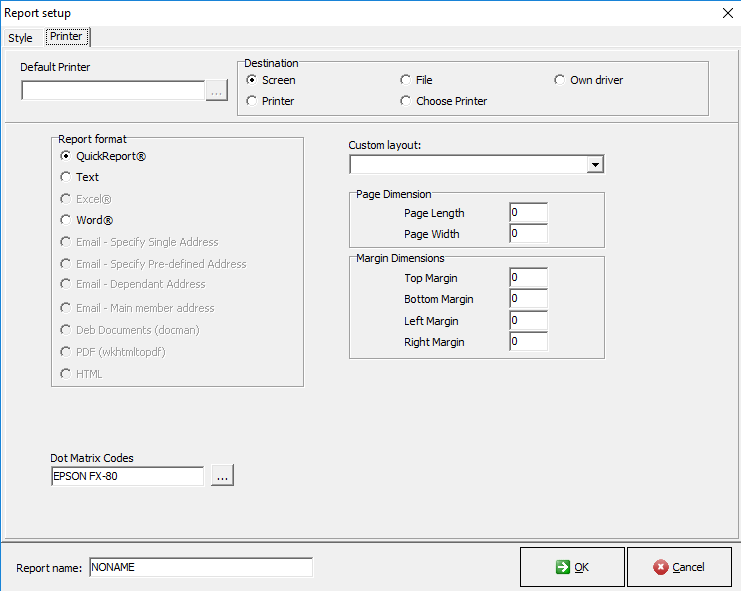
The Report setup screen will open. You can filter and set up print settings under the Report setup.
Complete the following information:
Default Printer: The default printer is the printer all print jobs are sent to unless otherwise specified in the Practice. Having a default printer prevents the program from asking what printer they want to use each time they print an Invoice.
Destination
Screen/Printer/File/Choose Printer/Own driver:
Report Format
QuickReport: This option will print the Invoice in Quick Report format.
Text: This option will print the Invoice in text format.
Word: This option will Export and Save the Invoice in Microsoft Word format.
Custom Layout: This is a layout that was already created
Page Dimension: This is the Lenght and Width of a Page and will print according to this size.
Margin Dimension: This is the Top, Bottom, Left, and Right Margin of the Page. This will determine how close to the page border the Invoice details will print.
Dot Matrix Codes: The different printers that are setup
Report Name: This is the name of the Report template that was created to print the Invoices from.
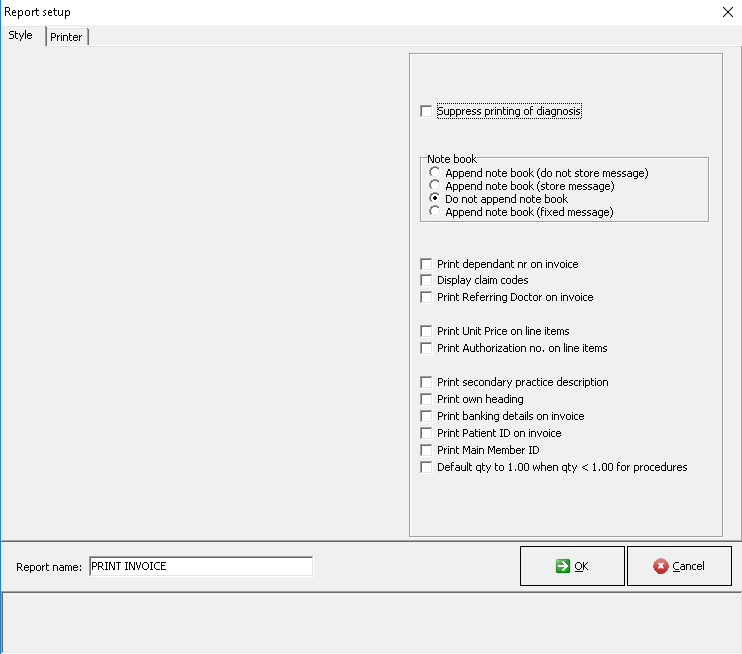
Style Setup:
Complete the following information:
Suppress printing of diagnosis: Tick this setting if you want to print the Invoice without displaying the diagnosis/ICD-10 code. The diagnosis will no longer display on the Invoice.
Notebook:
Append notebook (do not store message):
Append notebook (store message):
Do not append notebook:
Append notebook (fixed message):
Print dependant nr on invoice: This option will print the patient's dependant number on the Invoice eg. 00, 01.
Display claim codes: This option will display and print all the procedure codes that were claimed on the Invoice.
Print Referring Doctors on Invoice: This option will print the Referring Doctors details on the Invoice if there is one.
Print Unit Price on line items: This option will print the price per unit per line on the Invoice.
Print Authorization no. on line items: This option will print the authorization on all lines billed on the Invoice.
Print a secondary practice description: This is a small description of the practice
Print own heading: A heading that you created for the practice
Print banking details on invoice: This option will print the practice/doctor banking details for payments on the Invoice.
Print Patient ID on invoice: This option will print the patient's 13 digit ID number on the Invoice.
Print Main Member ID: This option will print the Main Members 13 digit ID number on the Invoice.
Default qty to 1.00 when qty < 1.00 for procedures:
Report Name: This is the name of the Report template that was created to print the Invoices from.
Click on the OK button when done with settings to save changes made.
Click on the Cancel button to exit the settings screen without saving.
Last modified: Thursday, 17 December 2020, 1:07 PM