When a patient's electronic demographic data is updated, sometimes the diary will not update the information on the bookings that have already been made.
The Get new patient fixed data will refresh the booking and see if there is any newly updated data on the patient and change the bookings data with the patient demographic data as on the electronic file.
Sign in to the GoodX Desktop using your GoodX username and password.
From the Navigator Double Click on the Diary Module
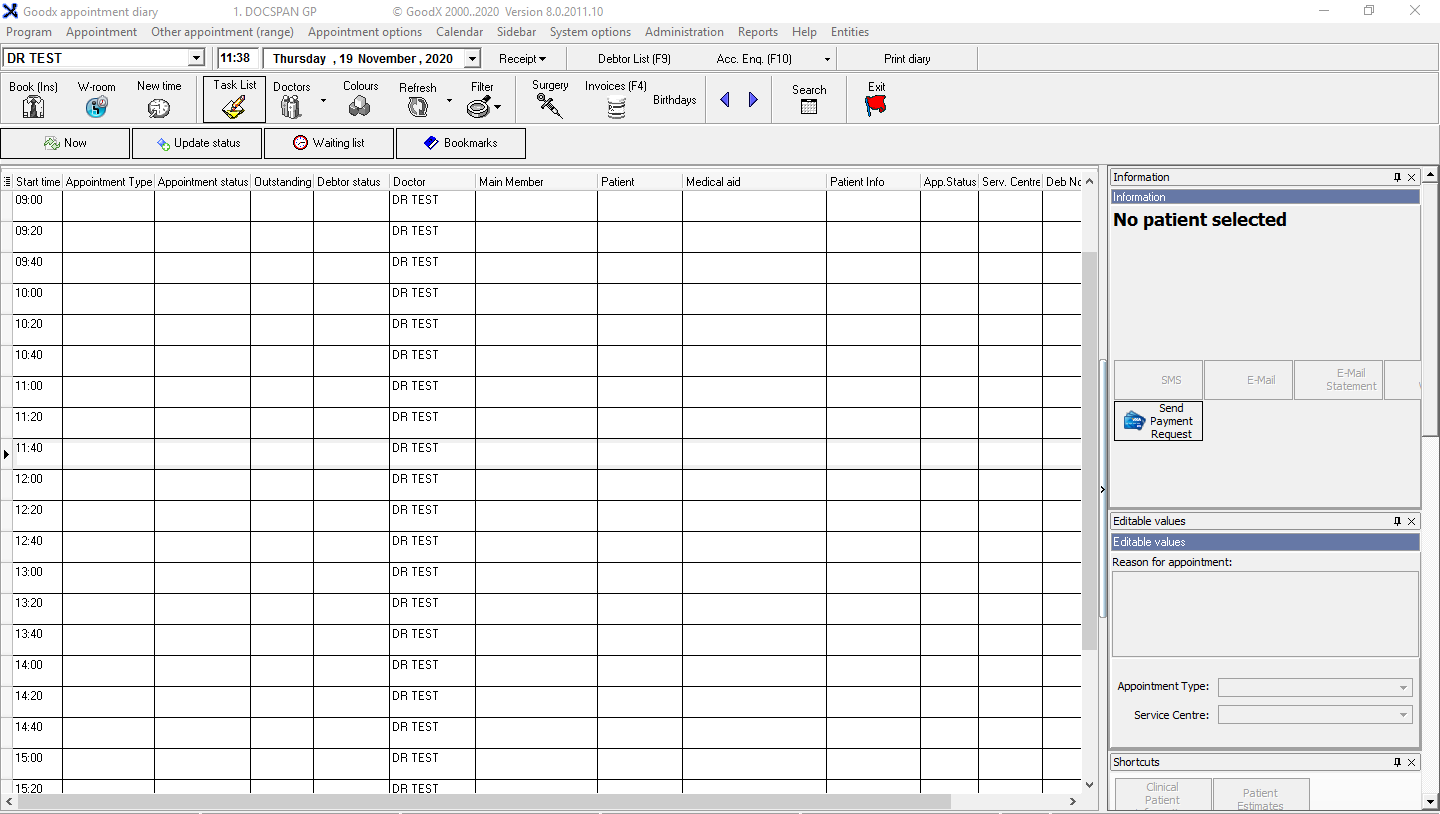
The Main Diary Screen will open
From the Main Dairy screen :
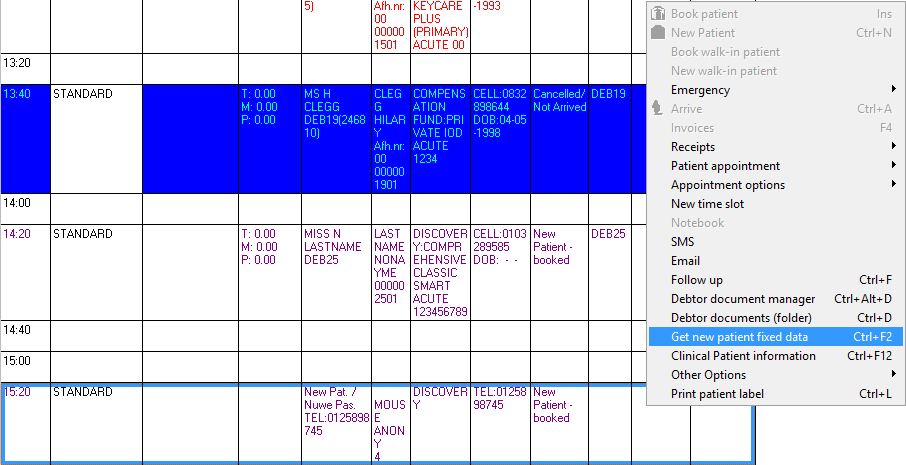
Select the booking of the new patient, whom you would like to update the new fixed data of:
Use Ctrl + F2 keys (Ctrl and F2 keys together on the keyboard) to call up the fix patient data - PLEASE NOTE this can only be done for new patients
Or you can Right Click on the diary entry and click Get New Patient Fixed Data
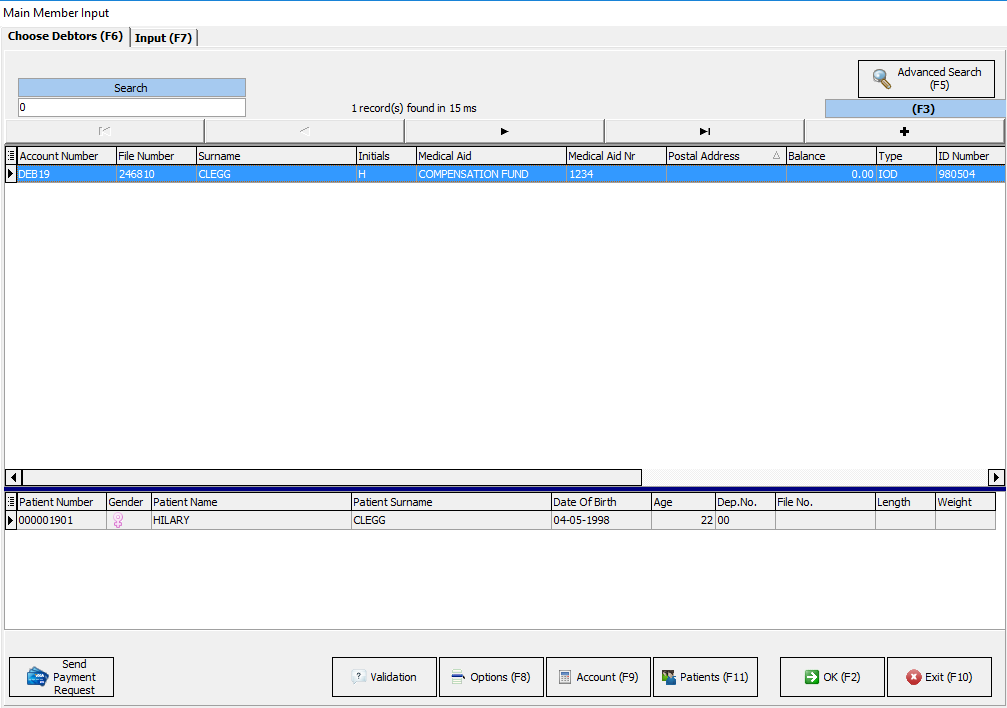
You will be directed to the Main Member Input Screen
It will open on the Choose Debtors tab
Click on the + button to add the details of the new patients
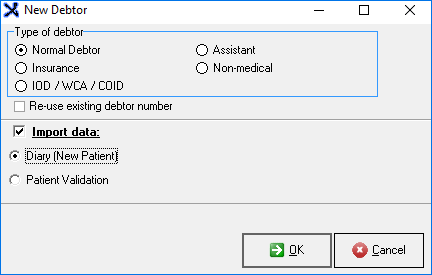
The New Debtor pop-up screen will appear
Select the Import Data Checkbox and the Diary (New Patient) option.
Click on OK to continue
Steps to follow if you did not add the Medical Aid :
Depending on the information you have added when making the initial booking will depend on which screen will pop up next.
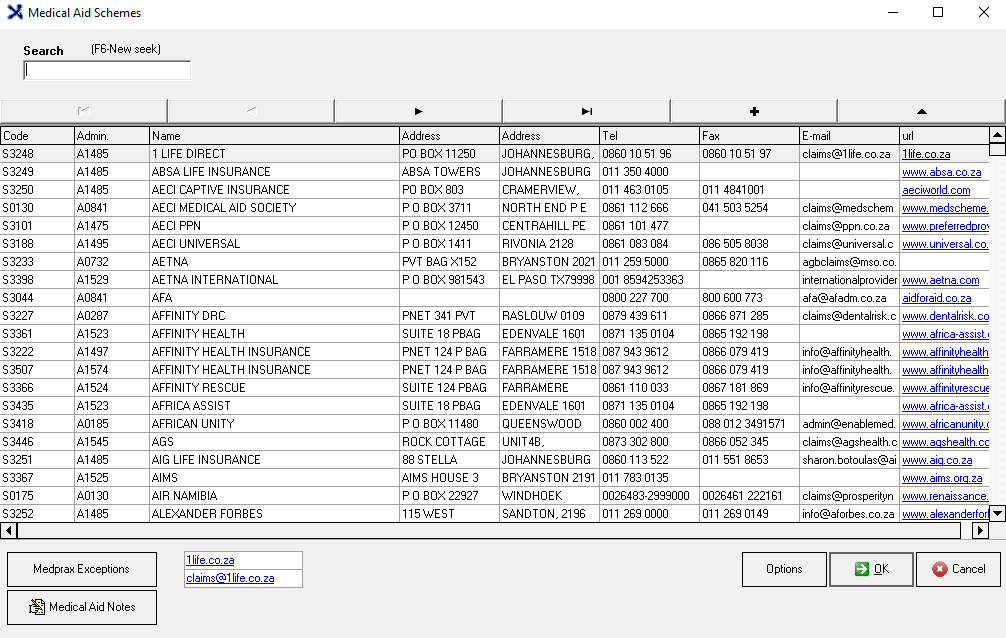
If you have not entered a Medical Aid and Option on the initial booking screen, these screens will pop up where this information can be entered and selected
You will be directed to the Medical Aid Schemes Page where you can select the scheme
Once you have selected the Medical Aid you will be directed to the Medical Aid Options Screen to select the option
After selecting the relevant information :
Click on OK to continue to the next screen
Complete all the relevant information as you require on the Main Member Input Screen
How to fill in the Main Member Input screen click on the link: Main Member Input
When you are satisfied with the information entered Click on Save(F2) or use the F2 key (shortcut) on your keyboard to save the information.
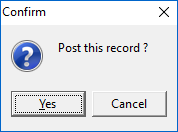
A Confirm pop-up box will appear
Click on Yes to save the information and post the information on the system,
You will see the information on the Diary has updated and now contains all the information you have entered