A Sick Note or Medical Certificate is a written document that verifies that a Patient has consulted with a Healthcare Practitioner. The Sick Note will indicate the expected duration of absence from work/school. Sick Notes are also used to indicate if a Patient is fit for Travel or to perform special duties that require the Patient to be in a specific medical state. They help employers and institutions track employee or Student attendance and ensure that absences are legitimate.
The Contents of This User Manual:
Patient Details
Previous Sick Notes from the Past Week
Medical Certificate
Diagnosis
Dates
Date of Treatment
Absent
Work from Home
Follow-Up
Light Duty
Extra Information
Unfit For
Options
Family Responsibility Certificate
Signatures
Email and Print
Preview of Medical Certificate
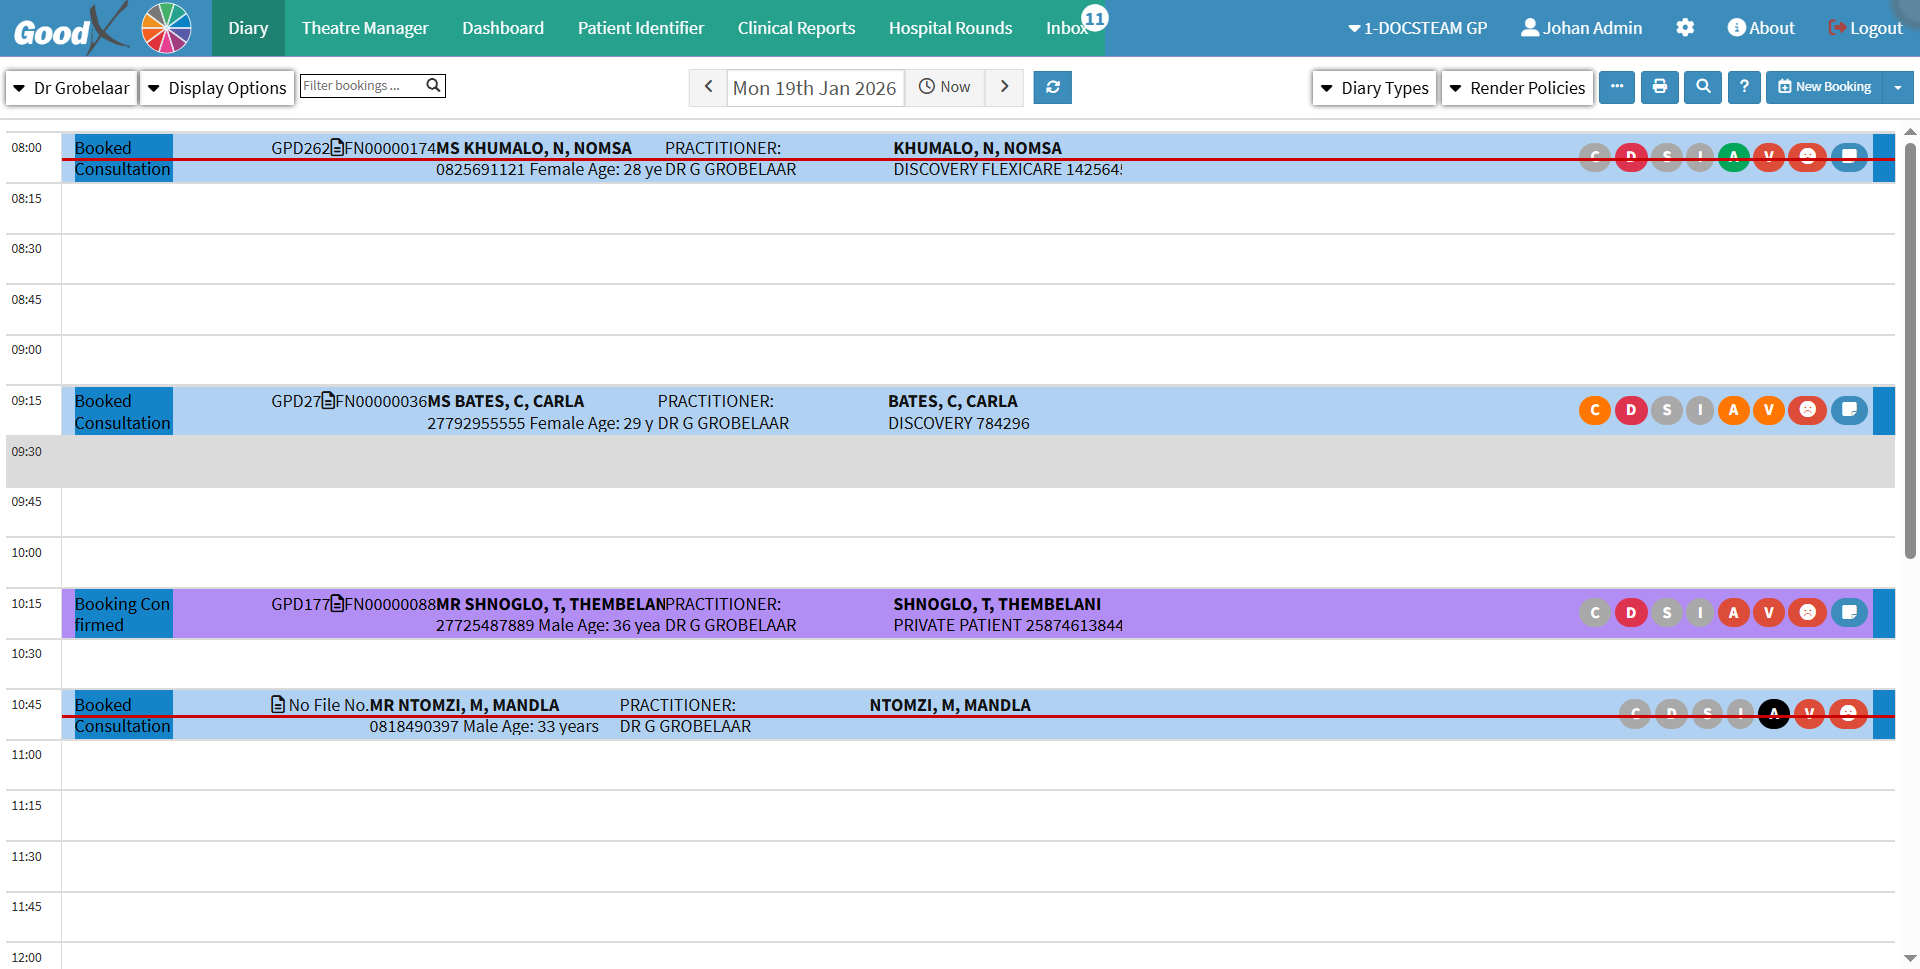
This user manual will start on the Diary screen.
Click on thedesired Patient's booking.
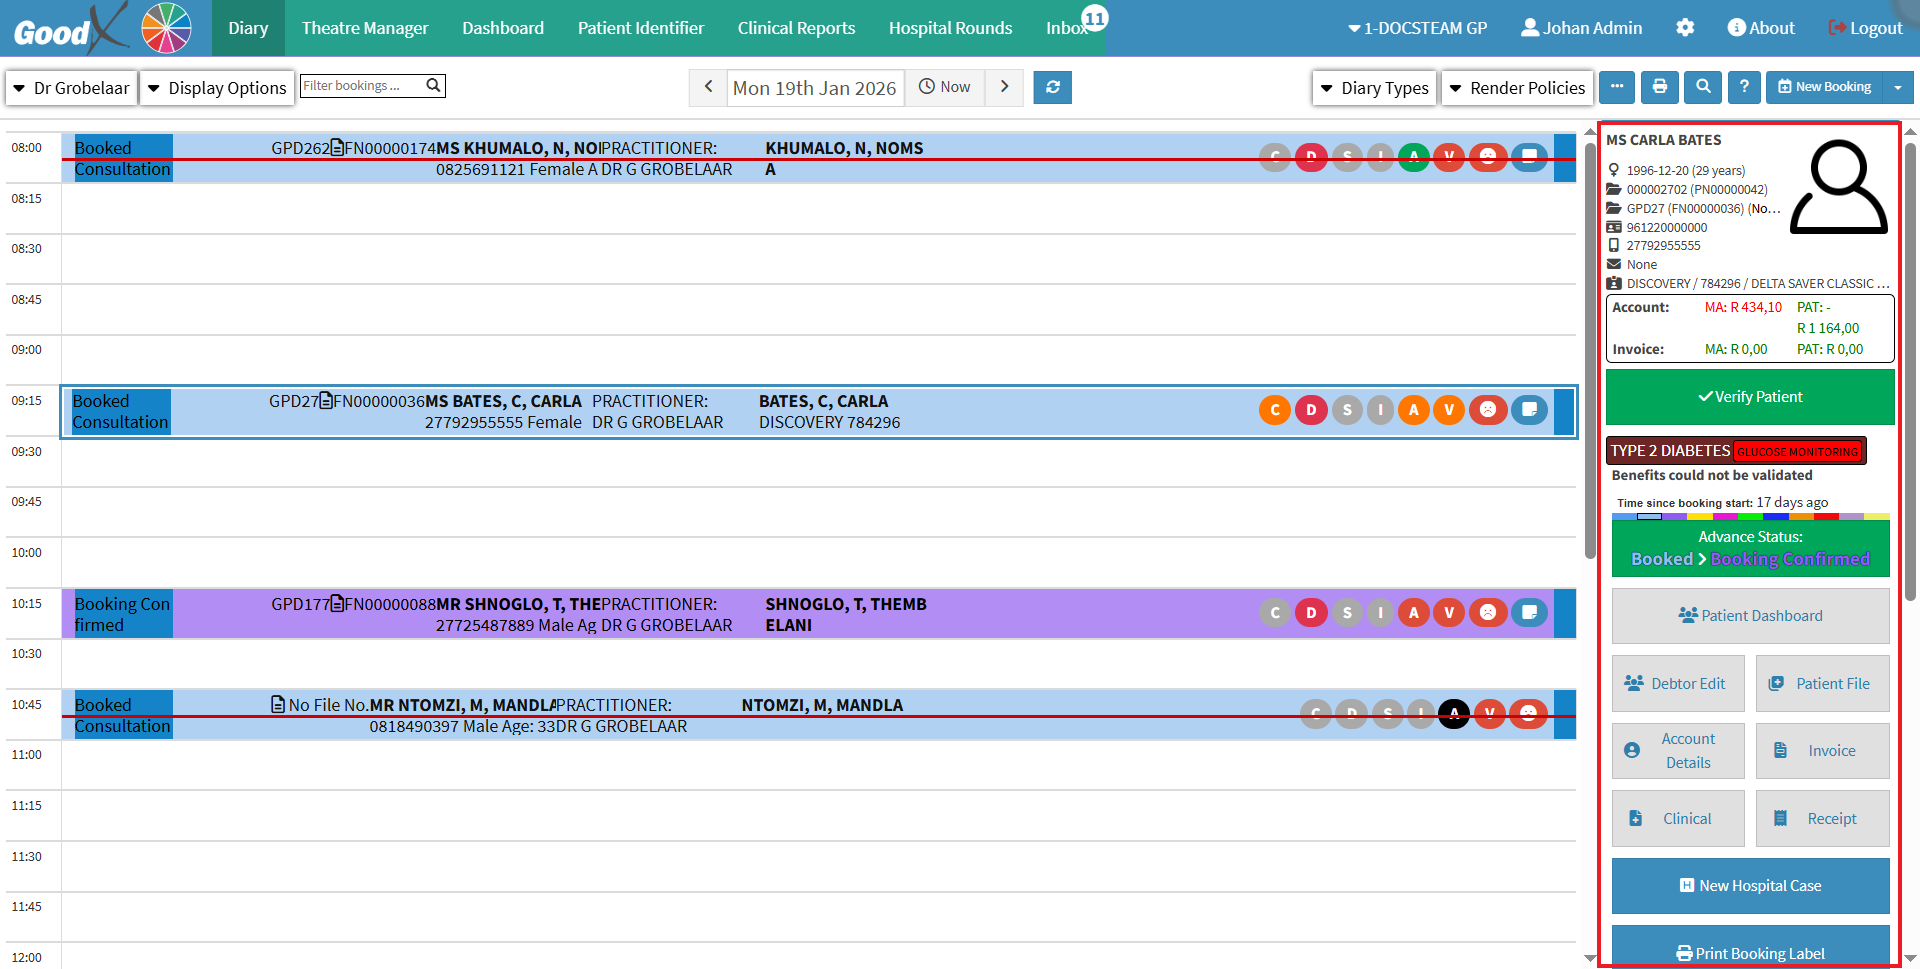
The Diary sidebar will open.
Click on theClinical button.
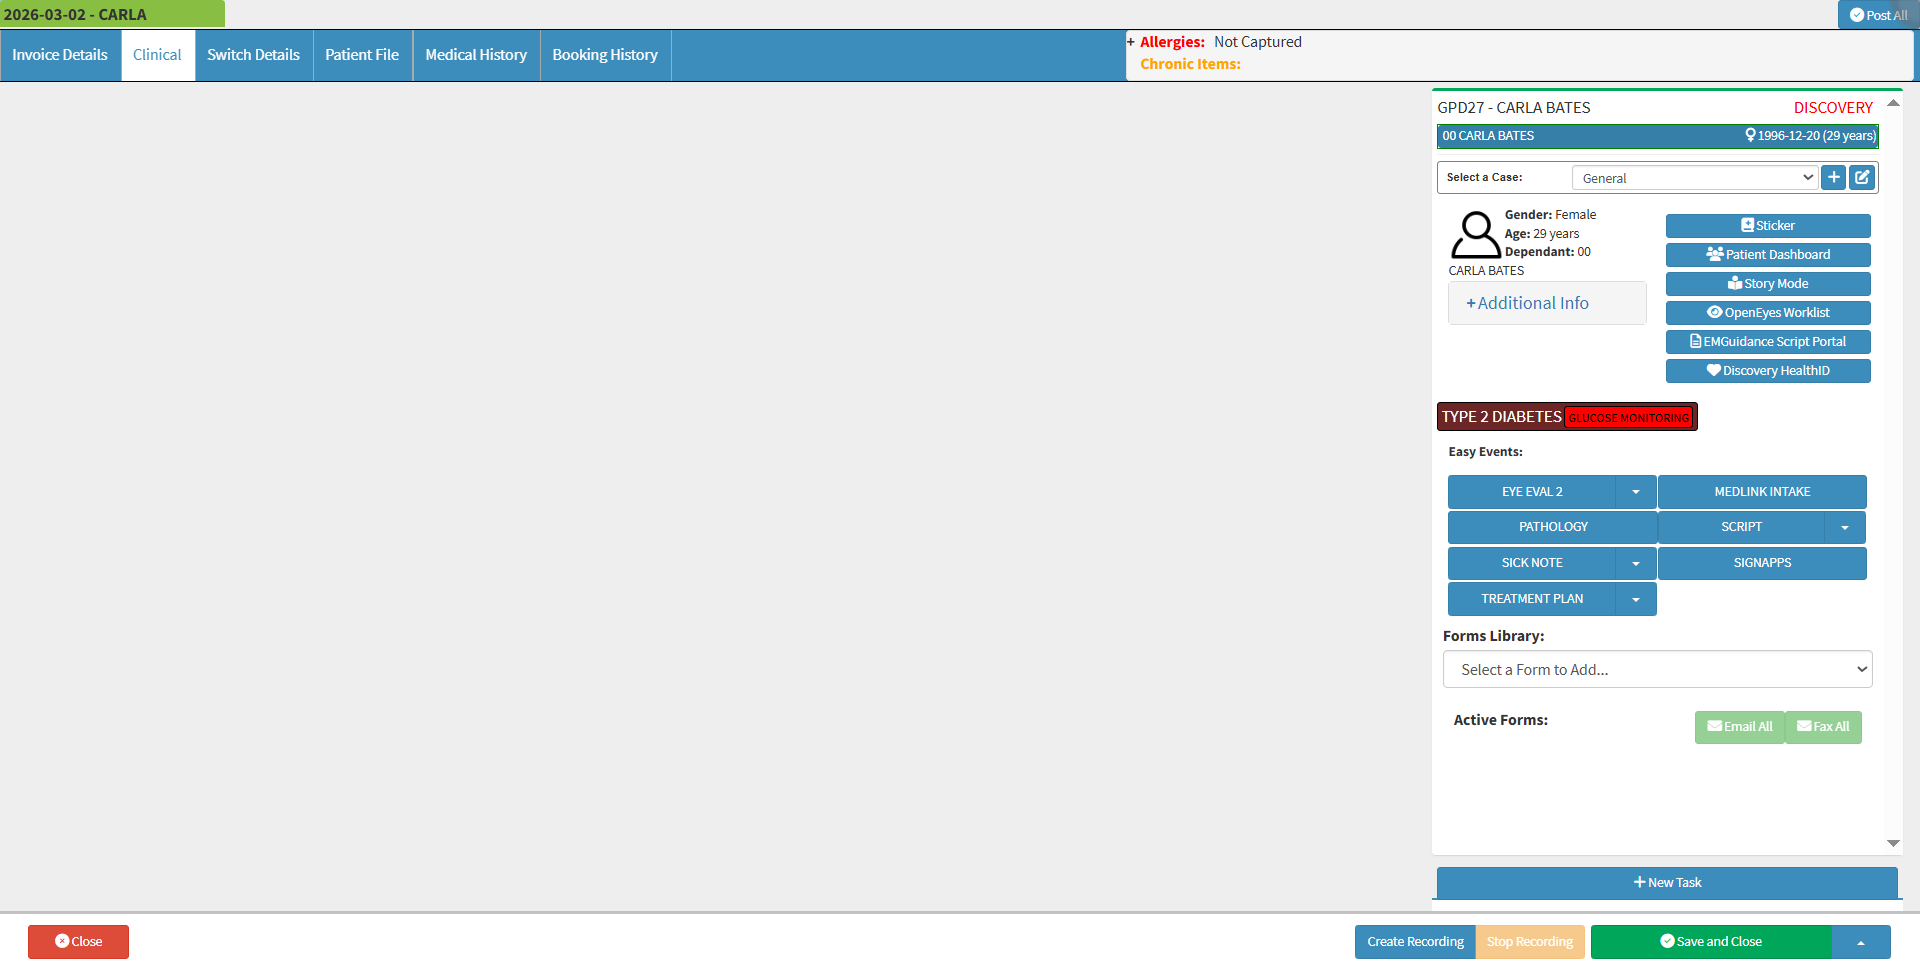
The Clinical screen will open.
Click on theForms Library drop-down menu on the Clinical sidebar.
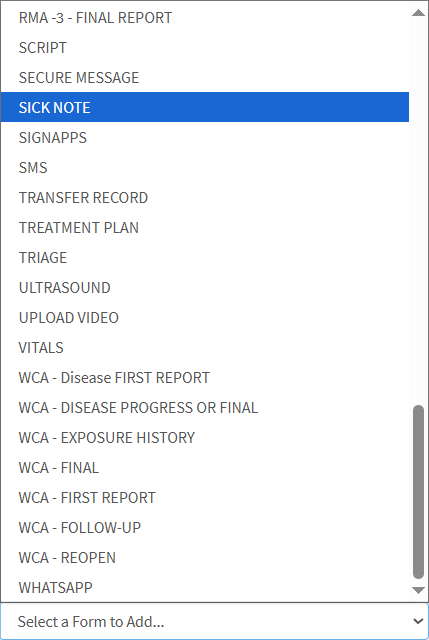
Select the Sick Note.
The Sick Note will be added to theClinical sidebarunder the Active Forms section.
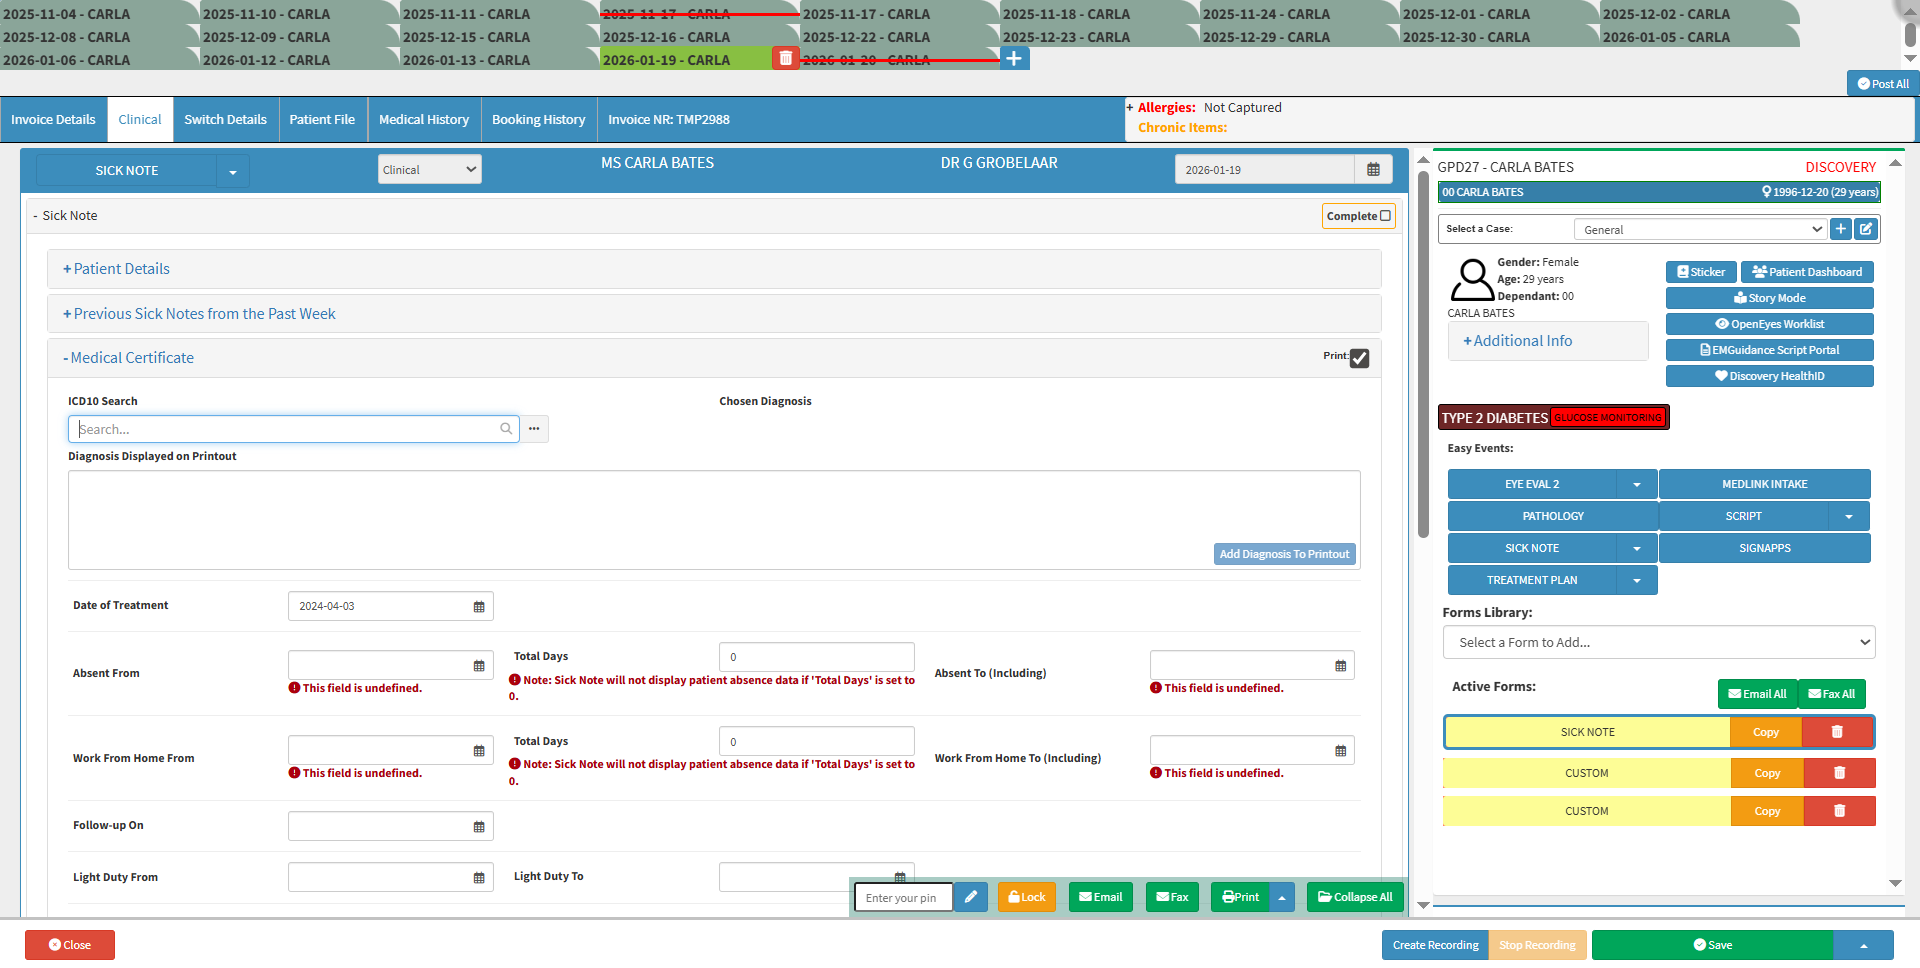
The Sick Note will open.
An explanation will be given for each panel, field, and option available on the Sick Note:
Patient Details
The Patient's personal information will be pulled through from the Debtor file and booking, by default.
Click on the Patient Details panel.
The Patient Details panel will expand.
Title: A prefixindicating marital status or profession.
Name: The First Names of the Patient.
Surname: The Surnameof the Patient.
Date of Birth: The year, month, and day (yyyy-mm-dd) on which the Patientwas born.
Gender: The medical-related Genderof the Patient.
💡Please Note: You will not be able to change the Patient Information, as it will be greyed out. The information in this section is pulled through from the Debtor/Patient file and can only be amended there. For more information regarding the Debtor/Patient file section, please refer to the user manual:View or Update Debtor and Patient Information.
Previous Sick Notes from the Past Week
If a Sick Note was completed for the Patient within the past 7 days, the Sick Note's basic information will be available.
Click on the Previous Sick Notes from the Past Week panel.
The Previous Sick Notes from the Past Week panel will expand.
Date: The Date the Patientwas last issued a Sick Note, within the previous 7 days.
Diagnosis: What the Patienthas been Diagnosedwith.
Absent From Date: The Datefrom which the Patientwas booked off.
Absent To Date: The Date until which the Patientwas absent.
Click on the Add Sick Note Info button to add information from the previous Sick Note to the new SickNote, if the diagnosis has not changed.
Click on the Remove Sick Note button to remove the previous Sick Note's information.
Medical Certificate
All the information regarding when the Patient will be absent and/or unfit for work needs to be followed up on, and when they will be ready to return to their duties.
Click on the Medical Certificate panel.
Tick/Untick the Print checkbox if you wish to print the Medical Certificate.
The Medical Certificate panel will expand.
Diagnosis
The Diagnosis is added to the form with an accompanying ICD-10 Code to indicate what the Patient has been diagnosed with.
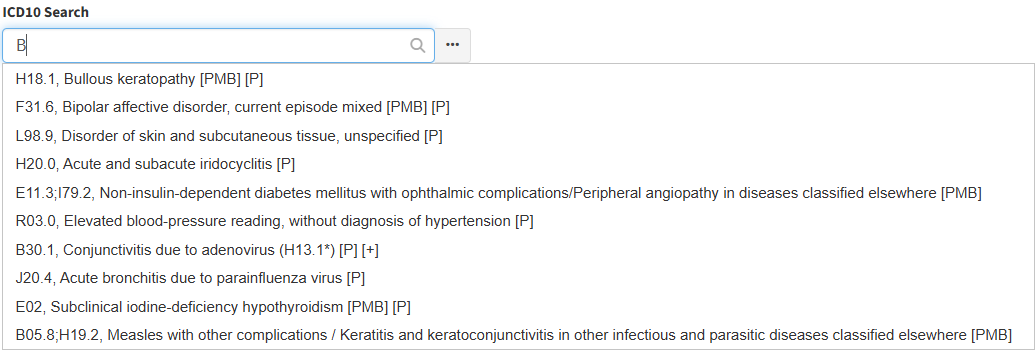
Click on the ICD10 Search field to enter the desired ICD10Code or nameof the diagnosis.
A list of ICD10 Codes will appear as you type, allowing you to make a selection. Only one character is required for the list to appear.
Once the diagnosishas been selected, the Chosen Diagnosis field will automatically be filled in.
Click on the Delete button to remove the Chosen Diagnosis.
Click on the AddDiagnosis To Printout button in theDiagnosis Displayed on Printoutfieldto add the Chosen Diagnosis to the physical Sick Note.
💡Please Note: You can customise the information in the Diagnosis Displayed on Printoutfield as you desire.
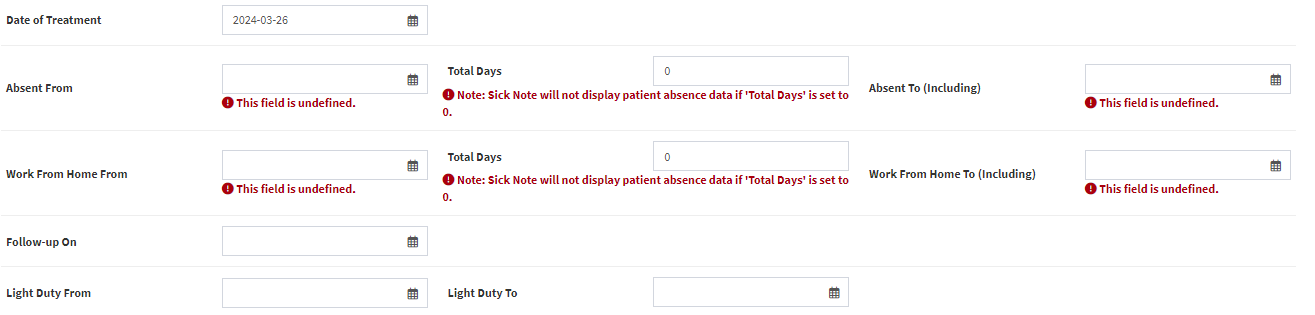
Dates
The following date fields displayed will indicate when the Patient was Treated, the Dates of Absence, when the Patient can Work From Home, and when to Follow-up with the Practitioner.
Date Of Treatment
The Date the Patient was seen by the Practitioner.
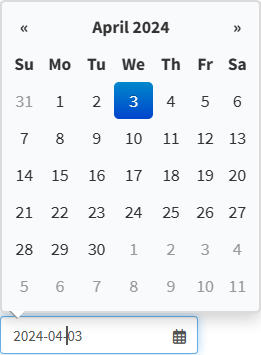
Click on the Date of Treatment field.
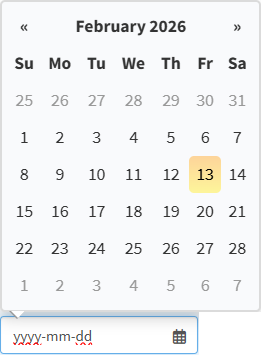
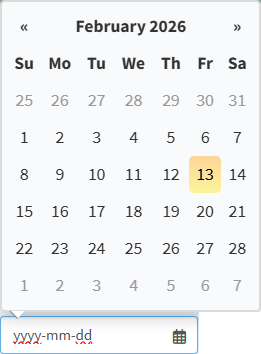
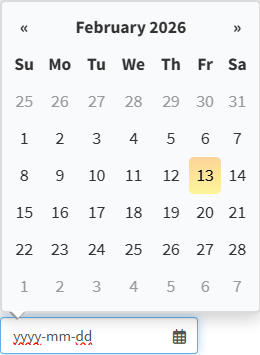
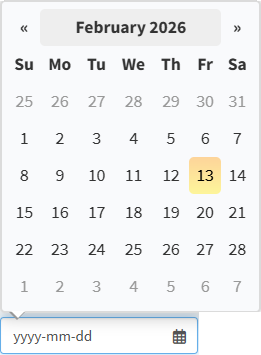
The Date Picker will open.
Click on the desired Date.
💡Please Note: The Date of Treatment will always default to the Current Date.
Absent
The Dates when the Patient will be Absent.
Click on the Absent From field to select the Date from when the Patient will be Absent, from the date pickerthat will open.
Click on the Total Days field to enter the number of days you would like to book the Patient off.
💡Please Note: Once the Total Days have been included, the Absent To (Including) field will automatically be filled in.
Work From Home
The Dates that the Patient will be working from Home.
Click the Work From Home From field: To Select the Date from when the Patient will be able to Work From Home, using the date pickerthat opens.
Click on the Total Days field to enter the number of days you would like the Patient to work from home.
💡Please Note: The Sick Note will not display Patientabsence data if the Total Days is set to 0. Once the Total Days have been included, the Absent To (Including) field will automatically be filled in.
Follow-Up
The Date the Practitioner would like the Patient would like to return for a Follow-up.
Click on the Follow-up On field to select the date from which you would like the Patient to follow up, using the Date Picker that opens.
Light Duty
The Dates the Patient can resume work within their physical capabilities without risking further injury or strain.
Click on the Light Duty From field to select the Date from when you would like the Patient to resume Light Duty from the Date Picker that will open.
Click on the Light Duty To field to select the Date when Light Duty can conclude, from the Date Picker that will open.
Extra Information
More details regarding the Sick Note.
Select the Extra Information radio button of the desired option;
In My Opinion: The Practitioner advises that the information provided is based on their professional medical opinion.
To My Knowledge: The Practitioner advises that the information provided is based on their knowledge as a medical professional.
As Informed: The Practitioner advises that the information provided is based upon what they have been advised by the Patient.
Unfit For
Duties that the Patient is incapable of doing.
Tick the relevant checkbox to make a selection.
💡Please Note: More than one option can be selected.
Click on the Additional Comments field to enter any extra information that might be relevant.
Family Responsibility Certificate
A family responsibility leave certificate is a document from a medical Practitioner confirming that an employee was absent from work to take care of a sick family member.
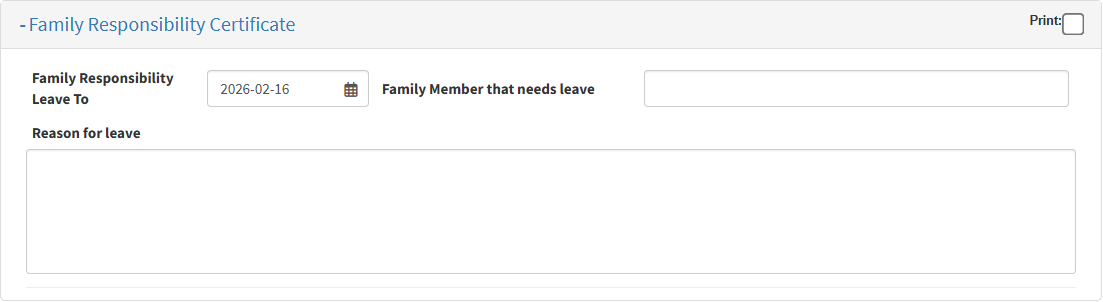
Click on the Family Responsibility Certificate panel.
The Family Responsibility Certificate panel will expand.
Tick/Untick the Print checkbox to print the Family Responsibility Certificate.
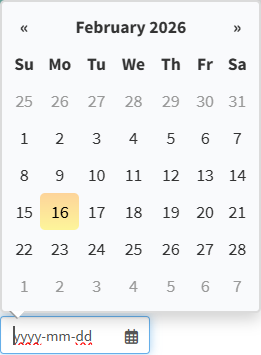
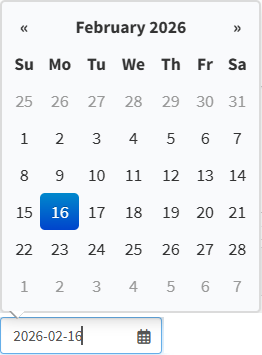
Click on the Family Leave To field to select the Date up to which the Family Leave will be valid.
Click on the Family Member that needs the leave field to enter the name of the Family Member who will be taking care of the Patient.
Click on the Reason for Leave to enter details as to why the Family Member needs to take care of the Patient.
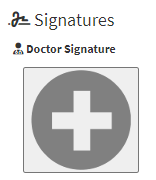
Signatures
The Practitioner will sign the document to validate the Sick Note.
Click the Doctor Signature button to add your signature.