How to Sort and Filter Columns in the Report App Sidebar
Why Use This Function:
Sorting columns and filtering rows in the Report App sidebar allows you to focus on the most relevant information by customising the data layout. By rearranging column order, choosing which columns to show, and filtering rows to reduce the amount of data displayed, you can remove unnecessary details and highlight vital values. Proper data management improves efficiency, ensures cleaner reports, and makes it easier to analyse specific financial or clinical data without distraction.
The Contents of This User Manual:
Fields
Values
Filtering Rows
This user manual will start on the Report App sidebar.
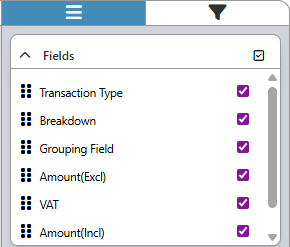
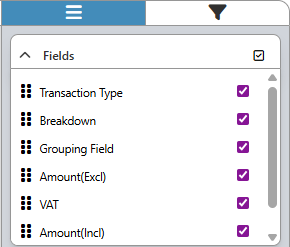
The Fields section allows you to rearrange the column order or choose whether columns are shown at all, ensuring your report displays information in the column structure most useful to your needs.
Tick the All checkbox to select or deselect all the columns.
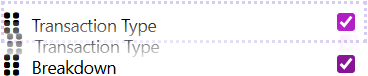
To arrange your columns, drag the field to the desired position.
To display a field in the report columns, tick the desired columns checkbox.
Values
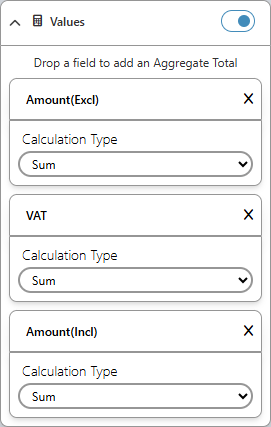
The Values section determines which fields are included in the partition totals and grand total row for unpartitioned grids. You can use the options to select how data is aggregated by applying functions such as sum, count, or median over your figures.
Click on the Values toggle to include or exclude the grand totals.
Filter
The Filters section refines your report by filtering rows based on specific text or numeric conditions, reducing the total amount of data and giving you more control over the information displayed.
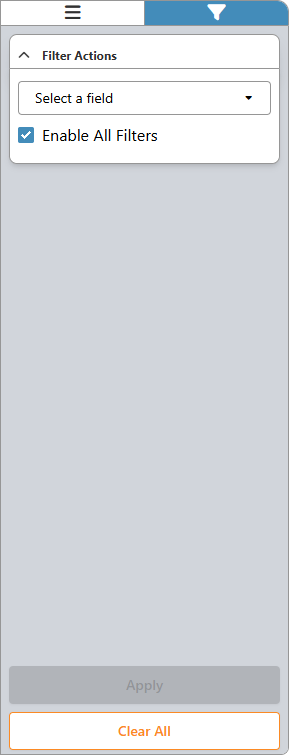
Click on the Filter tab.
The Filter Actions will open.
Tick Enable All Filters to activate all filtering options.
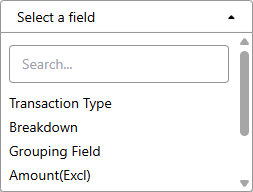
Click the Select a Field drop-down menu to choose the column you want to filter.
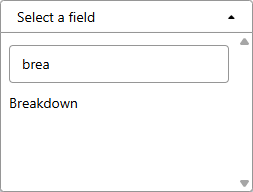
Alternatively, use the Search to find the column you need.
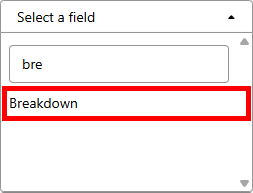
Click on the desired option from the results.
The chosen options panel will display.
Click on the Remove button to discard the column.
Click the selected panel to reveal more options.
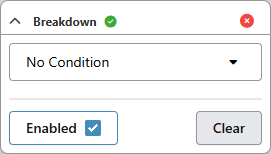
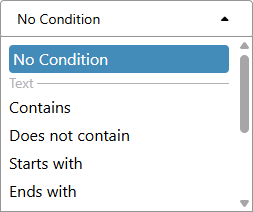
Click the No Condition drop-down menu and select a condition filter.
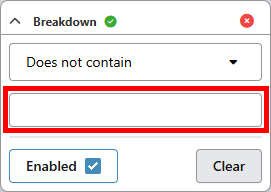
Additionally, click Does Not Contain to open a blank textbox.
By using the Does Not Contain condition textbox, information entered will not appear in the Breakdown column once filtered.
💡Please Note: Lower- and upper-case letters will not affect your filter.
Tick the Enabled checkbox to activate the filter.
Click Clear to remove your filter.
Click Apply to update the report with your filters.