A Contact Point is the preferred method of communication, together with the designated person to be contacted, for routine communication, notifications, and administrative correspondence relating to the Debtor and/or Patient. By assigning or editing a Contact Point, you specify who should be contacted and how they should be contacted, ensuring that communication is directed to the correct person through the most appropriate channel.
Adding or Editing the Contact Point, you can manage the details and ensure that important information, reminders, and administrative communication reach the appropriate person in a timely and effective manner.
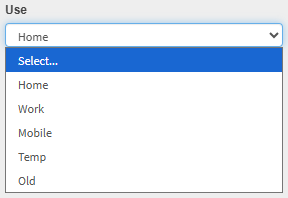
This is especially useful when a Debtor and/or Patient has more than one contact number or communication channel, for example, one number for voice calls and a different number for WhatsApp.
This user manual will start on the Add/Edit Contact Point screen.