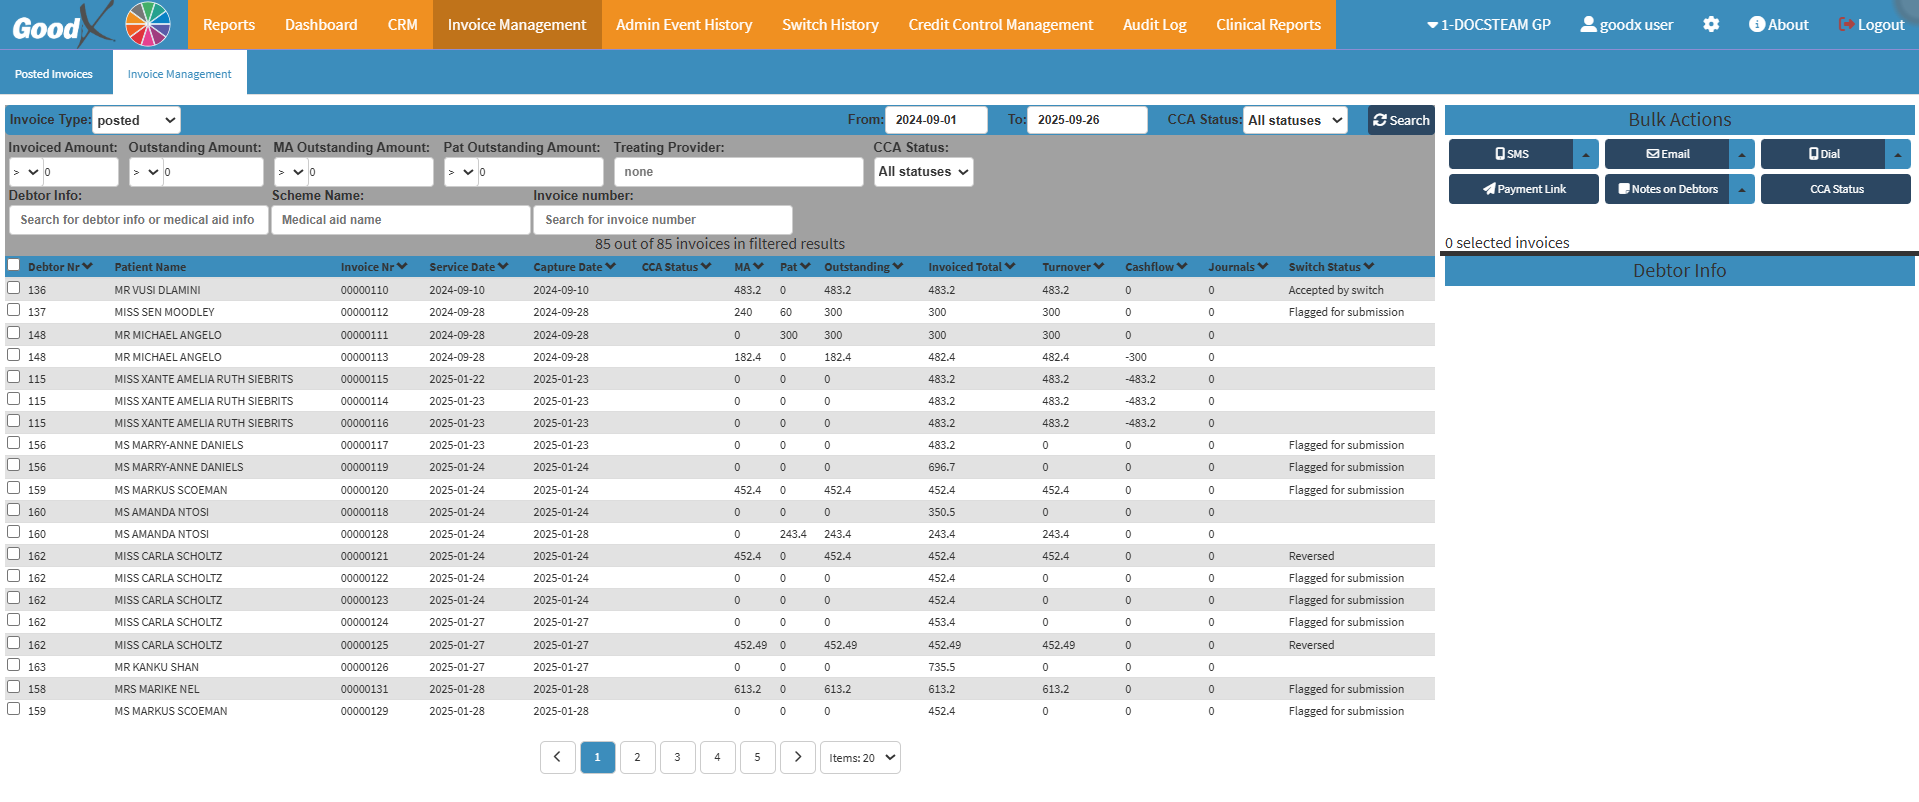
The Invoice Management tab provides a central platform to generate detailed reports on all Invoices created in the system, including Posted, Temporary, and Estimate Invoices. It allows you to filter and search for Invoices using various filters and criteria, ensuring quick access to relevant information. In addition, the tab streamlines communication by enabling the sending of bulk SMS messages, Emails, and secure Payment Links directly from the Invoice Management screen.
The Contents of This User Manual:
Filters
Columns
Bulk Actions
This user manual will start on the Invoice Management subtab screen.
For more information on how to navigate to the Invoice Management subtab screen, please refer to the user manual: Report Segment.
Filters
The Filters allow you to refine the Invoices displayed by setting specific criteria, making it easier to locate and manage relevant financial information quickly.
Click on the Invoice Type drop-down menu to select the Invoice type you wish to filter on.
Posted: A Posted Invoice is a financial document that has been posted and accepted by the Patient and details the products, quantities, and agreed-upon fees for services delivered by the user.
Temporary: An Invoice that was created but not posted is referred to as a temporary Invoice.
Estimate: An Estimate Invoice is similar to a quote that you provide to the Patient, who may then decide whether or not to continue the procedure or send it to the Medical Aid to see whether or not the Medical Aid would pay and, if so, how much.
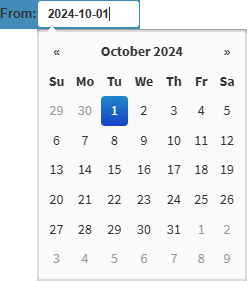
Click on the From field to select the starting date from the date picker.
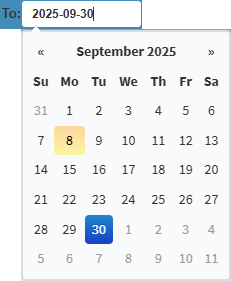
Click on the To field to select the end date from the date picker.
Click on the CCA Status drop-down menu to select the preferred status before filtering the results.
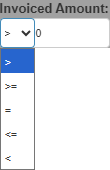
Click on the Invoiced Amount drop-down to select a filter option such as greater than (>), greater than or equal to (≥), equal to (=), less than or equal to (<=), or less than (<).
Click on the Invoice Amount field to enter the amount you wish to apply according to your selected symbol.
Click on the Outstanding Amount drop-down to select a filter option such as greater than (>), greater than or equal to (≥), equal to (=), less than or equal to (<=), or less than (<).
Click on the Outstanding Amount field to enter the amount you wish to apply according to your selected symbol.
Click on the MA Outstanding Amount drop-down to select a filter option such as greater than (>), greater than or equal to (≥), equal to (=), less than or equal to (<=), or less than (<).
Click on the MA Outstanding Amount field to enter the amount you wish to apply according to your selected symbol.
Click on the Pat Outstanding Amount drop-down to select a filter option such as greater than (>), greater than or equal to (≥), equal to (=), less than or equal to (<=), or less than (<).
Click on the Pat Outstanding Amount field to enter the amount you wish to apply according to your selected symbol.
Click on the Treating Provider field to enter and search for the Treating Provider you wish to filter on.
Click on the CCA Status drop-down menu to select the Credit Control Assistant you wish to filter on.
Click on the Debtor Info field and enter the Debtor's name or Debtor's information to filter on.
Click on the Scheme Name field and enter the scheme you wish to filter on.
Click on the Invoice Number field and enter the Invoice number you wish to filter on.
Click on the Search button once you have entered all your filters.
Columns
The Columns provide a clear breakdown of the information displayed on the Invoice Management screen, with each column showing specific details related to the Invoice.
Tick on the Desired Invoice to use the bulk options on the selected Invoices, or select all by Ticking the top checkbox.
DebtorNr: A unique number assigned to the Debtor’s account for identification.
Patient Name: The first name of the Patient linked to the account or invoice.
Invoice Nr: The unique number assigned to a specific Invoice for reference.
Service Date: The date on which the medical service was provided.
Capture Date: The date the Invoice or transaction was recorded in the system.
CCA Status: The status of the Credit Control Assistant process linked to the Invoice.
MA: Indicates the portion of the amount that is billed to the Medical Aid.
Pat: Indicates the portion of the amount that is billed to the Patient.
Outstanding: The remaining balance that has not yet been paid on the Invoice.
Invoice Total: The full amount charged on the Invoice, before payments.
Turnover: The total billed amount generated by the Practice over a period of time.
Cashflow: The movement of money into and out of the Practice.
Journals: Manual accounting entries are used to adjust or correct account balances.
Switch Status: The electronic claim submission status shows if the claim was sent, accepted, or rejected by the Medical Aid.
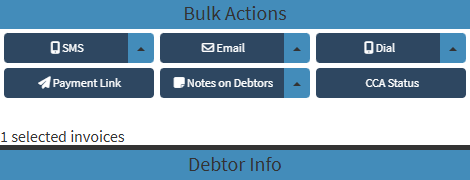
Bulk Actions
The Bulk Actions make it possible to manage multiple Invoices at the same time, helping you save effort by applying actions in one step instead of individually.
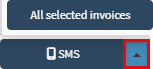
Click on the SMS drop-up menu button to send an SMS to All Selected Invoices.
Click on the SMS button to send an SMS to all the current filtered Invoices.
Click on the Email drop-up menu button to send an Email to All Selected Invoices.
Click on the Email button to send an Email to all the current filtered Invoices.
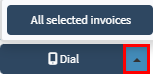
Click on the Dial drop-up menu button to send a Call Event to All Selected Invoices.
Click on the Dial button to send a Call Event to all the current filtered Invoices.
Click on the Payment Link button to send a payment link to all the filtered Invoices or only the selected Invoices.
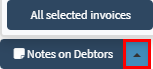
Click on the Notes on Debtors drop-up menu button to make a Note on All Selected Invoices.
Click on the Notes on Debtors button to send an Email to all the current filtered Invoices.
Click on the CCA Status button to update all the selected invoices' CCA.
Last modified: Tuesday, 23 September 2025, 10:24 AM