Text size
Line height
Text spacing
The Web App user manuals under this section of the Learning Centre are for functions that are used in the business processes from Billing to Debt Management.
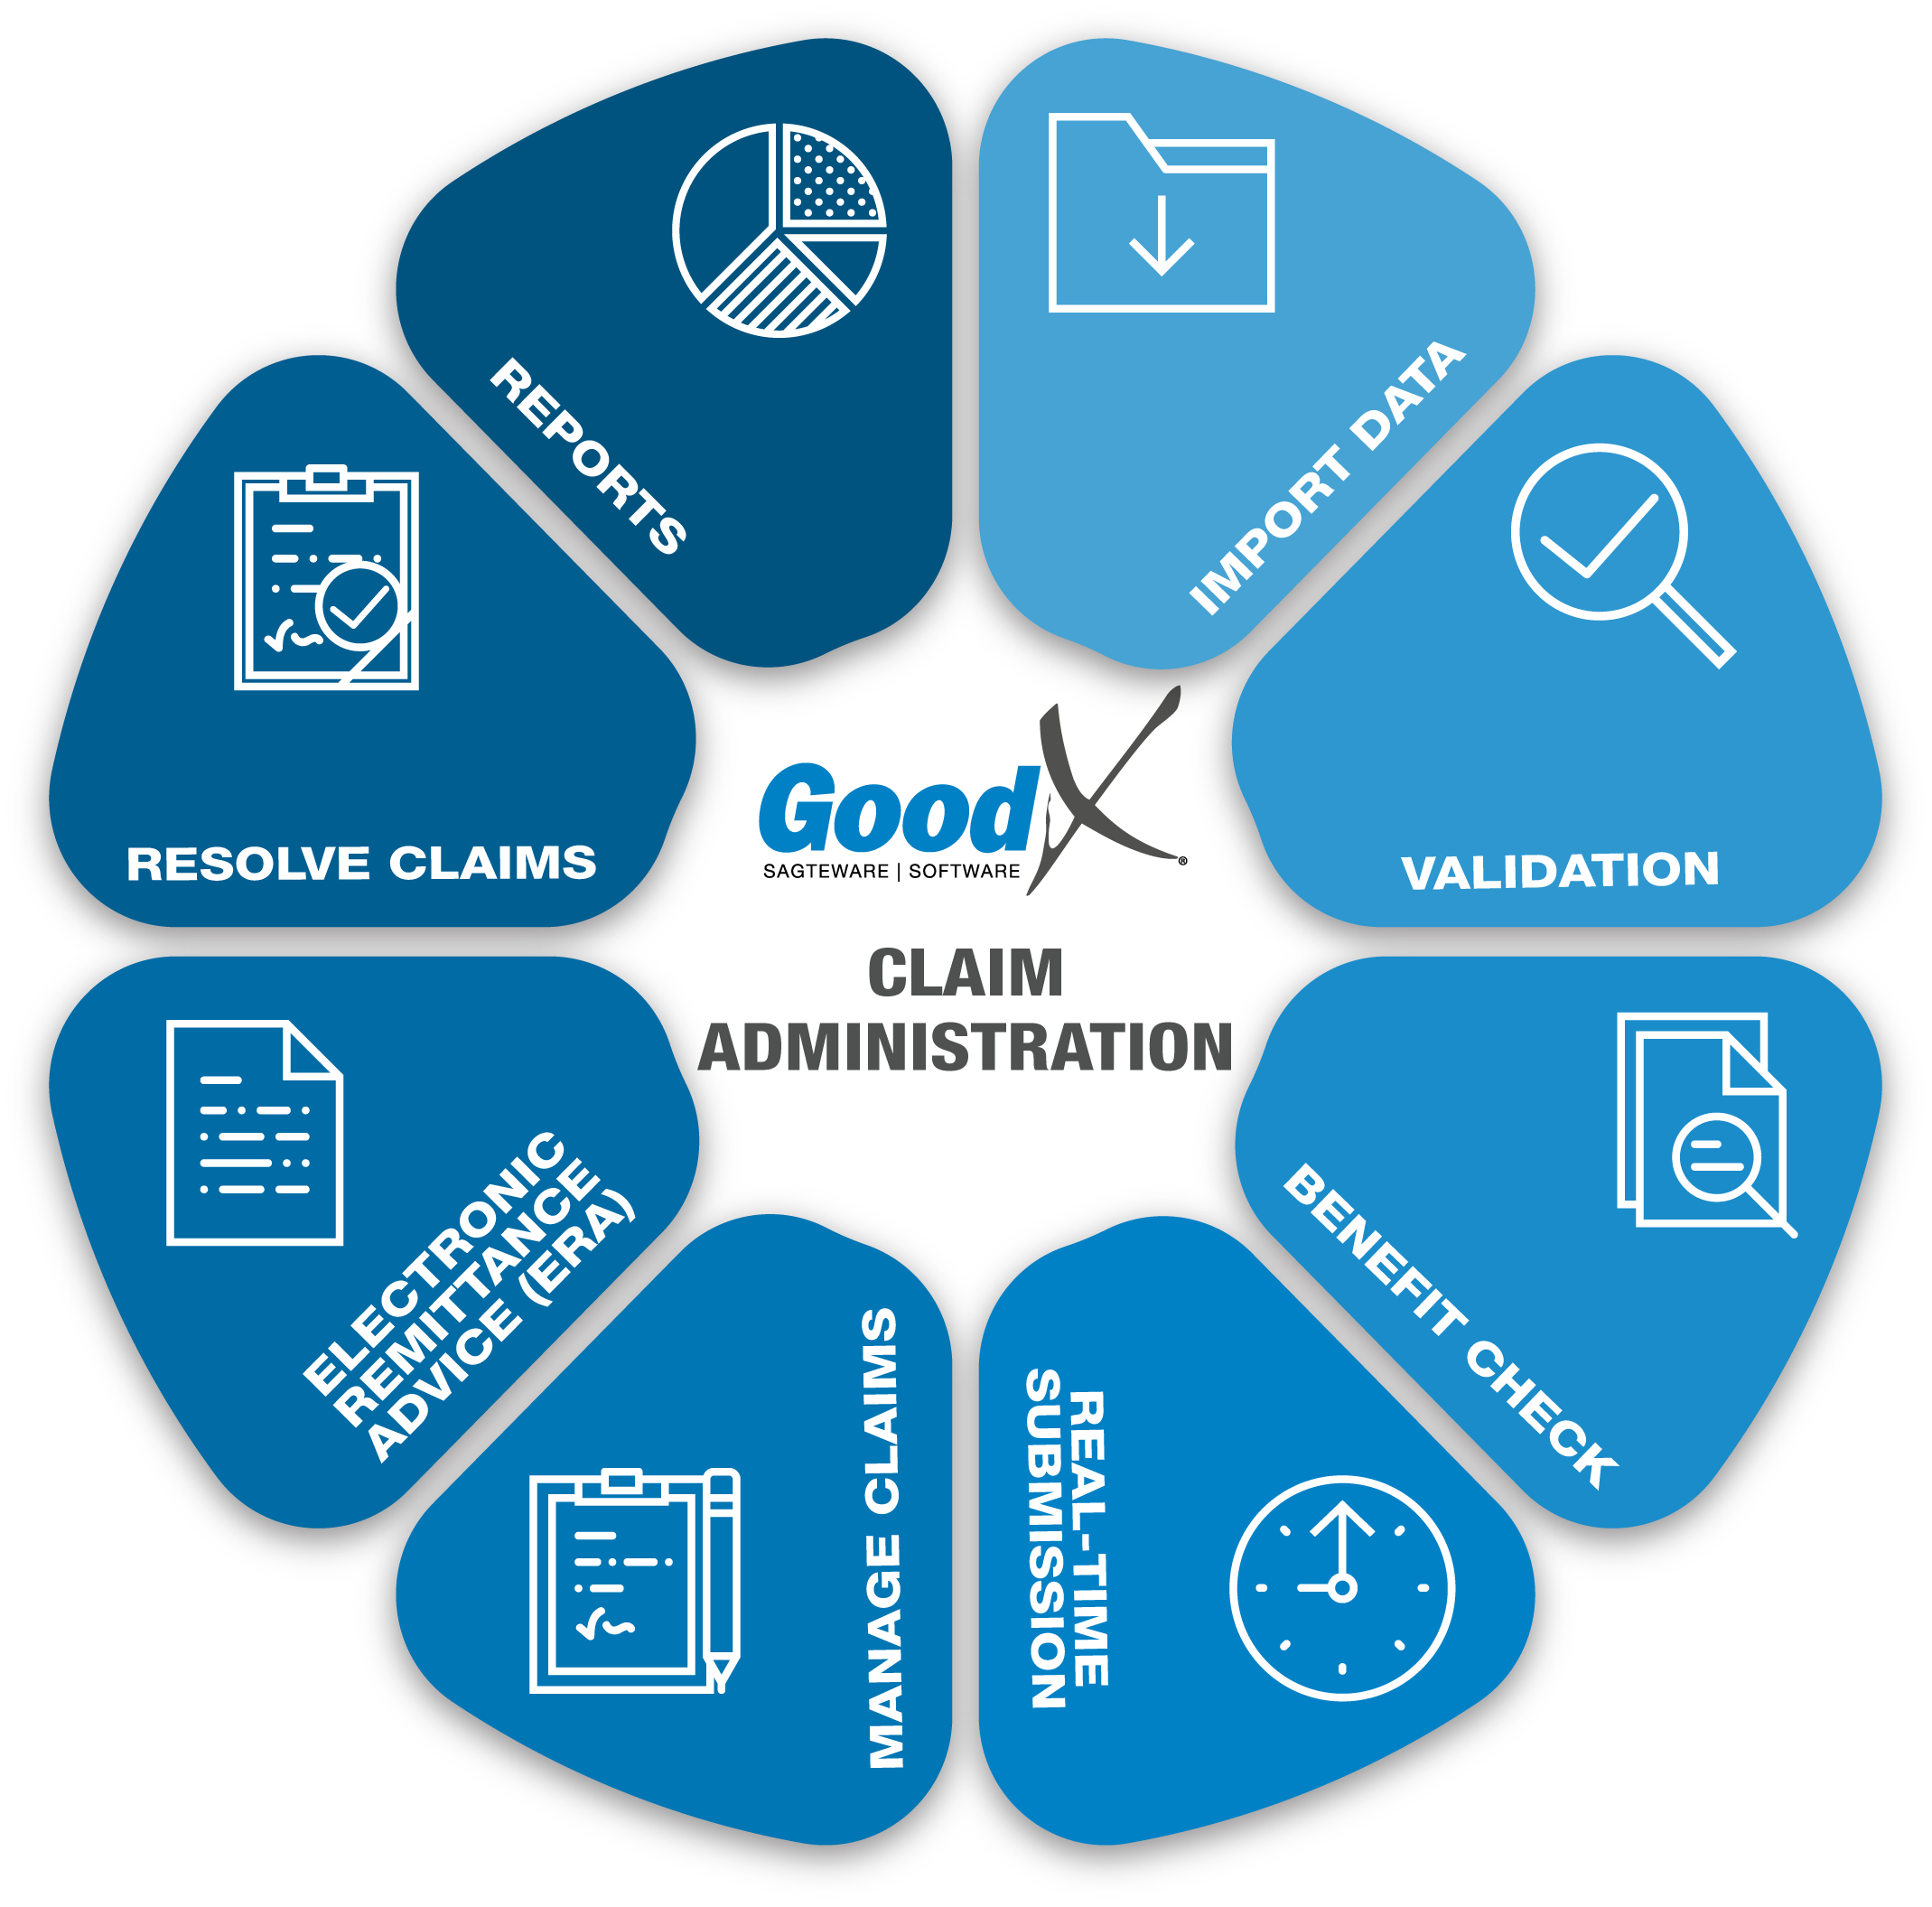
All Electronic Remittance Advice (ERA) information can be found under the Switching: Claim Administration book on the book case.
 |
 |
 |
|---|