A Task Item is an assignment that is created on the system and allocated to a specific person, who will perform certain actions and get a specific job done. Task Items are added to Task lists to prioritise their urgency and make workflow more efficient. Task Items can be created for users by themselves or Task Items can be created for other users to perform.
The contents of this user manual will consist of the following information:
Request
Add a Debtor/Patient
Feedback
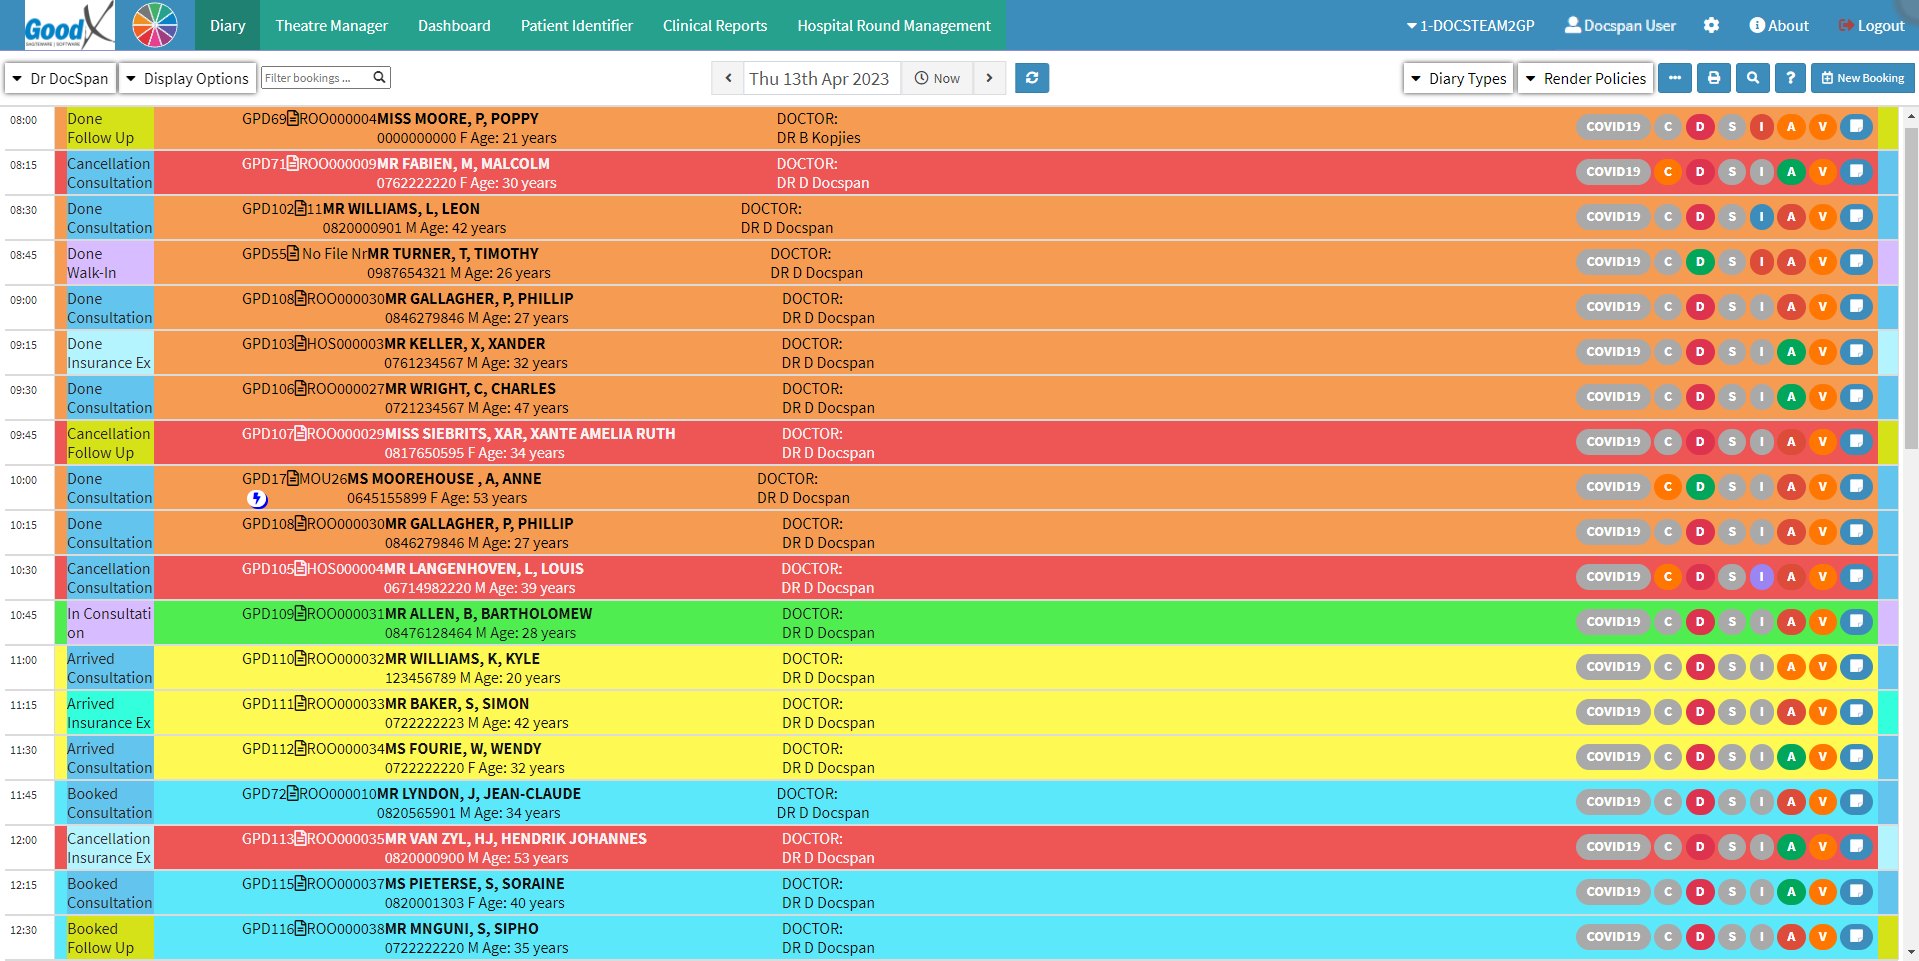
Log in to the GoodXWeb App with your GoodX username and password.
The Diary screen will open.
Click on the Settings button on the Navigation Bar.
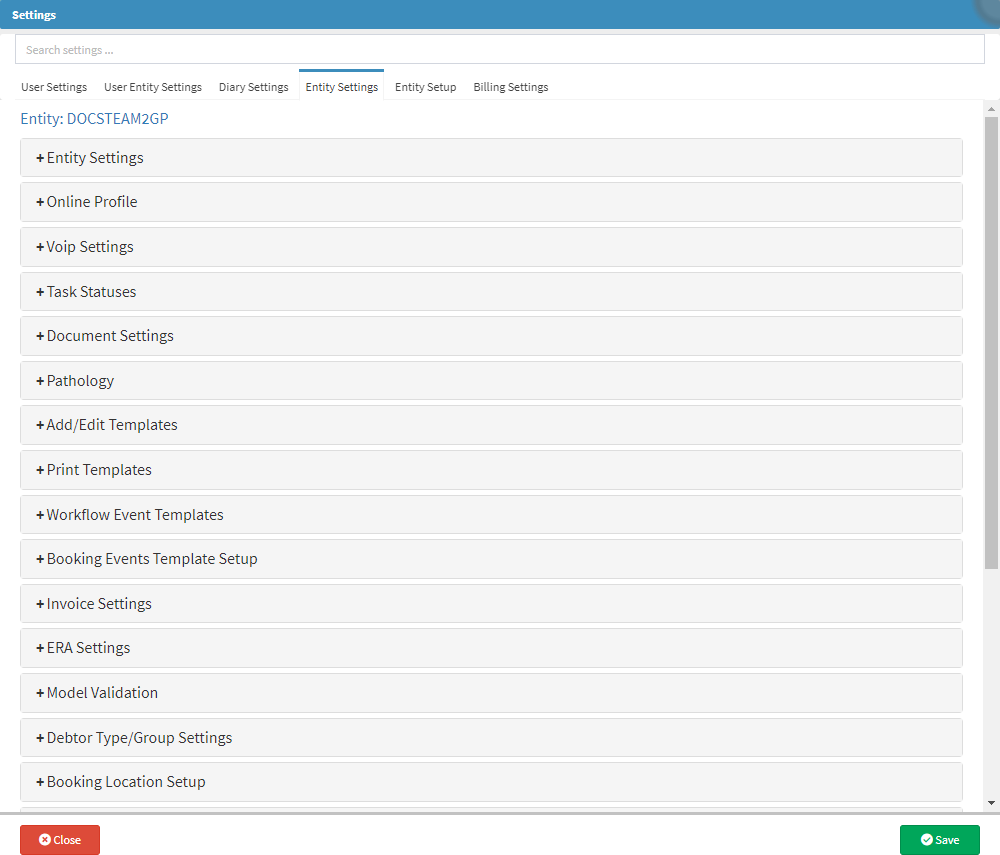
The Settings screen will open.
Click on the Entity Settings tab.
The Entity Settings tab will open.
Click on the Workflow Event Templates panel.
The Workflow Event Templates will expand.
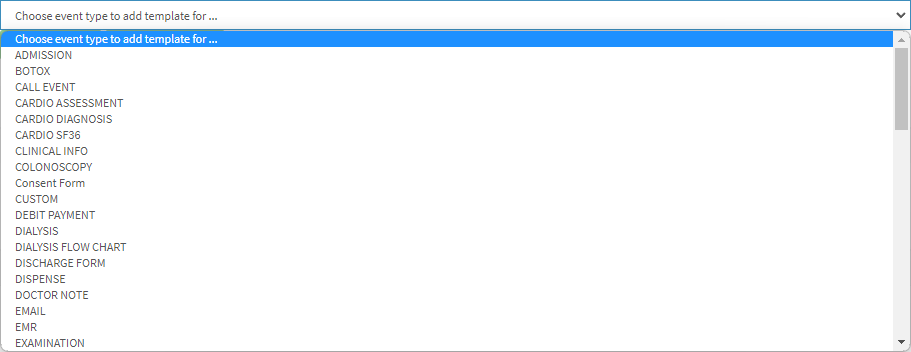
Click on the Choose Event Template Type to Add Template for... drop-down menu.
The Choose Event Template Type to Add Template for... drop-down menu will open.
Click on the Task Item option from the Choose Event Template Type to Add Template for... drop-down menu.
Click on the Add Template button.
The Workflow Event Template screen will open.
An explanation of the Workflow Event Template screen will be given:
Template Description: The title of the Workflow Event Template being created.
Click on the Template Description field.
Type in the title of the Workflow Event Template.
Placeholders: Shortcode that allows the system to replace and autofill pre-filled information on the form.
Click on the Choose drop-down menu to select a placeholder to use.
The Request panel enables a user to give more details about the Task Item and what the Task Item is about.
An explanation of the Request panel will be given:
Title: A brief description or name for the Task Item that is being created.
Click on the Title free text field to add a name for the Task Item.
Due Date and Time: The date (yyyy/mm/dd) and time (hh:mm) by which the new Task Item needs to be completed.
Click on the Date Placeholder field.
Click on the Choose... drop-down menu to access the list of placeholders.
Select a relevant placeholder from the Choose drop-down as previously explained above in the user manual.
Click on the Days to Add field.
Use the Days to Add selector or Type in a relevant number of days to add to the value of the Date Placeholder field.
Priority: The Task Item's urgency, which is determined by how quickly the Task Item should be performed.
Select the relevant Priority for the Task Item being created:
Grey: Unknown - No priority has been allocated to the Task Item.
Blue: Low - The Task Item is not urgent or of great importance.
Green: Normal - The Task Item should be attended to as soon as the more critical Task Item has been attended to.
Yellow: High - The Task Item is of great importance and should be attended to as soon as possible.
Red: Very Urgent - The Task Item should be looked at immediately and will take preference over all other Task Items.
Please Note: By default, the Task Item's urgency will be green.
Hide GoodX Users: Allows the user to exclude support users when allocating Task Items. Support users assist when users are having trouble with their system. Support users will log in with their own credentials to ensure POPI Act compliance and to keep an audit trail. Hiding GoodX users will ensure that Task Items are not allocated to support users.
Tick/Untick the Hide GoodX Users checkbox to hide/show GoodX users.
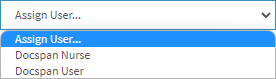
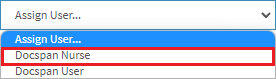
Assign User: Allows the creator of the Task Item to allocate the Task Item to a specific user.
Click on the Assign User drop-down menu to select the name of the user.
Click on the user to whom the Task Item will be assigned.
The user that has been selected will be added to the Task Item.
Please Note: The creator of the Task Item is able to assign more than one user to the same Task Item by following the same steps as Assign User.
Click on the Remove (-) button to remove a user from the Task Item.
The user will be removed from the assigned users' list.
No Suggested Event: Allows the user to select a Workflow Event that needs to be completed with the Task Item, for example, a Script, Sick Note, Custom Form, Examination form, Email, SMS, etc.
Click on the No Suggested Event drop-down menu.
Click on the desired Workflow Event that the user would like to add to the Task Item.
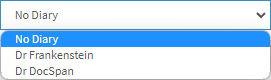
No Diary: Allows the user to choose the diary to which the Task Item will be linked.
Click on the No Diary drop-down menu to select a diary.
Please Note: The options that are available will be dependent on the setup of the Practice.
Add a Debtor/Patient
Click on the Debtor drop-down menu to select whether the user would like to allocate a specific Debtor/Patient to the Task Item.
Click on the desired option to make a selection:
Debtor: The person who is responsible for the payment of the account.
Patient: The person who will be consulting with or being treated by a Practitioner within the Practice.
Click on the Choose... drop-down menu to access the list of placeholders.
Select a relevant placeholder from the Choose drop-down as previously explained above in the user manual.
Request: Allows the creator to give a full explanation of what is expected of the assigned user/s in order to complete the Task Item.
Click on the Request free text field to add the details of the Task Item.
Click on the Complete button when satisfied with the content that has been entered for the Task Item.
The Complete button will change to a Completed status.
The Request panel will collapse with an indication that the Request section of the Task Item has been Completed and information has been added to the Task Item.
Please Note: The user can only complete the Request panel or the Feedback panel. If both panels are completed the Task Item Workflow Event Template will not be able to be saved.
Feedback
A response that is received relating directly to the requested Task Item. Users are able to add notes, results and general information.
An explanation will be given for each option in the Feedback panel:
For more information regarding the Feedback section, please refer to the user manual: Create A New Task.
Click on the Close button to exit the Workflow Event Template screen without creating the Task Item Workflow Event Template.
Click on the Save button to create the Task Item Workflow Event Template and exit the Workflow Event Template screen.