How to Add/Edit an Operation on the Theatre List
Why Use This Function:
Adding/Editing Operations on grandXchange allows the Surgeon to book or modify Operations on the Theatre List that has been shared with them. Surgeons can make changes to the Operation details should any of the details change, even if they are not GoodX clients.
💡Please Note: In order to Add/Edit an Operation on a Theatre List you will first need to be added to the specific Theatre List as a Surgeon.
The Contents of This User Manual:
- Add Operation
- Operation Details
- Notes
- Requests or Additional Requirements
- Clinical Note
- Admin Note
- Debtor & Patient
- Debtor
- Patient
- Team
- Edit Operation
- Delete Operation
- This user manual will start on the Theatre List Invitation received via Email.
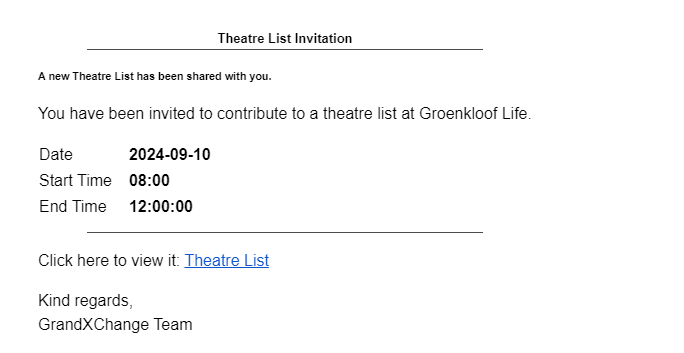
- Click on the Theatre List link.
![]()
- The View Theatre List Detail screen will open.
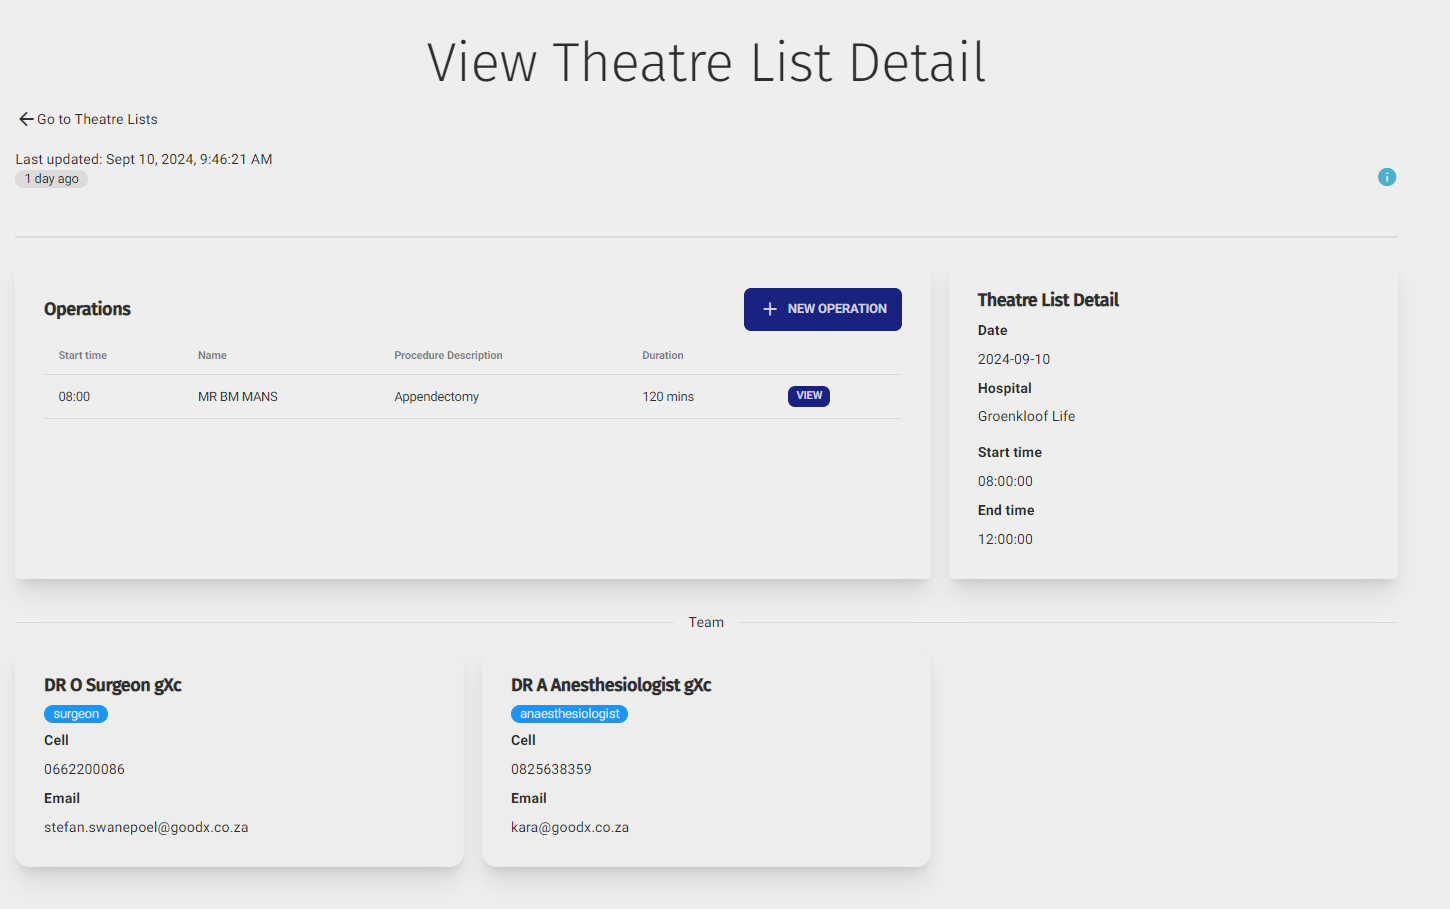
- For more information on the View Theatre List Detail screen, please refer to the user manual: View Theatre List Detail Screen: Navigation and Use.
Add Operation
Allows you to create a new Operation on the Theatre List that has been shared with you.- Click on the + New Operation button.
![]()
- The Theatre Operation Detail screen will open.
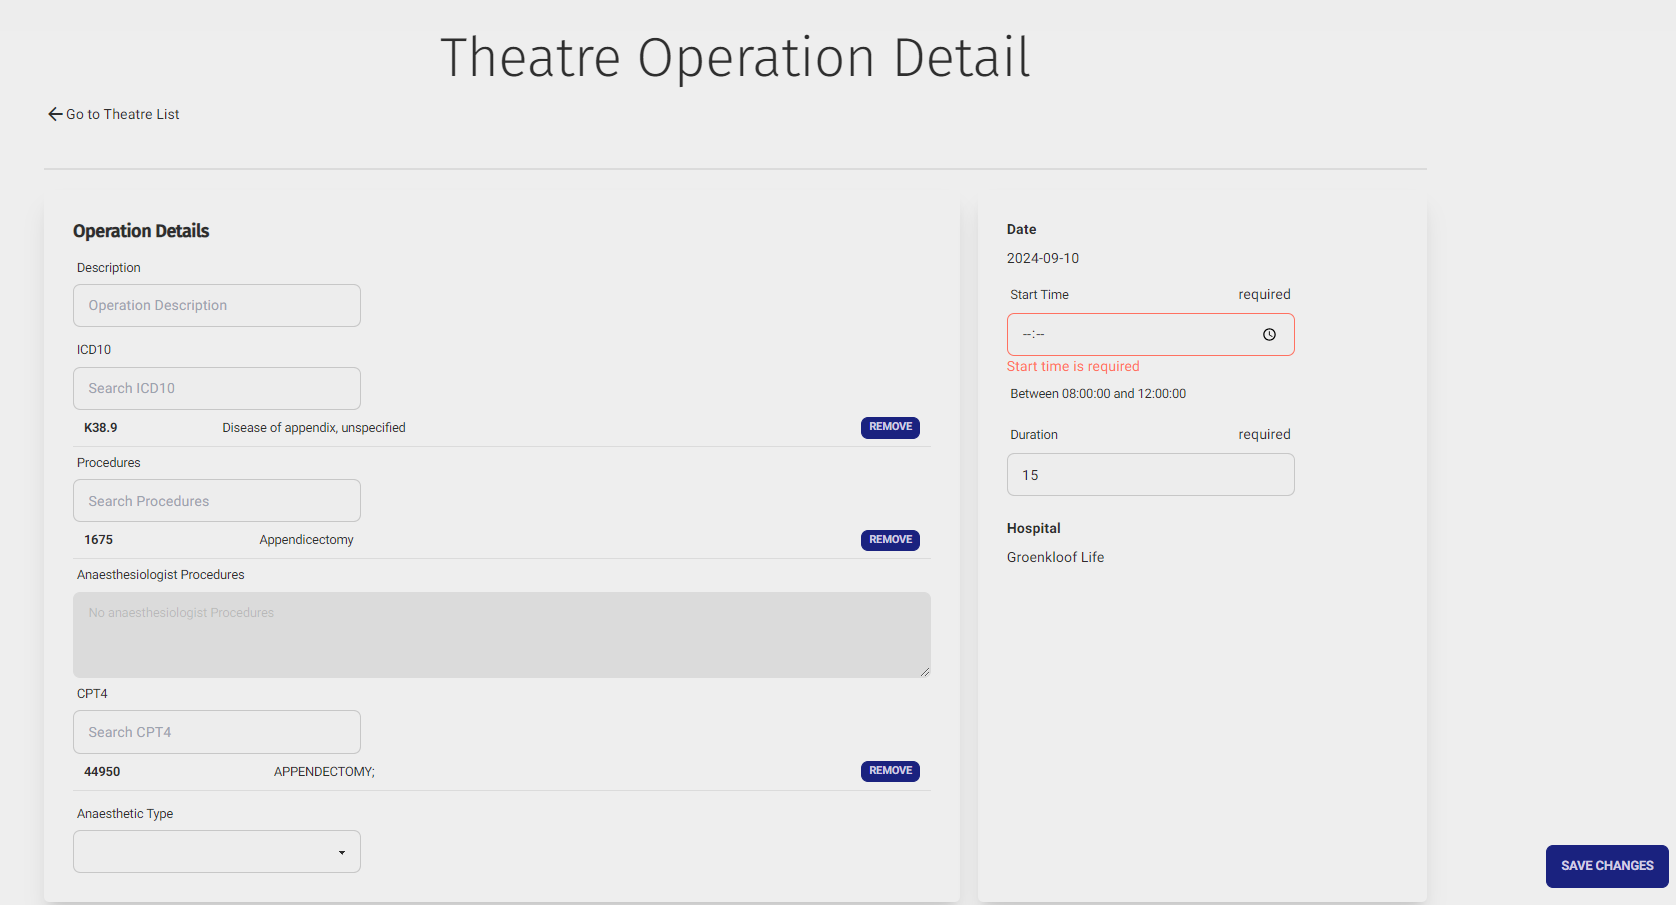
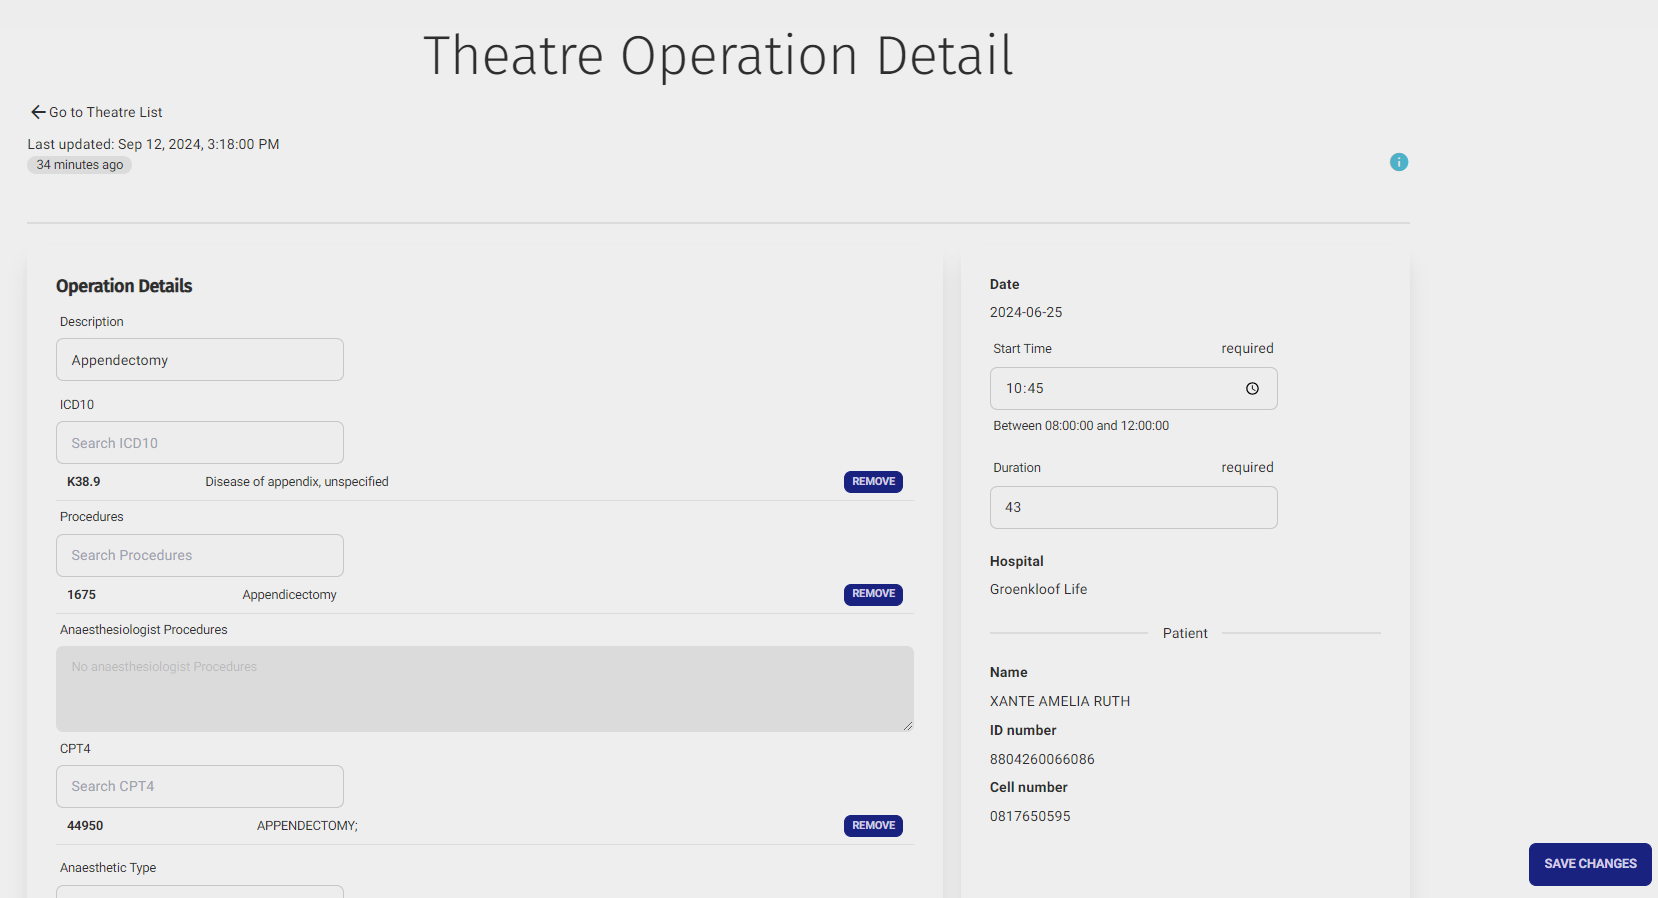
Operation Details
Essential details of the Procedure, including start time, procedure name, description, and duration.
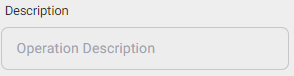
- Click on the Description field to enter the name or what the Procedure is that you are going to perform.
- Click on the ICD10 field to enter and search for the diagnosis code used to identify and classify the disease which indicates why the Patient needs the Operation. 2 Characters are needed for the search to start.
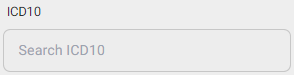
- Click on the desired option on the list to make a selection.

- The ICD10 code will be added to the Operation.
![]()
💡Please Note: You are able to add as many ICD10 codes as needed.
- Click on the Remove button to delete the corresponding code from the Operation.
![]()
- Click on the Procedures field to enter and search for the Procedure code that is going to be performed. 2 Characters are needed for the search to start.

💡Please Note: You are able to enter the code or the name in order to search.
- Click on the desired option on the list to make a selection.

- The Procedure code will be added to the Operation.
💡Please Note: You are able to add as many Procedure codes as needed.
- Click on the Remove button to delete the corresponding code from the Operation.
![]()
- If the Anaesthesiologist has added any of their Procedures, they will be displayed in the Anaesthesiologist Procedures field.

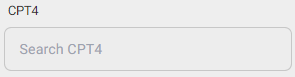
- Click on the CPT4 field to enter the code used to describe medical, surgical, and diagnostic procedures and services. 2 Characters are needed for the search to start.
💡Please Note: You are able to add as many CPT4 codes as needed.
- Click on the desired option on the list to make a selection.

- The CPT4 code will be added to the Operation.
- Click on the Remove button to delete the corresponding code from the Operation.
![]()
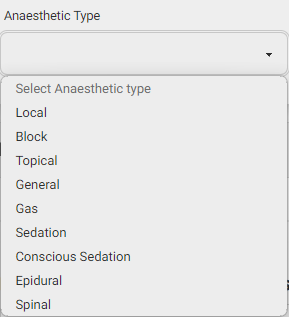
- Click on the Anaesthetic Type drop-down menu to select the desired type of Anaesthetic that will be used for the Procedure.
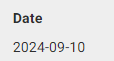
- The Date that the Operation will take place will be displayed in the top right-hand corner of the screen.
- Click on the Start Time to enter the desired Time, in a 24-hour format, that the Operation will begin.
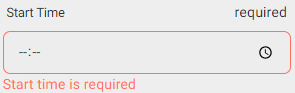
💡Please Note: The Start Time needs to be between the times that are displayed beneath the Start Time field.
![]()
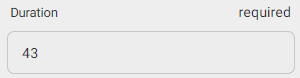
- Click on the Duration field to enter the timespan of how long the Operation will last.
- The Facility where the Operation will take will display below the Duration field.

- Click on the Click to Show/Hide Images panel to view any images that have been added.

💡Please Note: Images cannot be added when the Operation is being created and can only be uploaded on the GoodX Web App system which will then pull through to grandXchange.
Notes
Additional Information relating to the Operation.

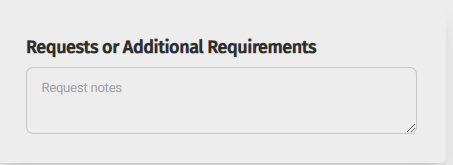
Requests or Additional Requirements
Special requests that you require or any needs that you may have for this Operation.- Click on the Requests or Additional Requirements field to enter the relevant information.
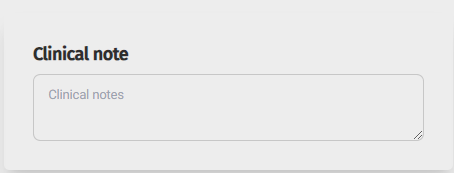
Clinical Note
Information relating to the Clinical records of the Patient for this Operation such as medical history that needs to be taken into consideration as well as test results etc.- Click on the Clinical Note field to enter the relevant information.
Admin Note
Any non-clinical information that relates to the Operation, for example, post-operative arrangements, any logistical information or communication with the Patient or family regarding the Operation.- Click on the Admin Note field to enter the relevant information.

Debtor & Patient
The demographic information that relates to the Debtor and Patient.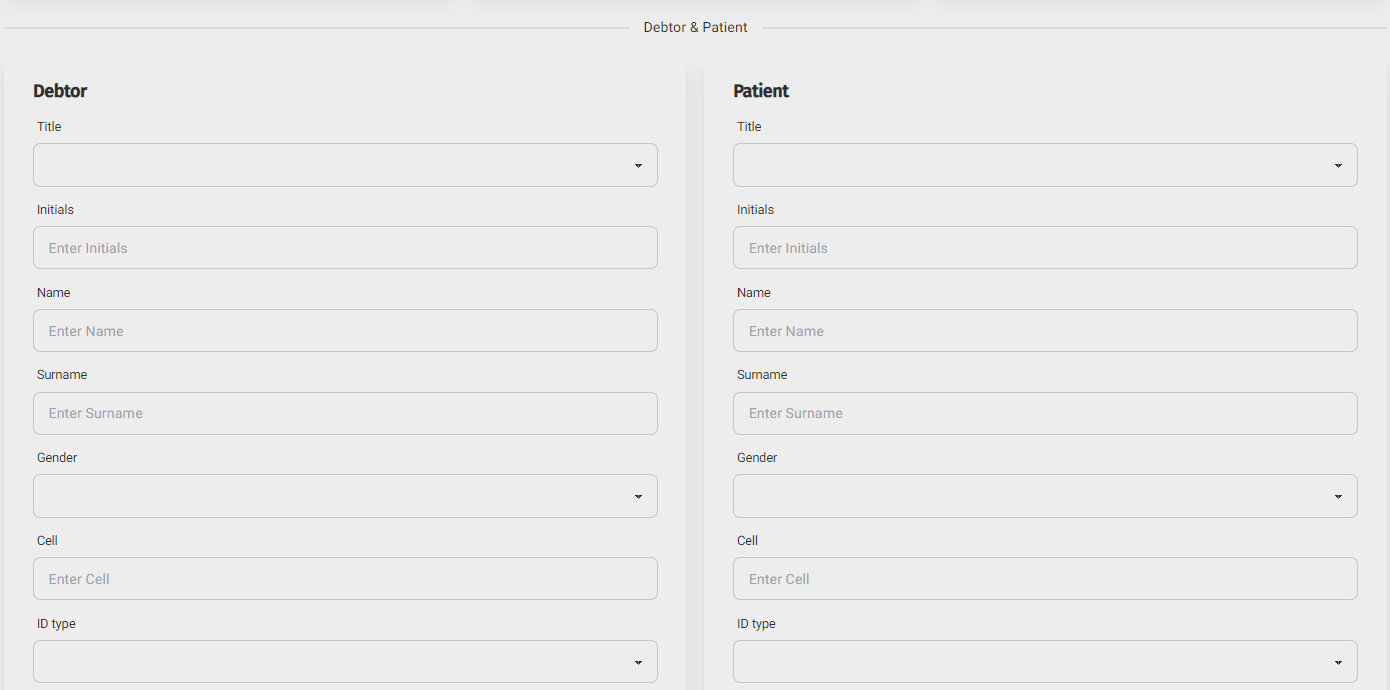
Debtor
The information of the person that is responsible for the Patient of the account.
- Click on the Title drop-down menu to select an appropriate option, from the list that has become available.

- Click on the Initials field to enter the first letter of each name of the Debtor.

- Click on the Name field to enter the Debtor's full name.

- Click on the Surname field to enter the surname of the Debtor.

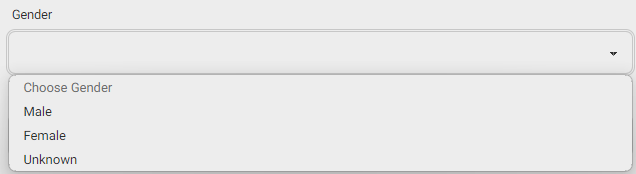
- Click on the Gender drop-down menu to select an appropriate option from the list that has become available.
- Click on the Cell field to enter the Debtor's cellular phone number.

- Click on the ID Type field to select an option from the list that has become available to indicate the type of identification that the Debtor has presented.

- Click on the ID Number field to enter the identification number of the selected ID Type.

- Click on the Email field to enter the email address of the Debtor.

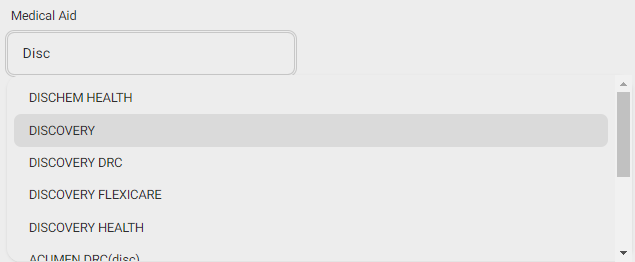
- Click on the Medical Aid field to enter the name of the company which the Debtor/Patient has Medical Aid with.

- A list will become available from which you can make your selection, which will filter the results as you type.
- Click on the Medical Aid Option field to enter the name of the Medical Aid plan.
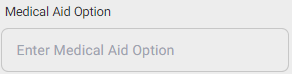
- A list will become available from which you can make your selection, which will filter the results as you type.
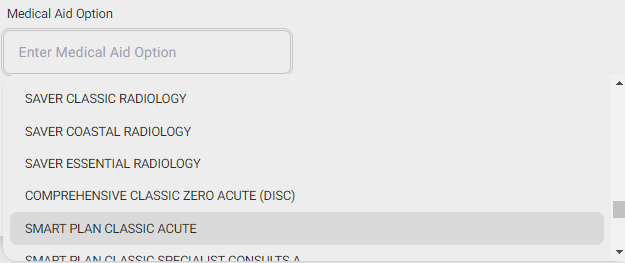
💡Please Note: The options on the list will depend on the Medical Aid that was selected.
- Click on the Medical Aid Number field to enter the Medical Aid membership number associated with the Debtor's plan.

- Click on the Copy Debtor to Patient button to automatically fill in the Patient fields with the information you entered for the Debtor if it is the same person.
Patient
The demographic information of the person who you will be Operating on.💡Please Note: If the Patient information differs from the Debtor information, Complete the relevant information in each field of the Patient section.
Team
The Team of Practitioners that are involved in the Operation.
- The information in this section advises who is part of the Operating team with their contact details.

- Click on the Save Changes button to save all the information that was entered on the Theatre Operation Detail screen.
![]()
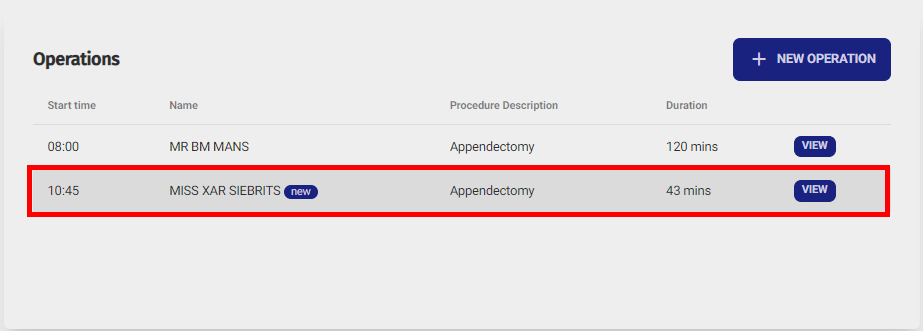
- The Operation you have created has just been added to the Operations section of the View Theatre List Detail screen.
Edit Operation
Allows you to make changes to the Operation.- Click on the View button to open the desired Operation that you want to make changes to.
![]()
- The Theatre Operation Detail screen will open with all the details of the Operation.
- Make any of the necessary changes that you need to, by Clicking on the relevant field.
- Click on the Save Changes button to save all the changes that have been made.
![]()
Delete Operation
Allows you to remove the Operation from the list.- Click on the Delete Operation button to remove the Operation from the Theatre List.
![]()
- For more information regarding How to Delete an Operation, please refer to the user manual: How to Delete an Operation through grandXchange.