Adding a Voice Recording from the Capture App is a useful tool used by the Practitioner to make Voice Notes. Voice Notes can be used while consulting with a patient and whilst the Practitioner is making their clinical notes. The recording can be saved on the Capture App and then uploaded to the patients' file on the GoodX web App for future reference. The Capture App is an external application that assists the user with the recording of voice notes, videos or photographs that can be added to patient files.
Type "app/capture/" at the end of the GoodXWeb App URL (Uniform Resource Locators) and press Enter key on the keyboard. The image below contains an example of what the URL would look like after adding "app/capture/" to it.
Please Note: The URL (Uniform Resource Locators) shown is not the GoodX URL to be used by the practice, but only an example. Please ensure that the practices' URL is used.
The Capture App login screen will open.
Log in to the GoodX Capture App using the GoodX username and password.
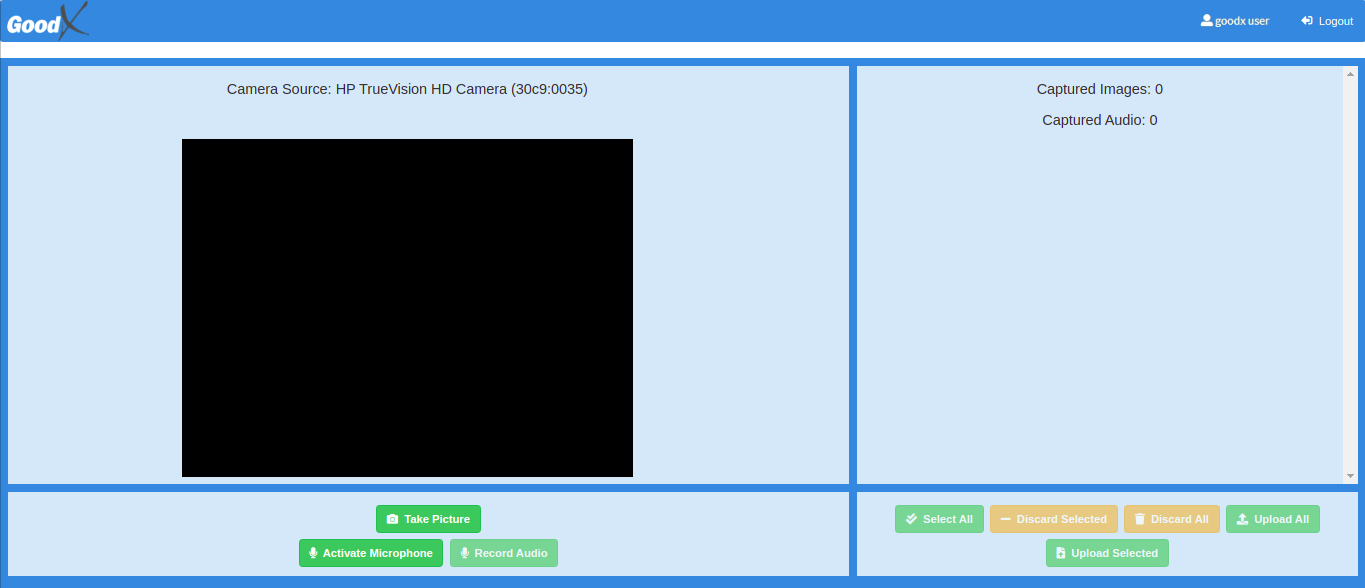
The Capture App screen will open.
Click on the Activate Microphone button to allow the application access to the microphone for the Voice Capture feature.
Please Note: If the Activate Microphone button does not appear, please disregard this step.
When the microphone has been activated, the RecordAudio button will become available for use.
Clickon theRecord Audiobutton.
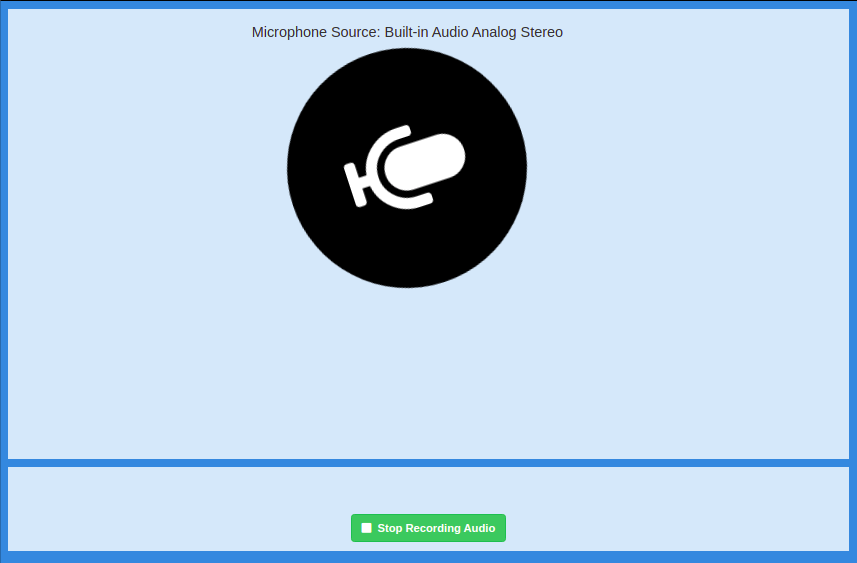
A large MicrophoneIcon will appear which indicates that the recording has started and the user is able to speak.
Click on the Stop Recording Audio button to end the recording once the user is satisfied with what they have recorded.
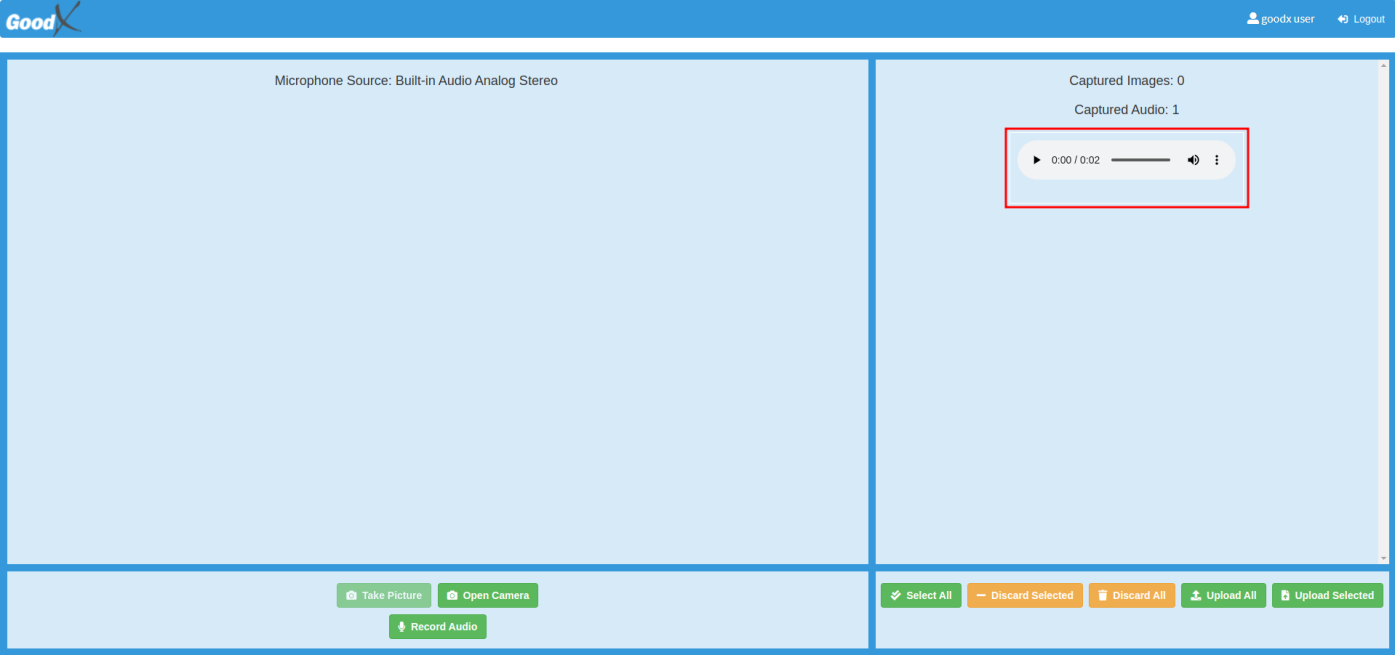
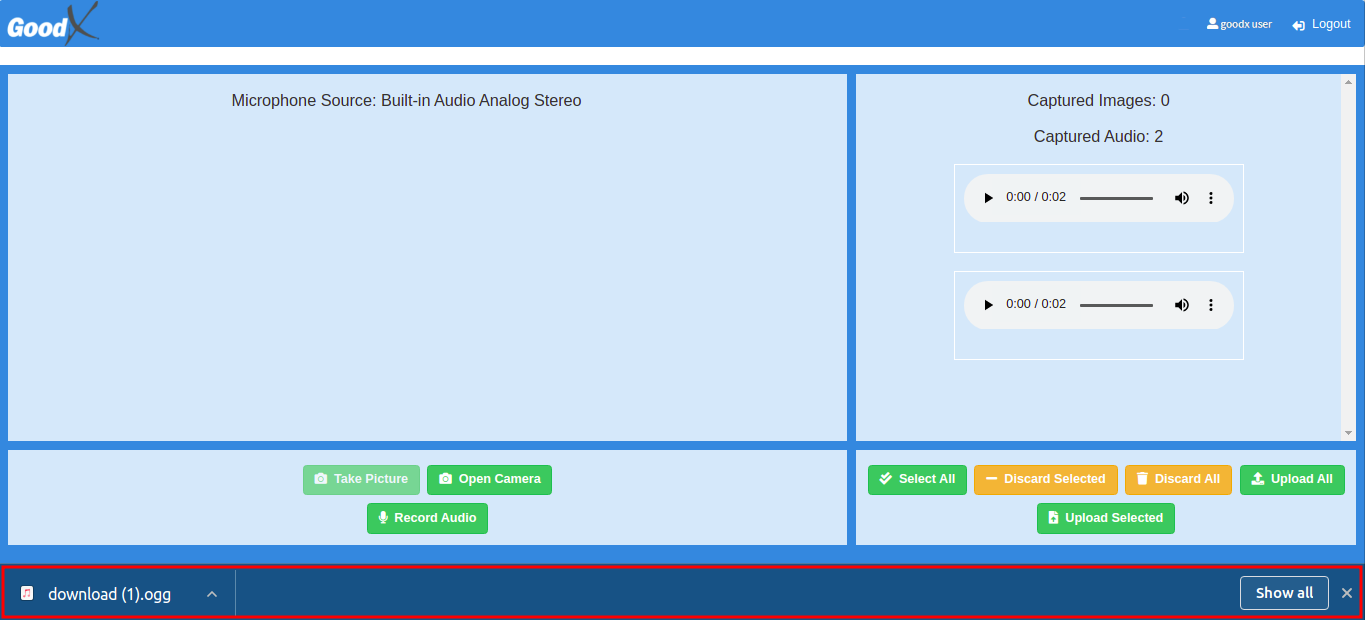
The completed audio recording will appear on the right side of the screen.
Click on the Play button next to the audio recording to preview the voice note.
Click on the desired audio recording that the user wishes to upload.
A blue box with a checkmark will appear around the selected audio recording.
Click on the Upload Selected button.
A pop-up screen will appear showing that 1 upload has been successful, and 0 uploads have been unsuccessful.
Click on the OK button to acknowledge the message and to close the pop-up, and return to the Capture App screen.
An explanation for the additional options will be given:
Click on the Select All button to select all of the available images or audio recordings that have been captured.
Click on the Discard Selected button to permanently remove all of the selected images or audio recordings.
Click on the Discard All button to permanently remove all of the images or audio recordings that have been captured.
Click on the UploadAll button to upload all of the captured images or audio recordings.
Click on the Volume button.
A line will appear over the Volume button meaning that the audio has been muted.
Hover the mouse over the Volume button to make a Volume Controller appear.
The volume can be adjusted by Clicking on the dark grey bar.
Click on the Kebab menu for additional options.
A sub-menu will open.
Click on the Download option to download the audio file onto the user's computer.
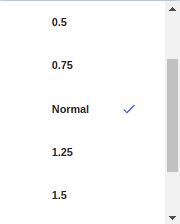
Click on the PlaybackSpeed option.
An additional sub-menu will appear with listening speed options. The listening speed can be changed to make the audio recording play faster or slower than the default speed.
For more information regarding how to upload and use the Voice Recordings in the Clinical Notes, please refer to the user manual: Add Voice Recording.
Last modified: Thursday, 21 December 2023, 3:33 PM