Audit Log
The purpose of the CCA Audit Log is to display the event log for each Invoice and what actions were performed on that specific Invoice. With this, GoodX can investigate why triggers did not take place, maybe due to a Setup issue.
The CCA Audit Log is displayed from 2 places:
- Admin Tab Screen
- Invoice Screen
- The contents of this User Manual will consist of the following information:
- CCA Audit Log from Admin Tab
- Filter Log Types
- Filters
- CCA Audit Log from Invoice Screen
- Log in to the GoodX WebApp using your GoodX username and password.
- The Diary main screen will open.

- Click on the Admin tab on the Navigation bar.
![]()
- The Admin screen will open.

CCA Audit Log from Admin Tab
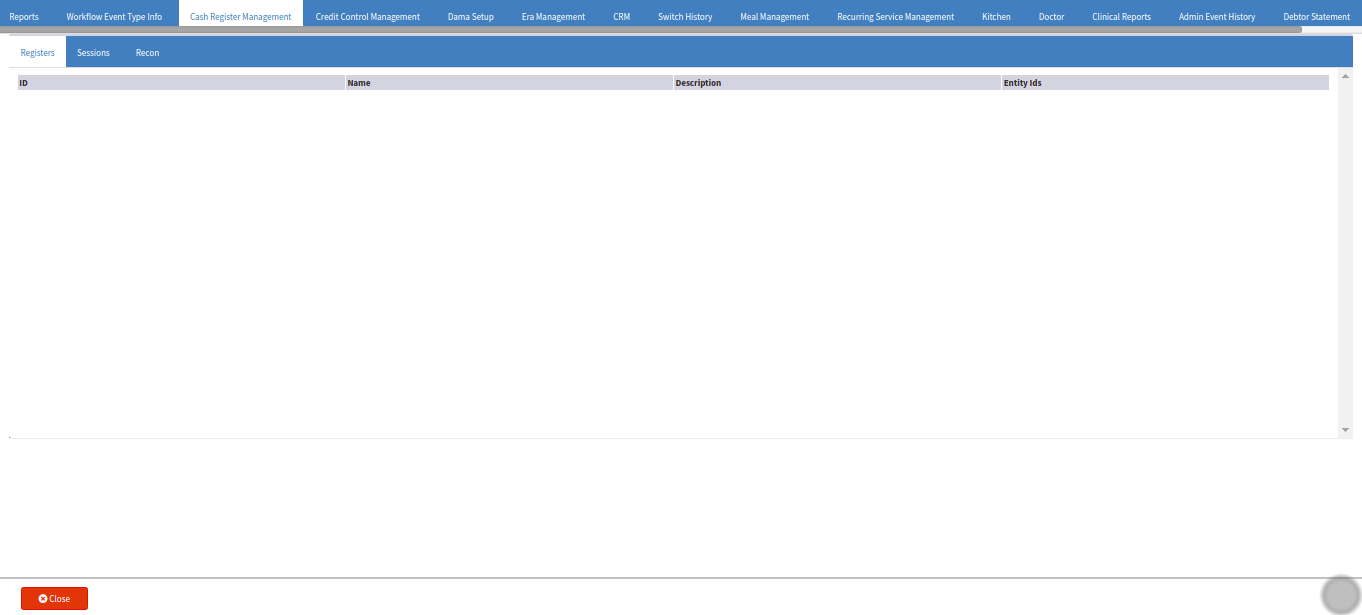
- Click on the Audit Log tab on the Navigation bar.
![]()
- The Audit Log screen will open.

- The following information will display on the Audit Log:
![]()
- The user can filter the Report according to the Start Date / Time. The Start Date / Time is the date and time the user want the Report to Start at.

- Click in the Start Date field, the calendar date picker will open. The user can select the Start Date for the Report.

- Click in the Start Time field, the time drop-down menu will open. The user can select the Start Time for the Report.
![]()
- The user can filter the Report according to the End Date / Time. The End Date / Time is the date and time the user want the Report to End at.

- Click in the End Date field, the calendar date picker will open. The user can select the End Date for the Report.

- Click in the End Time field, the time drop-down menu will open. The user can select the End Time for the Report.
- Click on the Refresh Data button to refresh and load the data after the Start and End Date / Time was selected.
![]()
Filter Log Types
The Audit Log can be filtered according to the following options:
Call Log

- The Audit Log will filter according to the call filter log type.

Call Log Columns
![]()
- Open:
- Timestamp:
- Username:
- Source:
- Category:
- Extra Data:
- Click on the grey Envelope open button to open the specific Log Entry.
![]()
- The Log Entry Preview screen will open.

- Log Type:
- Timestamp:
- Username:
- Source:
- Category:
- Extra Data:
- Click on the Cancel button to close the Log Entry Preview screen.
![]()
- Click on the Ok button to continue and navigate back to the Call Log screen.
![]()
Table Log

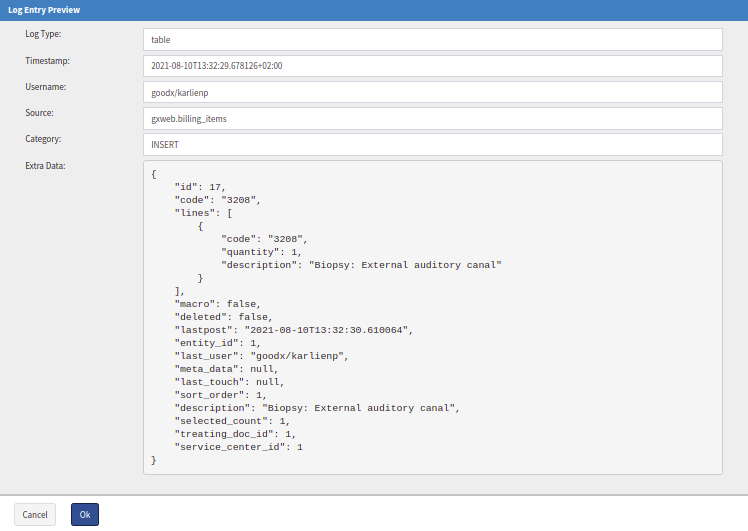
- The Audit Log will filter according to the table filter log type.

Table Log Columns

- Open:
- Timestamp:
- Username:
- Source:
- Category:
- Extra Data:
- Click on the grey Envelope open button to open the specific Log Entry.
![]()
- The Log Entry Preview screen will open.

- Log Type:
- Timestamp:
- Username:
- Source:
- Category:
- Extra Data:
- Click on the Cancel button to close the Log Entry Preview screen.
![]()
- Click on the Ok button to continue and navigate back to the Table Log screen.
![]()
CCA Log

Please Note: The CCA filter will be explained at the end of the Manual, as the CCA Audit Log is accessed via the Invoice screen.
Client Log

- The Audit Log will filter according to the client filter log type.

Client Log Columns
![]()
- Open:
- Timestamp:
- Username:
- Source:
- Category:
- Extra Data:
- Click on the grey Envelope open button to open the specific Log Entry.
![]()
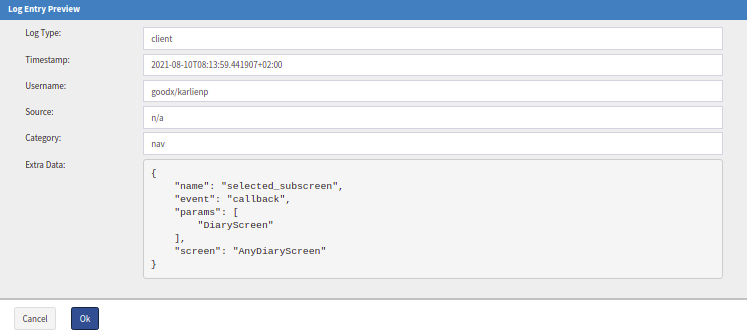
- The Log Entry Preview screen will open.

- Log Type:
- Timestamp:
- Username:
- Source:
- Category:
- Extra Data:
- Click on the Cancel button to close the Log Entry Preview screen.
![]()
- Click on the Ok button to continue and navigate back to the Client Log screen.
![]()
- The Display Limit will by default display 1000 Log entries. The Display Limit is the number of entries the Log will display of the total number of entries available.
![]()
Filters
The following Filters are available to filter every Audit Log Type on:Username Filter
![]()
- The Audit Log can be filtered according to the Username. GoodX works according to users. This is the person who has a login name and is using the login name to open GoodX. The username will show on all the transactions and any changes what was made on the system.

- Click in the Filter Usernames field, a drop-down menu will open with the users that are loaded onto the system. Choose a user to filter the Log on.
![]()
- Click on the green (+) button after the user is selected to add the filter.

- The Username Filter will now be added.
![]()
- Click on the red (-) delete button to remove the Username filter.

- The Audit Log will display only the Username it is filtered on.
Source Filter
- The Audit Log can be filtered according to the Source. The Source is.............

- Click in the Filter Source field, a drop-down menu will open with the source details.
![]()
- Click on the green (+) button after the source is selected to add the filter.

- The Source Filter will now be added.
![]()
- Click on the red (-) delete button to remove the Source filter.

- The Audit Log will display only the Source it is filtered on.
![]()
- The Audit Log can be filtered according to the Category. The Category is.............

- Click in the Filter Category field, a drop-down menu will open with the category details.
![]()
- Click on the green (+) button after the category is selected to add the filter.

- The Audit Log will display only the Category it is filtered on.
![]()
- Click on the Close button to exit the Audit Log screen.
CCA Audit Log from Invoice Screen
- From the Diary main screen, click on the correct Patient booking.
- The Sidebar will open on the right-hand side of the screen.

- Click on the Account Details button.
![]()
- The Account Details screen will open.

Please Note: Refer to the Account Details link or related button to open the Manual for more information on How the Account Details screen works.
- Click on the View / Edit Invoice button to open the Invoice screen.
![]()
- The Invoice screen will open.

- Click on the grey View CCA Logs button in the top right corner of the Invoice screen to open the CCA Log.
![]()
- The Audit Log screen will open.
CCA Filter
- The Audit Log will filter according to the cca filter log type.

- Open:
- Timestamp:
- Username:
- Source:
- Category:
- Extra Data:
- Click on the grey Envelope open button to open the specific Log Entry.
![]()
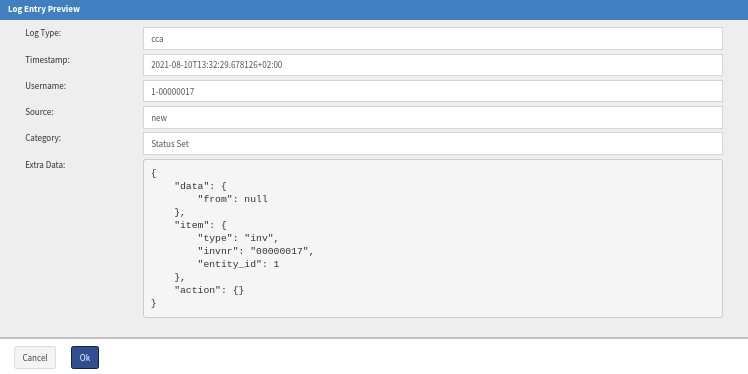
- The Log Entry Preview screen will open.

- Log Type:
- Timestamp:
- Username:
- Source:
- Category:
- Extra Data:
- Click on the Cancel button to close the Log Entry Preview screen.
![]()
- Click on the Ok button to continue and navigate back to the Audit Log screen.
![]()
- Click on the Close button to exit the CCA Log screen.
Last modified: Thursday, 26 May 2022, 8:11 AM