Text size
Line height
Text spacing
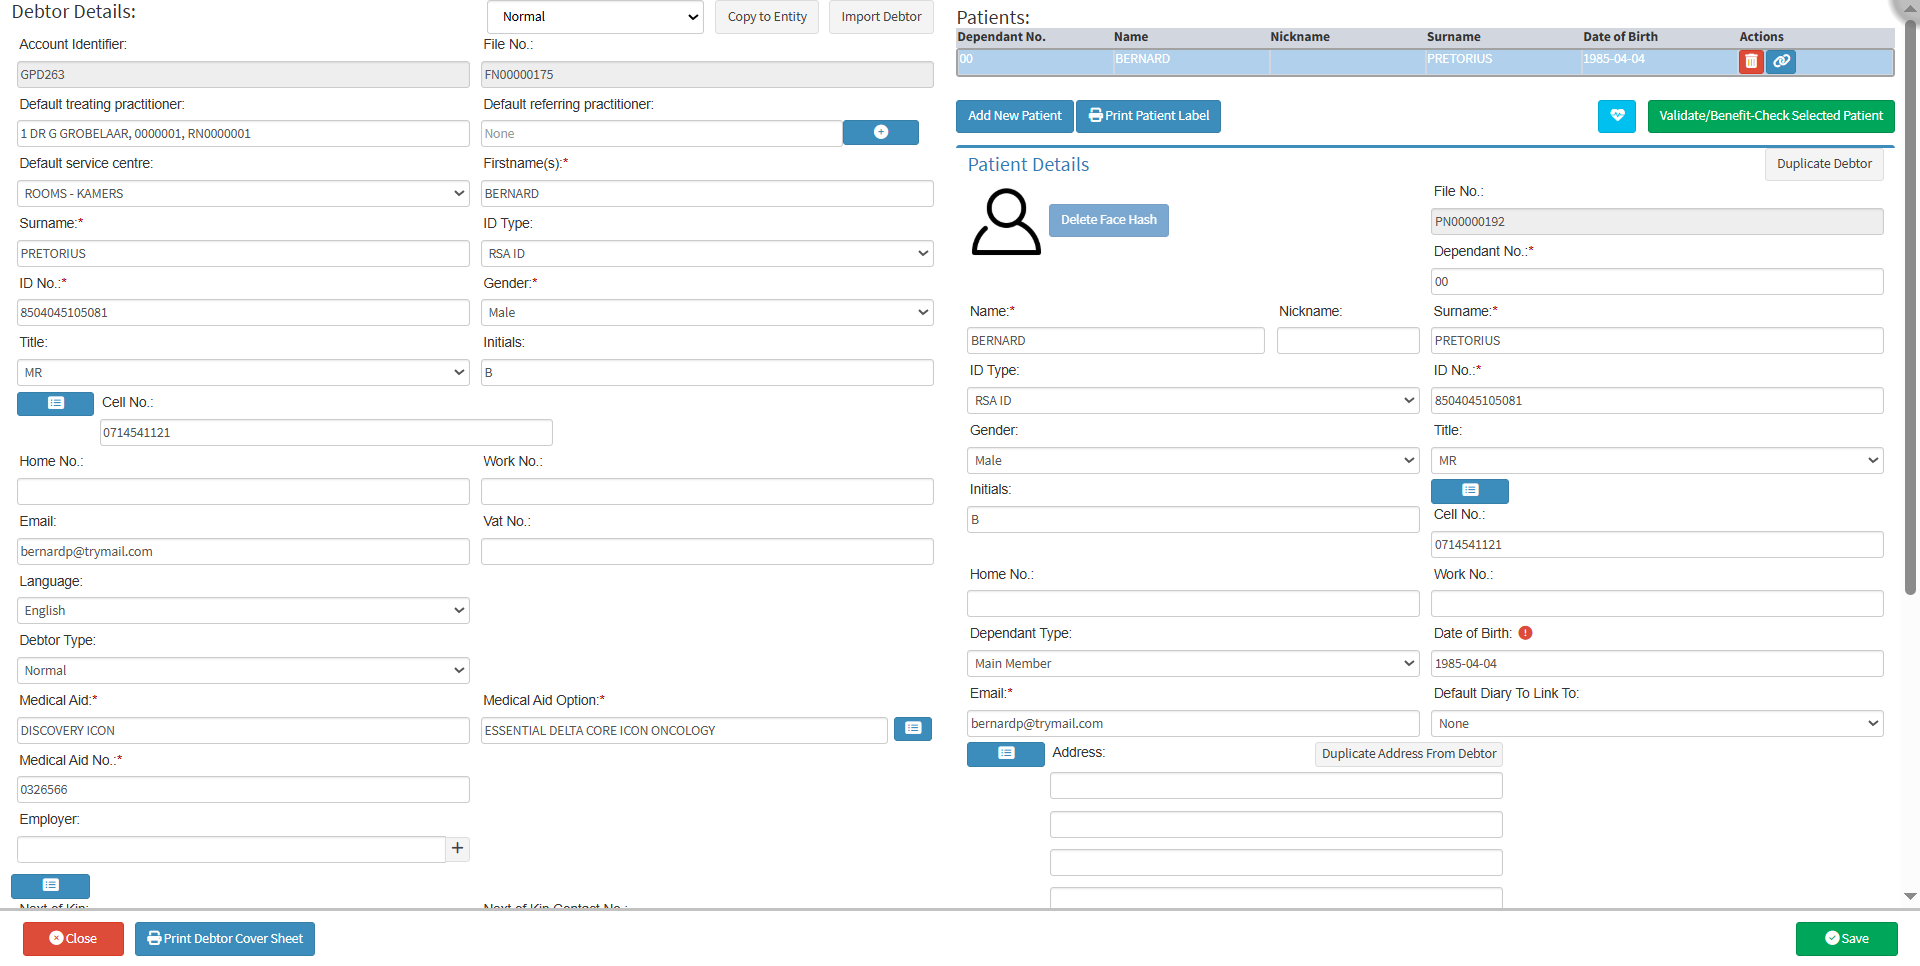
The Delete Face Hash button allows the permanent deletion of a Patient’s stored facial image from the system database. Once deleted, the Patient can no longer be identified using facial recognition within the Patient Identifier tab.
This is especially important for maintaining data accuracy and privacy, as it enables the secure removal of outdated or incorrect facial data. By ensuring that only current and valid photos are stored, the Practice can prevent misidentification, uphold data protection standards, and maintain full control over sensitive biometric information.
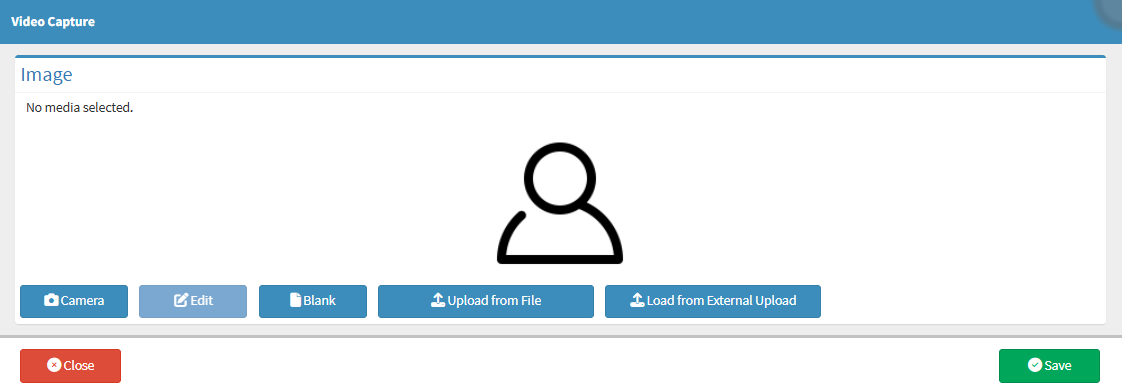
?Please Note: The Delete Face Hash button is greyed out when no image has been loaded previously.


![]()
![]()
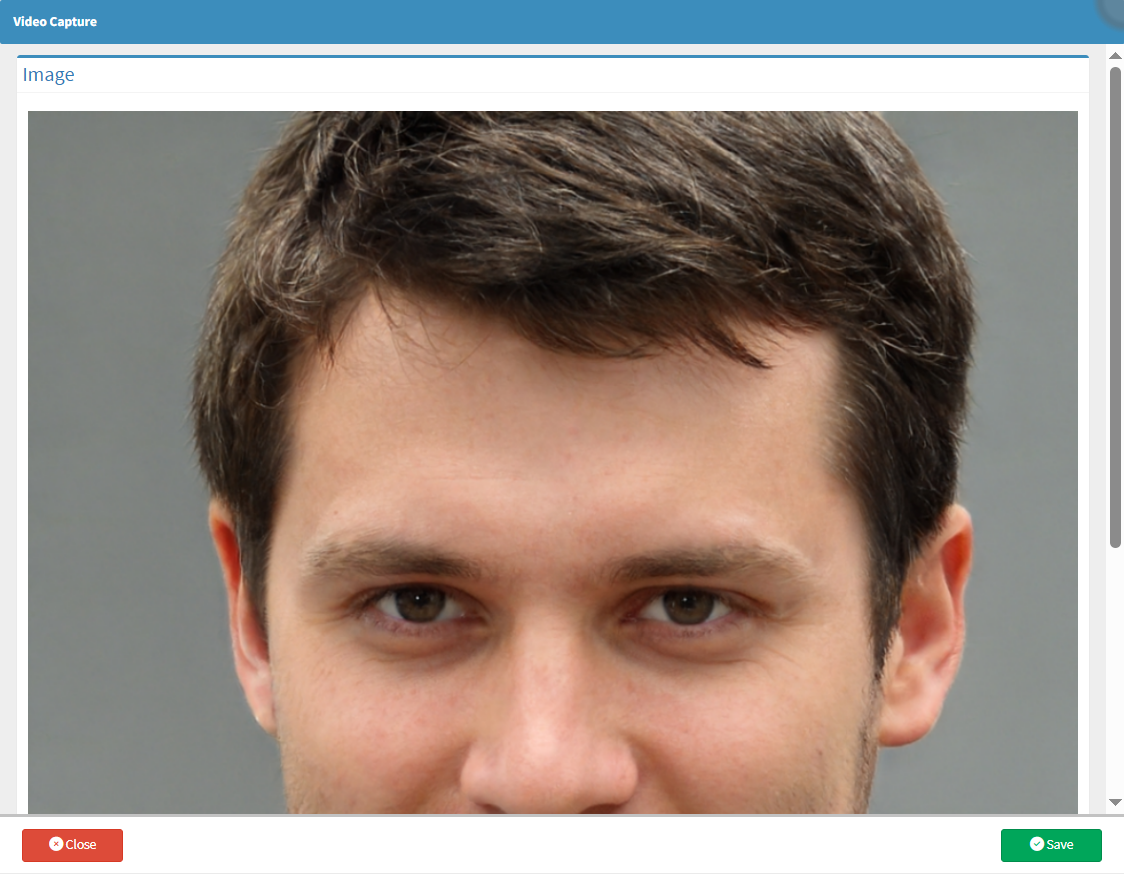
?Please Note: The Patient photo will be cleared.
![]()
![]()
![]()