Print out stock adjustment after adjustment has been done. This function is available when adjusting a single item or a whole list of items
Log into the GoodX Desktop app with your username and password.
Double click on the Stock module.
The contents of this User Manual will consist of the following information:
Print direct.
Print to grid.
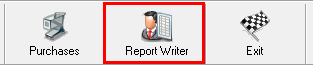
From the menu bar, click on the Report Writer button.
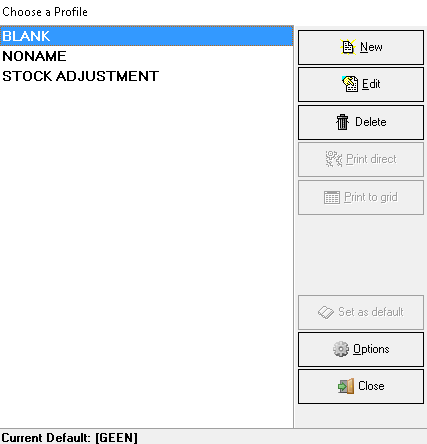
The Choose a Profile screen will appear.
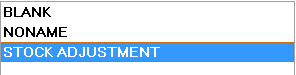
Click on STOCK ADJUSTMENT.
The Print direct and Print to grid buttons
will appear on the side panel on the right hand side.
Print direct:
Click on the Print direct button.
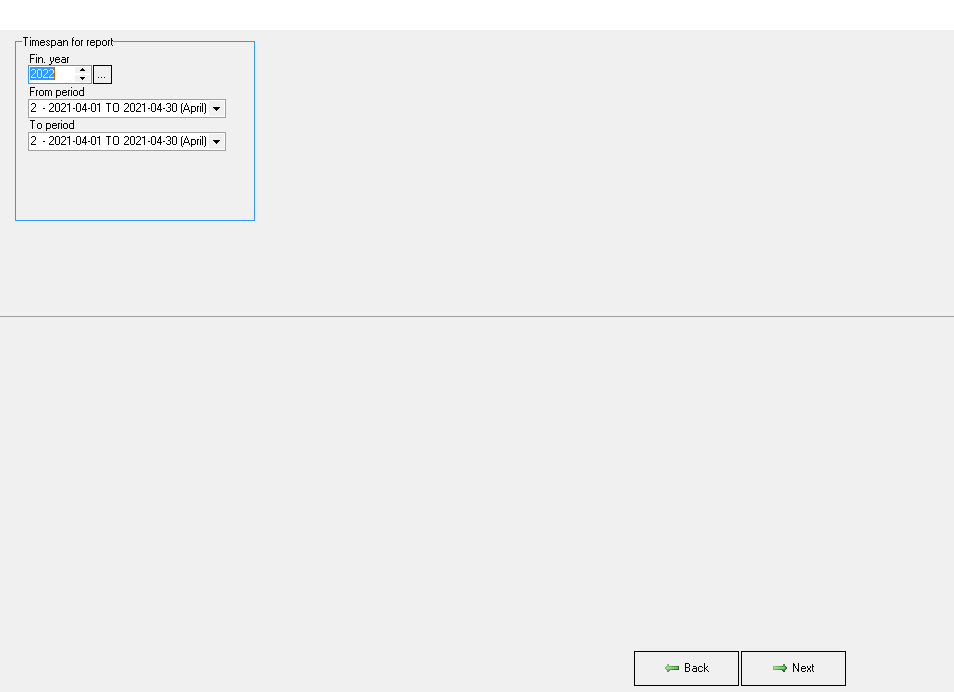
The Timespan for report screen will appear.
The following information needs to be completed:
Fin. year: The system will automatically pull the previous financial year into the fields.
Click on the ellipse (...) button to change to the current financial year.
From period: The financial year months from when the user wants to print the stock adjustment reports. The system will automatically pull them through from the Fin. year was chosen. The user is allowed to change the months from
the drop-down.
To period: The financial year months to when the user wants to print the stock adjustment reports. The system will automatically pull them through from the Fin. year was chosen. The user is allowed to change the months from
the drop-down.
Click on the Next button to continue to the next page.
The Stock Report Writer screen will appear.
Click on the Print button at the bottom of the screen to print the stock adjustment report.
The Print screen will appear.
Ensure that the following information is correct:
Select Printer: The user needs to ensure that they choose the correct printer to print to.
Page Range: Tick the All box to print all the pages of the report.
Pages: When the user ticks the pages field, they can indicate what pages they want to print.
Number of copies: The user must enter how many copies they want to print.
Click on the Print button to print the report.
Click on the Close button to exit the Stock Report Writer screen.
Print to grid:
Click on STOCK ADJUSTMENT.
The Print direct and Print to grid buttons will appear on the side panel on the right-hand side.
Click on the Print to grid button.
The Timespan for report screen will appear.
Click on the Next button.
The Stock Report Writer screen will appear.
Click on the Print button to print the stock report.
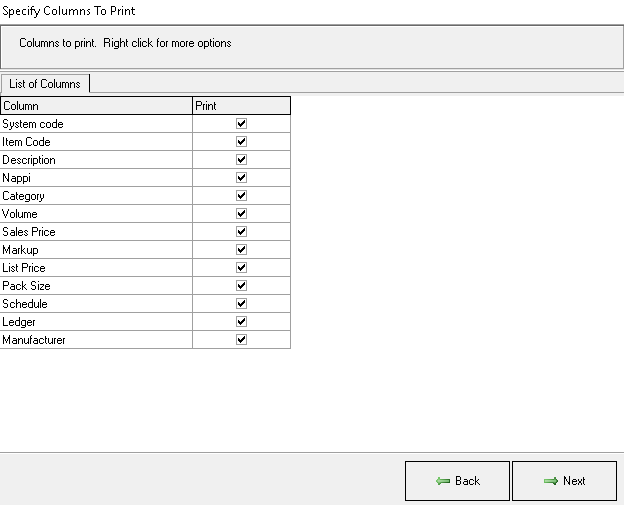
The Specify Columns to Print screen will appear.
The user can tick the boxes in the print column which they would want to have printed on the report.
Click on the Next button to proceed.
The Stock Report Writer screen will appear.
Take Note: Only the selected columns will print on the report.
Click on the Print button to print the stock report writer.
Follow the section of Print direct to see how the print button work.
Click on the Close button to exit the Stock report writer print screen.
Click on the Exit button to exit the Stock Report Writer screen.
The user will be directed to the Choose a Profile screen. Click on the Close button to exit.