Enabling colours in order to differentiate between statuses on the bookings.
- The contents of this User Manual will comprise of the following information:
- How to enable colours on the diary
- To see whether the colours have been enabled successfully
How to enable colours on the diary
- Sign in to the GoodX Desktop using your GoodX username and password.
- From the Navigator Double Click on the Diary Module.

- The Main Diary screen will open.
- Notice the text of the Appointment details is black.

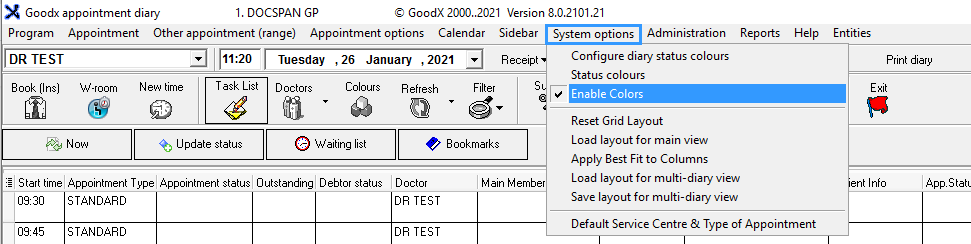
- On the menu bar, Click on System Options.
- Click on Enable Colours on the drop-down menu.

- The drop-down menu will close.
To see whether the colours have been enabled successfully
- On the menu bar, Click on System Options.
- Notice a checkmark next to the Enable Colours, this is to show that colours have been enabled.
- Also, notice the text colour of the Appointment details has changed.

- To see how to set up these colours, follow the link and see the user manual: Diary Colours
Last modified: Tuesday, 26 January 2021, 12:00 PM