Task Lists Screen Overview
Why Use This Function:
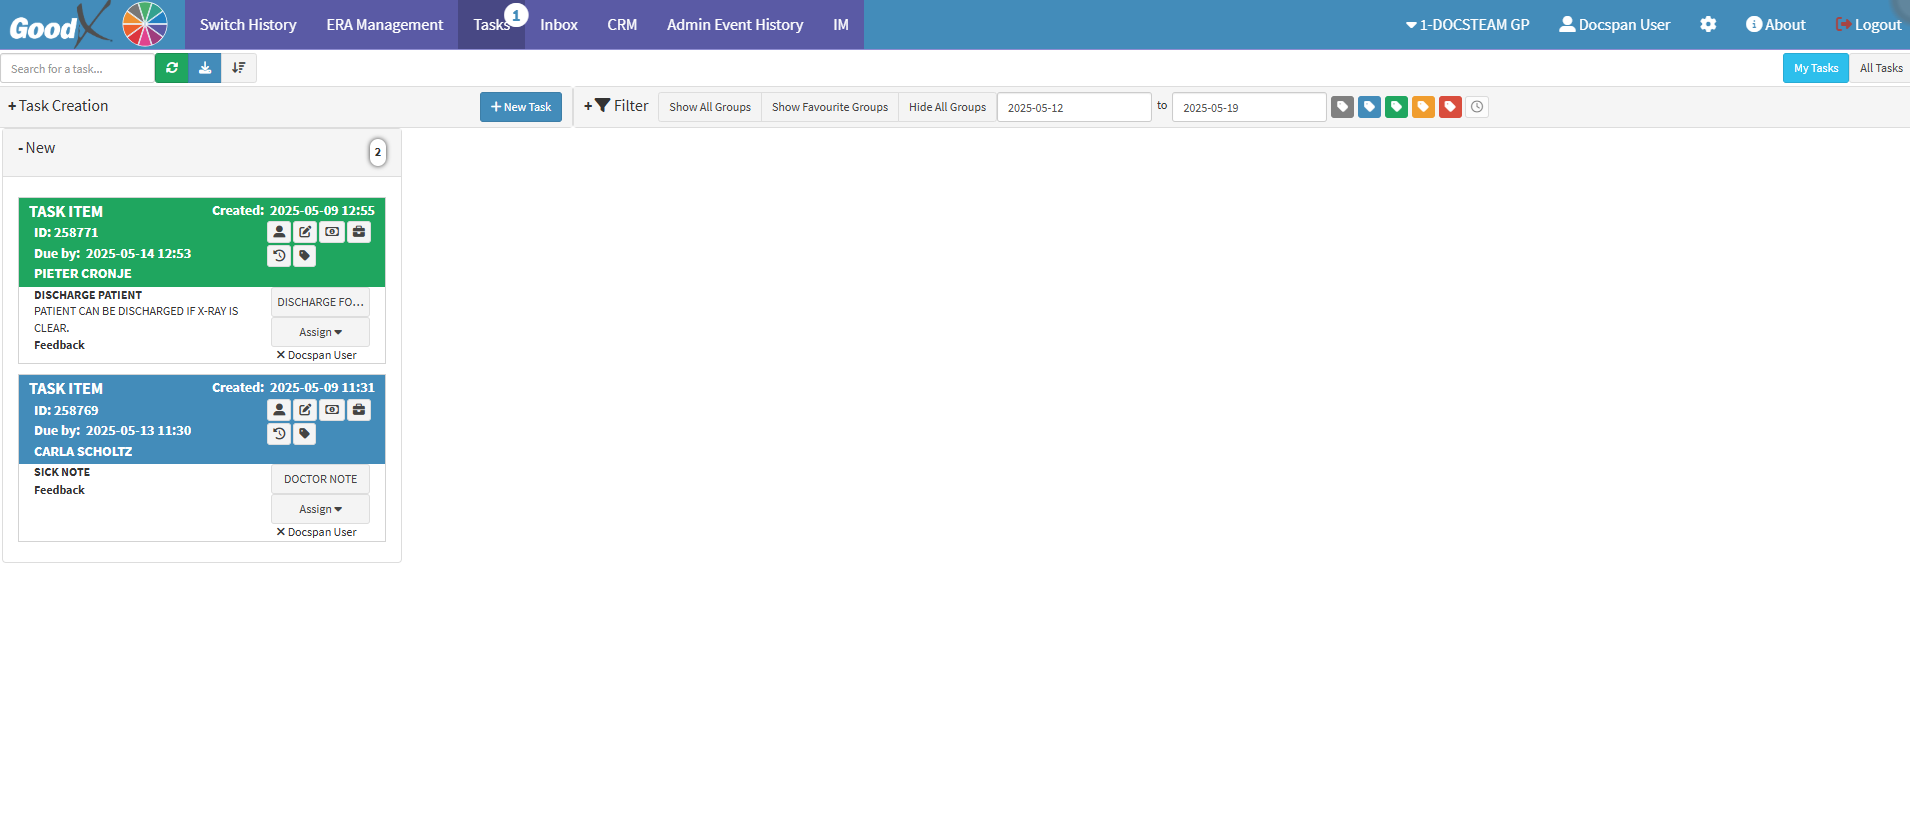
The Task List will show all the Tasks that have been created. The Task List is a working list to help manage the workflow and remind users of important tasks that must be completed. Users are able to create tasks for themselves or they can create and assign tasks to other users within the Practice. If the Practice is set up for Pathology, the electronic Pathology results will also import and display under Tasks. The Practitioner will be notified as soon as new results are available.The Contents of This User Manual:
- Create a New Task
- Filter
- This user manual will start on the Tasks screen.

- For more information on how to navigate to the Tasks screen, please refer to the user manual: Communication Segment.
Create a New Task
- Click on the New Task button to create a new task.
![]()
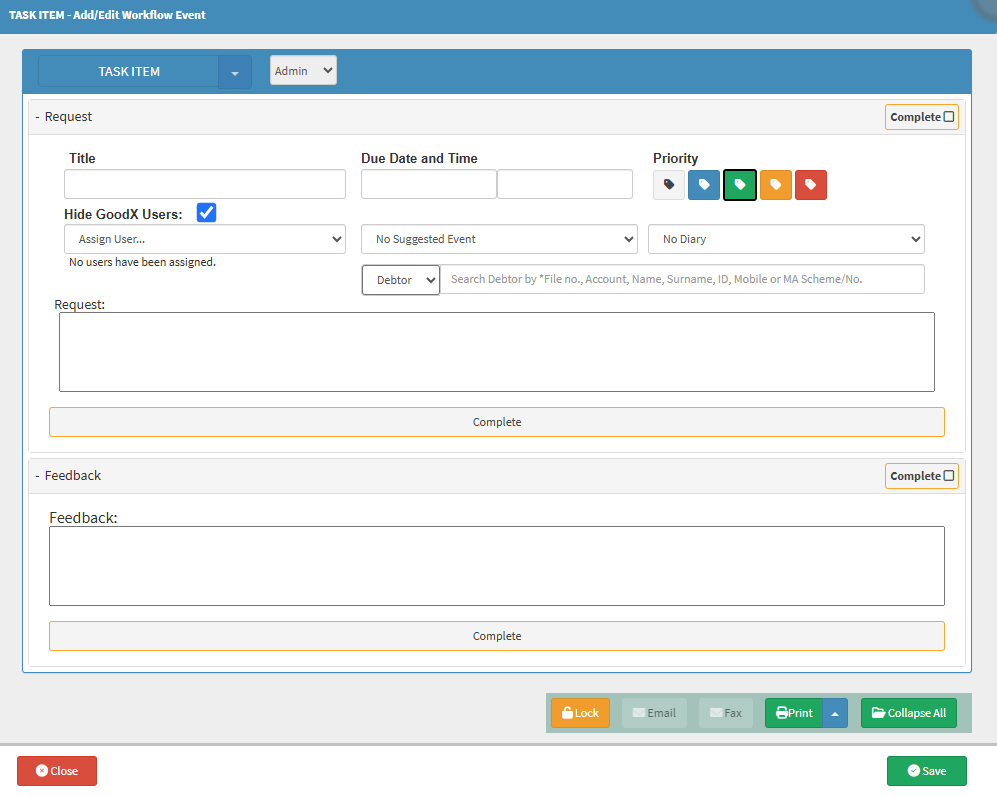
- The TASK ITEM-Workflow Event screen will open.

- For more information on how to Create a New Task, please refer to the user manual: Create A New Task.
💡Please Note: The Tasks that will be displayed will only be those that have been assigned to the specific logged-in user.
Filter
Tasks can be filtered on the Task item screen in order to make the search for tasks easier. This will especially be a handy tool when a Practice has a lot of tasks daily.

The following actions can be done from the Filter action bar:
- Click on the Search for a Task field to enter the Task you wish to find.
![]()
- Click on the Show All Groups filter button to show all groups, for example, Closed, New, etc.
![]()
- Click on the Show Favourite Groups button to only show tasks that are marked as favourite.
![]()
- Click on the Hide All Groups button to hide all the groups.
![]()
- Click on the Date field to select a date range from and to from the Date Picker that becomes available.

- Click on the Priority you wish to filter on.
![]()
- Grey: Unknown - No priority has been allocated to the task.
- Blue: Low - The task is not urgent or of great importance.
- Green: Normal - The task should be attended to as soon as the more critical tasks have been attended to.
- Yellow: High - The task is of great importance and should be attended to as soon as possible.
- Red: Very Urgent - The task should be looked at immediately and will take preference over all other tasks.
- Click on the Show Snoozed Tasks button to show all the snoozed tasks.
![]()
- Click on the My Tasks to filter on only tasks assigned to you.
![]()
- Click on the All Tasks button to filter on all the tasks.
![]()
- Click on the Refresh button to refresh results based on your filters.
![]()
- Click on the Load More Tasks button to load more tasks.
![]()
- Click on the Sort button to sort all the tasks.
![]()
Last modified: Tuesday, 20 May 2025, 2:08 PM