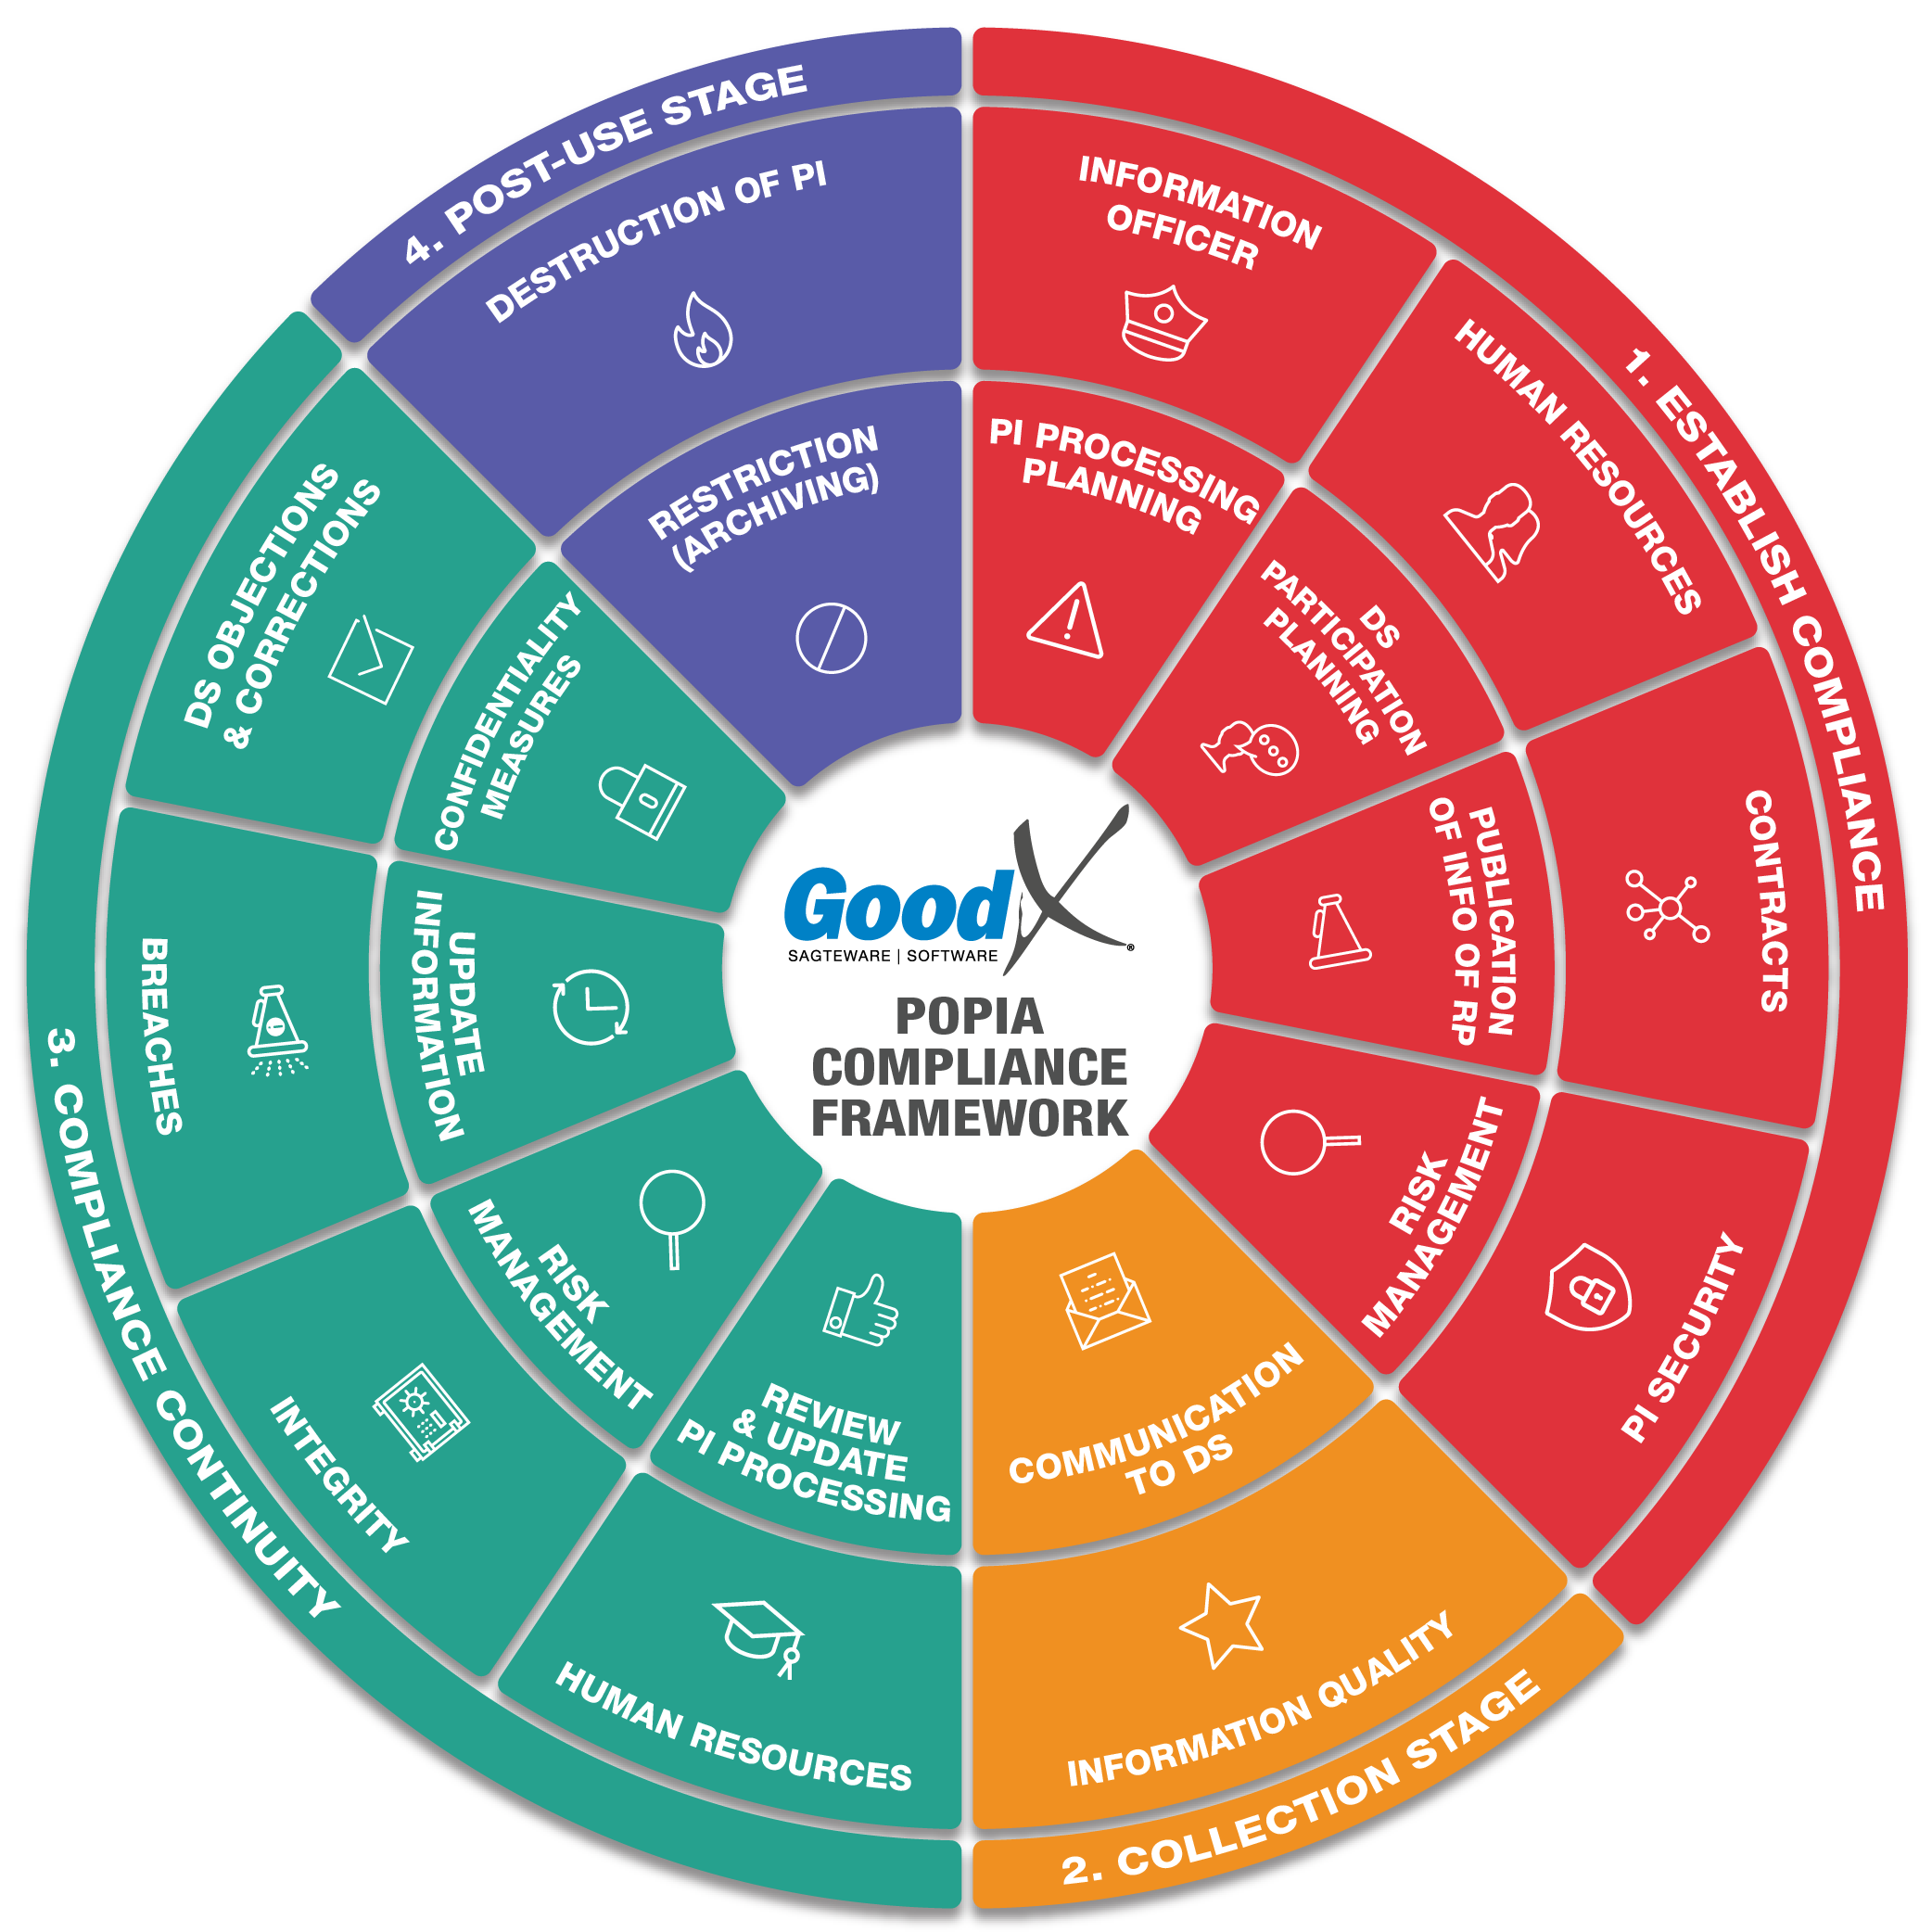
Best Practice Guidelines: Healthcare Practice Management & POPIA Compliance Framework
Best Practice Guidelines: Healthcare Practice Management
&
POPIA Compliance Framework
Copyright © 2021 GoodX Software. All rights reserved.
GoodX online Learning Centre
learning.goodx.co.za
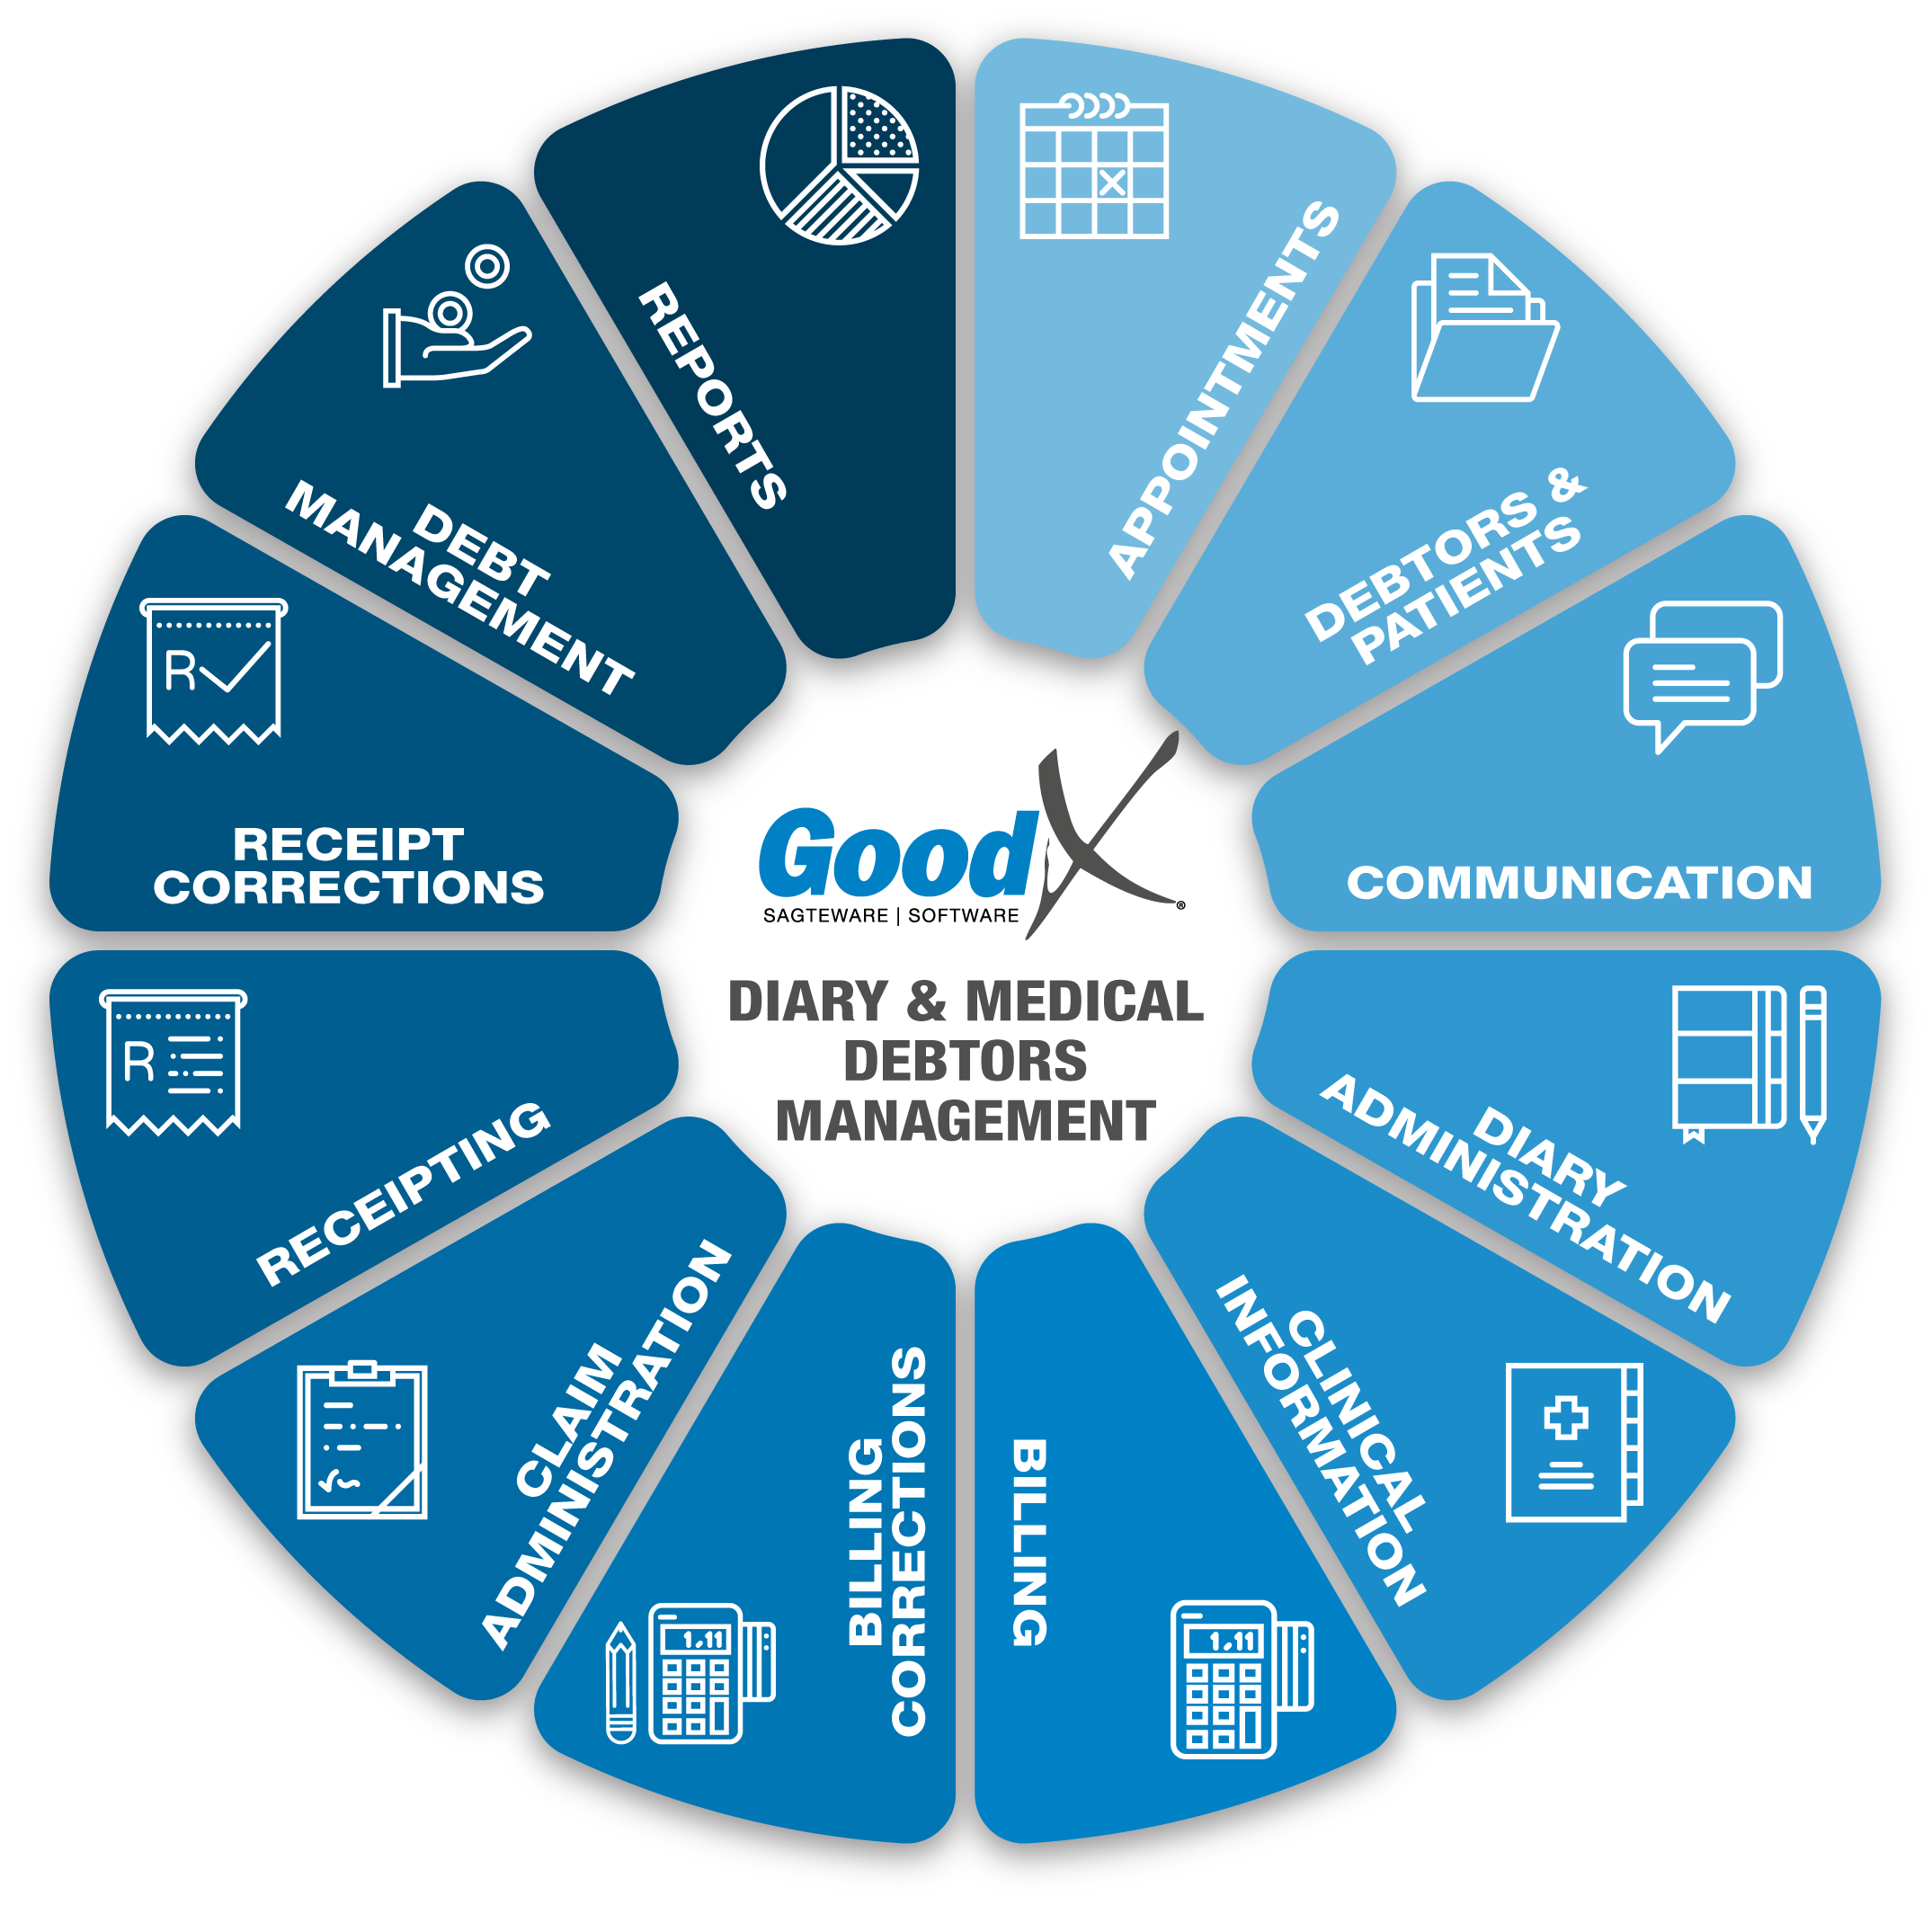
5. Debtors & Patients: Roles & Purpose
5.1. Debtors & Patients Business Processes
Patients & the patient portal app
| x |
Information Quality:
|
|
|---|---|---|
 |
Updated Information:
|
|
| x | Communication to Data Subject:
|
Create a patient portal profile
Patients are connected to the medical practice via the patient portal app.- The patient will receive an automated email from the medical practice, which will take them to the correct URL where they can register a patient profile to be able to use the myGC app.
- The patient must complete and upload all the necessary information and documents to activate their myGC profile.
- The patient must make sure that the email they use to sign up, is the same email they want to receive statements, invoices, scripts or any related clinical forms from the practice.
Electronic record update requests (SyncVites)
When the patient portal app is used, the practice can send an invitation via an electronic record update request (in short SyncVite derived from Synchronised Invitation) to a patient to request that the patient update their Personal Information in the app.
SyncVites facilitate communication between GoodX Software and the patient portal app. The software sends out a message to the patient to join the patient portal app and then waits for a message response before it continues processing. After receiving the SyncVite, the patient can register a profile on the patient portal, whereafter the practice will be able to import the Debtor/Patient details straight from the patient portal into GoodX.The benefits of SyncVites:
- SyncVites are a simple way to reduce the number of clients failing to attend appointments.
- It limits the incorrect capture of Patient information.
- It makes communication more efficient. If, for example, the patient has a bad phone signal and you cannot hear what the patient is trying to communicate with regards to the correct spelling of their surname, you can use the app to import their correct details.
- Email: When selecting the Email option, the system will send out an email to the Patient's email address with an invitation to join myGC and a link to the practitioner's Diary.
- SMS: When selecting the SMS option, the system will send out an SMS to the Patient's cellphone number with the practitioner's Diary link for them to join myGC.
- Email & SMS: When selecting the Email & SMS option, the system will send out an email and SMS to the Patient email address and cellphone number with the practitioner's Diary link for them to join myGC.
- Kiosk in the practice: When the patient does not have access to a smart device, the practice can install an information kiosk in the reception area, and patients can use the kiosk to capture their information. The practice will then import the information into their software.
- The patient can review the information.
- The patient can update the information and sync the information with the practice.
- The patient can approve the information when all the information is correct.
- The practice will receive a notification that the patient did update their information.
- The practice can check the new information against the information on the system and decide if the changes can be updated on the system or decline the new information.
- The patient can decline the SyncVite, no information will be synced with the practice.
- The patient can also remove the practice rights to his/her information after the access was granted.
When a patient declines a SyncVite for any reason the practice should phone the patient and get the updated information or ensure the next time the patient visits the practice the information is updated.
Debtors and Patients Business Processes
| x |
Information Quality:
|
|
|---|---|---|
 |
Updated Information:
|
|
| x | Communication to Data Subject:
|
|
 |
Data Subject Objections & Corrections:
|
|
 |
Confidentiality:
|
|
 |
Destruction of Information:
|
|
 |
Archiving & Restriction of Information:
|
Create new debtor
A Medical Debtor is the person who is responsible for the account, for example:- The main member of the medical aid and who signs an agreement accepting responsibility for the medical account of his or her dependents.
- Any major private patient.
- The guardian(s) of any minor patient.
- Any person signing an agreement who accepts responsibility for the medical account on behalf of a patient (guarantor).
- The company that takes responsibility for the patient's account.
Take note:
- Medical software uses the main member of the medical aid as the debtor on the software. However, when doing debt collection, the main member is not necessarily the debtor.
- Example: an adult dependent of the main member visits the practice. The main member is listed as the father, but if the father did not sign the practice's terms and conditions in terms of which he takes responsibility for the account, the patient is the debtor if the medical aid does not pay the account.
- For more information, see the chapter on debt collection.
Make sure the following demographic information is correct and captured on the system:
- Debtor and patient full names and surname.
- ID Numbers of both.
- Medical aid and plan, medical aid number and dependant number.
- Contact information of debtor and patient.
At the opening of a patient electronic file, the patient validation and benefits check can be done to see if the patient is active on the medical aid. Some demographic information can be imported from medical aids, depending on the information different medical aids make available for import.
Debtor types:
A New Debtor account/file needs to be created for each type of debtor because the information differs on the type of debtor file. Each Debtor type will ensure that the correct data is collected from the patient that is needed. The debtor type can be changed if no billing has been done on the debtor's account because the account is linked to different price lists according to the debtor type. Debtor types are divided into:
- Normal Debtor:
- Also known as a Medical Aid debtor.
- The medical aid of the main member will need to be completed for validation, billing and switching purposes.
- The debtor file will be linked to the specific medical aid price list, the medical aid plan the debtor is using or are a part of.
- Private Debtor:
- A debtor/patient that does not have medical aid to cover the costs.
- A private debtor file can not be switched.
- The debtor/patient is responsible for the account.
- The electronic file will be linked to a private patient pricelist for billing purposes.
- IOD (Injury on Duty) Debtor:
- An Injury on Duty occurs while a person was on duty at their place of work.
- There are certain forms that must be filled in and information that must be submitted to the Workman's Compensation Fund to receive the money for the procedures or treatment that the patient has received.
- The injury on duty file will contain separate information fields that will be needed when the IOD case is submitted, for example, a claim number, date of injury and details relating to the injury.
- Non-Medical Debtor:
- A Non-medical Debtor is a Debtor that is not a patient but still needs an Invoice or Statement for any other services that was rendered to the company or patient.
- Normally this can be used when you own a building and rent out the offices, rent out equipment, or sell your time to someone else.
- Insurance Debtor:
- Insurance debtor will be created for insurance examinations that the Insurance companies require when a person applies for life insurance or any company that needs a physical examination on the person's body.
- The Insurance Debtor will need a claim number completed on the debtor electronic file, to display on all die clinical documents.
- For each Insurance agent, there should be a separate Insurance Debtor file for the patient.
- An insurance agent is a person who solicits, negotiates, or initiates insurance contracts.
- A Debtor file can be linked to an Insurance agent and will assist in giving feedback to all the correct Insurance agents of all the patients per Insurance agent or company.
Add dependants
Dependants are the persons for whom the medical debtor is responsible. The main member will be responsible for all the invoices for dependants posted on his or her file.
Make sure that the dependant codes correlate to the dependant codes listed on the medical aid card to ensure successful claim processing. Dependants can be children, spouses, stepchildren or even grandparents.
Import Data
Debtor and patient information can be imported from different medical aids. Unfortunate not all medical aids have this functionality, but all the big medical aids have the functionality to Import certain data from their databases into the system. The user will only need the Debtor Medical Aid Scheme Name and the Medical Aid membership number. The information will depend on each medical aid schema, not all the information will be available at each medical aid schema.
Imports are also available from myGC, please refer back to the myGC app in this chapter for more information on the import functionality.
The Import ensure that all information is correct and up to date. There are no errors because the information is not completed on the system by the user, but comes directly from the source.
Duplicate Debtor Warning
When a new Debtor is created, the best practice is to have only one electronic file per debtor or family. This will assist in managing the family as a whole and account or debt management can be done per debtor/main member (in this instance the main member had to have signed the terms and conditions of the practice to take responsibility for any outstanding accounts).
When the same ID is used the system will warn the user that a debtor/patient already exists with the same ID number in the system database. An option will be available to edit the file that is already on the system if the information is not up to date.
There are reasons when a practice will need to create duplicate debtors, for example:
- Certain Specialities, for example, specialists, who only see a patient once and never again.
- When a patient visits the practice for an IOD and/or insurance medical and has a file for normal day tot day visits. You will need to create different types of files for the patient.
If a duplicate needs to be created, the reason for the duplication should be added to the record.
Create an Employer
An Employer is a person or company that remunerates staff members for the work that they do. An employer's details will be added to the debtors' file to keep a record of where the debtor works.
It is compulsory to add an Employer to an IOD debtor file as the details are needed to fill out further documentation regarding the injury on duty claims.
Updated employer detail can be used for debt collecting purposes.
Debtor List
A Debtor List is a list of all the Debtors and Patients that were created on the system. All demographic information will be available from the list. The search functions should be used to find the correct debtor or patient. Always ensure the correct debtor and patient have been selected before any of the functions are used. Please refer to the correct search methods section in this chapter for more information on how to search the correct way.
Access to certain functions will be available from the Debtor list to assist the user in a quick and efficient workflow. When a Debtor is selected, a sidebar with functions will open with applicable functions for example:
- Validation of debtor and patient
- Edit and update debtor or patient information
- Add new dependant
- Invoice
- Account details
- Communication methods (SMS, Email and VOIP Calls)
Copy Debtor Data
The user can copy any demographic data from a previous main member or dependent file and can link the previous clinical record to the new debtor file. You can also highlight all information, and copy and paste the information into the new file. The information can also be copied into any communication platform, for example, SMS or emails. This will save time and limit typing errors.
Patient validations and benefit checks (if available from medical aids)
Validate all medical aid patient files before the patients consult with the practitioner to ensure that demographic information is up to date. Update any incorrect or outdated information.
Use the benefit check (Discovery administered schemes and GEMS) to ensure that there are funds available in the medical savings account. The practice will perform a benefit check and if a certain amount is available, the system will reply with the availability. The system does not show the amount that is available in the patient’s savings account. Only the amount that the user has typed into the benefits checker will be checked. Most software providers allow only three benefit checks on each patient file per day to prevent claim fraud.
MedScheme allows a quotation claim to be switched to the medical aid to see if the claim will be paid.
View and Edit Debtors and Patient Information
The Debtor and Patient information should be checked and updated with every visit. Confirm all the information with the Debtor and patient. When a patient did not visit the practice in the last year, phone the patient and ensure the information is viewed and edited where necessary.
Debtor and Patient Documents
- There are different types of documents that can be scanned and uploaded into the software and linked to the electronic file of the patient.
- Debtor document types:
- Financial e.g. medical aid card, payslips for payment plans;
- Personal e.g. ID card, proof of residence, photos;
- Practice e.g. terms and conditions and practice privacy policy.
- Patient document types:
- Medical/clinical e.g. consent forms, referral letters;
- Personal e.g. ID card or photo;
- Practice e.g. terms & conditions.
- Compulsory documents can be marked as required and outstanding documents will be indicated. The document icon will show red until all necessary documents have been uploaded.
- This will eliminate the cost of printing and filing space and it will always be available in electronic format.
- The Practice can use a shredder. If the Practice shreds confidential documents with details about their patients, they can increase the trust these people have in the practice. By shredding documents and making sure patients know this happens, they can be confident that their data is being treated securely and with respect.
Terms & Conditions of the practice (File/Debtor Cover Sheet)
| x |
Information Quality:
|
|
|---|---|---|
| x | Communication to Data Subject:
|
- Practices not using electronic methods of completing information and having terms and conditions signed, will be using printouts that will be completed, signed and attached to hard copy files.
- Email this File/Debtor Cover Sheet to any other medical practitioner who has been involved in the treatment of the patient.
Make a patient Inactive
If dependants get their own medical aids or pass away, they can be marked as inactive on the system. This will ensure that no further correspondence will be sent to those patients. All new notes and/or correspondence will be done on the new patient accounts or electronic files.
Some clinical notes can be copied from the old electronic files to the new electronic files.
Facial Recognition for Patients
| x |
Information Quality:
|
|---|
- Facial Recognition is an analytics feature that identifies and authenticates a specific person by their facial features.
- The process starts with a photo that is taken during the first visit and matched to the ID document of the person. The photo is then stored in the software under the patient's profile for future identification of the patient.
- The photo can be taken at the practice kiosk or with a webcam at reception.
- When the patient visits the practice again, the receptionist presses the patient-identifier button to activate the facial recognition functionality.
- The software uses biometrics to map the geometry of the face of the person entering the premises with the data on the software.
- Cross-referencing the result of this scan quickly confirms identity on the system and gives the receptionist quick access to the following functions:
- Debtor demographic information.
- Account details.
- Booking details.
- Options to create tasks and/or bookings etc.
- The user can permanently delete a debtor's photo from the database. Once the photo is deleted, the debtor can't be identified in the software. The user can take another photo of the debtor when they want to have a photo again.
Benefits for the Practitioner:
- Assists the practitioner to identify the patient in the waiting room, which makes the patient feel welcome and important.
- The practitioner can verify that the correct patient is being treated.
- You can protect the patient's interests and clinical information through increased biometric accuracy.
- Increased administrative efficiency.
- The certainty that the correct Patient file is sent to the Practitioner.
- Avoid the risk of duplicate Patient files.
- Improved patient relationship with the Practice.
Benefits for the Patient:
- Facial recognition reduces the risk of identity theft OR medical aid fraud.
- Improved patient experience and relationship with the Practice.
- Increased trust in the Practice.
- Increased security of personal information of the Patient.
Search Methods for Debtors and Patients
- Providing a search function that searches your software for debtors is a method that offers users a way to find content (such as Debtor or Patient demographic information) quickly and easily. The search function makes it easier for users to locate and access debtors or patients instead of having to scroll/navigate through the list of bookings or debtors especially if it's a big practice.
- The user can search for functions, bookings or any patient details in the program from the Diary or the Debtor Input screen.
- When a patient phones the practice to book an appointment, search the database with information that is unique to that Patient/Debtor, e.g. their ID number. This will make it easier to find the correct patient quickly.
- Note: Never disclose any personal information over the phone when a patient phones for an appointment.
Patient Labels
Patient labels are used to put on hard copy files or printed documents for example. All the important information of the patient will display on the patient label. Patient labels are customisable, each practice can be decided what information should be on the patient label and where the information should be on the label layout. This will prevent any documents to be in the incorrect files or scanned into the incorrect patient electronic files.
Patient labels are really important in hospitals ER units and when a patient goes for an operation or to the theatre.
When demographic information changes on the patient file, the labels should be reprinted and replaced with the new labels where necessary.
Custom Labels
Custom labels will assist the practice to ensure the correct information is communicated to the patient or certain departments, for example:
Signata labels are labels that are used at dispensing practices or pharmacies.
- All the information on how to use the medication that was provided to the patient will be available on the label and the patient to who the medication was dispensed.
- Expiry dates and Batch tracking information can also be available on the signata label.
- The label needs to be put on the medication for the patient with the instructions on how to use the medication.
Log Data Changes
The system will log all the changes that are done on any patient or debtor file. The log will be an audit trail of all changes on the file. The log will contain the following information, for example:
- The date the information was changed.
- The user who changed the information.
- The old information.
- The new information.
When a user made a mistake by changing information, the log can be used to reverse the change. This log is vital to prevent or detect fraud in the practice.