Text size
Line height
Text spacing

Please note that the authorisation factors described here refer specifically to GoodX login methods and security protocols, rather than medical scheme requirements or patient pre-authorisations. These factors are designed to secure access to the software and verify the identity of the user during the sign-in process, ensuring that practice data remains protected and compliant with security standards.
What is the “Authorisation Factors” feature?
GoodX utilises two distinct types of authorisations within the system. The first pertains to medical scheme authorisations required for patient treatments and claims. The second refers to security authorisation factors applied within the software itself, which provide an additional layer of protection to prevent unauthorised users from accessing sensitive practice data.
Please note that making use of certain authorisation factors may be linked to external services, such as keyfobs, which require users to sign up for an additional once-off fee. Furthermore, while support is available, excessive assistance requests may incur additional charges.
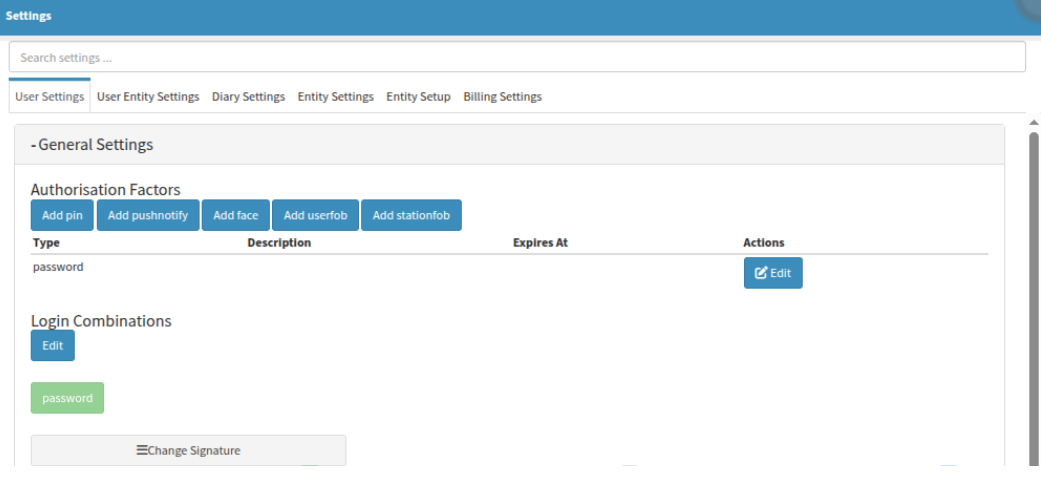
Authorisation factors, also referred to as authentication factors, are utilised to validate that users possess the appropriate level of access through the following methods:
Pin: Usually requested when a doctor applies an electronic signature to clinical notes.
Pushnotify: Clickable pop-up messages that appear on a user’s device for quick verification.
Keyfob: Also known as a userfob or stationfob, these can be enabled and configured for specific workstations.
Add face: Facial recognition using a digital image for biometric identification.
Login Combination: A standard username and password paired with one or more of the methods mentioned above to ensure robust security.
Login combinations can be paired with one or more of the available GoodX authentication options. These choices are visible and can be selected directly on the login screen, allowing users to customise their security preferences according to their specific access requirements.
Once facial recognition has been configured, alternative login methods become available, such as a "face only" option or a "face and password" combination. To initiate this process, users simply select the face or smiley icon on the login screen to begin the facial identification sequence.

When using facial recognition, please be aware that wearing glasses or working in low-light environments may necessitate additional captures during the login process. Factors such as glare from lenses or insufficient lighting can affect the software's ability to verify your identity, occasionally requiring more than one attempt to ensure an accurate match.
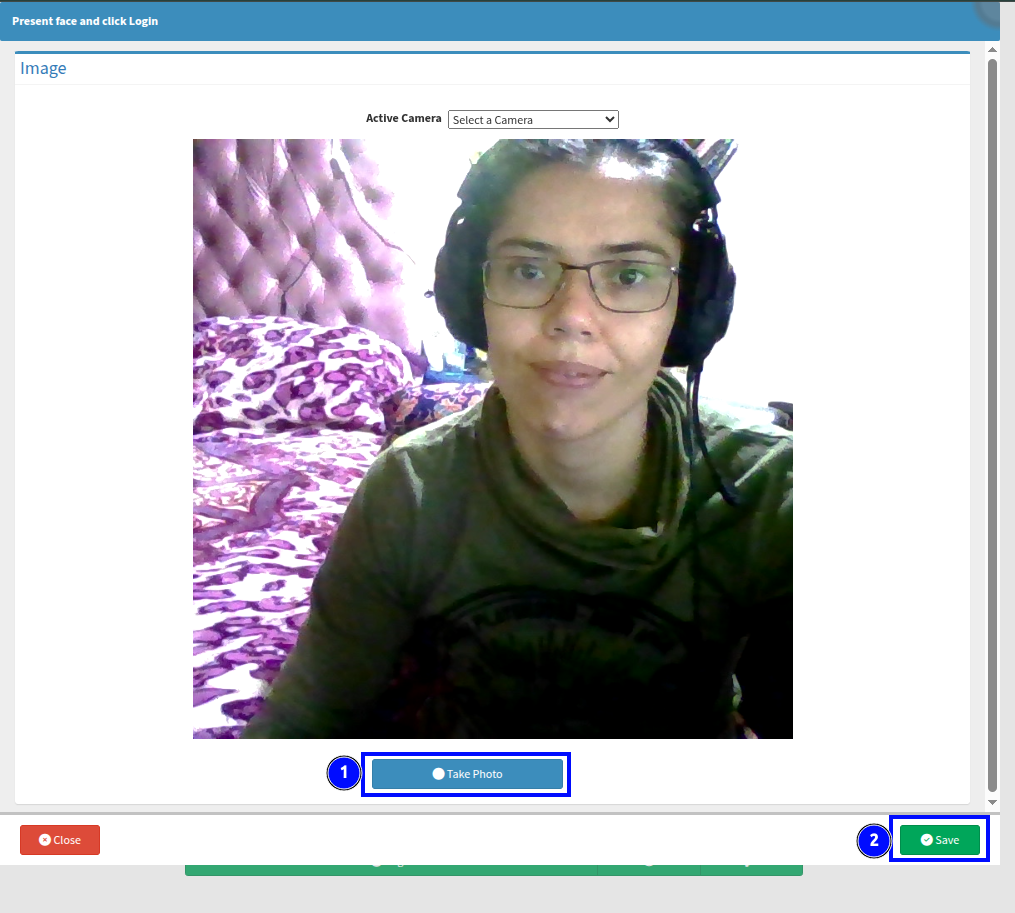
If a combination login is active, you cannot sign in using facial recognition alone. The process requires you to first enter your password, after which the camera will automatically activate to capture your image.
To complete the verification:
Scroll down to the Take Photo option.
Select Save once you are satisfied with the captured image.
For your privacy, please note that these images are not stored in the cloud; they are discarded immediately after the login attempt has been processed.
How is the authorisation method managed?
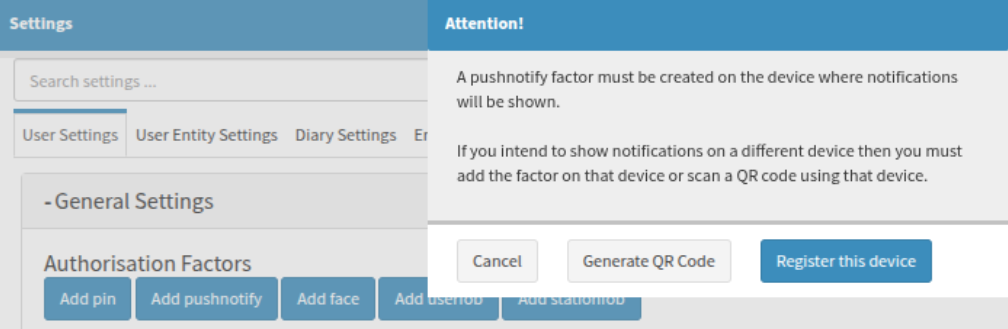
Users can complete the steps to upload a face for the system to match against their profile. The prompts provided by the software will vary depending on the specific method being configured; for instance, a push notification may be directed to your device as shown below. Alternatively, you may select the "Add face" option to initiate the facial recognition setup process manually.
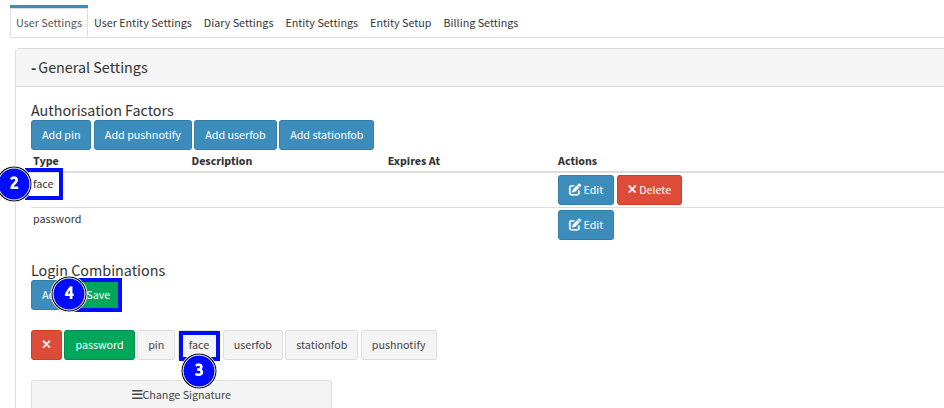
Please ensure that your preferred method has been added before selecting it as part of a combination, as indicated by bubble "2". Additional login combinations, such as the facial recognition option on bubble "3", may be selected once the face has been captured, uploaded, and saved. It is essential to ensure that these new combinations are saved at the user level to take effect.

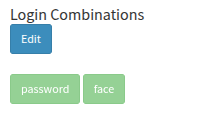
After you have successfully saved your additional devices or authentication methods, the available login combinations will be displayed in a lighter shade to confirm they have been registered.
What is the Keyfob referenced in GoodX?
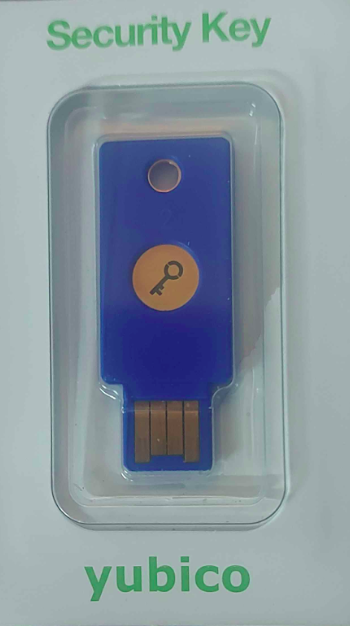
To maintain optimal security, passwords should be updated regularly to prevent them from becoming compromised. Utilising a Web Authentication (WebAuthn) keyfob as a form of two-factor authentication offers an effective solution for mitigating the risks associated with forgotten passwords or the potential for written credentials to be accessed by unauthorised individuals. This hardware-based approach ensures a more robust login process by requiring physical verification alongside standard security protocols.
Keyfobs are categorised as physical security keys and are available in various forms to suit different hardware requirements. Should your practice require these devices, a formal quotation can be requested from GXQ IT to ensure you receive the appropriate model for your needs.
This specific device offers flexible security configuration, as it can be assigned to either a particular workstation or a specific user, depending on the operational requirements of the practice.
Assigning the security key as a userfob provides greater mobility, as it allows the individual to access the system from any device, whether they are working from the office or remotely from home.
Assigning the device as a stationfob restricts system access exclusively to the specific workstations within the practice where the fob has been configured. Consequently, remote or home access is not possible under this setup. To maintain the integrity of this security measure, the passkey should be physically secured to its assigned station to prevent users from removing it or attempting to use it on unauthorised devices.
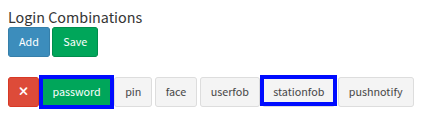
To ensure the fob functions optimally, it must be paired with the user password as part of the login requirement. This creates a secure link where the system will only permit access to GoodX if there is a successful match between the assigned station fob and the login credentials provided on that specific device.
Setting Up a Physical Security Key (FIDO2) on Windows 10 / 11
To set up your security key, please follow these steps:
Open Settings: Navigate to Start, select Settings, then Accounts, and choose Sign-in options.
Select Security Key: Click on the Security Key category and select Manage.
Insert Key: Plug your USB security key into the device or tap your NFC reader.
Create/Enter PIN: Set a new PIN for the key or enter your existing PIN if it has been configured previously.
Touch the Key: Physically touch the sensor on the security key to verify your identity.
Name the Key: Assign a recognisable name to your key for future identification.
What is the Medical Scheme “Authorisation” ?
Medical scheme authorisations are essential for specific practice procedures. To review an authorisation status or import relevant details, you may use the blue heart icon located within the system. Alternatively, authorisations can be added directly to an invoice during generation by selecting the appropriate option from the drop-down menu of authorisations linked to the specific patient.
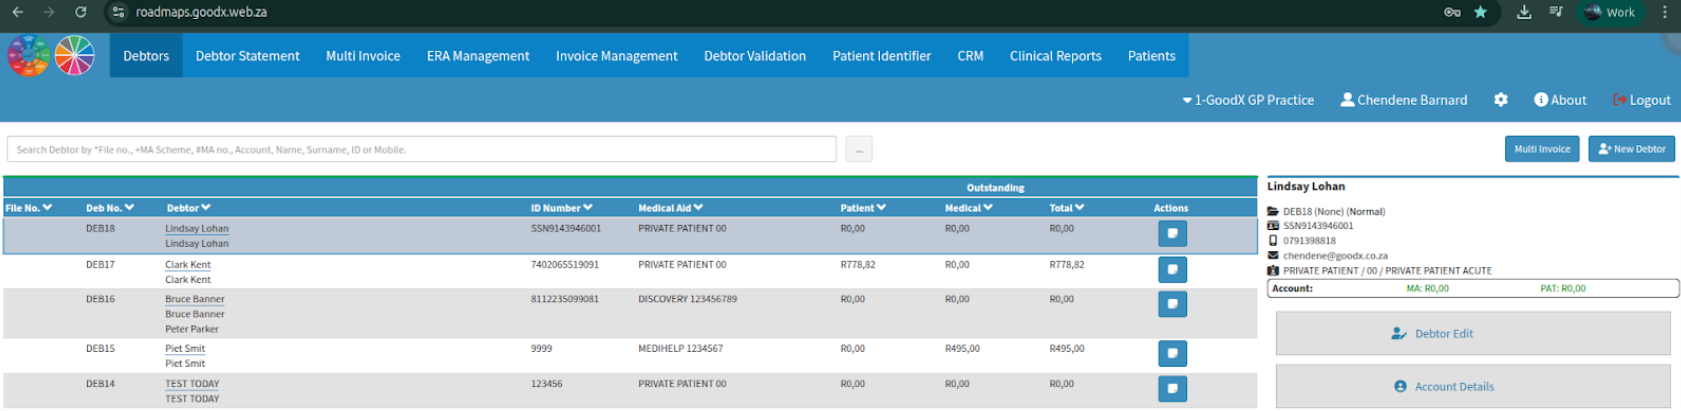
To access this icon, navigate to the GoodX wheel and select the debtor section, where you can search for and select the specific debtor you wish to review. Once the debtor is selected, their side panel will appear, allowing you to select "Debtor Edit" to enter the debtor's profile.
Once inside the debtor's profile, select the blue heart icon to proceed with managing or viewing the medical scheme authorisations.
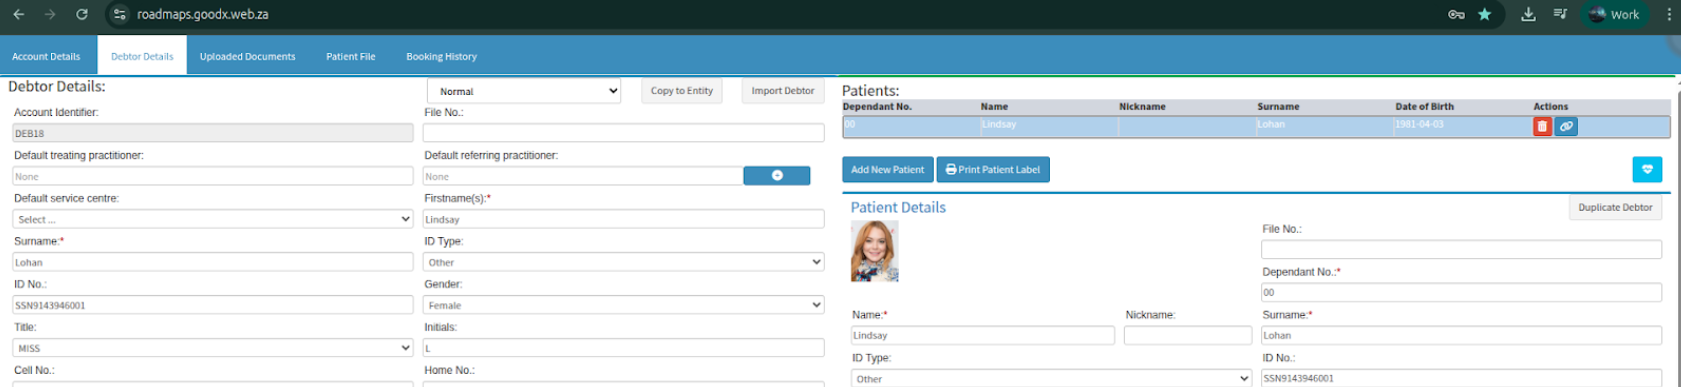
In cases where multiple patients are listed, ensure the selection arrow is positioned next to the correct individual before proceeding to add the authorisation code details.

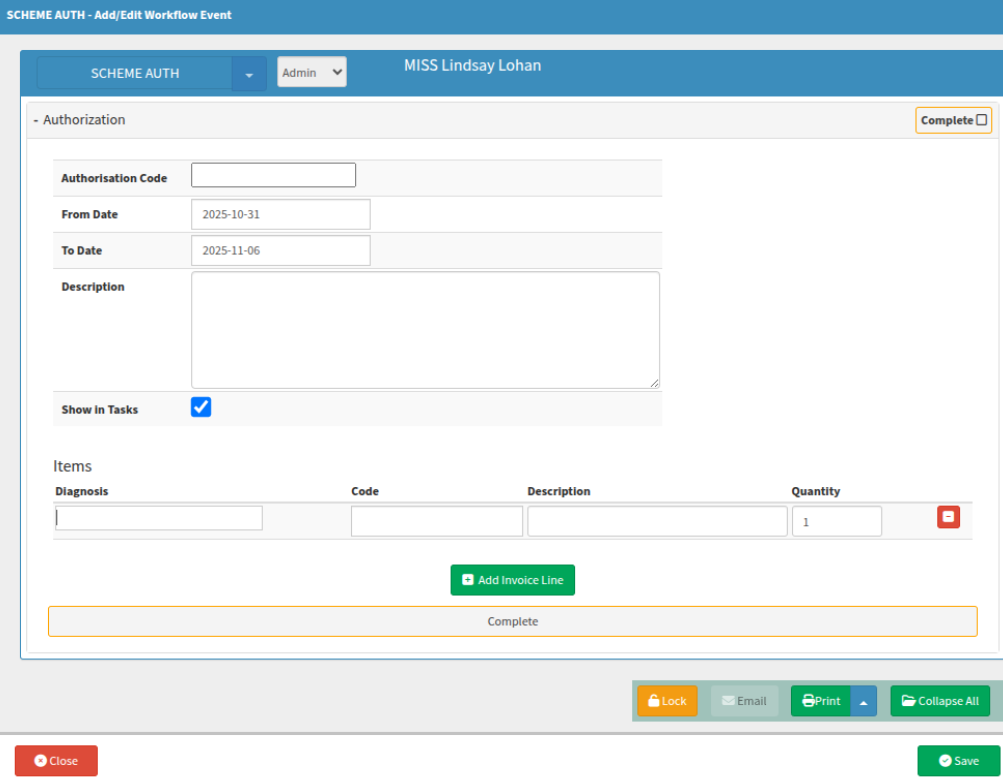
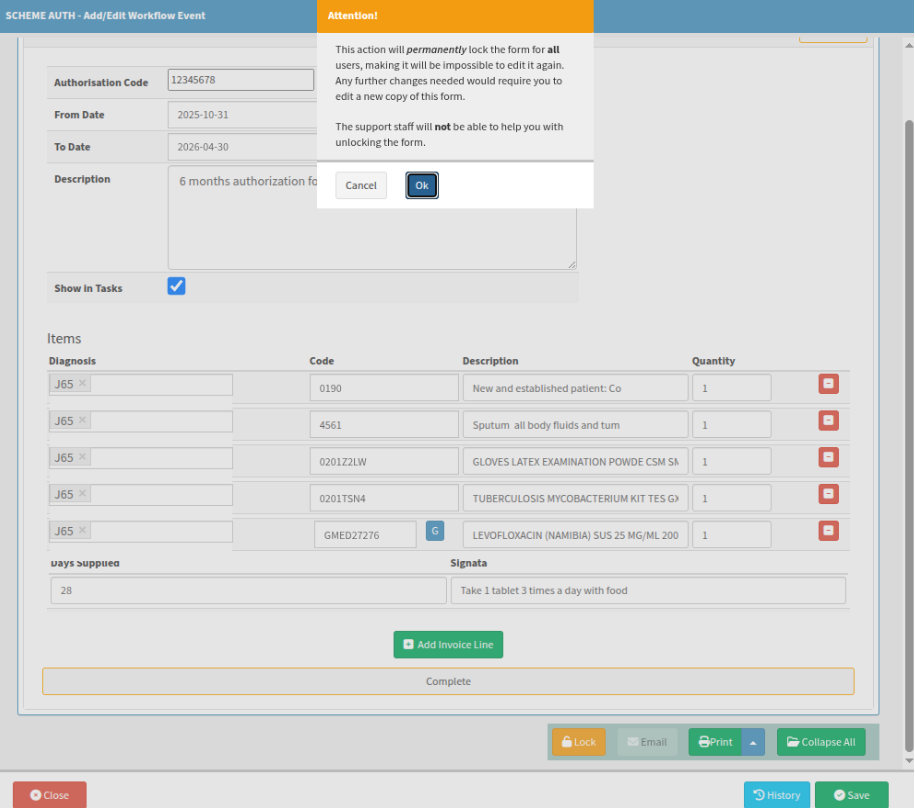
When adding the authorisation - By selecting the "Show in Tasks" section, the system will generate a task for further action. You must select "Save" to successfully create the authorisation task, as closing the window without saving will automatically discard the request and any entered information.
Any items added to the Scheme Auth task will automatically populate the invoice once the relevant authorization number is selected from the dropdown menu, ensuring a seamless transition from the authorization phase to final billing.
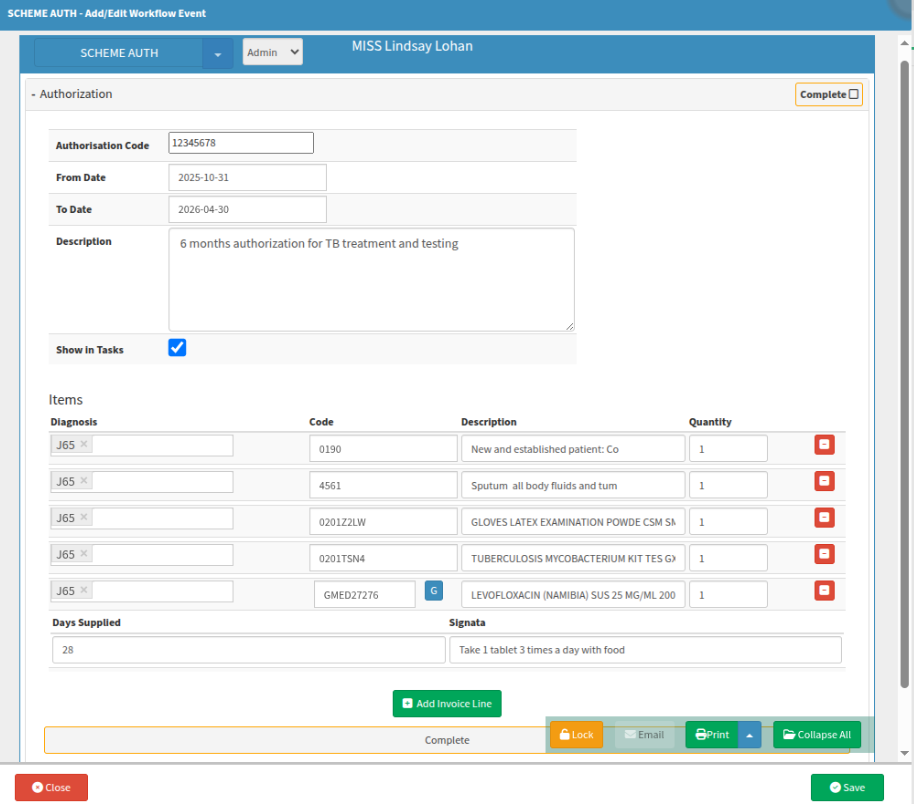
Once saved, the authorization will be visible within the system, confirming that the details have been successfully recorded and are ready for future use or review.

By selecting the specific line item, you will unlock additional options for more detailed management and configuration of that Authorisation entry.

The authorization can be marked as locked, which secures the entry and prevents any further tampering or unauthorized modifications to the recorded details.
The system will display the following warning before proceeding:
“This action will permanently lock the form for all users, making it impossible to edit it again. Any further changes needed would require you to edit a new copy of this form. The support staff will not be able to help you with unlocking the form.”
It is essential to verify all information is correct before confirming, as this lock is irreversible and final.
Where to learn more about Authorisation Factors within GoodX :
The GoodX Click&Learn Courses https://courses.goodx.co.za/
The GoodX YouTube Channel https://www.youtube.com/@GoodXSoftware
The GoodX Learning Centre https://learning.goodx.co.za/
Please note these courses are only modules and are different from the Click&Learn courses. To learn more about Authorisation Factors, you can apply these search terms:
| Date of Change | Changes | Editor |
| 2026 05 13 | Established Page | Chendene Barnard |