Text size
Line height
Text spacing

What is the “Patient File Quick Filters” feature?
You can access patient files through several different pathways depending on your current workflow:
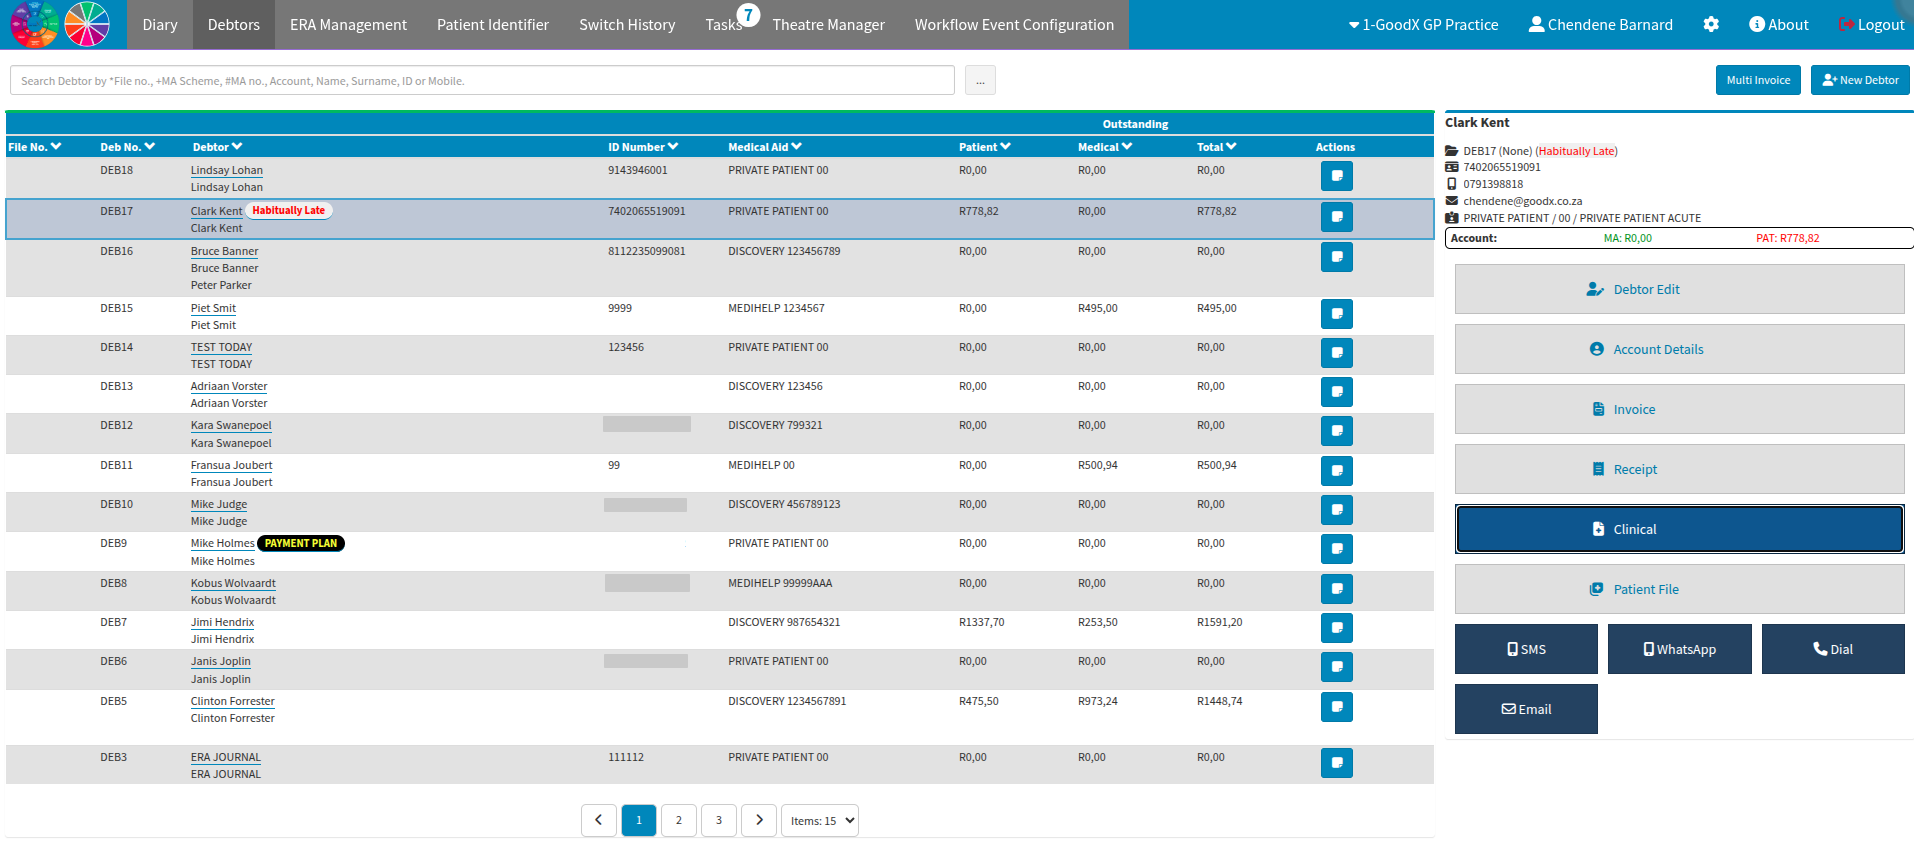
From the Debtor Screen: Navigate through the debtor's profile to view all associated patient records.
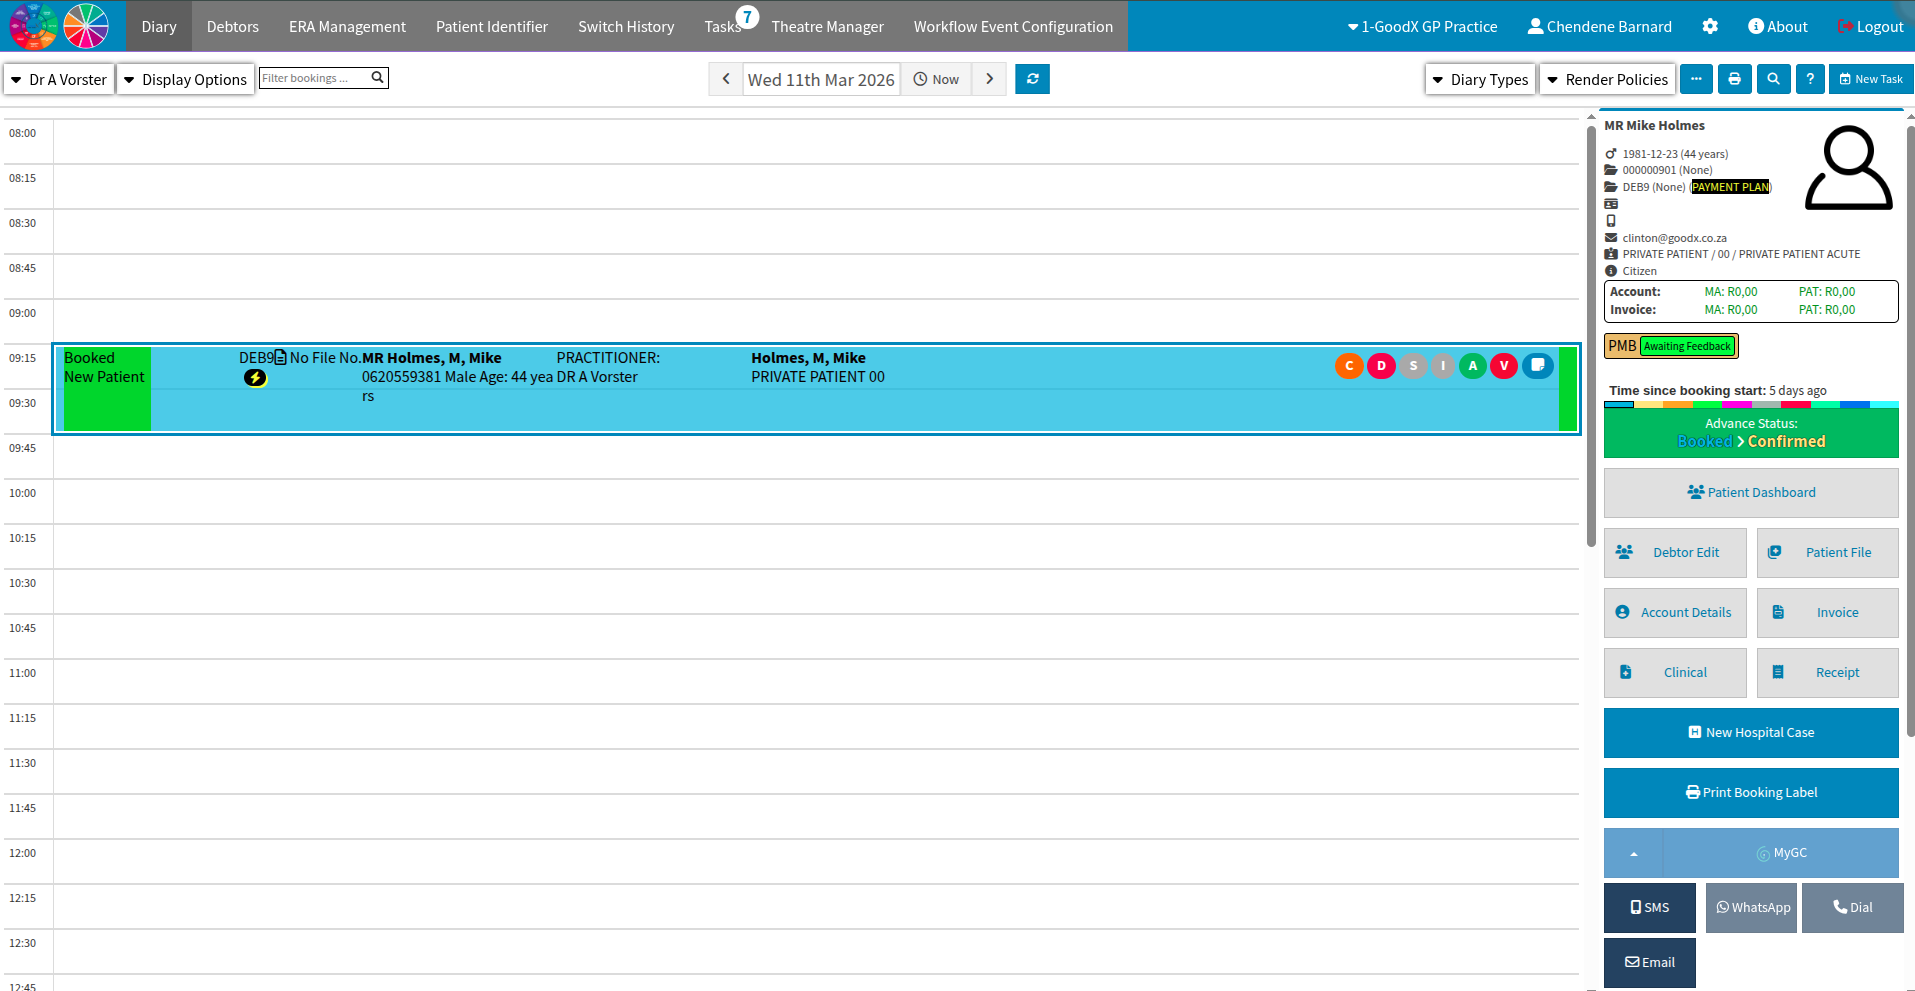
From the Diary Booking Screen: Access patient files directly from their scheduled slots in the diary.
From the Debtor Screen
By selecting the relevant debtor, you will activate the information panel on the right side of the interface. This panel conveniently houses the access button for the "Patient File" section, allowing for seamless navigation to the patient's records.
From the Diary Booking Screen
Once you select the specific debtor or patient booking, a contextual panel will appear on the right side of the screen. This panel serves as a quick-access hub, displaying the dedicated button required to open the "Patient File" section.
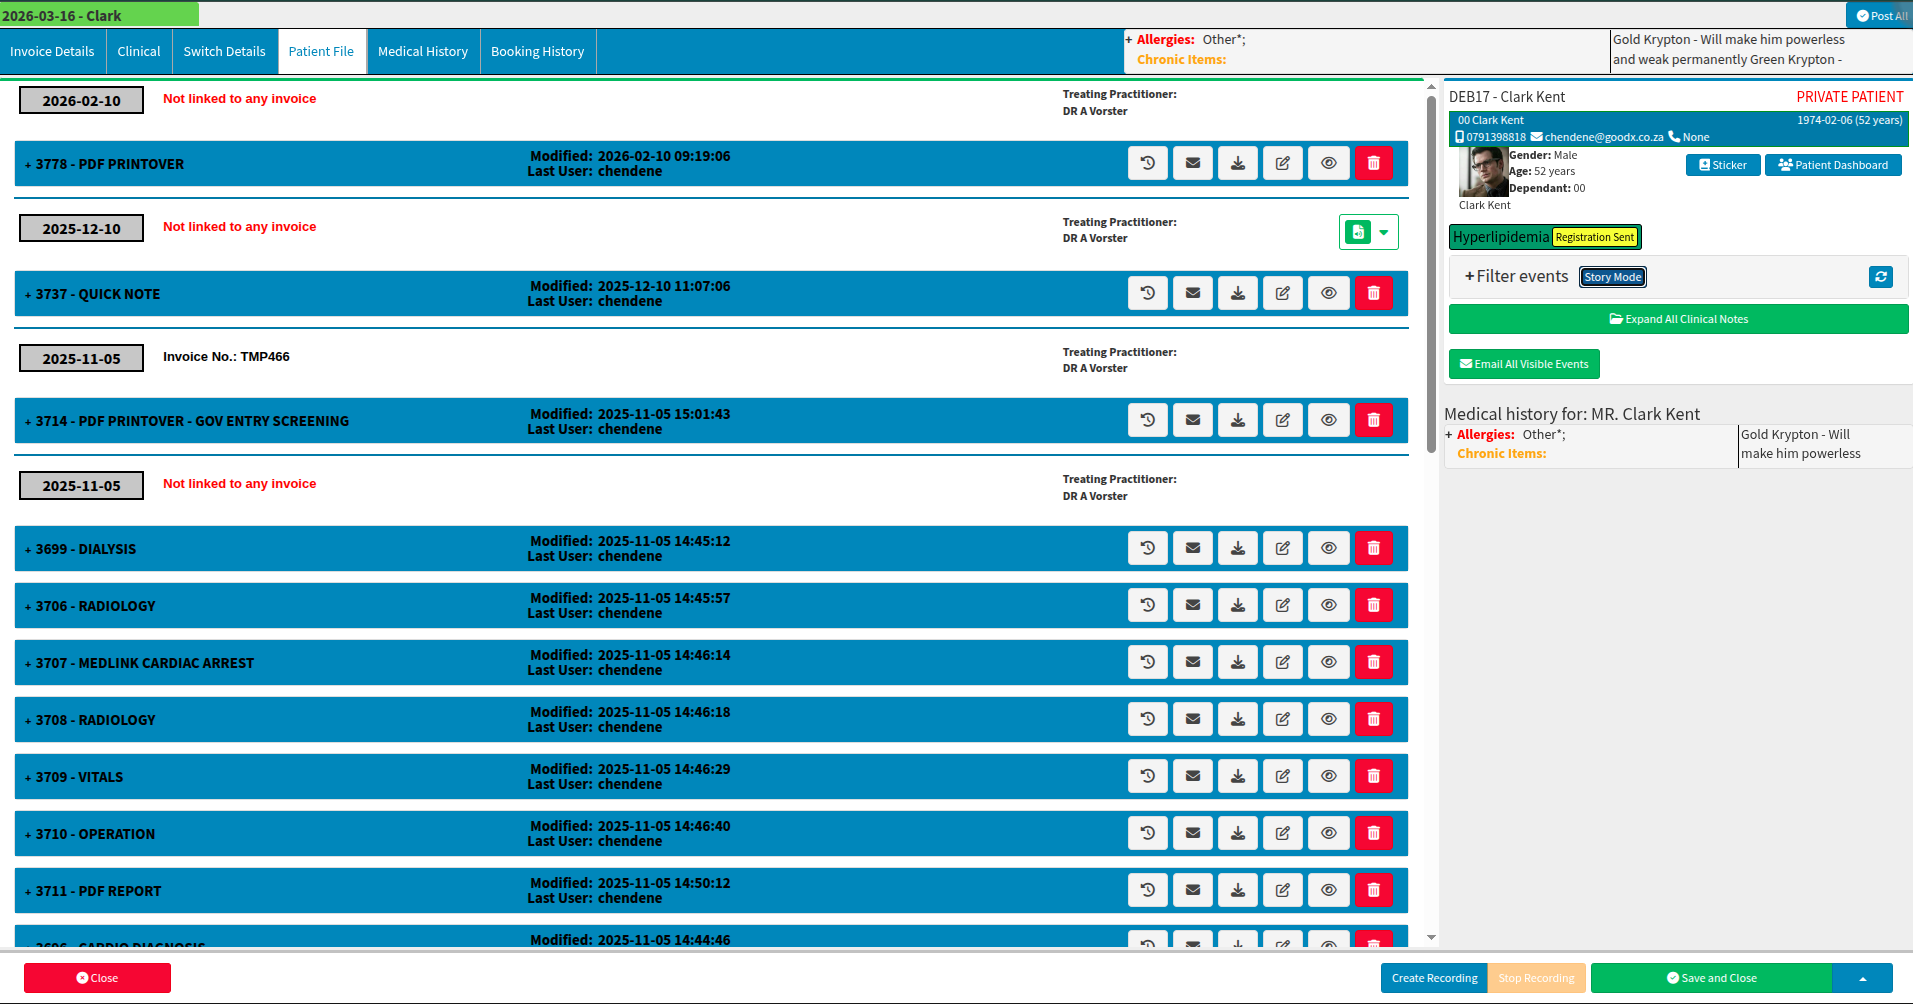
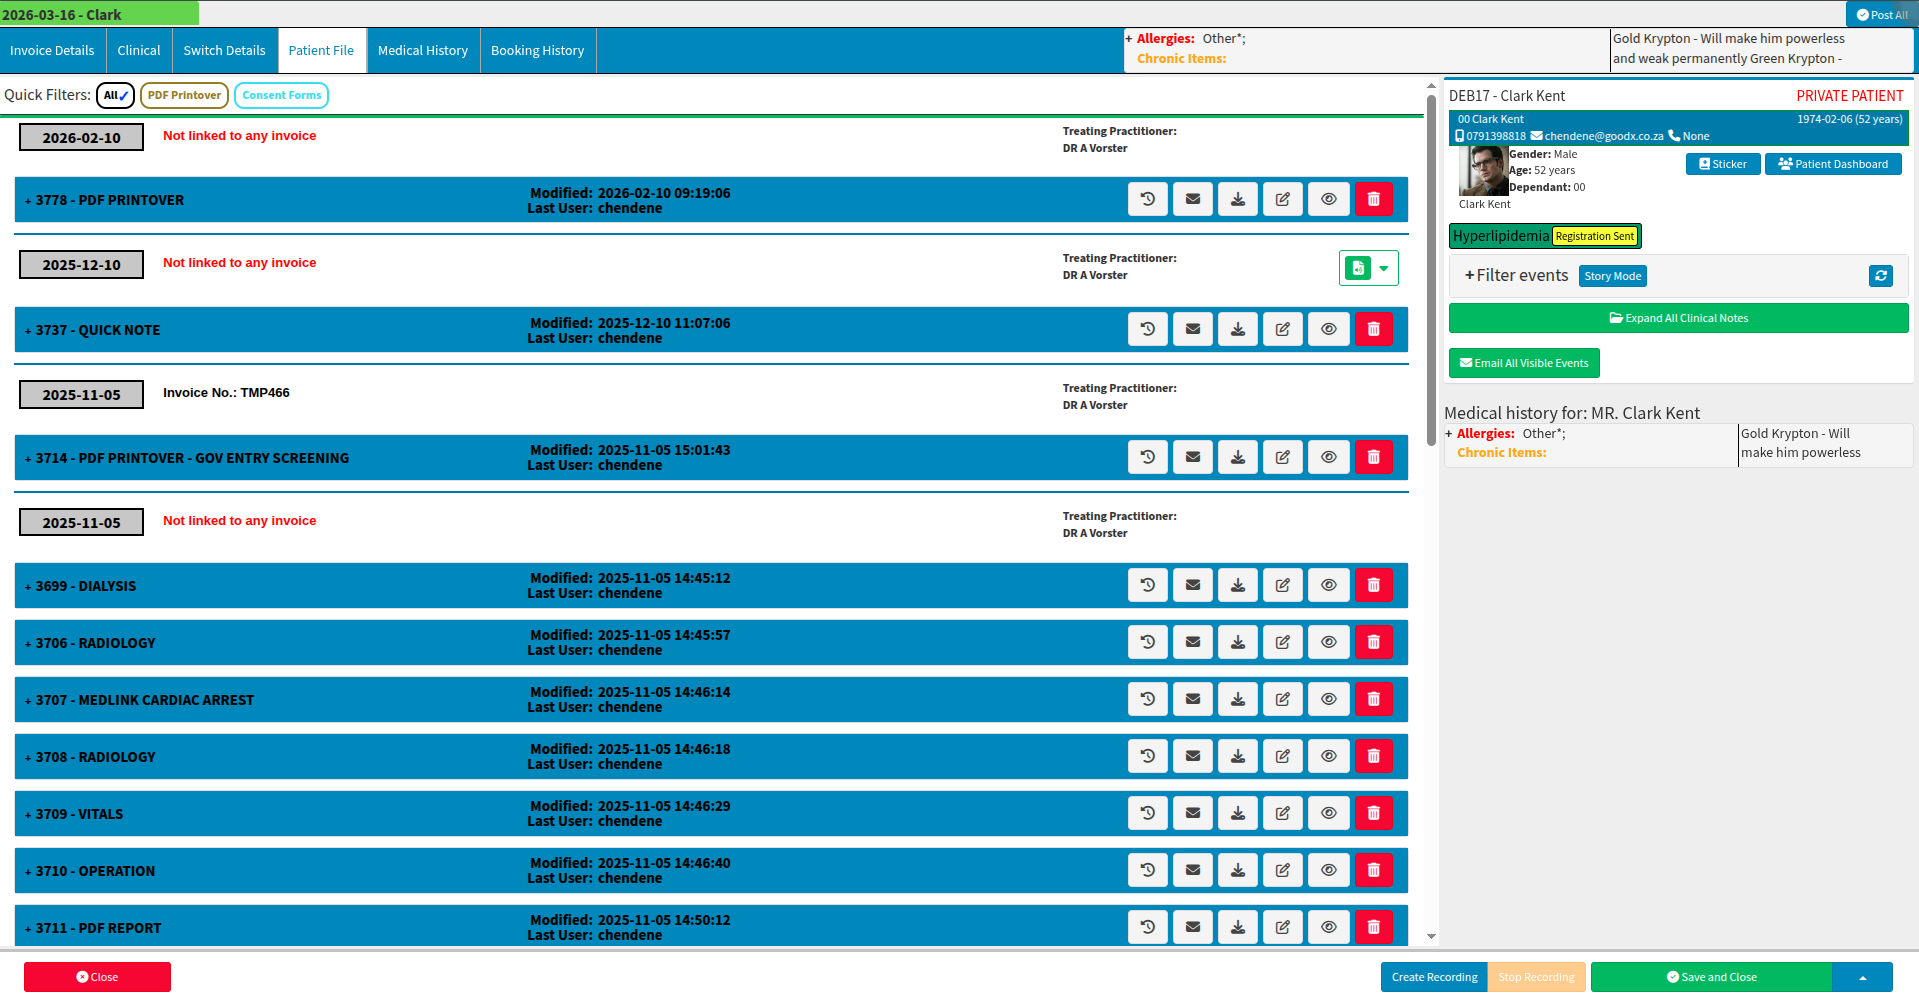
The Patient File centralises all patient documentation, providing a comprehensive overview within a single interface. By default, the system utilises "Normal Mode," which features expanded document views designed for effortless reading of the most recent entries. Alternatively, users can toggle to "Story Mode," which offers a more condensed layout that is ideal for efficient searching through historical records.
To further personalise the workflow, the system allows you to select either "Normal" or "Story" mode as your preferred default view upon opening a file.
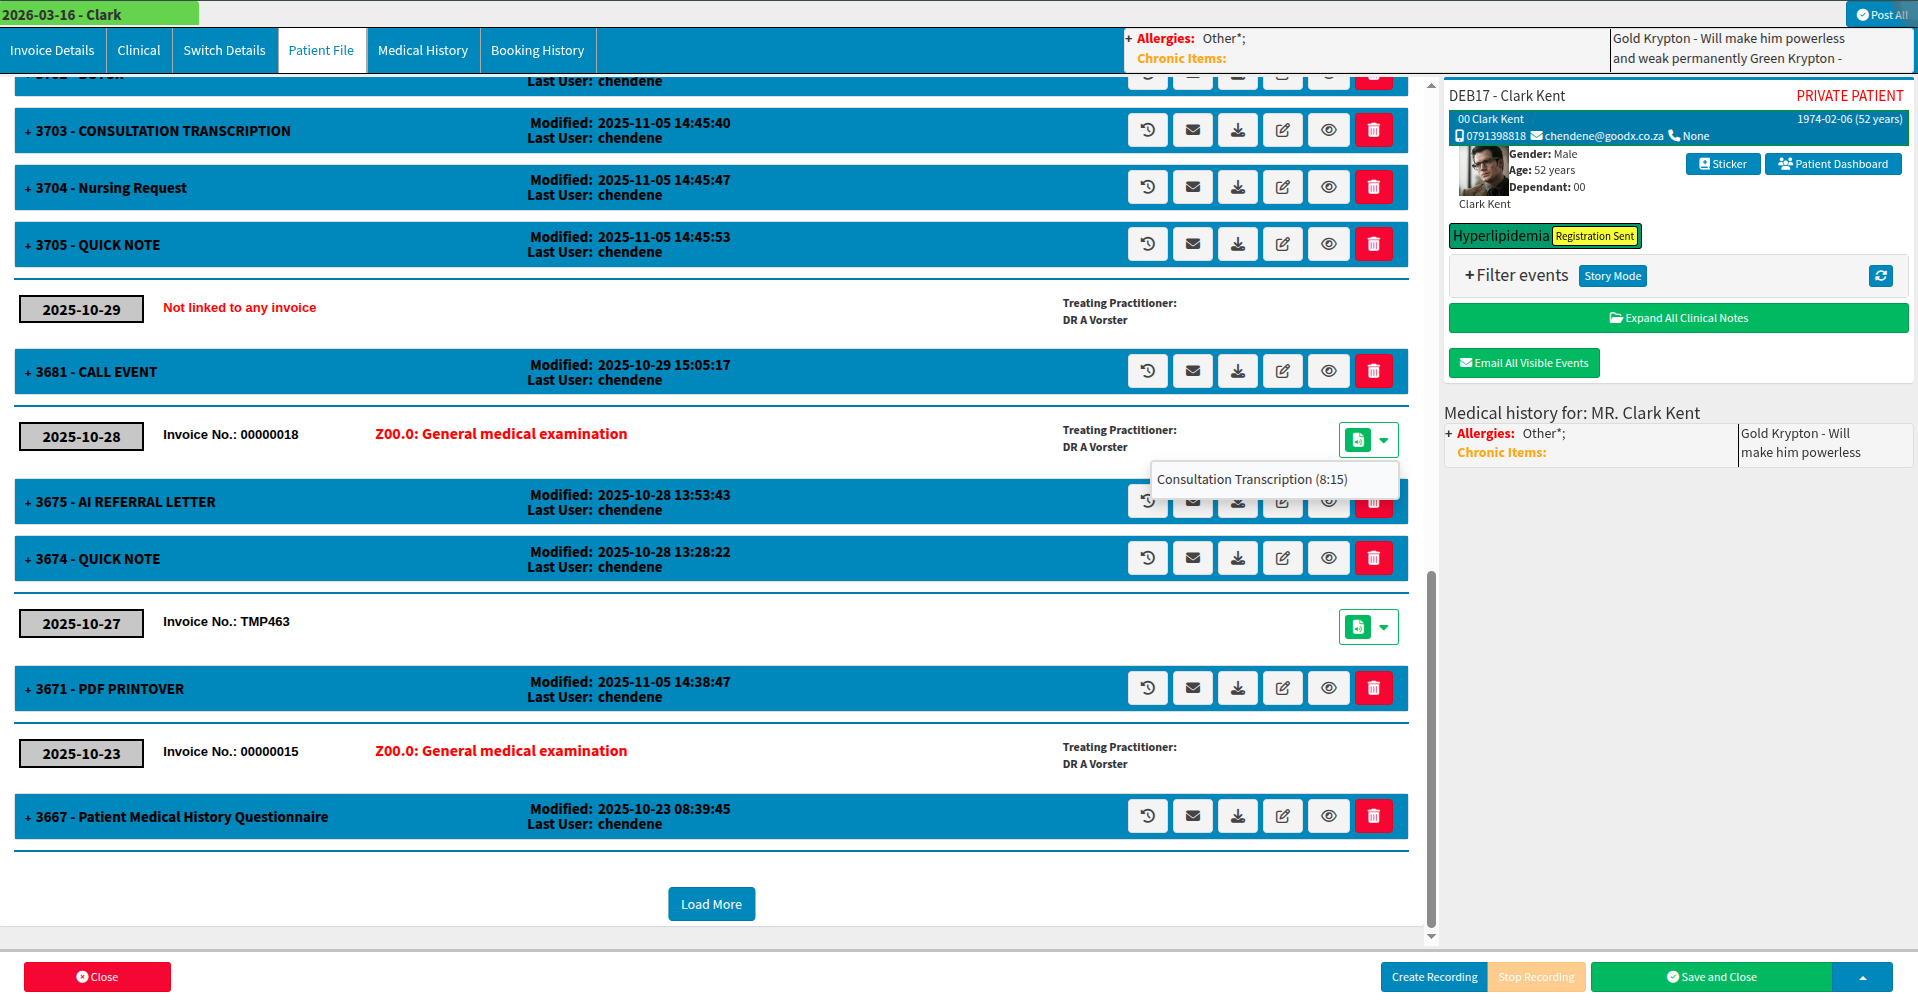
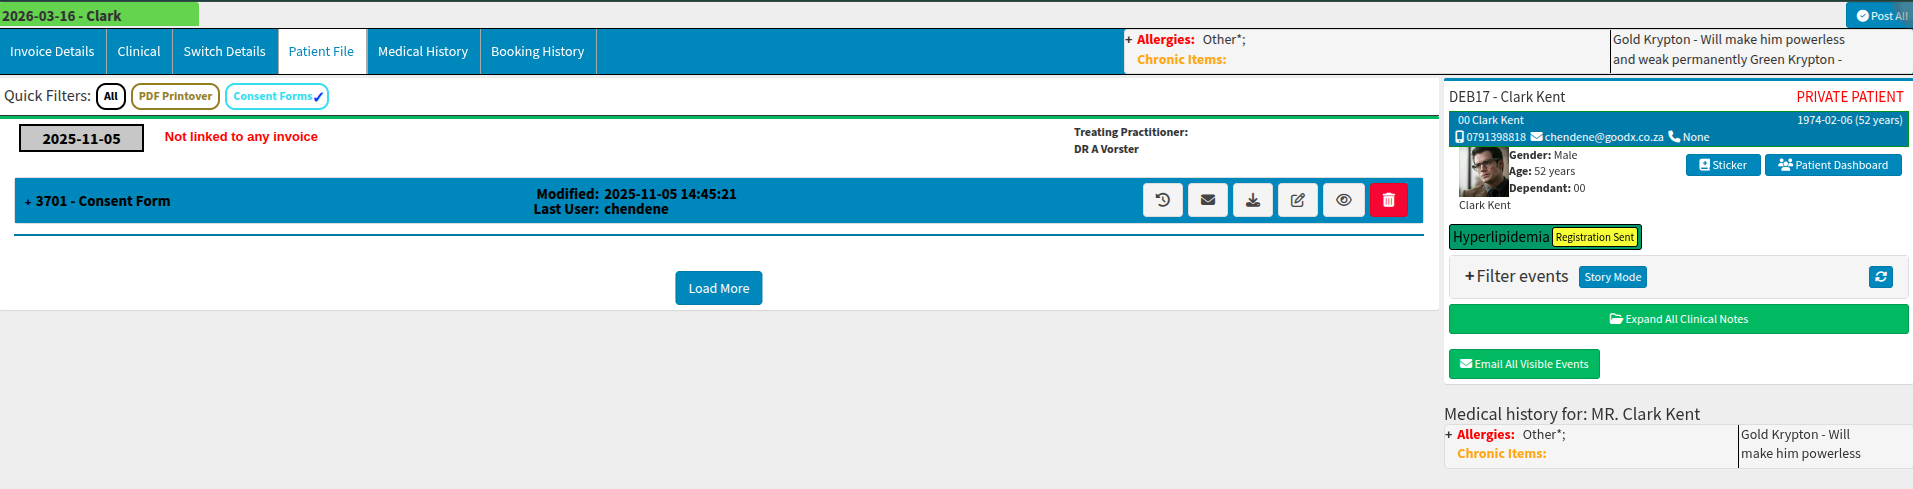
Story Mode enables users to scroll rapidly through records to locate specific documents. While this view is highly efficient, the list can expand significantly for regular patients who have frequent visits. To manage this effectively, the Patient File Quick Filters provide a valuable tool, allowing you to narrow down results and find necessary information with greater precision.
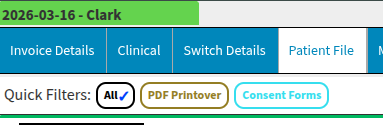
How can the “Patient File Quick Filters” feature be applied?
The quick filter categories can be created and customised to suit each user's specific requirements. These personal configurations are private, ensuring that the custom setup remains visible only to the individual user who defined it.
The selection of colours within the designated bubble "5" pertains specifically to the category name colour. This feature allows you to visually distinguish between different sections by applying a specific hue to the category label, enhancing the overall readability of the patient file.
To configure your preferred Patient Quick File Filters, navigate to your site settings and select the User Entity Settings option. From there, scroll down to locate and expand the Patient File Settings section, where you will find the Quick Filters category available for expansion and further customisation.
It is essential to select "Save" before navigating away from the screen to ensure that all modifications are successfully retained by the system. By doing so, you guarantee that your personalised settings and updates are permanently applied.
To add new categories, select the blue "+" icon located within the interface. You may then customise existing or newly added categories by selecting the grey area indicated by bubble "3". As shown in bubble "4", category names can be labelled according to your specific preferences to ensure the system aligns with your professional terminology.
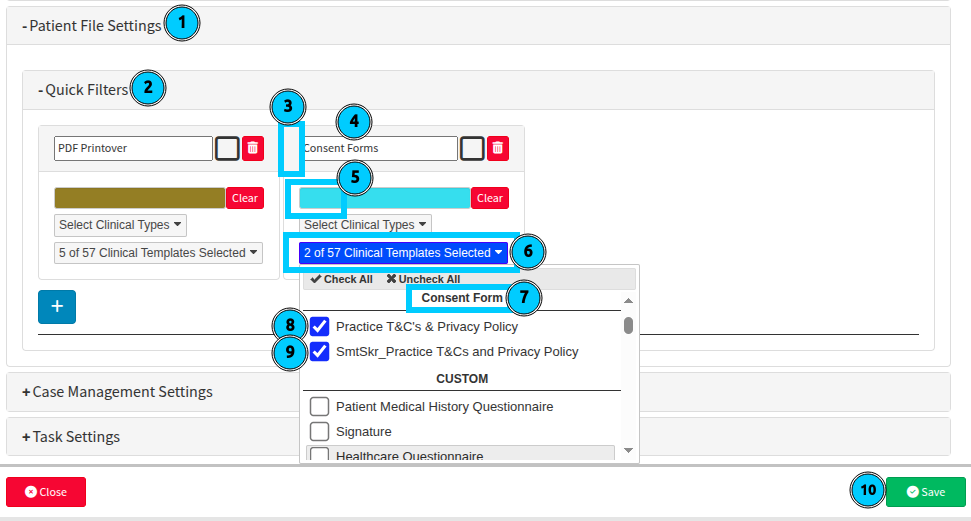
When addressing the steps associated with bubble "6," it is essential to determine whether the view should be restricted to specific templates and forms completed for the patient, or if it should encompass all documents categorised under a clinical form type. The configurations highlighted in bubbles "6" through "8" specifically manage the settings for instances where only designated form templates are intended to be displayed.
If you prefer to filter the view to specific forms only, ensure that the option in bubble "11" remains unselected. You may then proceed to select only the relevant form templates from the options provided in bubble "12" under the corresponding form type.
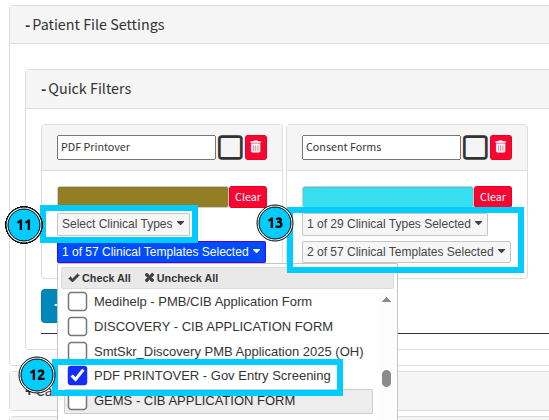
Should you require visibility of all template types, you can achieve this by completing the selection in bubble "13" and filling in both fields. This configuration ensures that all templates associated with the clinical form type are automatically reflected whenever that specific quick filter category is selected.
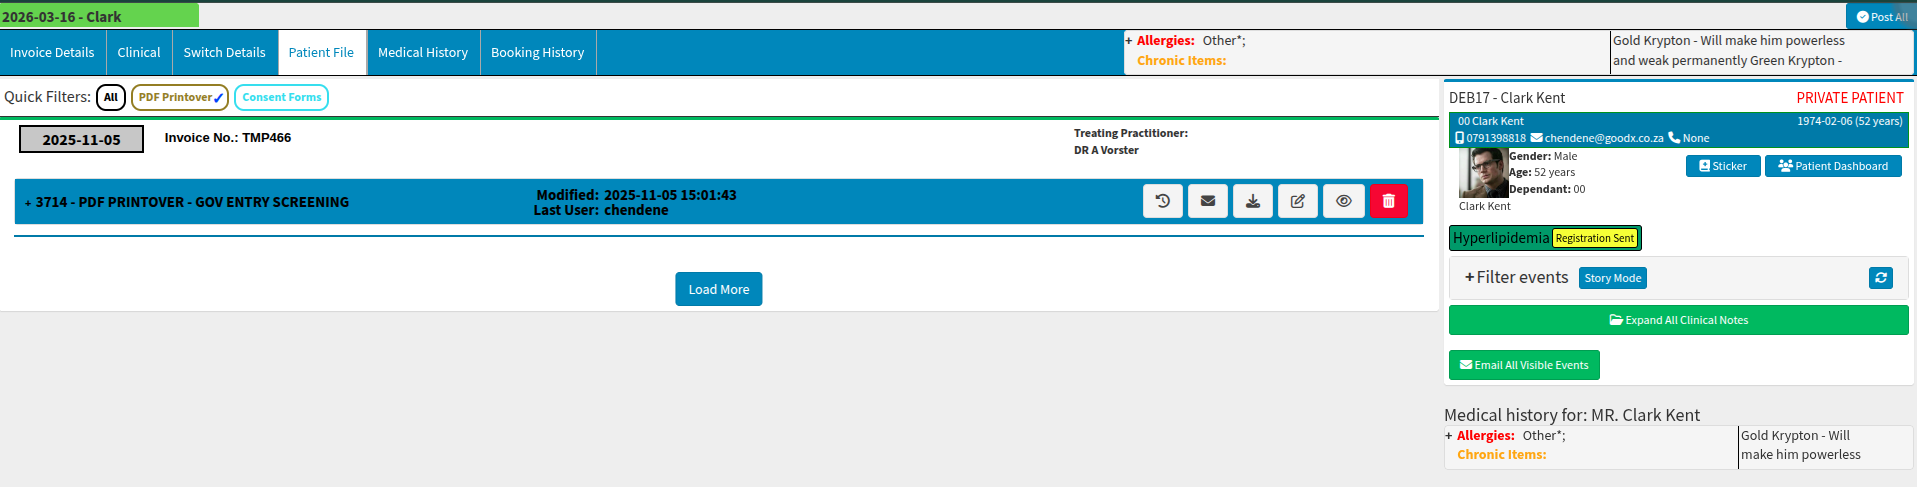
When you navigate to the Patient File and select your custom category, the view will be filtered to display only the documents relevant to your specific intent. This targeted approach streamlines the review process by excluding unnecessary information and focusing solely on the data required for the task at hand.
Where to learn more about Patient File Quick Filters within GoodX :
The GoodX Click&Learn Courses : https://courses.goodx.co.za/
The GoodX YouTube Channel : https://www.youtube.com/@GoodXSoftware
The GoodX Learning Centre : https://learning.goodx.co.za/
Please note these courses are only modules and are different from the Click&Learn courses. To learn more about Patient File Quick Filters, you can apply these search terms:
| Date of Change | Changes | Editor |
| 2026 05 12 | Established Page | Chendene Barnard |