Admission Document (Case) Print/Email and Download
A Case is where a patient is admitted to the Hospital/Day Clinic/Rehab for a certain medical condition or procedure.
Admission Document (Case) Print has all the Demographic information of the Main Member and Patient. The Hospital terms and conditions can also be set up on the bottom of the Case Print out and the Patient can sign that the information on the printout is correct. The Admission document can also be sent via Email and can be downloaded onto the user's computer.
- The contents of this User Manual will consist of the following information:
- Print Case
- Download Case
- Email PDF
- Log in to the GoodX Web App with your GoodX username and password.
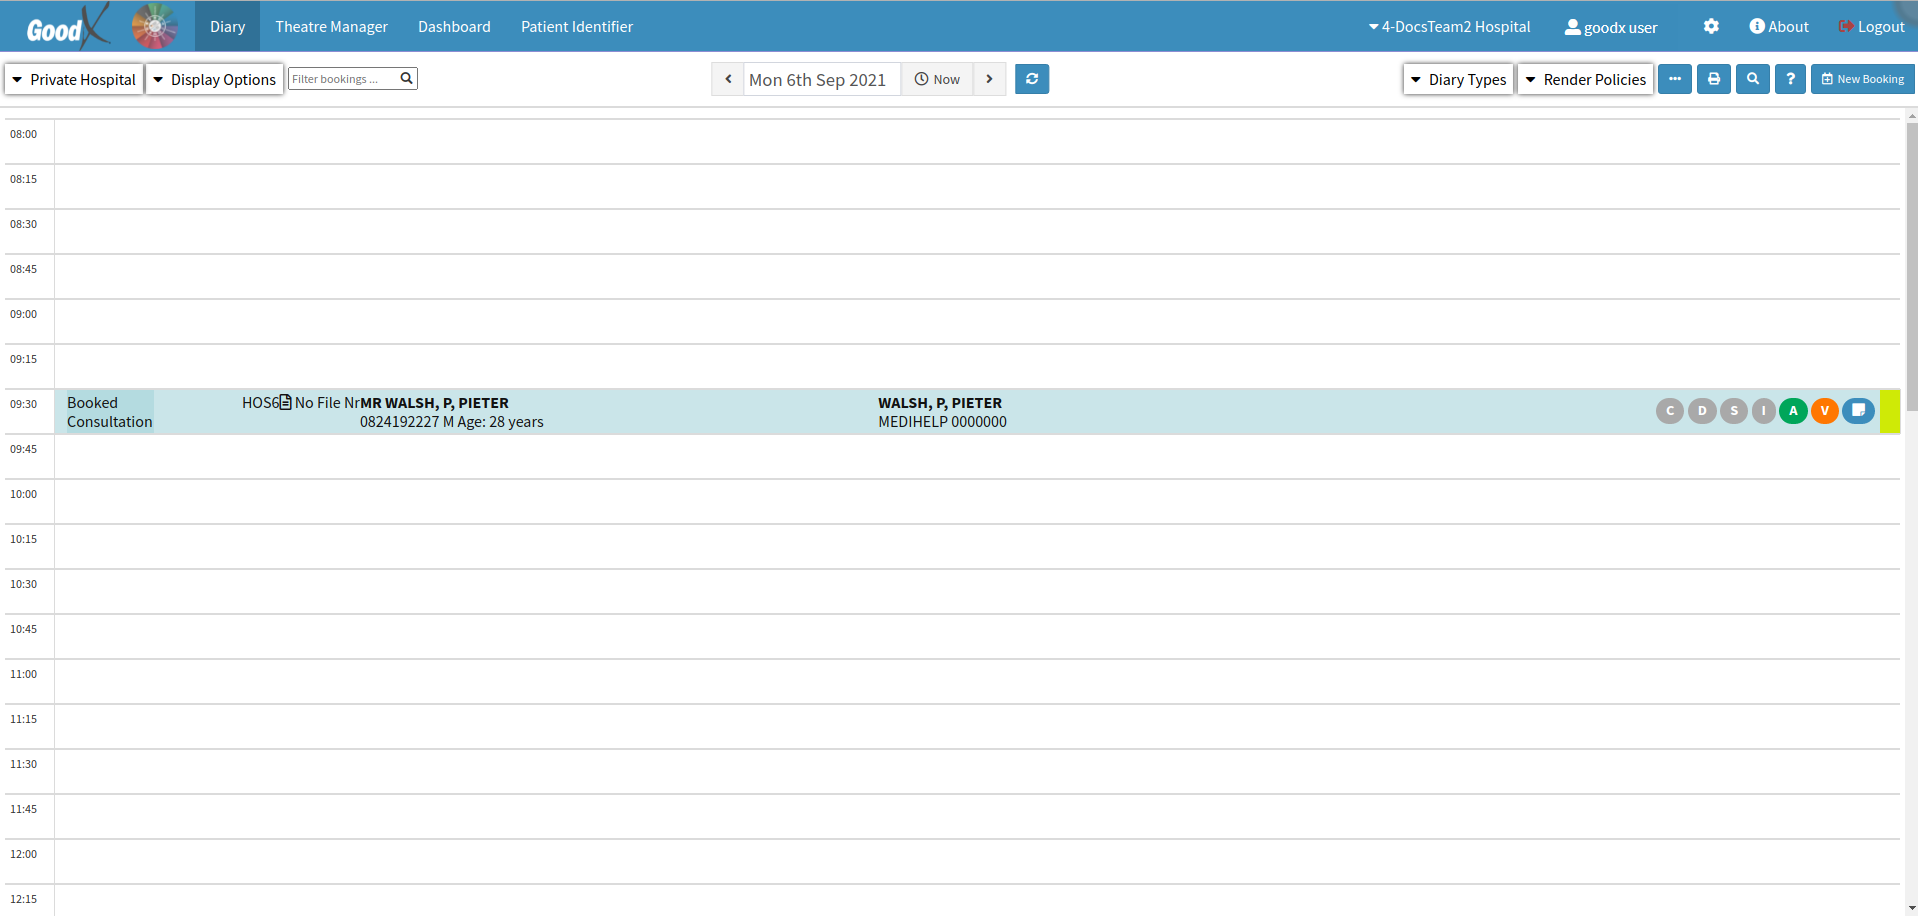
- From the Diary screen, click on the correct Patients booking.
- The Sidebar will open on the right-hand side of the screen.
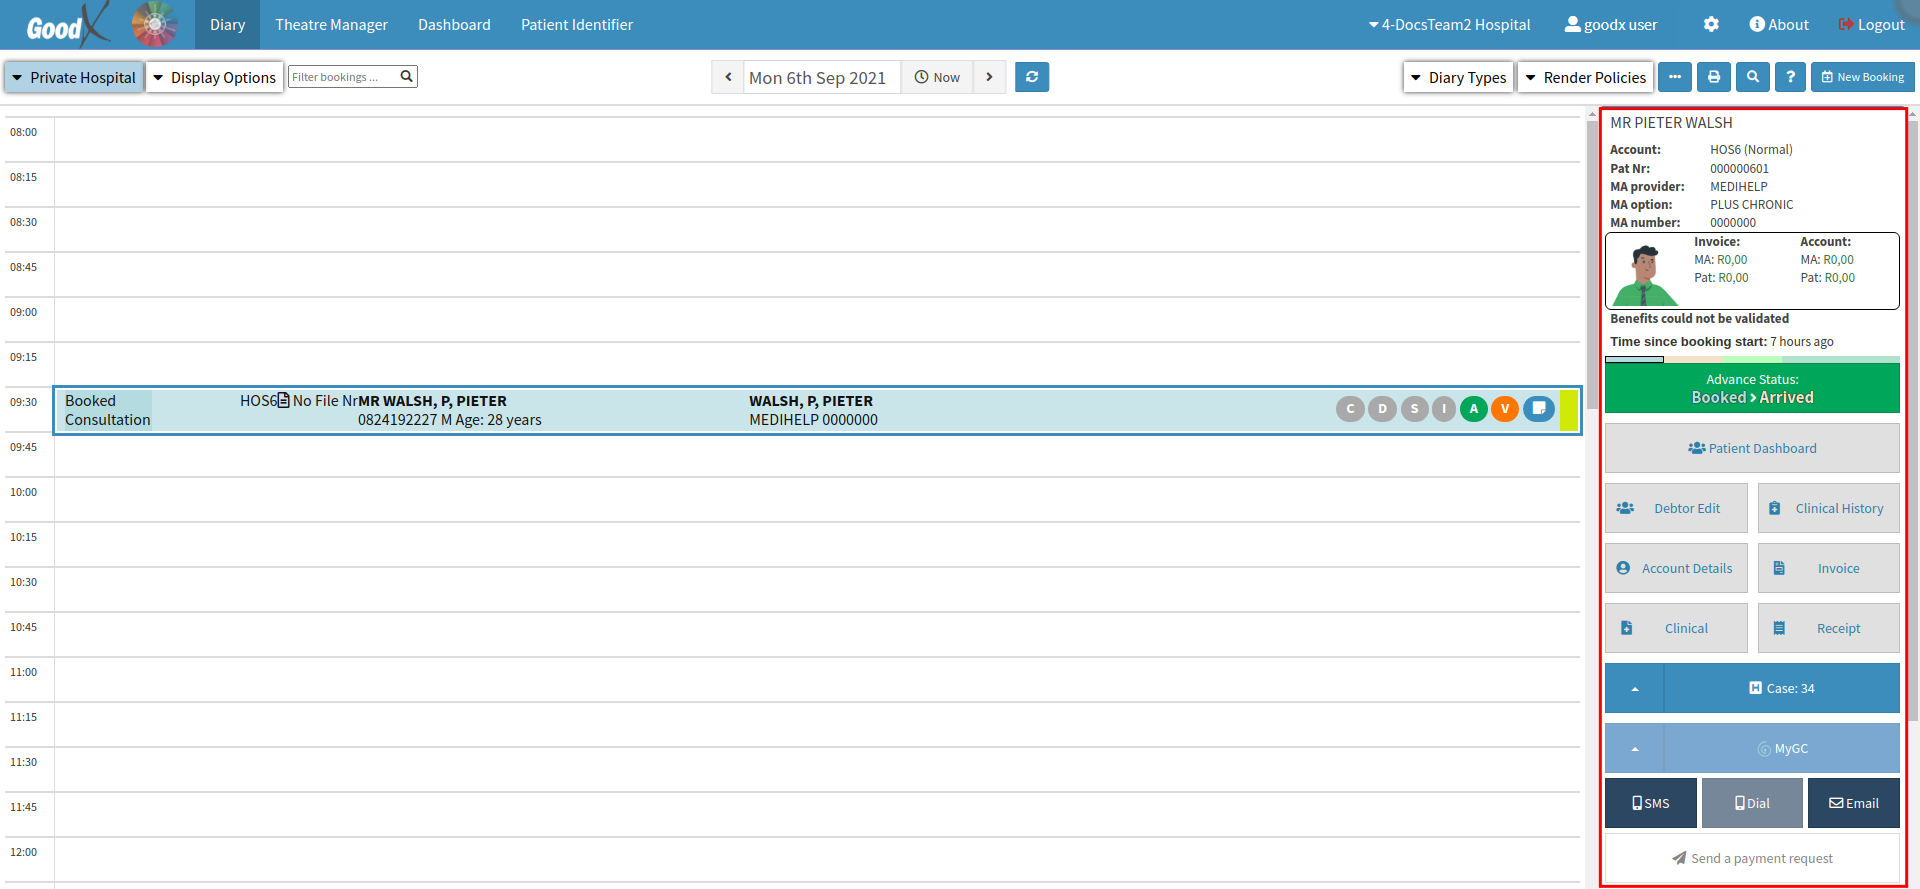
- Click on the (H) Case button.

- The Hospital Case screen will open.

- For a detailed explanation on the Hospital Case screen and how to create a New Case, please refer to the user manual: Create a New Case.
Print Case
Allows the user to print a hard copy of the details of the hospital case.
- Click on the Print PDF button to print the Admission Document in *pdf format. The Admission Document will include all the Demographic data of the Patient and all the Case details. It is important that the Case is completed correctly. The Admission Document will be attached to the Patients Hospital File.
![]()
- The Print screen will open. The Admission Document will display on the screen.

Please Note: Make sure that the correct amount of copies is selected and that the correct printer settings are set up for the Admission Document to print correctly.
- Click on the Cancel button to cancel the printing of the Admission Document.
- Click on the Print button to print the Admission Document.
- Click on the Print PDF drop-up arrow to open more options.

Download Case
Allows the user to download the details of the Hospital case for later use and to store it on their computer.
- Click on the Download PDF to download the Admission Document in *pdf format.
![]()
- The Admission Document will download and display on the bottom of the users' screen or it can be accessed via the Downloads folder on the computer.

- Click on the downloaded file, the Admission Document will open in *pdf format. The user can Download and Print the Document from this screen.

Email PDF
Allows the user to send an electronic version of the case details via Email attached as a .pdf file from within the system.
- Click on the Print PDF drop-up arrow to open more options.
- Click on the Email PDF to email the Admission Document in *pdf format.
![]()
- The Email - Workflow Event screen will open.

- For more information on how to send an Email please refer to the user manual: Workflow Event Template: Email Template.
- Complete the following information:
- To: Enter the patient or the Doctors email address where the user would like to send the Document.
- Cc (Carbon Copy): The user can Cc a third party into the email. Another doctor or family member of the patient to receive the same email as the patient.
- Bcc (Blind Carbon Copy): The user can Bcc a third party into the email. The person that is Bcc on the email won't be visible to the other receivers.
- Subject: Enter the reason for the email. The hospital case document is attached to the Email. The subject can be, for example, Hospital Admission Document.
- Email body (text section): The user can type any information regarding the Patients Case in the body of the email. This is a free text field.
- Click on the Close button to exit without sending the email.
![]()
- Click on the Send button to send the email after all the relevant information has been sent.
![]()
- The Email screen will close and return to the Hospital Case screen.

- Click on the Close button to close the Hospital Case screen without saving any changes made.
![]()
- Click on the Save button to save any changes made on the Hospital Case screen.
![]()