How to use a Wireless Blood Pressure Monitor with the General Examination Form
The Wireless Blood Pressure Monitor (Mbh TD-3140) is a blood pressure device that is fully integratable with the General Examination form on GoodX Web. Bluetooth capabilities are needed on the users' computer or mobile device on which they use GoodX Web in order to pair the Wireless Blood Pressure Monitor.
Please Note: The device can be purchased from GoodX directly.
To place an order please visit Takealot.
- The contents of this user manual will consist of the following information:
- Blood Pressure Reading
- What to Do When the Reading is Complete
- This user manual will start on the General Examination form, Physical Examination panel.

- For more information on how the General Examination form works and how to Navigate to the Physical Examination panel, please refer to the user manual: General Examination - Physical Examination.
Blood Pressure Reading
Allows the user to take a reading of the Patients' blood pressure. Blood pressure is the force applied by the movement of blood against the walls of blood vessels. A reading is measured by the systolic and diastolic pressure.
- Place and secure the cuff to the top of the Patients' arm with the velcro strap.
- Press the Power button on the side of the Wireless Blood Pressure Monitor to start the blood pressure reading. The reading will appear on the screen when the reading is complete.

What To Do When the Reading is Complete
Shows the user what to do to extract the information of the blood pressure reading from the Wireless Blood Pressure Monitor to the General Examination form, when the reading is complete.
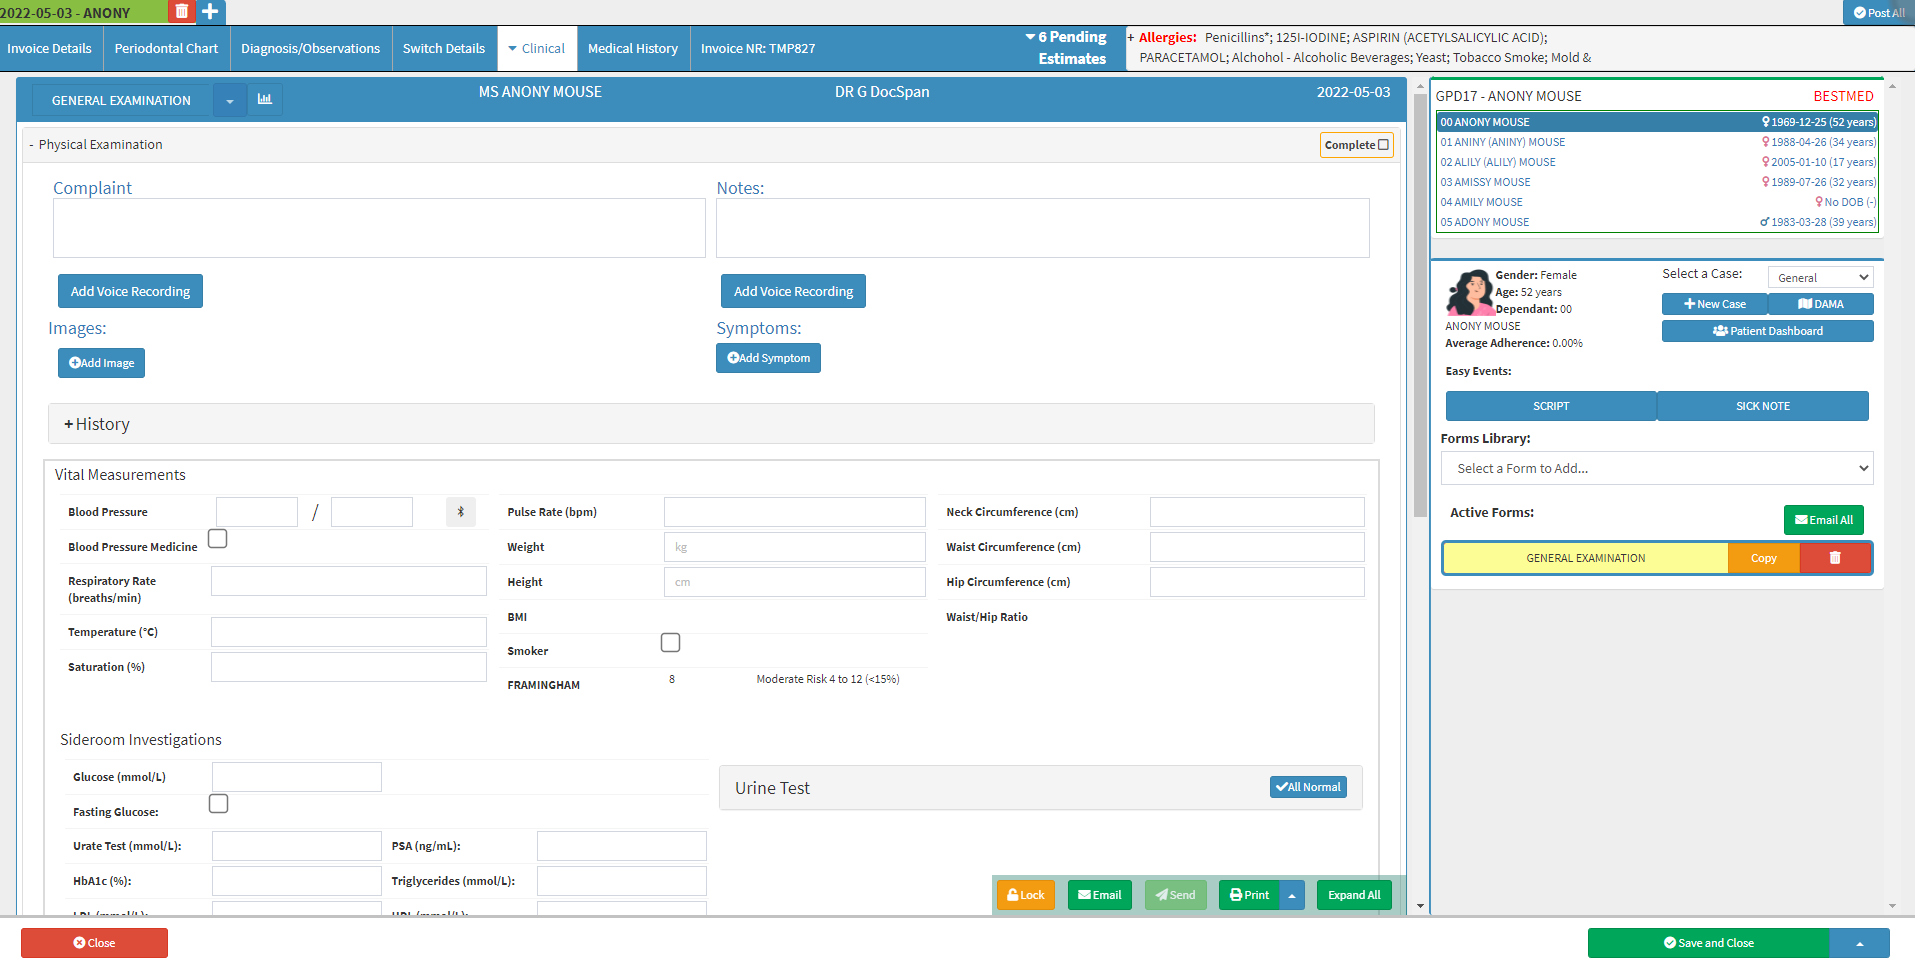
- Navigate to the Blood Pressure field in the Vital Measurements section.

- Click on the Bluetooth button to start the connection between the user's computer/mobile device and the Wireless Blood Pressure Monitor.
![]()
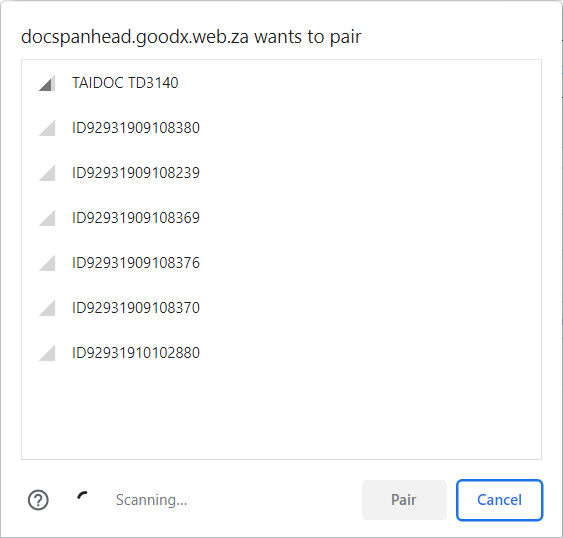
- A pop-up will appear, to advise that GoodX Web would like the user to pair a Bluetooth Device.

- Click on the device on the list named: TAIDOC TD3140 to Select that the user would like to pair their computer/mobile device to the Wireless Blood Pressure Monitor.
![]()
- Click on the Cancel button to ignore the request to pair the Wireless Blood Pressure Monitor with GoodX Web.
![]()
- Click on the Pair button to Pair the Wireless Blood Pressure Monitor.
![]()
- A blue light will flash on the Wireless Blood Pressure Monitor while the pairing is taking place.
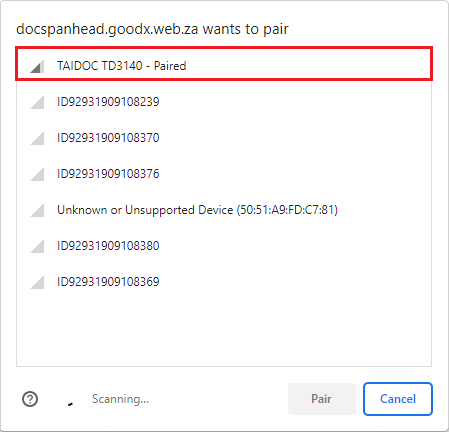
- The pop-up will disappear once the Wireless Blood Pressure Monitor has been fully connected.
- Once the device is paired, the word Paired will appear next to the device name.

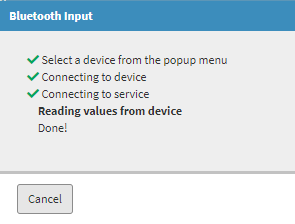
- The Bluetooth Input pop-up will appear and connect the device to the user's computer/mobile device and the GoodX Web App with an indication of green checkmarks while connecting.

- When the Wireless Blood Pressure Monitor has completed the reading, the data will be sent directly into the relevant GoodX Web App clinical form fields. The pop-up will disappear automatically.
Please Note: The user is able to cancel the pairing of the devices if the need arises by Clicking on the Cancel button on the Bluetooth Input pop-up.
![]()
- The following fields' information will be extracted from the Wireless Blood Pressure Monitor and will be automatically filled into the General Examination form:
![]()
- Blood Pressure: Blood pressure is the force applied by the movement of blood against the walls of blood vessels. A reading is measured by the systolic and diastolic pressure.
- Systolic: The first, and normally highest, number displayed. The Systolic pressure is the force of blood within the arteries when the heart beats.
- Diastolic: The second, and normally lowest, number displayed. Diastolic pressure is the force of blood within the arteries between heartbeats.
Please Note: The system will warn the user by changing the colour of the field to red if the Patients blood pressure is too high or too low.
- Pulse Rate: The beats per minute of the Patient's pulse. An abnormal reading over 100 beats per minute will turn the Pulse Rate field red.
- Click on the Complete checkbox, once the user is satisfied with the information that has been added to the Physical Examination panel of the General Examination form.

- The Complete button will change to a completed status.
![]()
- Click on the Close button to return to the main Diary screen without saving.
![]()
- Click on the drop-up menu next to the Save and Close button for more saving options.

- Save: The user is able to save the changes made to the form without closing the form.
- Save Lines To New Macro: Allows the user to create a new macro.
- For an extensive explanation of this feature please refer to the user manual: Macros (Billing Combinations).
- Click on the Save and Close button to save the General Examination form and close the screen to return to the main Diary screen.
![]()