EMR Form Overview

An EMR form is a medical document which helps emergency room staff gather information about a Patient's medical history. Nurses use the form to record a Patient's vital signs, which can then be accessed by the Practitioner when the Patient is seen. The EMR form process saves time and allows the Practitioner to quickly and accurately assess the Patient and to determine the course of action, without having to first take the Patient's vital signs.

Using the information provided in the EMR form, the Practitioner can perform examinations, run necessary tests, make a diagnosis, set up a treatment plan, prescribe medication, and discharge the Patient while also being able to bill the Patient for the services provided.

  • The contents of this user manual will consist of the following information:
    • Nurse Triage and History
    • Doctor Triage and History
    • Examination
    • Special Investigations
    • Diagnosis 
    • Management & Medication 
    • Disposal 
    • Billing & Administration
    • Doctor Sign-off 
    • Complete
    • Email 
    • Print and Download
      • Print 
      • Download
    • Save and Close
  • This user manual will start on the Clinical Case screen.
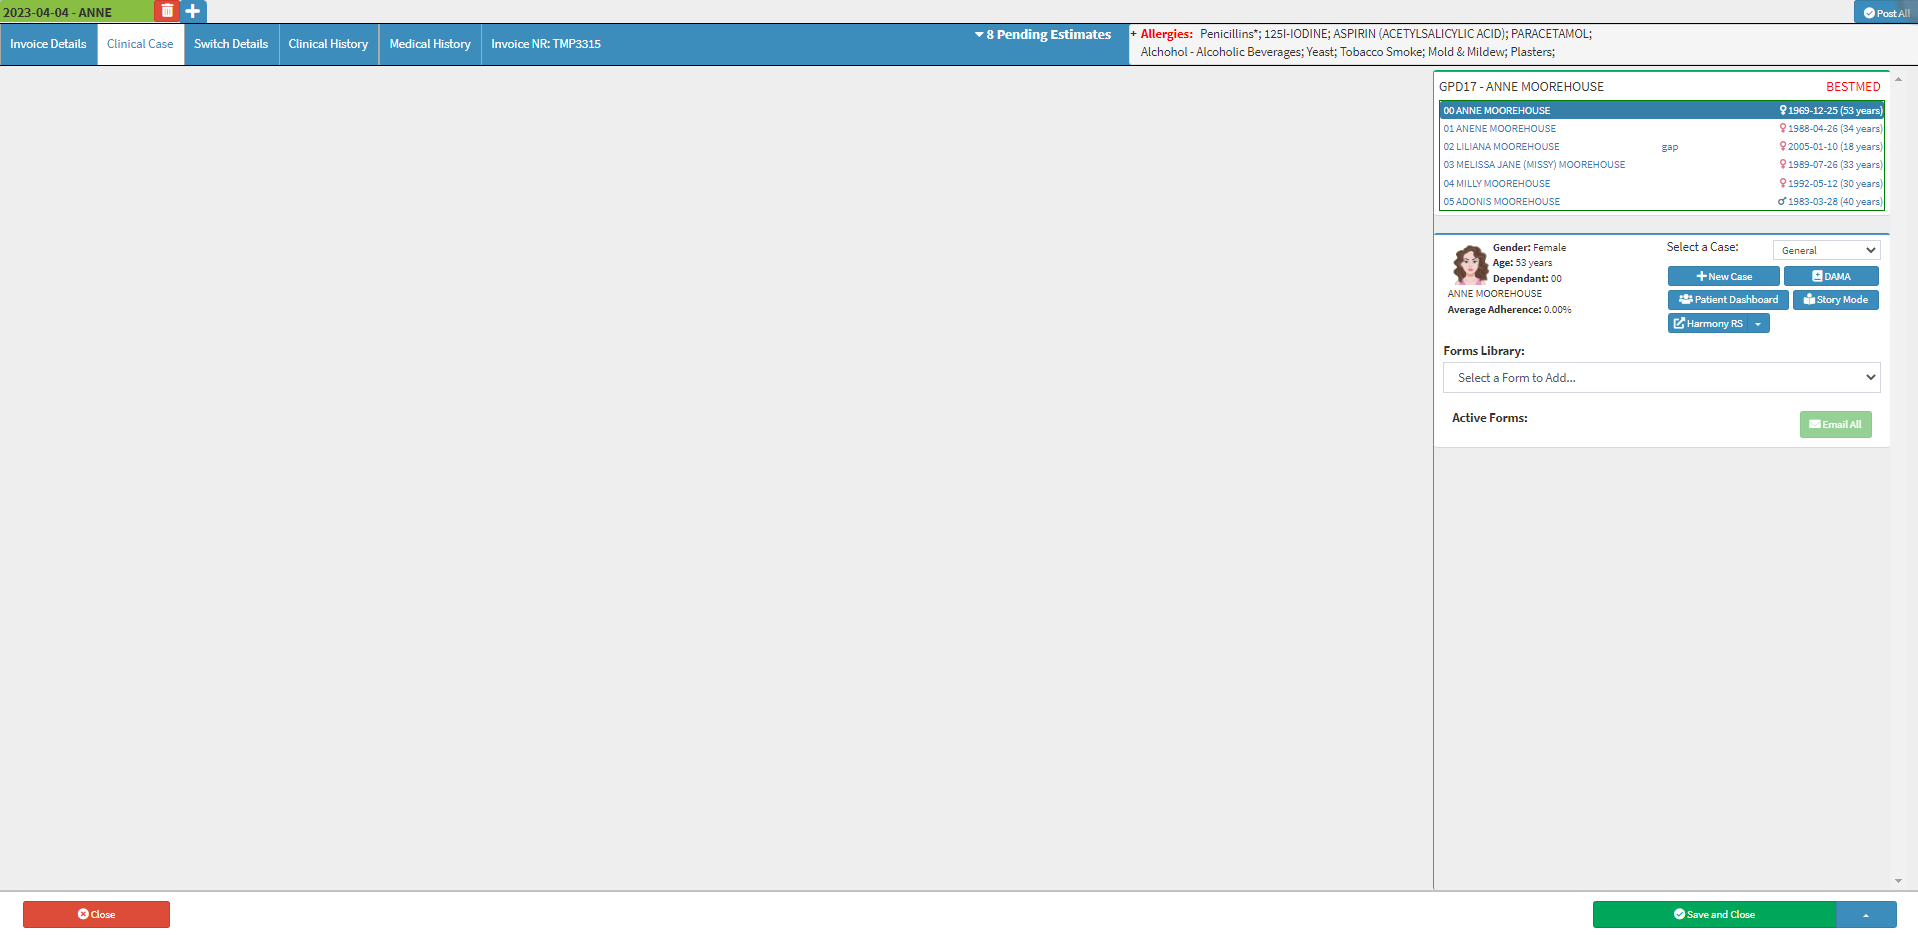
    • For more information regarding how to navigate to the Clinical Case screen, please refer to the user manual: Clinical Screen Overview.

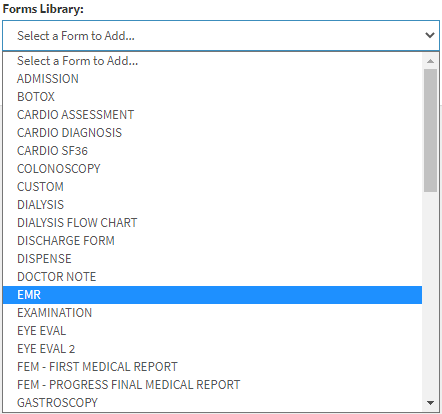
  • Click on the Forms Library drop-down menu on the Clinical Sidebar

  • Select the EMR form.


  • The form will be added to the Clinical Sidebar under the Active Forms section. 


  • The EMR form will open.


    • An explanation will be given for each panel available on the EMR form:

Nurse Triage and History 

The Nurses will take the Patient's vitals and do the initial assessment to determine the urgency and severity of the current condition of the Patient. Triaging a Patient ensures the most critically ill or injured Patients receive prompt and appropriate care, while also guaranteeing resources are used efficiently and effectively. The Nurse will also ask the Patient a series of questions regarding Medical History and symptoms if the Patient is alert and coherent to answer the questions.

  • Click on the Nurse Triage and History panel.

  • The  Nurse Triage and History panel will expand.


Doctor Triage and History
The Practitioner will reassess the Patient, once the current status has been determined by the Nurse. The Practitioner will be able to accept the Nurses' Vitals and make conclusions and diagnoses based on the assessment. Practitioners are responsible for the more complex cases which require higher levels of medical knowledge and decision-making skills. In Triage, a Practitioner may be involved in assessing Patients with more severe conditions, such as trauma or acute medical emergencies. Practitioners are responsible for supervising the triage process and making final decisions about the appropriate course of treatment. The Practitioner will ask the Patient for more in-depth information should the Patient present with a history of the presenting complaint as well as any other relevant information regarding the Patients' medical background.

  • Click on the Doctor Triage and History panel.


  • The Doctor Triage and History panel will expand.


    • For more information regarding how the Doctor Triage and History panel works, and an in-depth explanation of each field and option, please refer to the user manual: EMR Form: Doctor Triage and History.


Examination
An Emergency Room Examination is an extensive assessment of the Patient and a critical part of the treatment and diagnostic process. Practitioners will do an in-depth analysis of the extent of the Patient's injuries and/or symptoms they are presenting. The General examination will comprise of a series of diagnostic tests such as J.A.C.C.O.L.D, Primary Survey, Focused and Systemic tests to determine what is wrong with the Patient. Practitioners are able to make sketches, upload images and PDF documents, supporting the Patient's case.

  • Click on the Examination panel.


  • The Examination panel will expand.


    • For an extensive explanation regarding how the Examination panel works and an explanation of each field and option, please refer to the user manual: EMR Form: Examination. 


Special Investigations
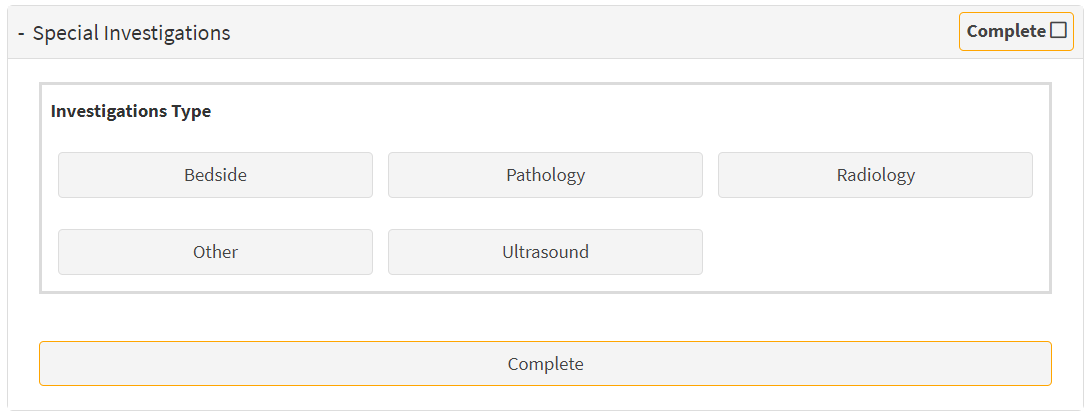
Special Investigations are used when standard medical evaluations do not provide enough information to make a definitive diagnosis. Special Investigations can include a wide range of procedures, depending on the Patient's specific condition and symptoms such as Radiology, Ultrasounds, Pathology etc. Special Investigations are usually performed by specialised Practitioners, such as Radiologists, Gastroenterologists, Cardiologists, or Pulmonologists. These investigations can be invasive or non-invasive and can help to provide a more accurate diagnosis, leading to better treatment outcomes for the Patient.

  • Click on the Special Investigations panel.


  • The Special Investigations panel will expand.


    • For an extensive explanation regarding how the Special Investigations panel works and an explanation of each field and option, please refer to the user manual: EMR Form: Special Investigations.


Diagnosis
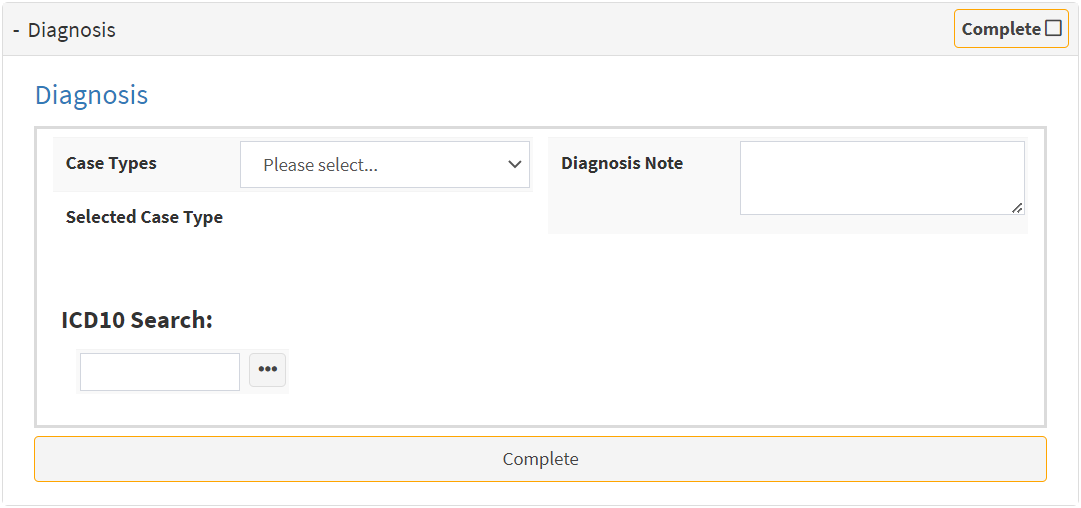
The determination of the nature and cause of a Patient's medical condition or disease. Diagnosing a Patient involves identifying the signs and symptoms of an illness and using medical knowledge, diagnostic tests, and other tools to determine the underlying cause of those symptoms. A diagnosis allows Practitioners to come up with the most appropriate treatment plan for the Patient 

  • Click on the Diagnosis panel.


  • The Diagnosis panel will expand.


    • For an extensive explanation regarding how the Diagnosis panel works and an explanation of each field and option, please refer to the user manual: EMR Form: Diagnosis.


Management and Medication

Allows the Practitioner to set out a specific treatment plan for the Patient, adding medications and treatment protocols whilst in the emergency unit. The Practitioner can also create a script to prescribe medications and other treatment items for the Patient to take home.

  • Click on the Management and Medication panel.


  • The Management and Medication panel will expand.


Disposal 

When a Patient is ready to leave the Emergency Room, the Practitioner is responsible for the discharge. Depending on the medical condition, Patients may be admitted to the Hospital for further treatment, Discharged to return home as no further treatment is necessary, or Transferred to another facility for additional treatment. Unfortunately, there are also instances where the Patient has passed away or has chosen to leave against medical advice.

  • Click on the Disposal panel.


  • The Disposal panel will expand.


    • For more information regarding the Disposal panel and an explanation for each field and option, please refer to the user manual: EMR Form: Disposal.

Billing and Administration

The Billing and Administration section on the EMR form is used to select and bill the appropriate Consultation and Procedure codes for Emergency Room treatment provided to the Patient. Once the billing codes have been selected, the Practitioner can add all the codes to an Invoice. The selection of certain options and fields will trigger the automatic selection of certain billing codes, which helps save the Practitioner time when billing for the Patient's treatment.

  • Click on the Billing and Administration panel.


  • The Billing and Administration panel will expand.


    • For more information regarding the Billing and Administration panel and an explanation for each field and option, please refer to the user manual: EMR Form: Billing and Administration.

Please Note: When any of the ward visits are selected in the Doctor Triage and History section a billing code, specific to the type of visit, will automatically be added to the Billing and Administration section of the EMR form. The appropriate billing codes will only be added automatically when the user marks the Doctor Triage and History section of the EMR form as Completed.


Doctor Sign-off

The final approval or authorisation given by the Practitioner indicates the Practitioner has reviewed and confirmed the accuracy and completeness of all the information included on the EMR form, and takes responsibility for the medical decision-making and treatment provided to the Patient. The Sign-off is typically required before the form can be considered complete or released to other healthcare professionals involved in the Patient's care.

  • Click on the Doctor Sign-off panel.


  • The Doctor Sign-off panel will expand.


    • For more information regarding the Doctor Sign-off panel and an explanation for each field and option, please refer to the user manual: EMR Form: Doctor Sign-off.

Complete
Once the Practitioner is satisfied with the information added to the EMR form, the form can be completed and all the stages of the form can be finalised. 

  • Click on the Complete button to complete the EMR Form


    • The button will change to Completed and the form will be marked as Completed at the top of the screen.


Email

Allows the Practitioner to send a copy of the EMR form via electronic mail.

  • Click on the Email button to send a copy of the EMR form via electronic mail to the desired recipients.

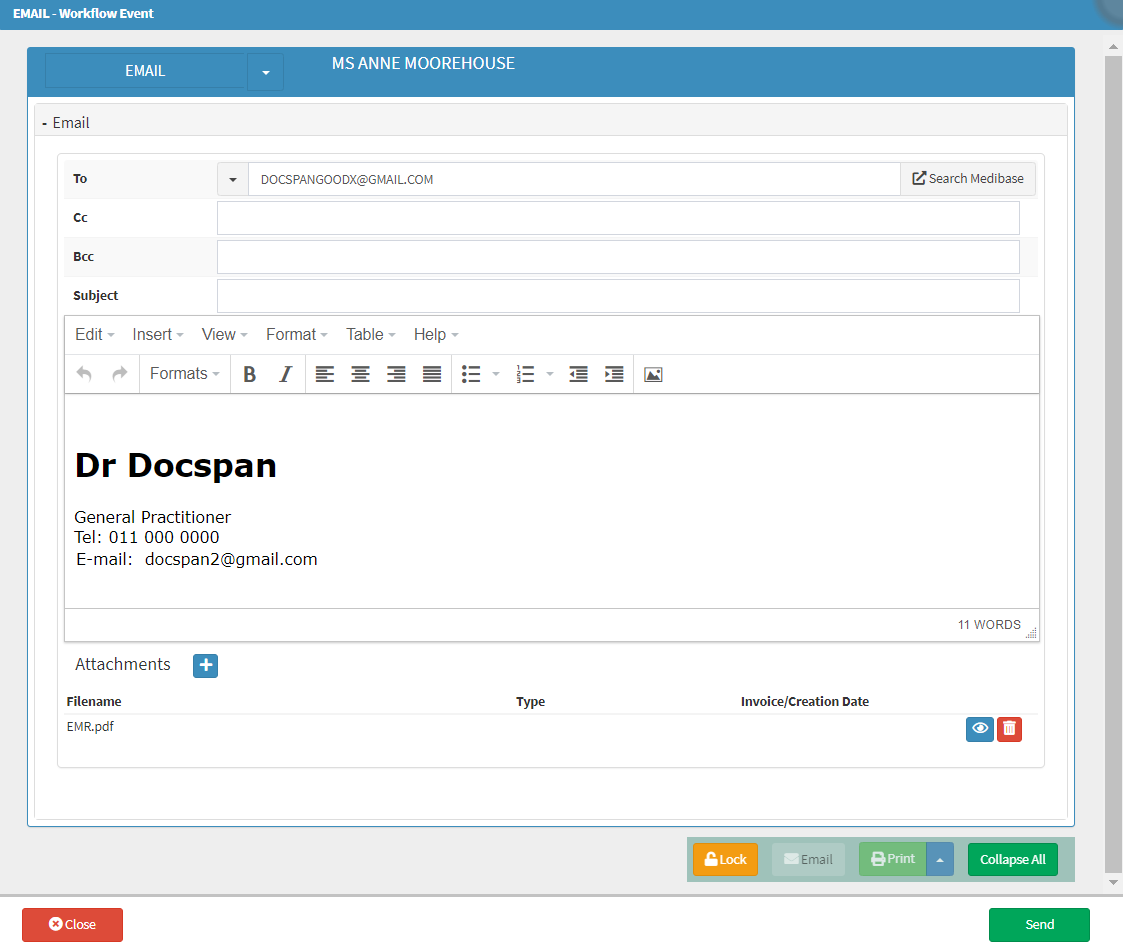
    • The Email - Workflow Event screen will open.


Please Note: The EMR form will be automatically attached as a PDF (Portable Document Format) file in the Attachments section.


      • Complete the fields with the relevant information:
        • To: The email address of the recipient. The Debtor's email address will automatically be filled in the To field.
        • Cc: Carbon Copy - Mailing addresses of other recipients who will also receive the email as a reference to take note of the email which has been sent to the main recipient.
        • Bcc: Blind Carbon Copy - A copy of the original email will be sent to the added mailing addresses without the main recipient's knowledge, which is used for privacy purposes.
        • Subject: A single line of text, informing the recipient what the email is about.
        • Body: Any relevant information the Practitioner would like to share with the recipient. The Body is typically written in the same format as a letter, which consists of a greeting, concise paragraphs regarding the intent of the email and a closing to advise who the email is from. 

          • Click on the Close button to exit the Email - Workflow Event screen without sending the email.


          • Click on the Send button to send the email to the desired recipient and exit the Email - Workflow Event screen.


Print and Download

Allows the Practitioner to print out a hard copy of the evaluation which can be filed in the Patient's hard copy file or save a PDF (Portable Document Format) copy to the Practitioner's device.

Print 

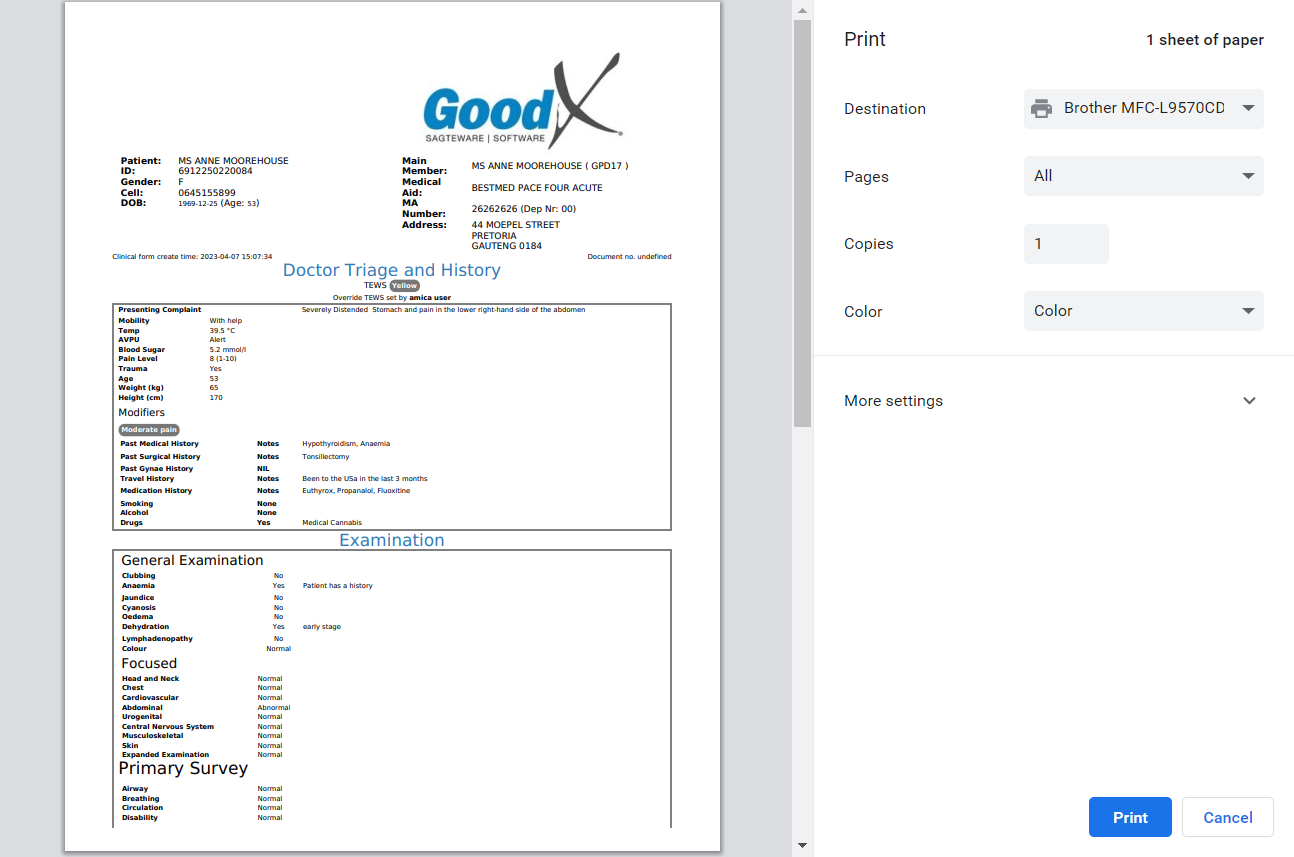
  • Click on the Print button to open a preview to allow the Practitioner to print a hard copy of the EMR form.


    • The Print screen will open. The EMR form will display on the screen.


      • Click on the Cancel button to exit the Print screen without printing.


      • Click on the Print button to send the EMR form to the printer. The Print screen will close and return to the EMR screen.


Download

  • Click on the Print drop-up menu to open additional print options.


    • Click on the Download button to save the EMR form as a PDF (Portable Document Format) to the user's computer.


      • The PDF (Portable Document Format) file of the EMR will be downloaded to the user's device.


Save and Close
Allows the Practitioner to save all the changes which have been made to the EMR  and close the form.

  • Click on the Close button to exit the EMR screen without saving.


  • Click on the Save and Close button to save all changes which have been made and close the EMR screen and return to the Diary screen.


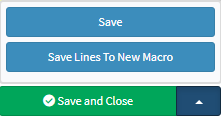
  • Click on the Save and Close drop-up menu for more options: 


    • Save: The user is able to save the changes made to the form without closing the form. 
    • Save Lines To New Macro: Allows the user to create a new macro.

Last modified: Tuesday, 16 May 2023, 7:39 AM