System Options - Hospital
Configuration of the Hospital allows users to set up and define various preferences and settings that align with the unique needs and operational processes of the Hospital. Users are able to set up Statement Codes, Per Diem Profiles and indicated who the Case Manager of the Facility is.
System Options is the configuration of how the system operates and allow the user to set up the system to suit the needs of the Practice and activates/deactivates certain functions in the system.
- Log in to the GoodX Desktop as the Supervisor.
- From the Navigator, Double Click on the Options Module.

- An Authorisation/Password Necessary pop-up will appear.
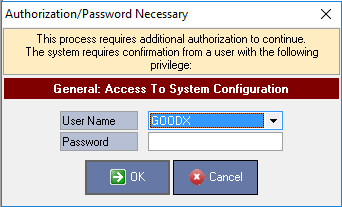
- Select the user from the User Name drop-down menu.
- Enter the password in the Password field.
- Click on the OK button to proceed.

Please Note: Only users with Supervisor access will be allowed to access the System Options.
- The main System Options screen will open.
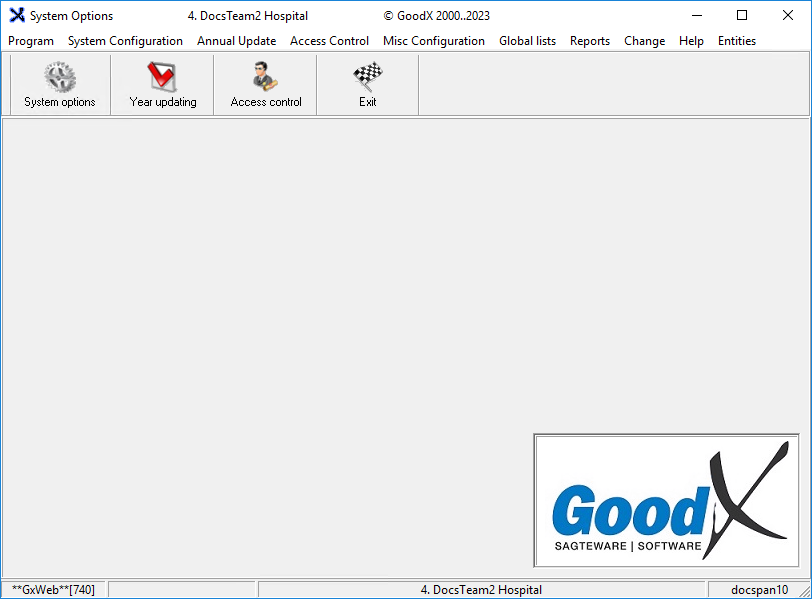
- Click on the System options button in the toolbar.

- The Entity Setup screen will open.
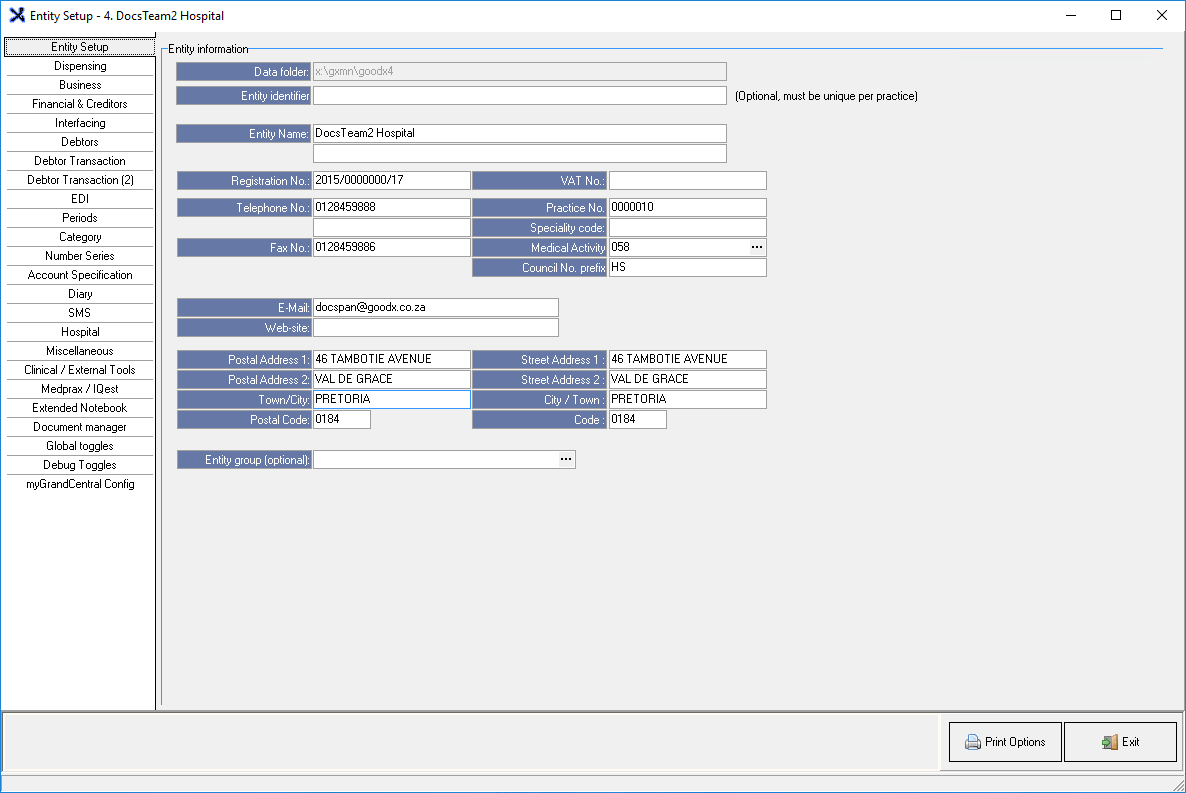
- Click on the Hospital tab.
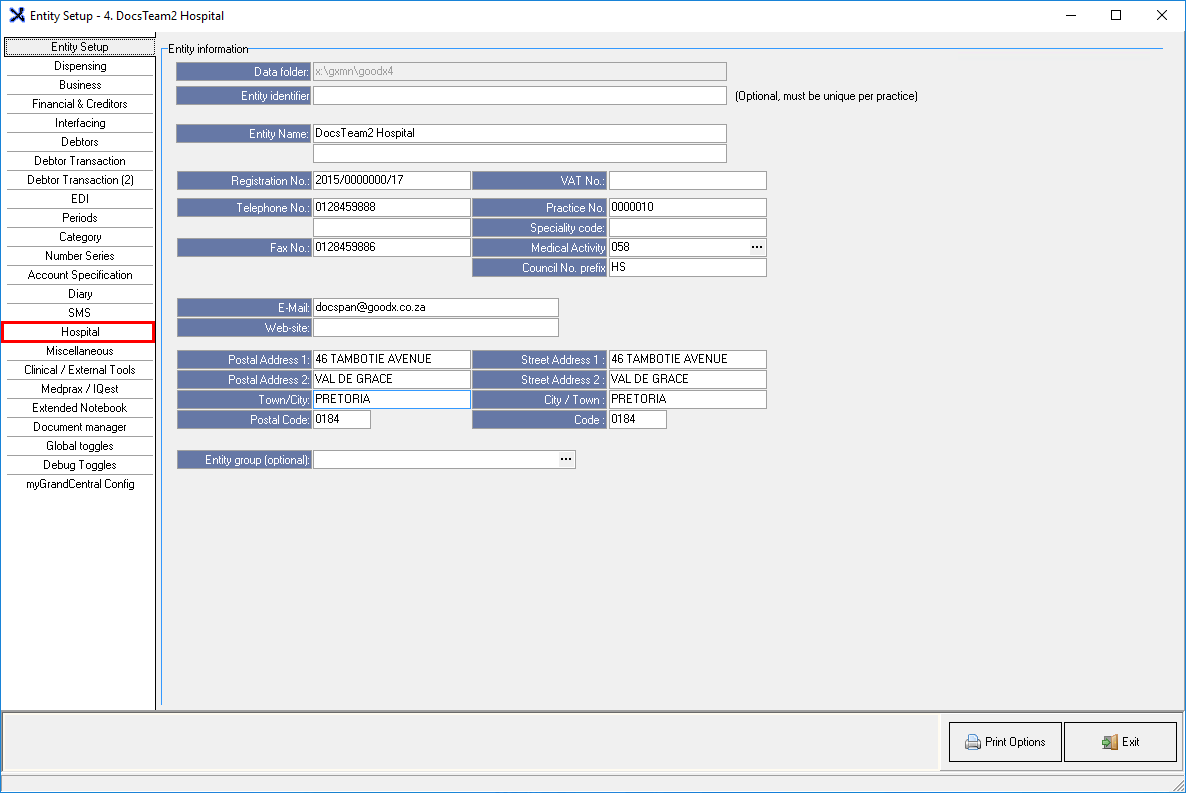
- The Hospital screen will open.

- An explanation will be given for each field and option on the screen:
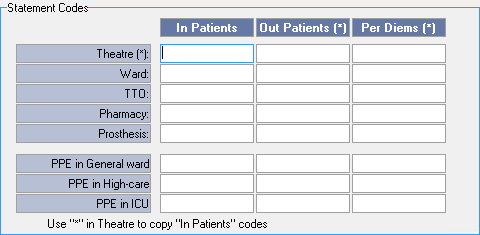
- Statement Codes: The default codes used by the entity when generating Statements for submission to Medical Aids and Patients. Specific codes must be associated with certain procedures to ensure accurate claims. NHN (National Hospital Network) regulates these codes' management, provided that the facility has a signed agreement with the NHN.
- Per Diem Posting Profile: The default information which will be used for Per Diem Cases.
- Complete the relevant information for Per Diem Cases.
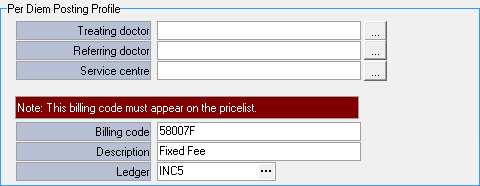
- Treating Doctor: The details of the default Practitioner which will be used for Per Diem cases.
- Referring Doctor: The details of the default Referring Practitioner which will be used for Per Diem cases.
- Service Centre: The default service centre used when Per Diem cases are billed.
- Billing Code: The default billing code used for Per Diem cases. When the code is billed the case will be finalised as a Per Diem case and all transactions will be updated accordingly.
- Description: The type of the Billing Code used by default for Per Diem cases.
- Ledger: The ledger to where Per Diem cases will be posted.
Please Note: The Billing Code added will need to be on the Pricelists in order for the code to work correctly.
- Preferences: Custom options available, which will reflect on the Case Management screen.
- Tick the checkbox on all relevant options, which the user would like to use.
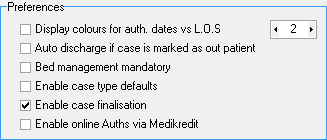
- Display Colours for auth dates vs L.O.S.: The system will display a warning colour if the remaining authorisation days are smaller than the specified number of days that the patient has been in the Hospital.
- Auto Discharge if case is marked as out patient: The patient will automatically be discharged if the case is marked as an outpatient case.
- Bed Management mandatory: Forces users to capture bed movement information when a Patient is admitted.
- Enable case type defaults: The user will be forced to specify the type of case when admitting Patients, depending on the Case Types with have been set by the facility. For more information regarding how to set up Case Types, please refer the user manual: Case Types Setup.
- Enable case finalisation: Once the case is Finalised, the final invoice will automatically be posted. The system will run checks as part of the finalisation actions. For example, Accommodation Billing, Fixed fee adjustments etc.
- Enable online Auths via Medikredit: Enables the Medikredit online authorisation interface via Discovery. (Still in development).
- Hospital Case Manager: The name of the person, who is responsible for the coordination and management of all Hospital cases.

- Footer for Case Printout: Infomation which will display at the bottom of each page when the case is printed.
- Click on the Save button to save the changes that have been made. The save button will only appear if changes have been made to the settings.
- Click on the Print Options button to print the details of all saved options.
![]()
- Click on the Exit button to close the Entity Setup screen and return back to System Options main screen.
Last modified: Thursday, 31 August 2023, 11:11 AM