Using the Mobile App to create or Edit Bookings gives you the flexibility to manage your schedule efficiently, whether adding new appointments or adjusting existing ones. This ensures your Diary stays accurate, helping you adapt to last-minute changes like rescheduled Patients or emergencies. By keeping everything organised in real-time, you provide seamless care while staying on top of your workload.
?Please Note: Any changes made on the Mobile App will override whatever has occurred on the GoodX Web App when syncing occurs.
The Contents of This User Manual:
New Booking
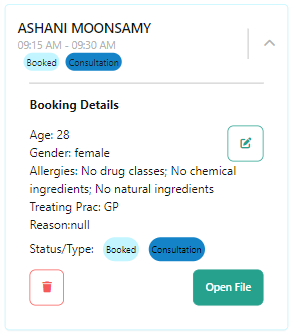
Edit Booking
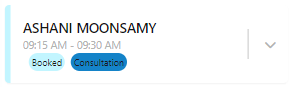
This user manual will start on the Diary screen.
New Booking
Allows you to create a New Booking on the Mobile App.
Click/Tap on the New Booking button.
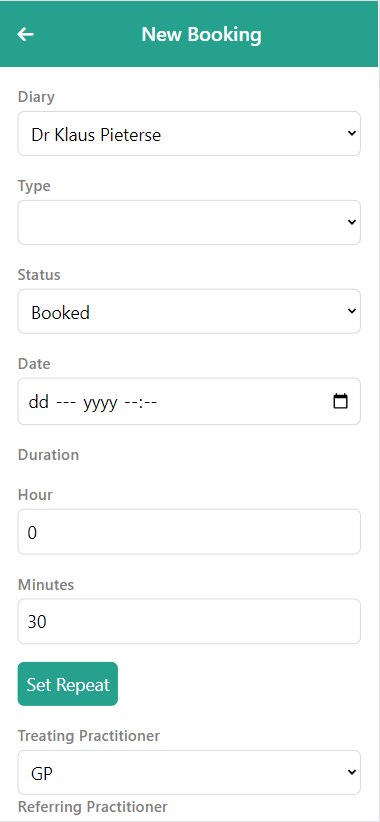
The New Booking screen will open.
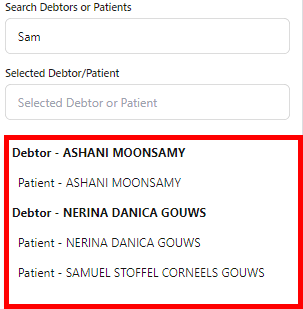
Click/Tap on the Diary drop-down menu to select the Practitioner on whose Diary the Booking will be made.
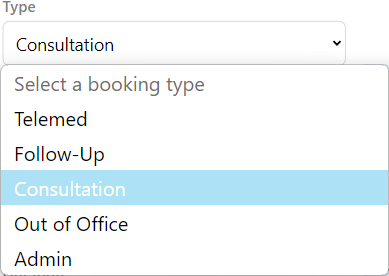
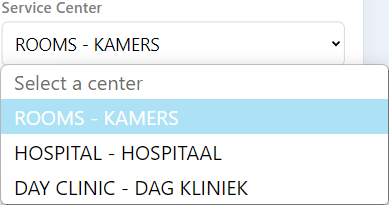
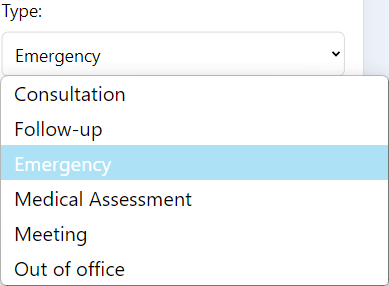
Click/Tap on the Type drop-down menu to select the Booking Type.
?Please Note: The Booking Types on the list, are the ones that have been set up for the Practice.
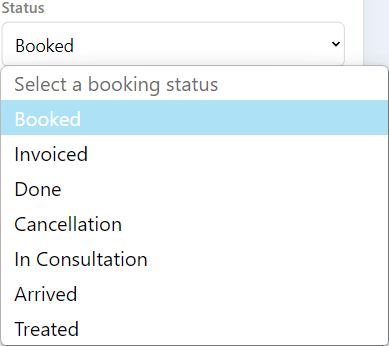
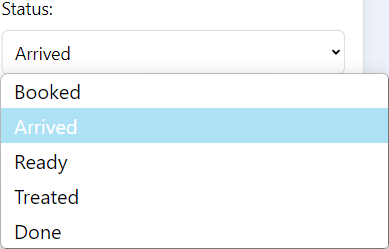
Click/Tap on the Status drop-down menu to select the Status of the Booking.
Click/Tap on the Date Picker to select the relevant Date and Time when the Booking will take place.
?Please Note: The Date and Time will default to the current Date and Time, you are alsoable to enter it manually.
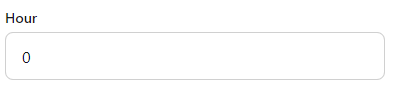
Click/Tap on the Hour field in the Duration section to enter to number of hours that the Booking timeslot will be.
Click/Tap on the Duration, Minutefield to select the relevant option.