How to Capture Audio on Cloud Capture
Why Use This Function:
Adding a Voice Recording to Cloud Capture is a useful tool used by the Practitioner to make Voice Notes. Voice Notes can be used while consulting with a Patient and whilst the Practitioner is making their clinical notes. The recording can be saved on the Capture App and then uploaded to the Patient's file on the GoodX Web App for future reference.
The Contents of This User Manual:
- Additional Options
- This user manual will start on the Audio tab of the Cloud Capture screen.

- For more information on how to Navigate to the Audio tab, please refer to the user manual: Cloud Capture: Navigation and Use.
- Click/Tap on the Record Audio button to start the Recording.

- Cloud Capture will start Recording.

- Click on the Record Audio button to end the Recording once you are satisfied with what you have recorded.

- When you Stop the Recording, Additional Options will appear on the screen.

Additional Options
Additional Options are available for ease of use.

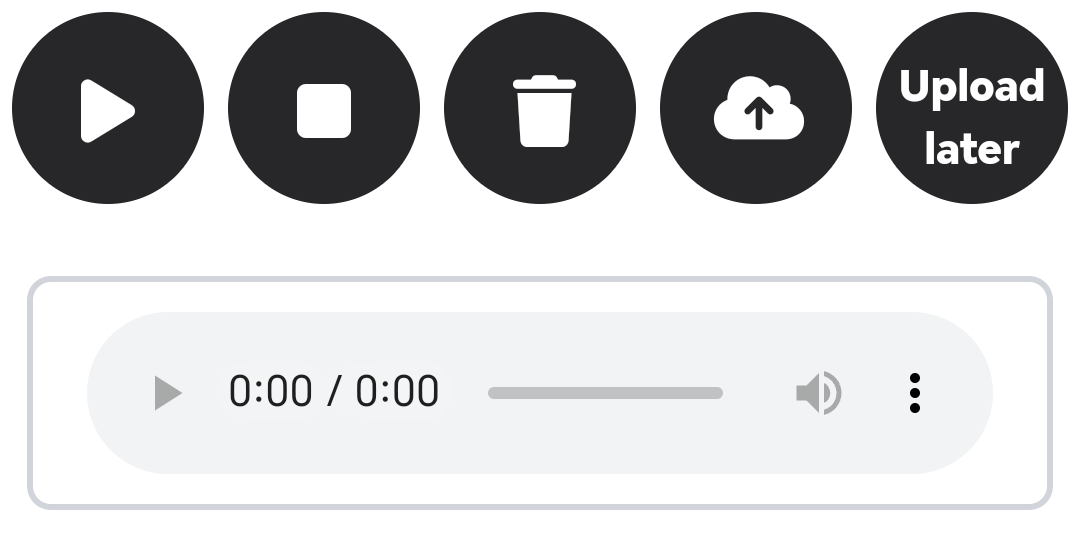
- Click/Tap on the Play button.

- The Recorded Audio will start playing.

- Click on the Volume button.

- A line will appear over the Volume button meaning that the audio has been muted.
![]()
- Click on the Kebab menu for additional options.

- A sub-menu will open.
![]()
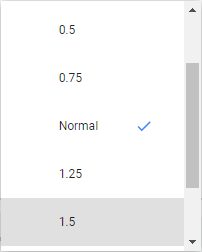
- An additional sub-menu will appear with listening speed options. The listening speed can be changed to make the audio recording play faster or slower than the default speed.

- Click/Tap on the Stop button to stop the Recordings.

- Click/Tap on the Delete button to discard the Recording.

- A Notification will appear stating that the recording has been Deleted.

- Click/Tap on the Upload button to Upload the Recording to GoodX Web.

- A Notification will appear stating that the Audio has been uploaded.

- Click/Tap on the Upload Later button to upload the recording at a later time.

- A Notification will appear stating that the Audio is saved for later upload.

Last modified: Thursday, 17 October 2024, 7:21 AM