Warehouses store items, either in one big space or in separate areas like a Pharmacy or Bulk Store Rooms. Billing happens from a main Service Center linked to a Warehouse, tracking item movements within that Warehouse. Reports can show which items were used in each area, with multiple Service Centers connected to one Warehouse, but not the other way around.
Please Note: Practices usually only have one Warehouse, but when the Practice is a multi franchise or a Hospital, then more than one Warehouse can be set up.
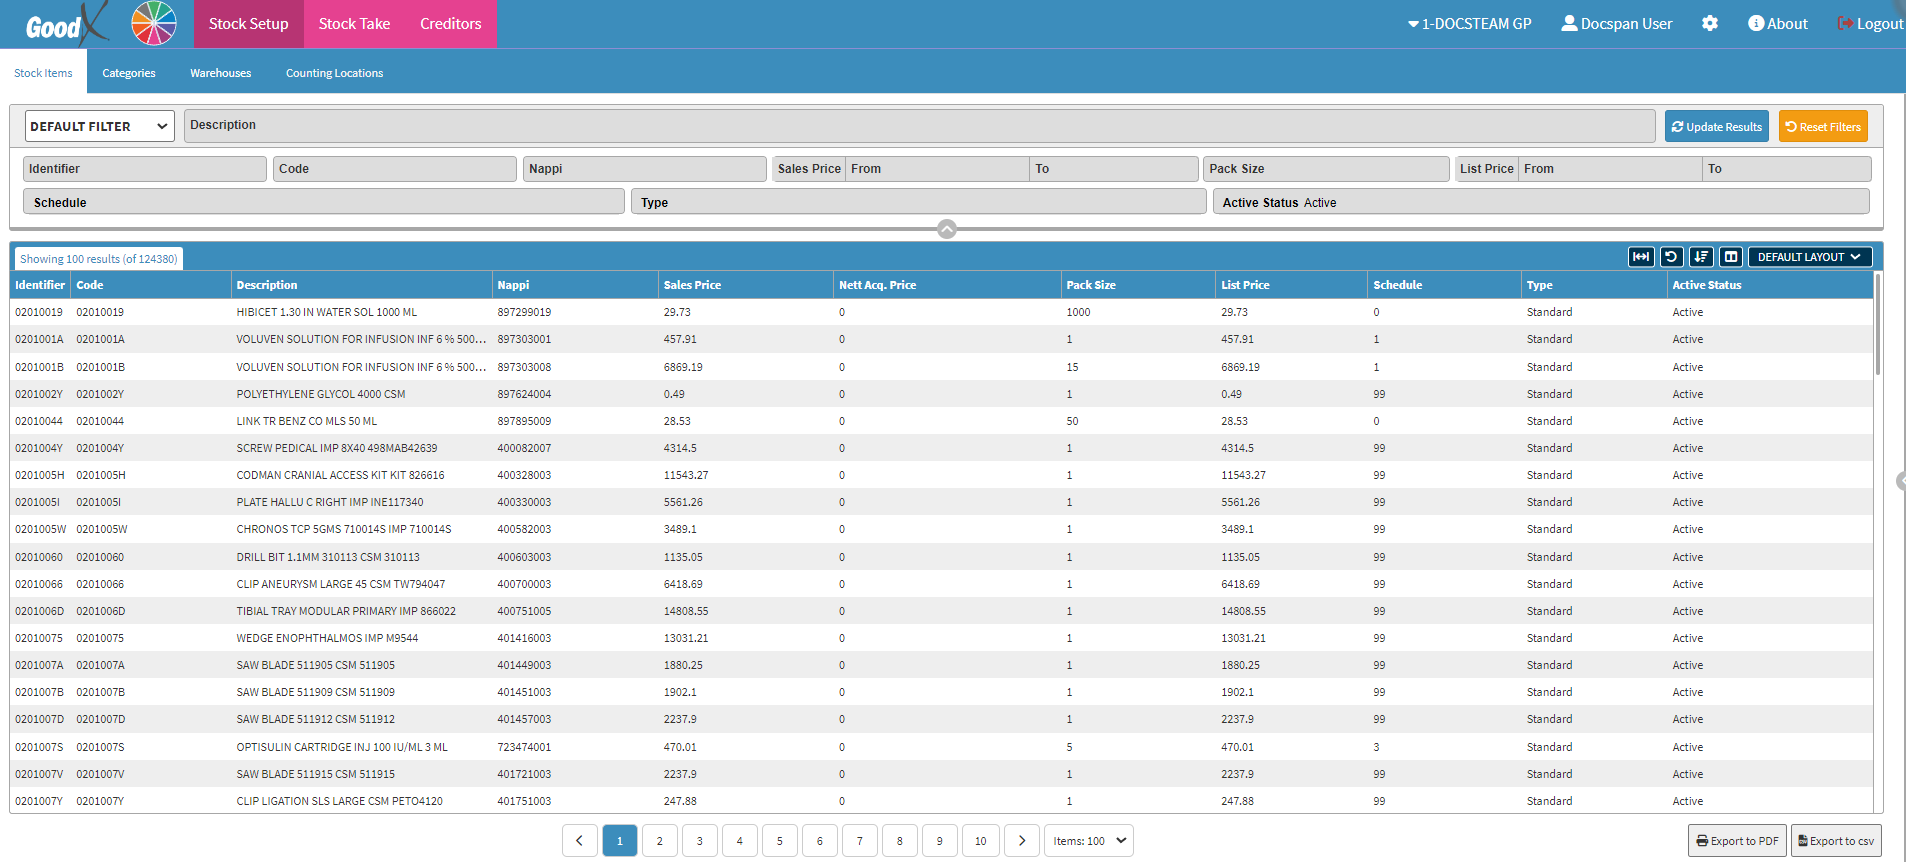
This user manual will start on the Stock Setup, Stock Items screen.
Click on the Warehouses tab.
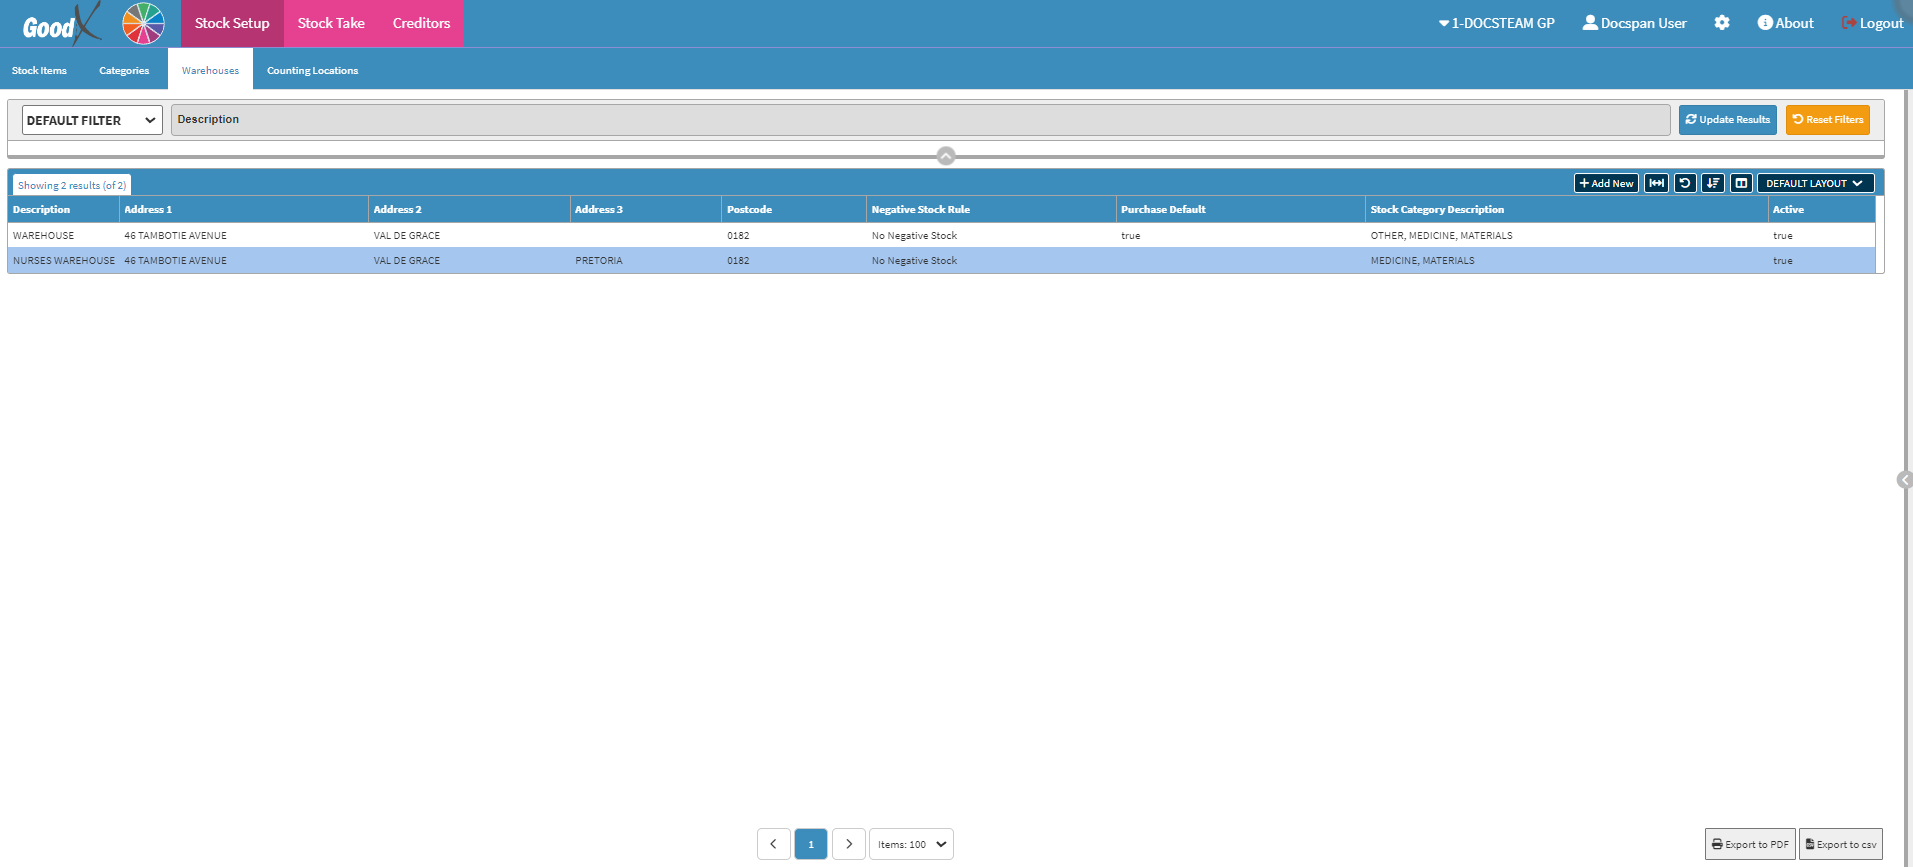
The Warehouses screen will open.
The Warehouse screen will contain a List of all the Warehouses set up for this Practice.
Click on the +Add New button.
The Stock Warehouse screen will open.
Complete the following information:
Fill in a Name for the Warehouse you wish to create.
Complete the Physical Address where the Warehouse is actually located.
Select the correct Stock Category from the Stock Categories drop-down menu.
More than one Category can be selected to indicate which items will be received into the Warehouse.
Select the Use Warehouse As Default When Receiving Stock checkbox in order to set this specific Warehouse as the Main Warehouse where all the Stock will be received.
Select the relevant Negative Stock Rule you wish to apply to the Practice.
No Negative Stock: When Stock is sold or taken out of the Warehouse, this rule will prevent Stock from going into a negative when there is no more Stock available.
Allowing No Warning: Allowing the Stock to go into a Negative without Giving a Warning.
Allowing With Warning: Allowing the Stock to go into a Negative, but a Warning will appear advising the user that the Stock will go into a negative.
Tick the Warehouse Active (for this entity) checkbox to make the Warehouse Active when Stock is received.
Please Note: This Warehouse will only be Active for this particular Entity.
Click on the Save button to save the new Warehouse that was created.
The Warehouse will now appear on the Warehouses List screen.