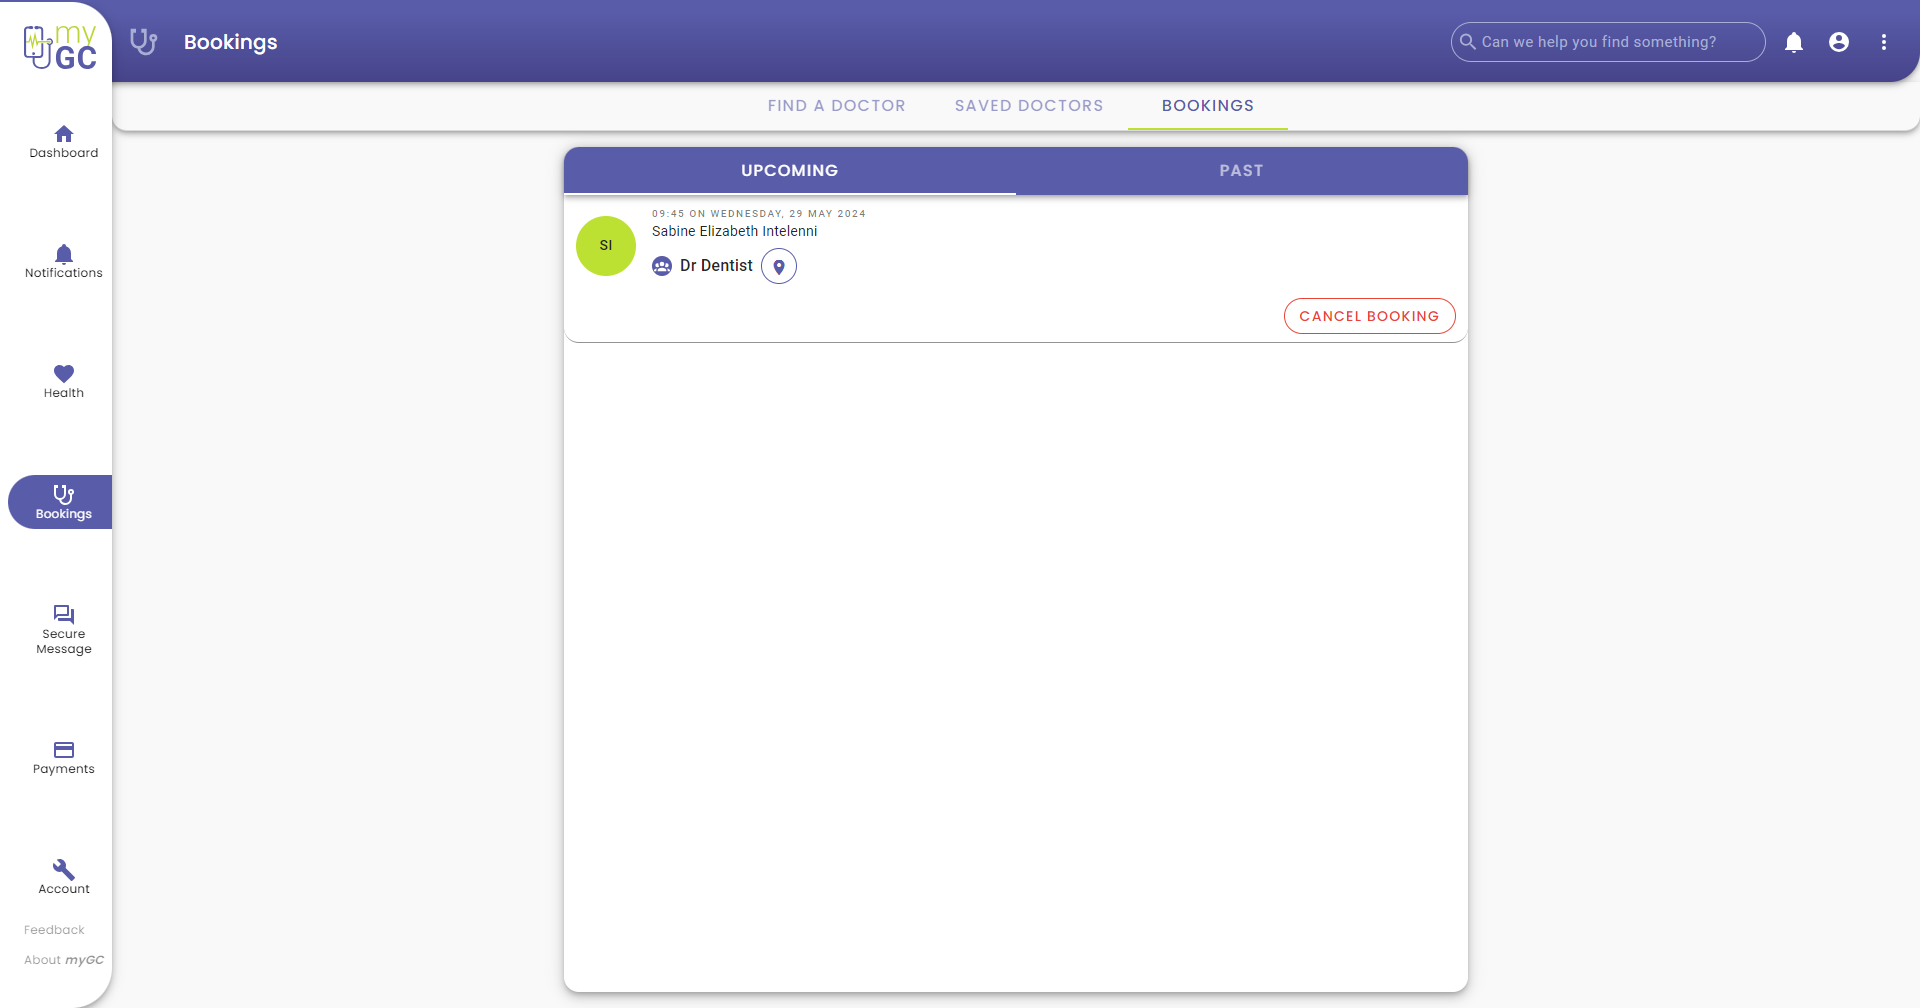
How to Create a New Account Whilst Making a Booking
When a New Booking is made on myGC, you are able to Register yourself for a myGC account. Signing up for a myGC account provides access to a wide range of features, including full control over your medical data and sharing preferences, managing payments, and maintaining your Medical History, all from the comfort of your home.
- The contents of this user manual will consist of the following information:
- Find a Practitioner
- Near Me
- Search
- Booking Details
- Step 1 of 2: Complete your Details
- Sign up with Google
- Complete Details
- Step 2 of 2: Verify your Number
- Make a Booking
- View Booking
- Navigate to the myGC website: mygc.co.za from the web browser.
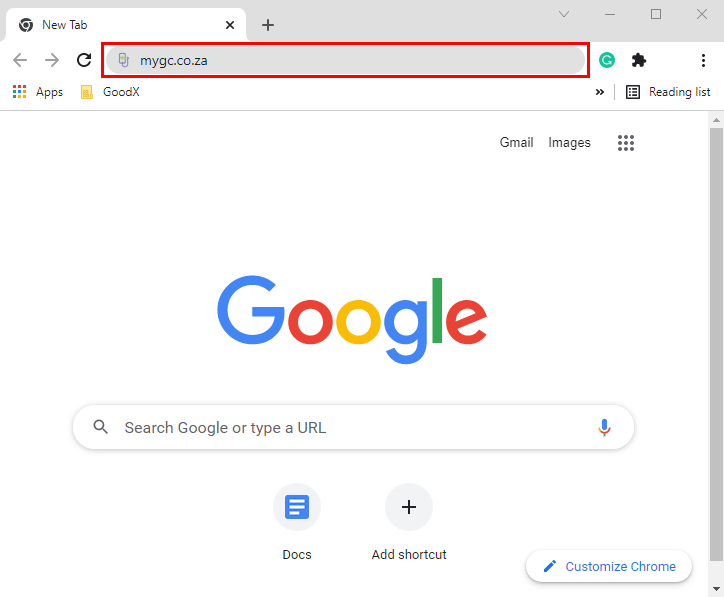
- The myGC Landing Page will open.
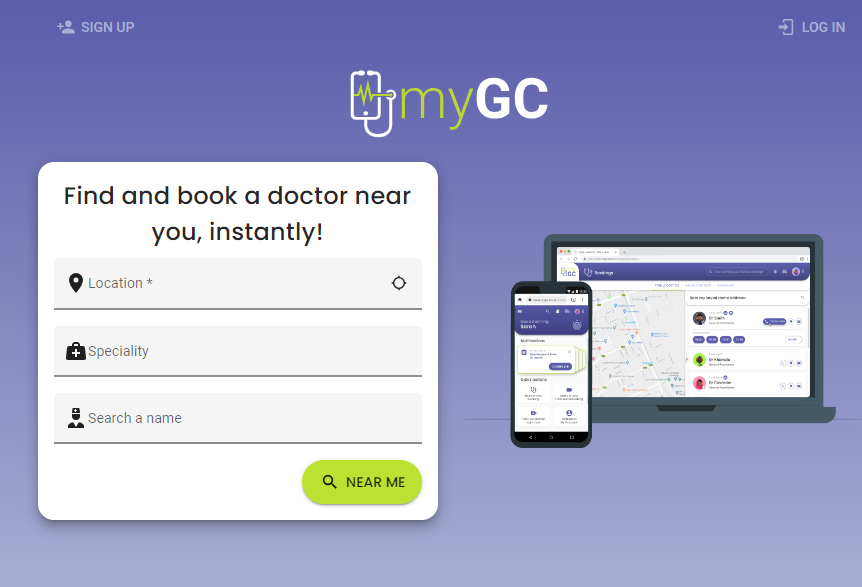
Find a Practitioner
Search for the Practitioner you want to make a Booking at.Near Me
Allows your web browser to use your location to find the Practitioners near where you are currently.- Click/Tap on the Near Me button to find the Practitioners near your current location.
![]()
Search
Allows you to narrow your Search to the specific Practitioner you are looking for.- Complete the relevant fields in the Find and Book a Doctor Near You, Instantly! section:
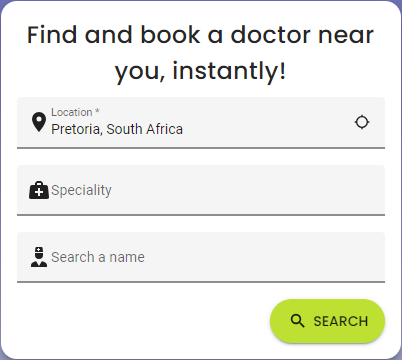
- Location: The area in which you would like to make a Booking to consult with a Practitioner. You can also type Near Me to allow myGC to use your current location to search.
- Speciality: If the Practitioner has a specific Speciality, for example, Dentist, Urologist and Gynaecologist etc.
- Search a Name: The specific Name and/or Surname of the Practitioner you are looking to make an appointment at.
Please Note: Fields marked with an * (asterisk) are compulsory and all other fields are optional.
- Click/Tap on the Search button once the Search criteria has been completed.
![]()
- The Doctors screen will open.
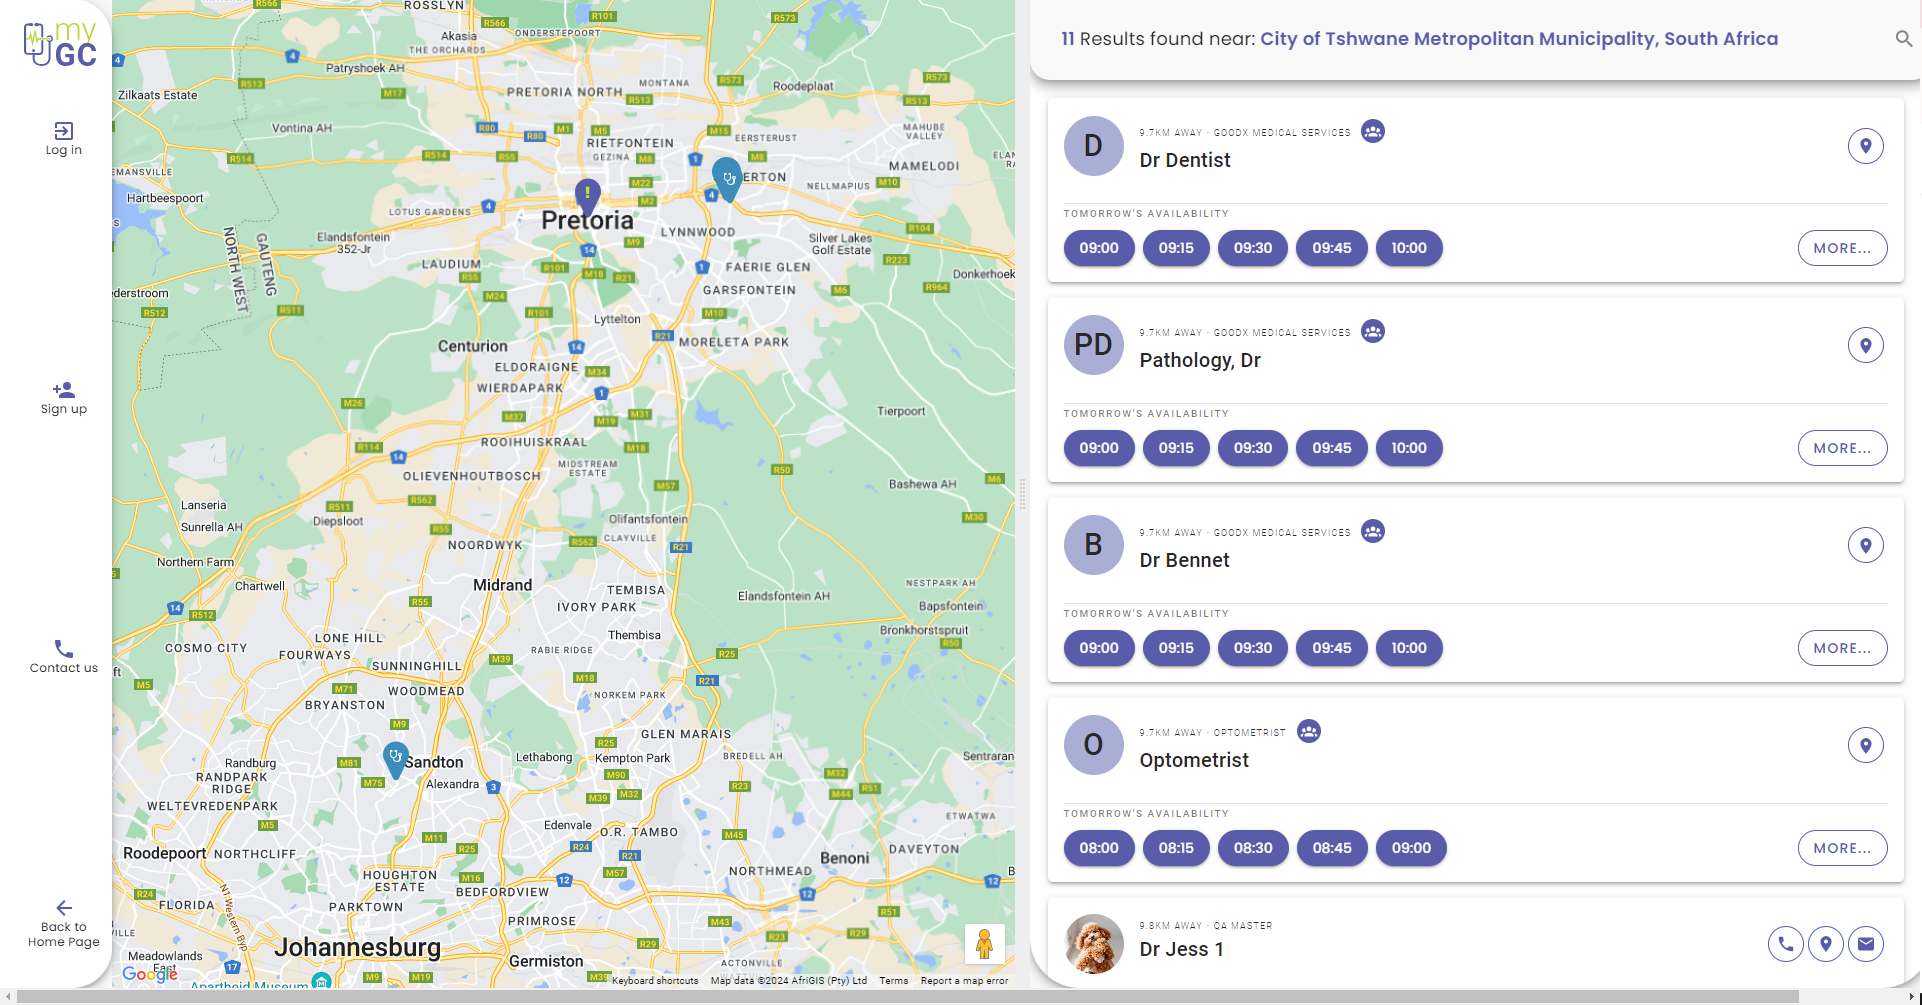
Booking Details
The information regarding your Booking.
- Click/Tap on the desired time that correlates with the Practioner that you want to see.

Please Note: If the Practitioner is not set up for myGC, no timeslots will be available.
- The Make a Booking screen will open.

- Click/Tap on the desired Timeslot.
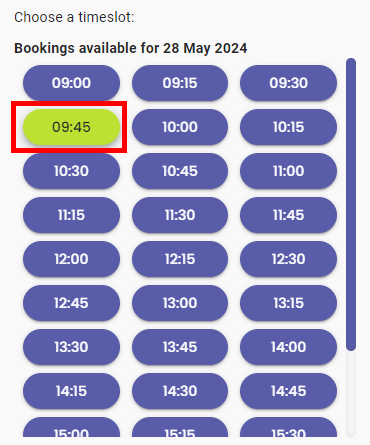
- Click/Tap on the Next Step button to continue.
- The myGC Login screen will open.

- Click/Tap on the Register button.
![]()
Step 1 of 2: Complete your Details
Your personal information that will be used to create a new account on myGC.
- The Step 1 of 2: Complete your Details screen will open.
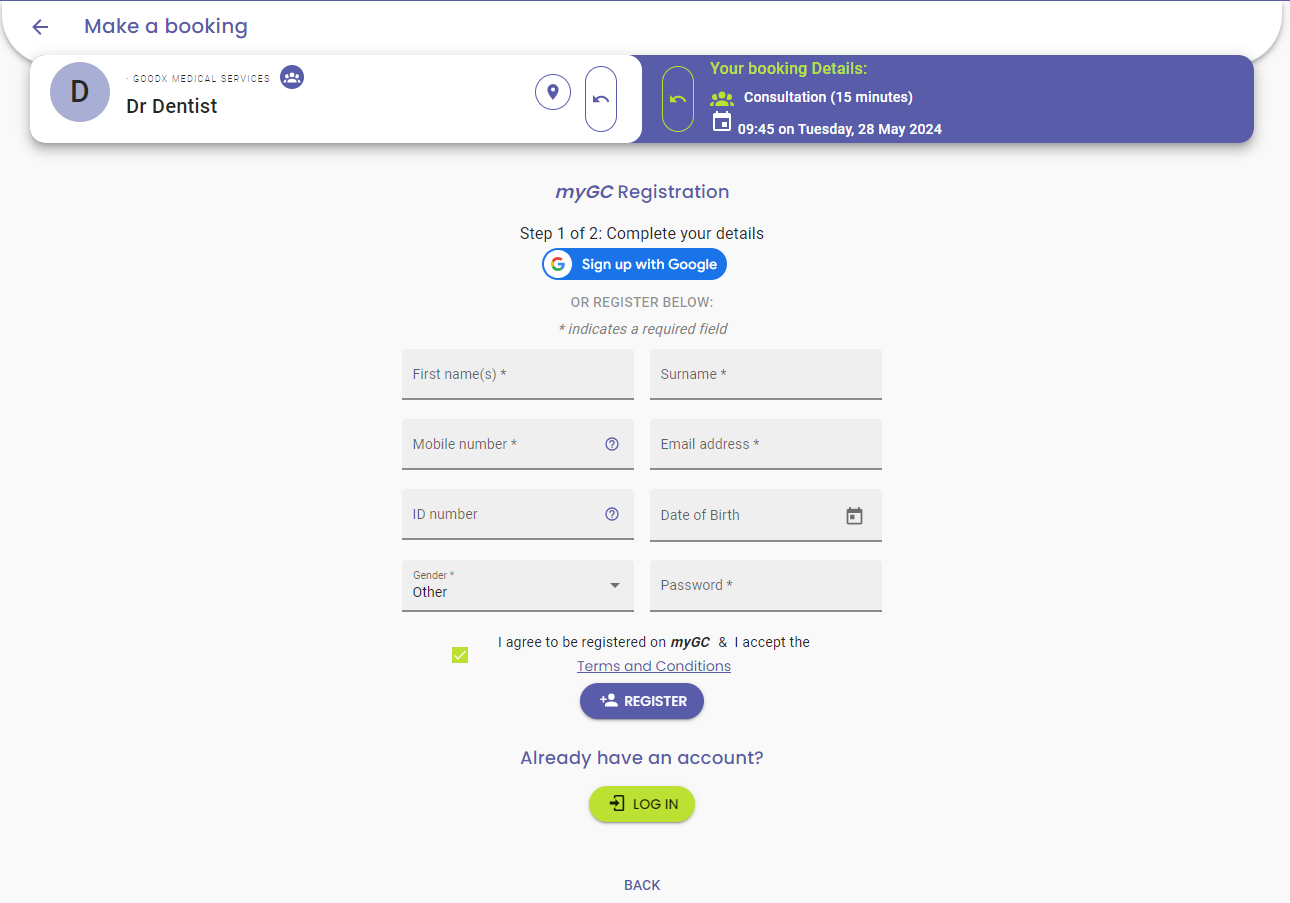
Sign up with Google
Use your Google Account to register with myGC.- Click/Tap on the Sign Up with Google button.
![]()
- For an extensive explanation of how to Sign Up with Google, please refer to the user manual: Sign Up with Google.
Complete Details
Manually fill in the relevant details.
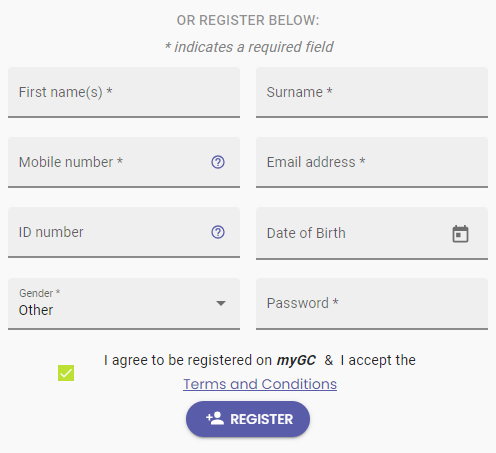
Please Note: Fields marked with an * (asterisk) are required. If the required fields are not filled in, you won't be able to complete the myGC Registration.

- Click/Tap on the First name(s) field to enter your Name.

- Click/Tap on the Surname field to enter your Surname.

- Click/Tap on the Mobile Number field to enter the user's cellphone number.

- Click/Tap on the Question Mark icon.
![]()
- The Why do you need my mobile number? screen will open to inform why myGC requires the user's mobile number.
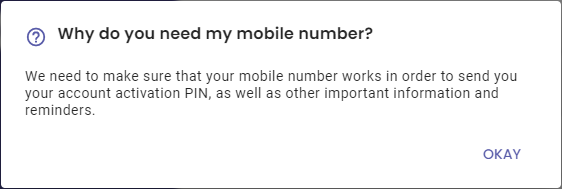
- Click/Tap on the Okay button to confirm that you understand why myGC needs your mobile number.
![]()
- Click/Tap on the Email Address field to fill in the relevant information.

- Click/Tap on the ID Number field to enter a valid South African ID Number.

- Click/Tap on the Question Mark icon.
![]()
- The Why do you need my ID Number? screen will open to inform why myGC requires the user's ID number.

- Click/Tap on the Okay button to confirm that the user understands why myGC needs their ID Number.
![]()
Please Note: If a valid South African Identification Number was entered, the Date of Birth and Gender fields will be filled in automatically. You are able to change the information if the need arises.
- Click/Tap on the Date of Birth field to enter a date manually in a yyyy-mm-dd format.

- Alternatively, Click/Tap on the Calendar button to select a date from the Date Picker that becomes available.

- Click/Tap on the Gender drop-down menu to select the relevant Gender.

- Click/Tap on the Password field to enter a Password.

- Click/Tap on the View button to reveal the Password to ensure it was entered correctly.
- The Password which was entered will be revealed.

- Tick the I agree to be registered on myGC & I accept the Terms and Conditions checkbox to agree to the regulations and requirements of using the myGC app.

Please Note: By accepting the Terms and Conditions, you acknowledge, that you have read and understood the rules and agree to comply with them. You will not be able to finish the Registration process until you have agreed to the Terms and Conditions of the myGC app.
- Click/Tap on the Terms and Conditions link to read the rules and regulations for using the myGC app.
![]()
- The myGC Terms & Conditions screen will open with a full explanation.

- Click/Tap on the Close button in order to return to the Complete your Details screen and to close the myGC Terms & Conditions screen.
![]()
- Click/Tap on the Register button to continue.
![]()
Step 2 of 2: Verify your Number
As a security measure, a One Time Pin SMS will be sent to your Mobile Number to verify the number.- The Verify your Number screen will open.

- Click/Tap on the One Time Pin (OTP) field to enter the code which was sent to your Mobile Number.

- Click/Tap on the Resend OTP button, to request a new One Time Pin (OTP), if you did not receive one.
![]()
- A Notification will appear to advise that the OTP has been sent.

- Click/Tap on the Verify button to continue with the verification.
![]()
- A Notification will appear to advise that the Mobile Number has been verified.
![]()
- Click on the Next Step button to continue.
![]()
Make a Booking
Allows you to book a timeslot at the desired Practitioner.- The Who is the Patient for this Booking? screen will open.

- Click on the Make Booking button.
![]()
Please Note: Completing Medical Aid details is not mandatory, but can save you time at the Practice. For more information regarding how to update your details, please refer to the user manual: Setup Medical Aid.
- The How was your Experience Making a Booking? screen will open.
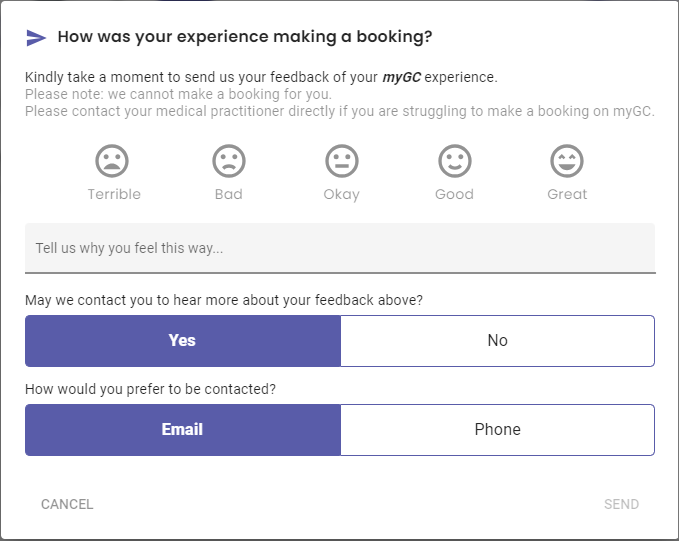
- For more information regarding how to leave Feedback for the myGC team, please refer to the user manual: Feedback (Sign Up & Login).
- The Booking Made screen will open to advise that your Booking has been made successfully.
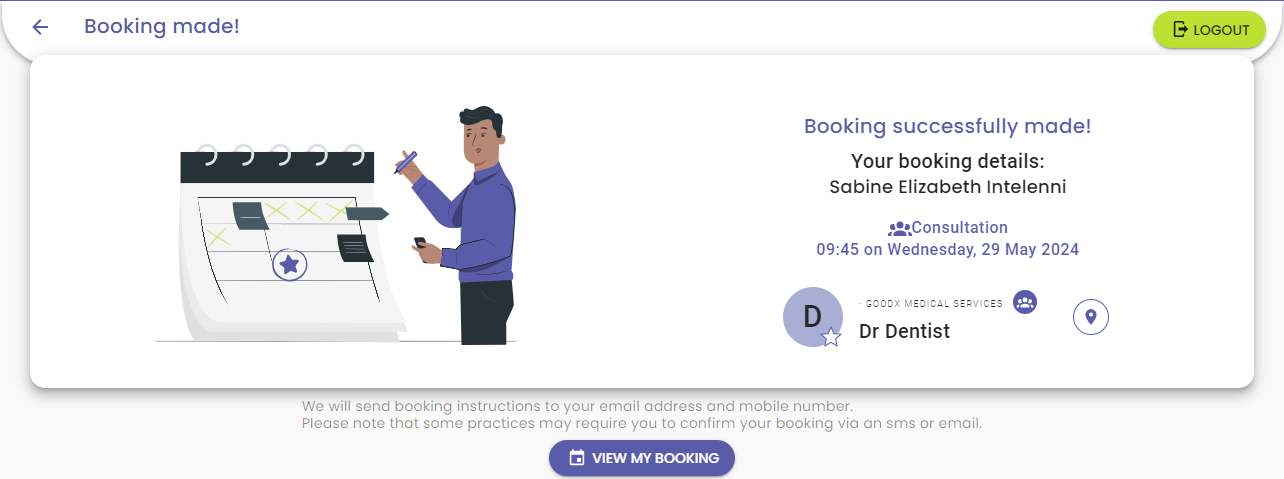
Please Note: Booking instructions will be sent to your Email Address and Mobile Number. Some Practices may require you to confirm your Booking via an SMS or Email.
View Booking
Allows you to manage the Booking that was made.- Click/Tap on the View My Booking button to view the details of your Booking.
![]()
- The Bookings screen will open, from where you are able to manage your Booking.
