Creating Tasks enables users to delegate responsibilities and communicate important actions efficiently within the Practice. By setting up specific Tasks or Task types, teams can customise how the Task functionality supports their workflow. This structure supports ownership, streamlines collaboration, and ensures that essential actions are tracked and completed on time. Creating Tasks enables team members to delegate responsibilities and communicate important actions efficiently within the Practice. This functionality helps staff stay aligned on what needs to be done, who is responsible, and when it should be completed.
By setting up specific Tasks or Task types, the Practice can customise how the Task function is used to support different operational needs, whether for administrative follow-ups, Patient communication, or internal coordination. Using the Task function encourages clear communication and helps each team member remain focused on their assigned responsibilities. It supports ownership by making it easy to track progress and follow up on outstanding items. With Tasks recorded and visible in the system, nothing is overlooked, and important actions are completed on time. This improves overall efficiency and ensures that day-to-day operations are handled in a structured and organised manner.
The Contents of This User Manual:
Request
Feedback
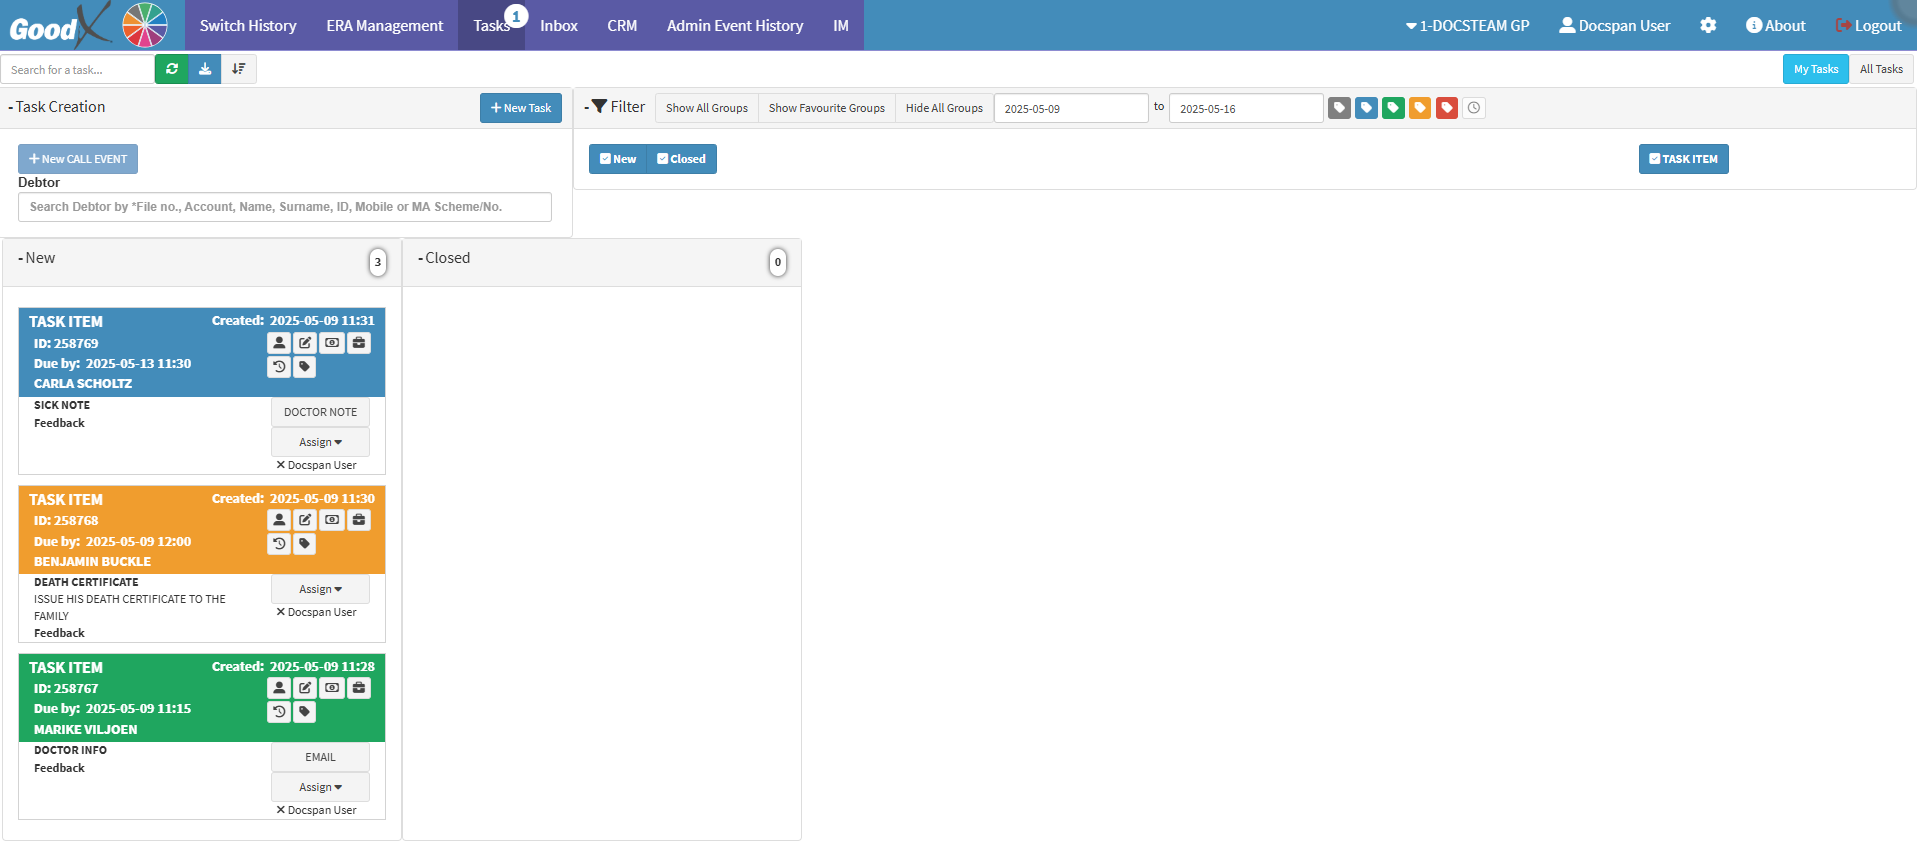
This user manual will start on the Tasks screen.
For an extensive explanation on how to navigate to and how the Tasks screen works, please refer to the user manual: Task Lists Screen Overview.
Click on the New Task button to create a new task that will be added to the Task List.
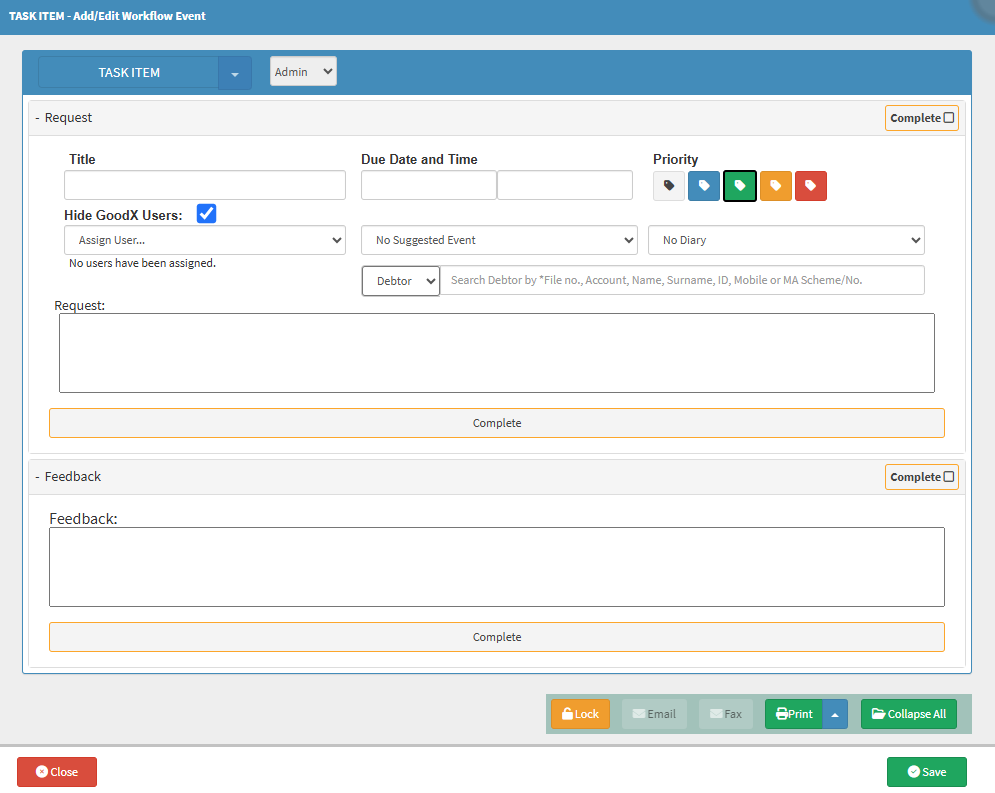
The Task Item - Add/ Edit Workflow Event screen will open.
An explanation will be given for all the options and actions that are available on the Task Item screen.
Request
A Request enables you to give more details about a task and what the Task is about. You are able to fill in details such as priority, deadlines and description of what to do when undergoing the task.
An explanation will be given for each option in the Request panel:
Click on the Title field to enter a brief name or description for the task being created.
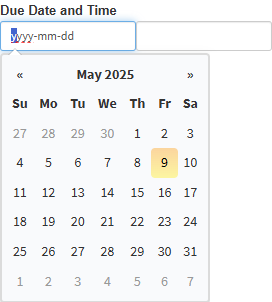
Click on the Due Date and Time field to open the Date Picker and select when the task must be completed.
Click on the Due Date and Time field on the second block to open the Time dropdown menu and select the time the task must be completed.
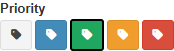
Click on the desired Priority button to select the urgency level of the task.
Grey: Unknown - No priority has been allocated to the task.
Blue: Low - The task is not urgent or of great importance.
Green: Normal - The task should be attended to as soon as the more critical tasks have been attended to.
Yellow: High - The task is of great importance and should be attended to as soon as possible.
Red: Very Urgent - The task should be looked at immediately and will take preference over all other tasks.
Tick on the Hide GoodX Users checkbox to include or exclude support users when allocating tasks.
?Please Note: The Hide GoodX Users checkbox allows you to exclude support users when allocating tasks. Support users assist when you are having trouble with the system. Support users will log in with their own credentials to ensure POPI Act compliance and to keep an audit trail. Hiding GoodX users will ensure that tasks are not allocated to support users.
Click on the Assign User drop-down menu to select the name of the user to whom the task should be allocated.
The Assigned User will be visible under the field.
?Please Note: The creator of the task is able to assign more than one user to the same task by following the same steps to Assign User.
Click on the Remove button to remove a user from the task.
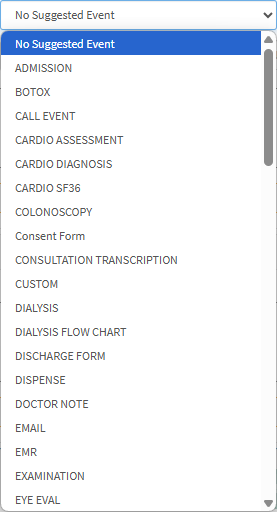
Click on the No Suggested Event drop-down menu to select the relevant Workflow Event to be completed with the task, such as a Script, Sick Note, Custom Form, or SMS.
Click on the No Diary drop-down menu to select the Diary that the task should be linked to.
?Please Note: The available options will depend on the setup of the Practice.
Click on the Debtor drop-down menu to select whether you would like to allocate a specific Debtor/Patient to the task.
Debtor: The person who is responsible for the payment of the account.
Patient: The person who will be consulting with or being treated by a Practitioner within the Practice.
Click on the Search Debtor by Name, Surname, or ID field to enter the search details and select the desired Debtor from the list that appears.
Click on the Request field to enter a detailed explanation of what is expected from the assigned user to complete the task.
Click on the Complete button once finished.
The Complete button will change to a Completed status.
The Request panel will collapse with an indication that the Request section of the task has been completed and information has been added to the task.
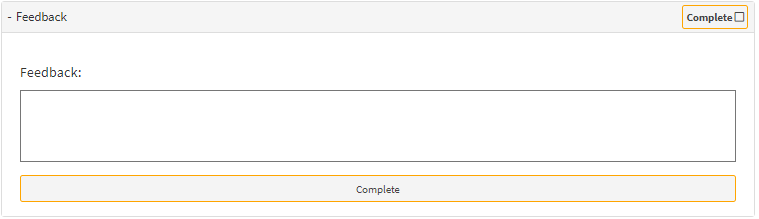
Feedback
A response that is received relating directly to the requested Task. You are able to add notes, results and general information.
An explanation will be given for each option in the Feedback panel:
Click on the Feedback field to enter a detailed response outlining what is needed to complete the task.
Click on the Complete button once the feedback has been given.
The Complete button will change to Completed status.
The Feedback panel will collapse with an indication that the Feedback section of the task has been completed and that feedback has been added relating to the task.
Click on the Save button to save the task that has been created.
The newly created task will appear on the Tasks screen, under the stage: New.
For a complete explanation of all the additional options that are available on the Task after the task has been created, please refer to the user manual: Task Item Options.